Advert ● February 2025
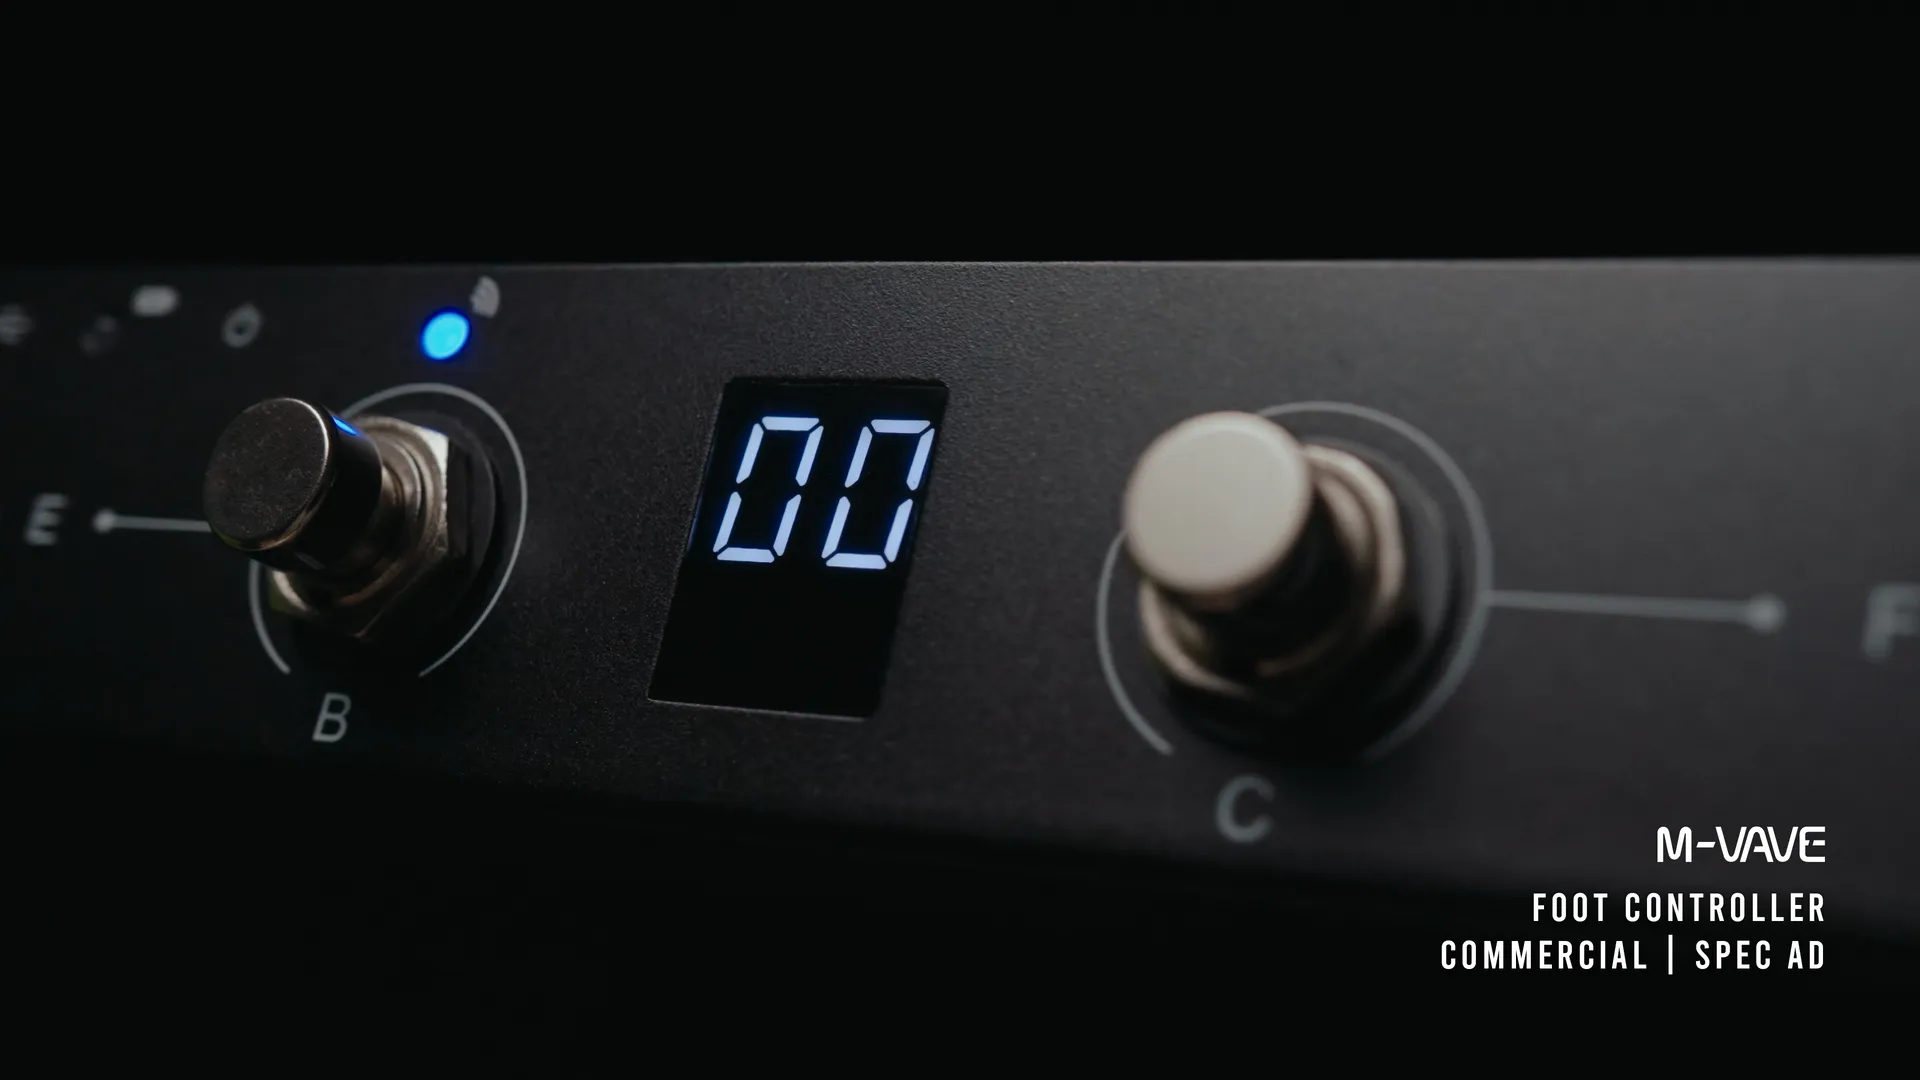
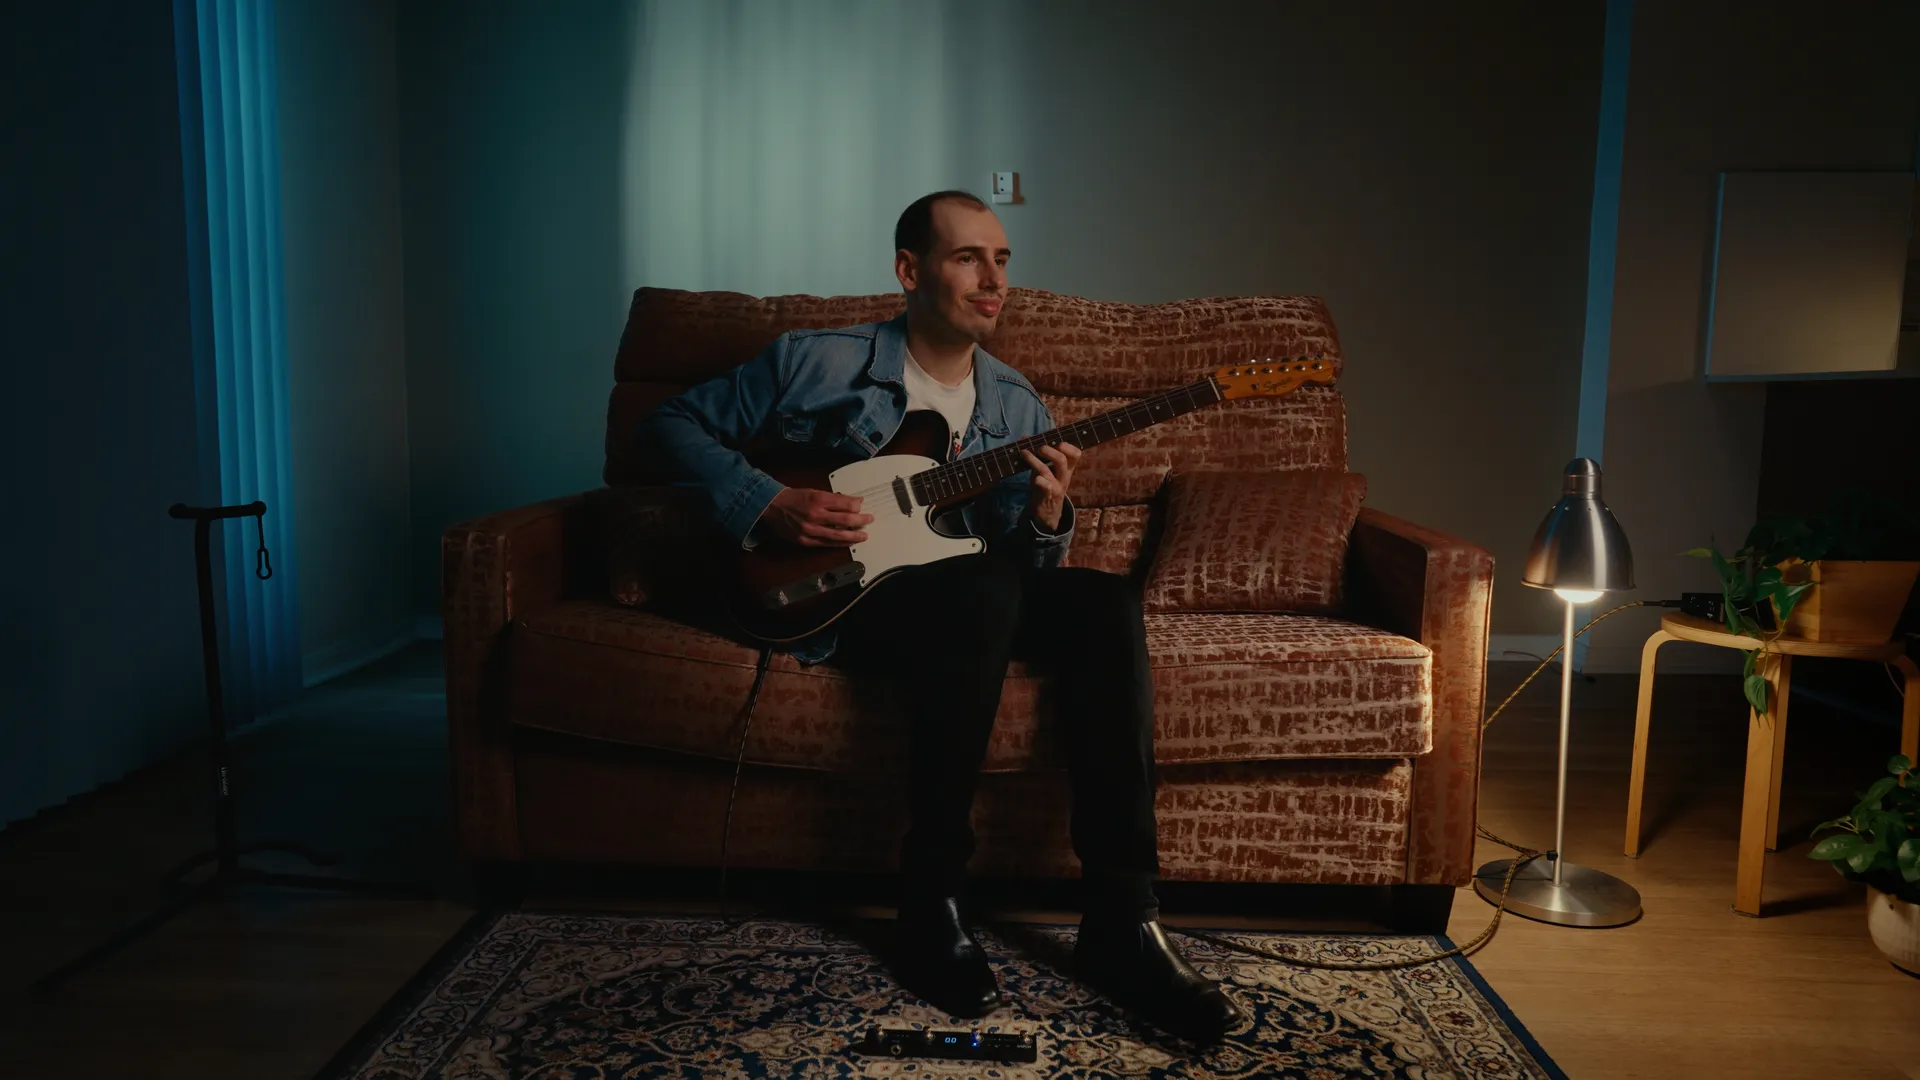
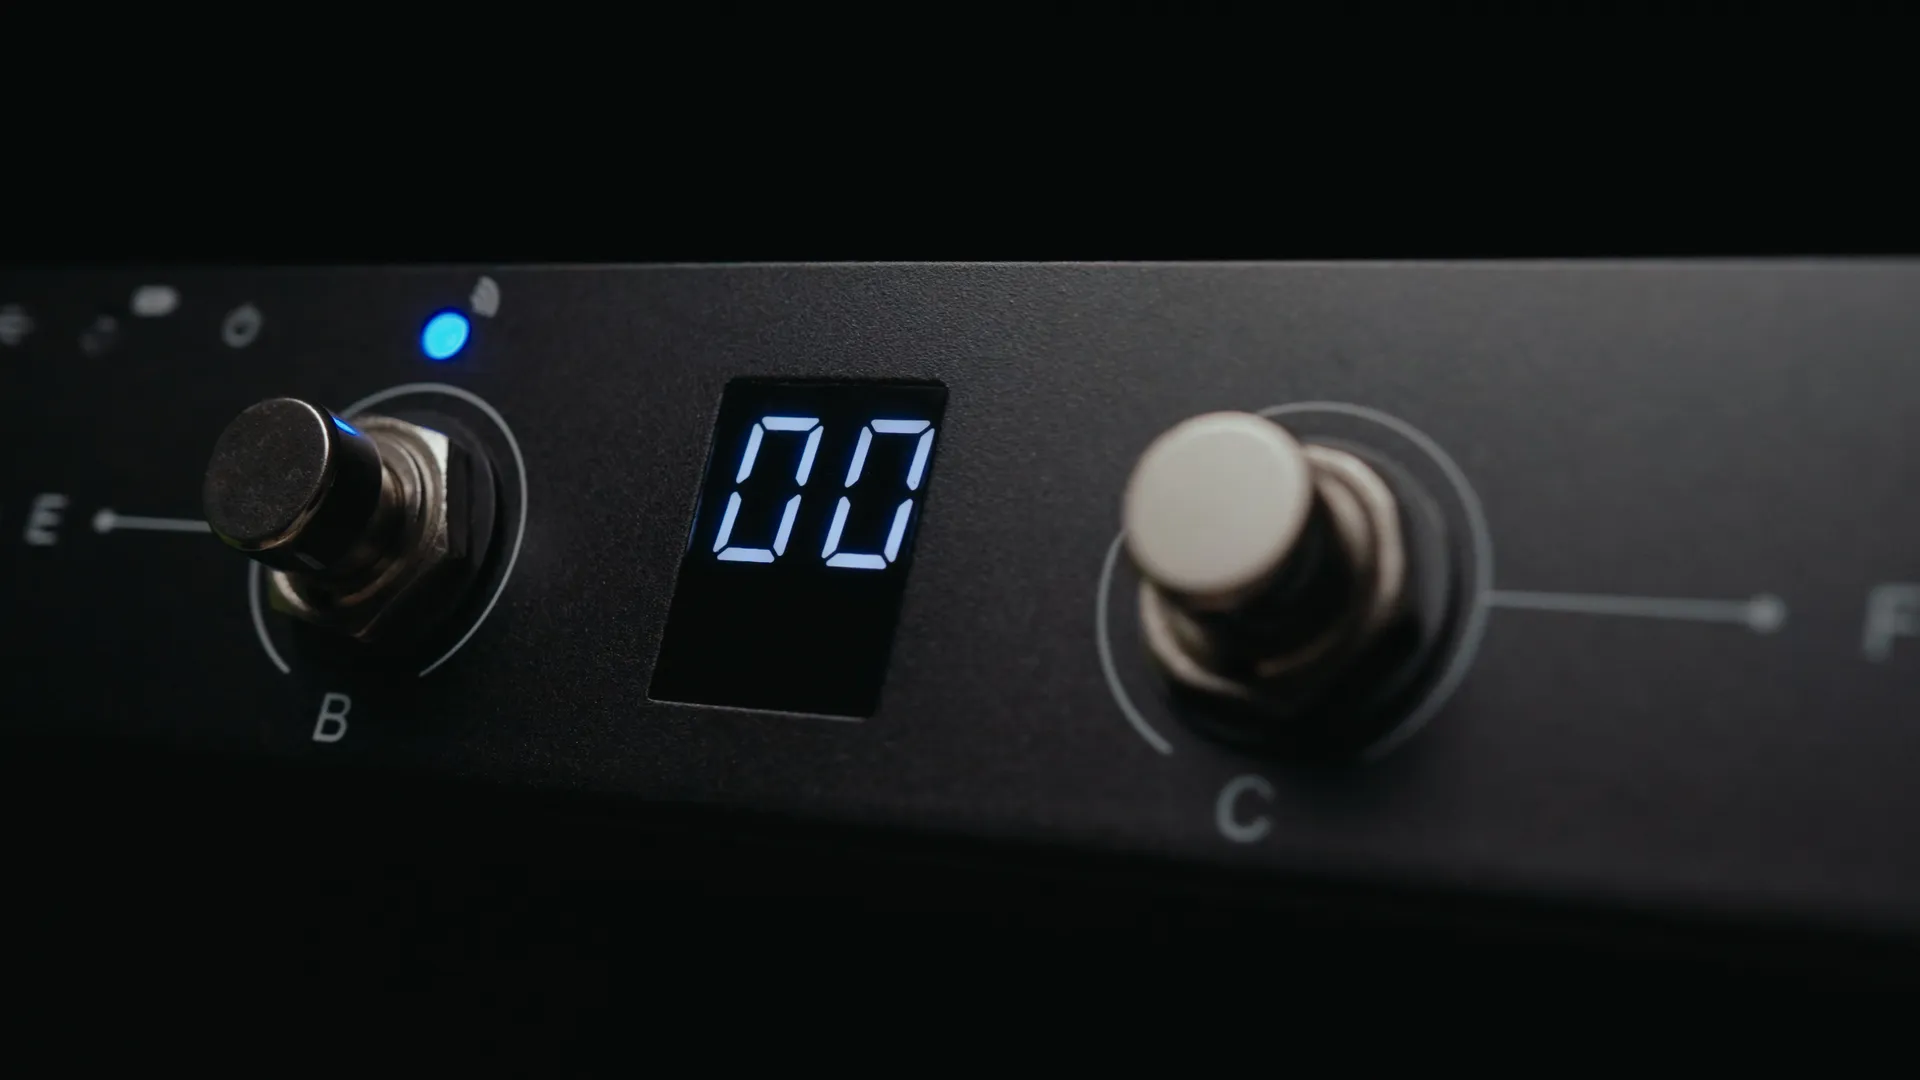
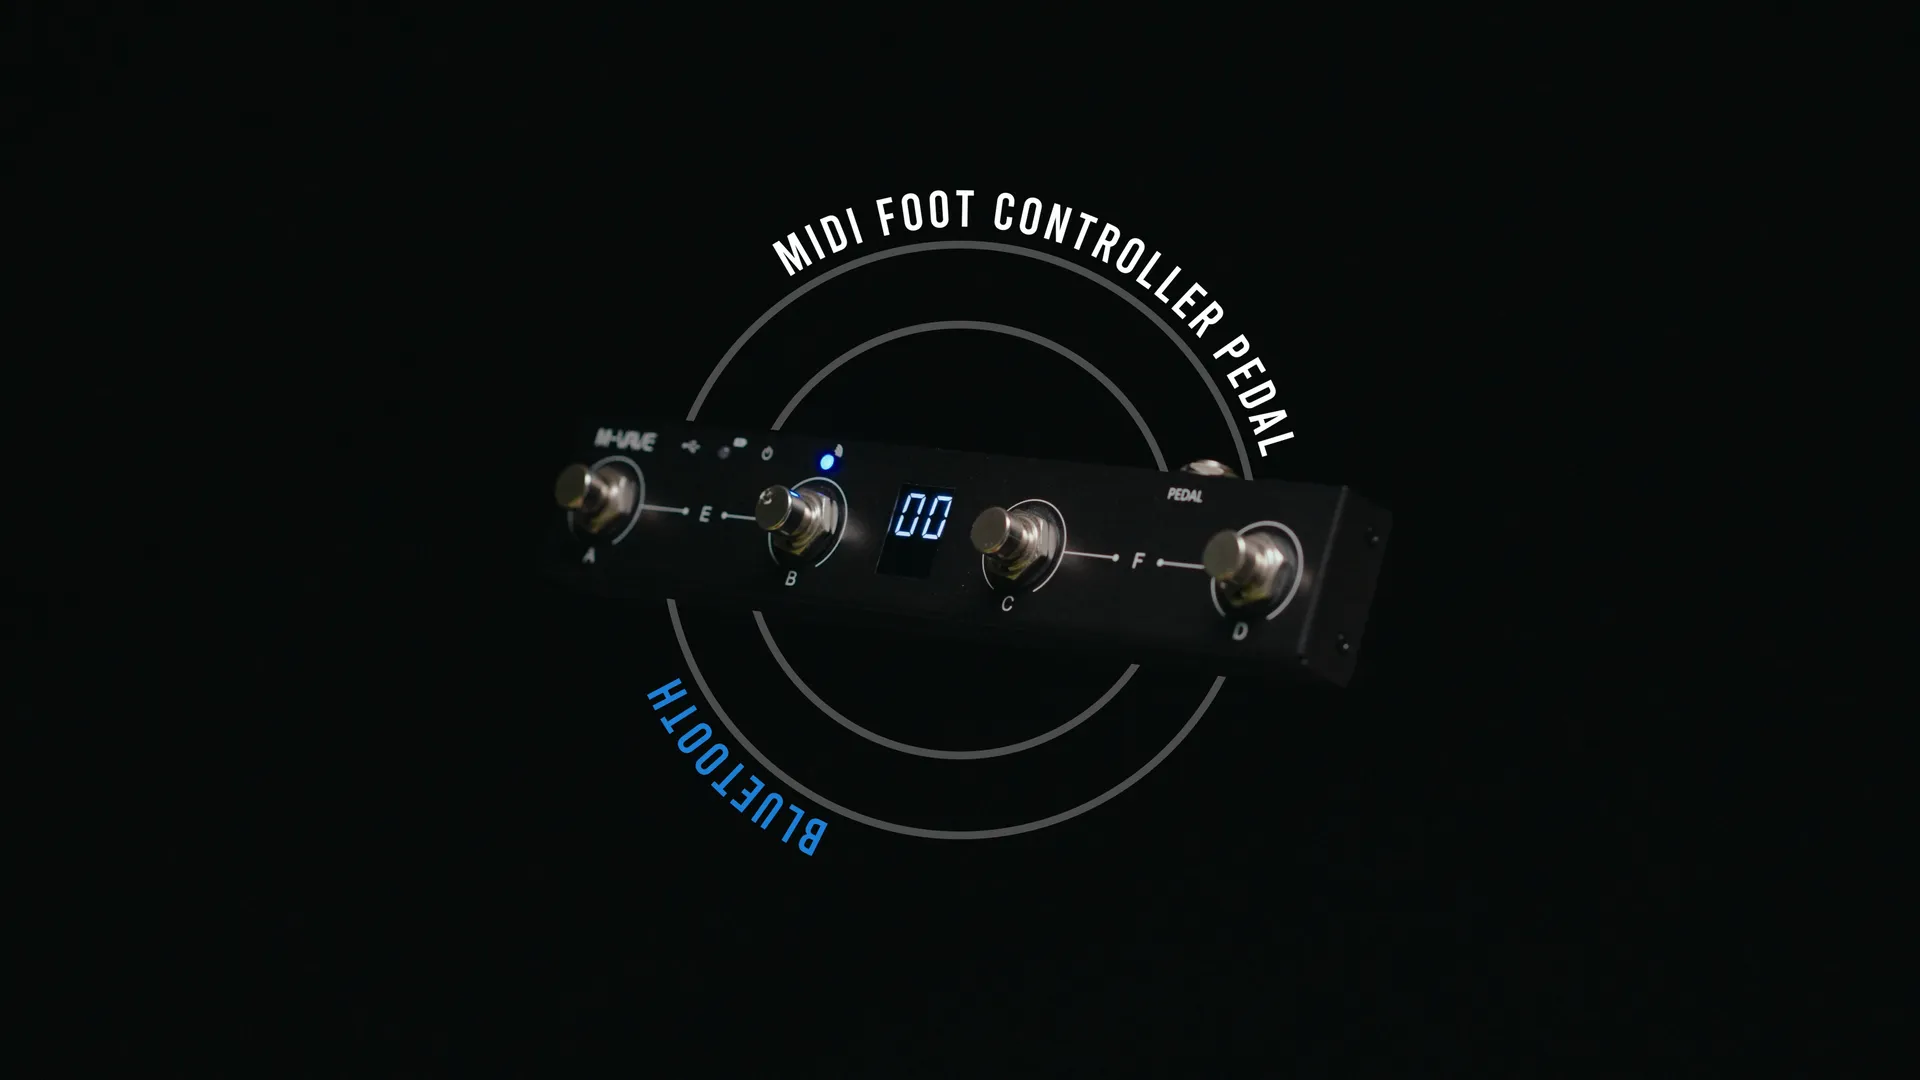
M-VAVE Foot Controller
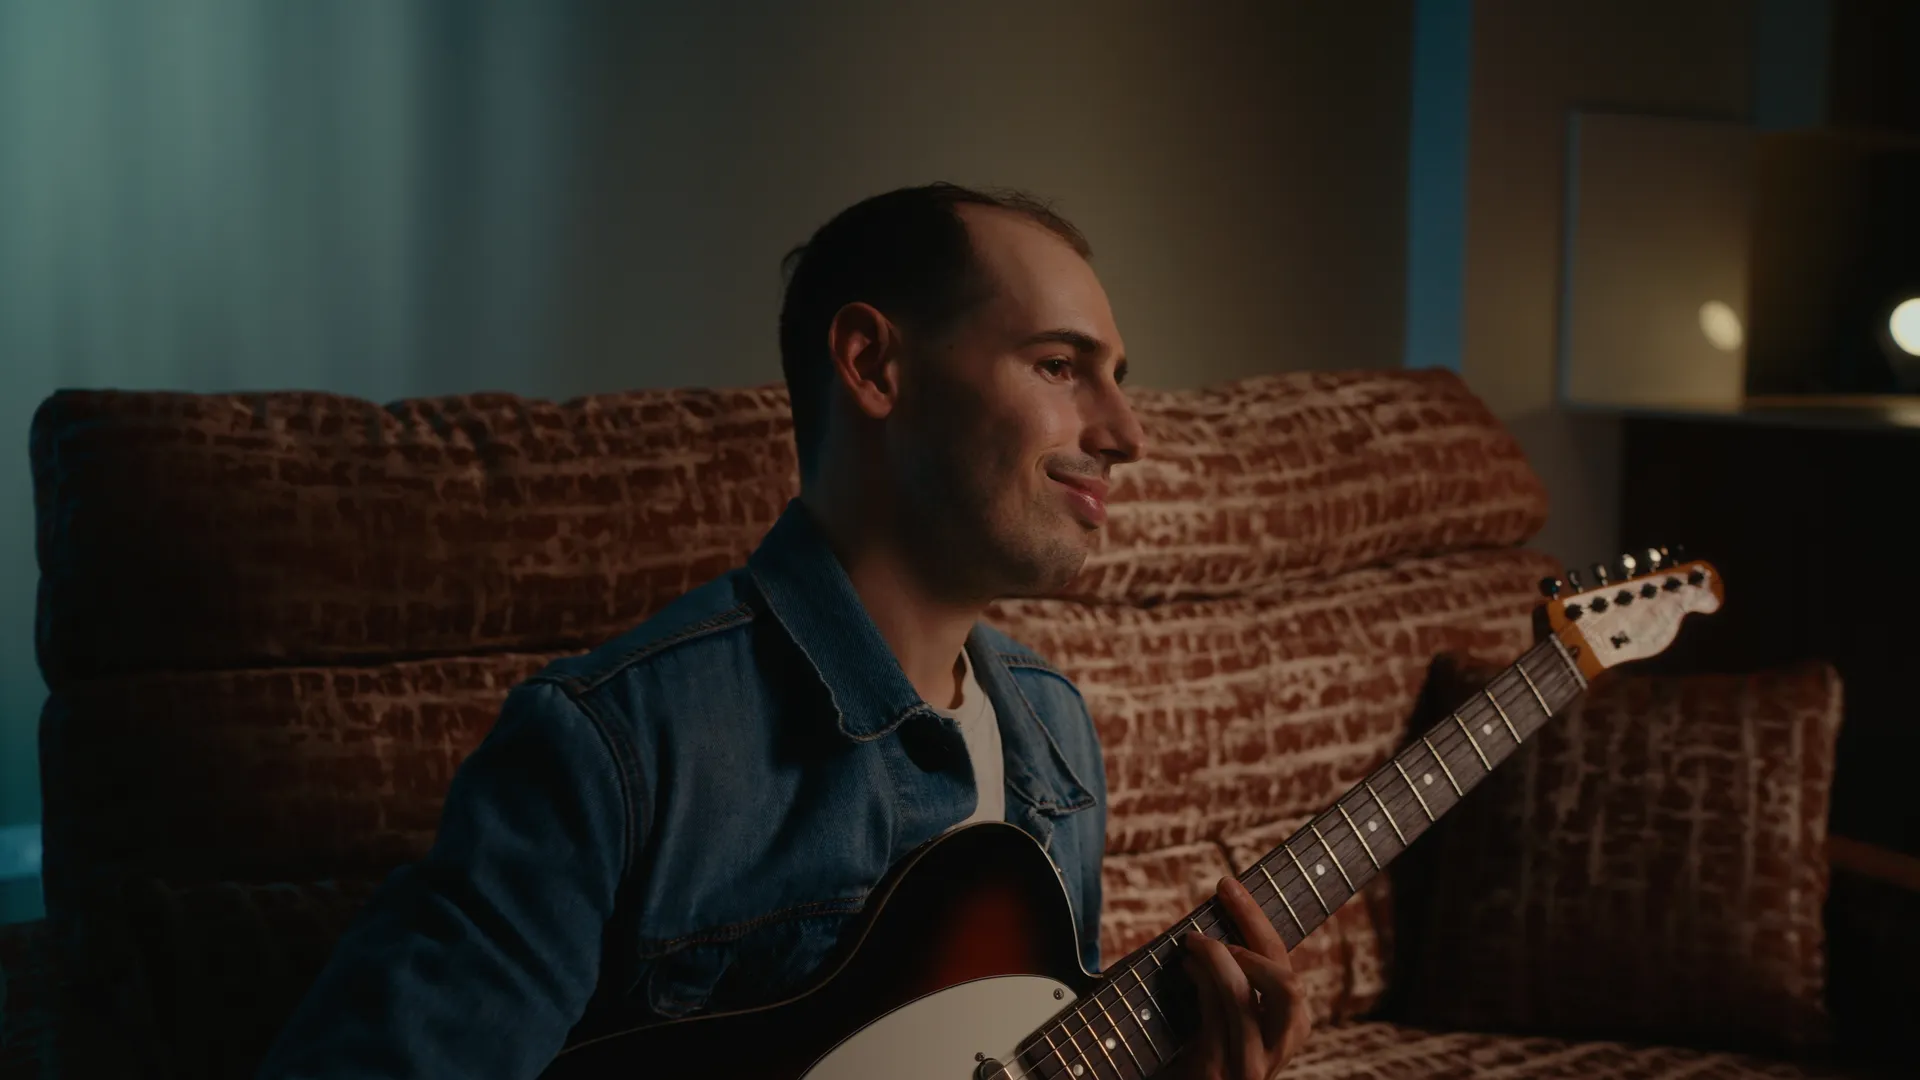
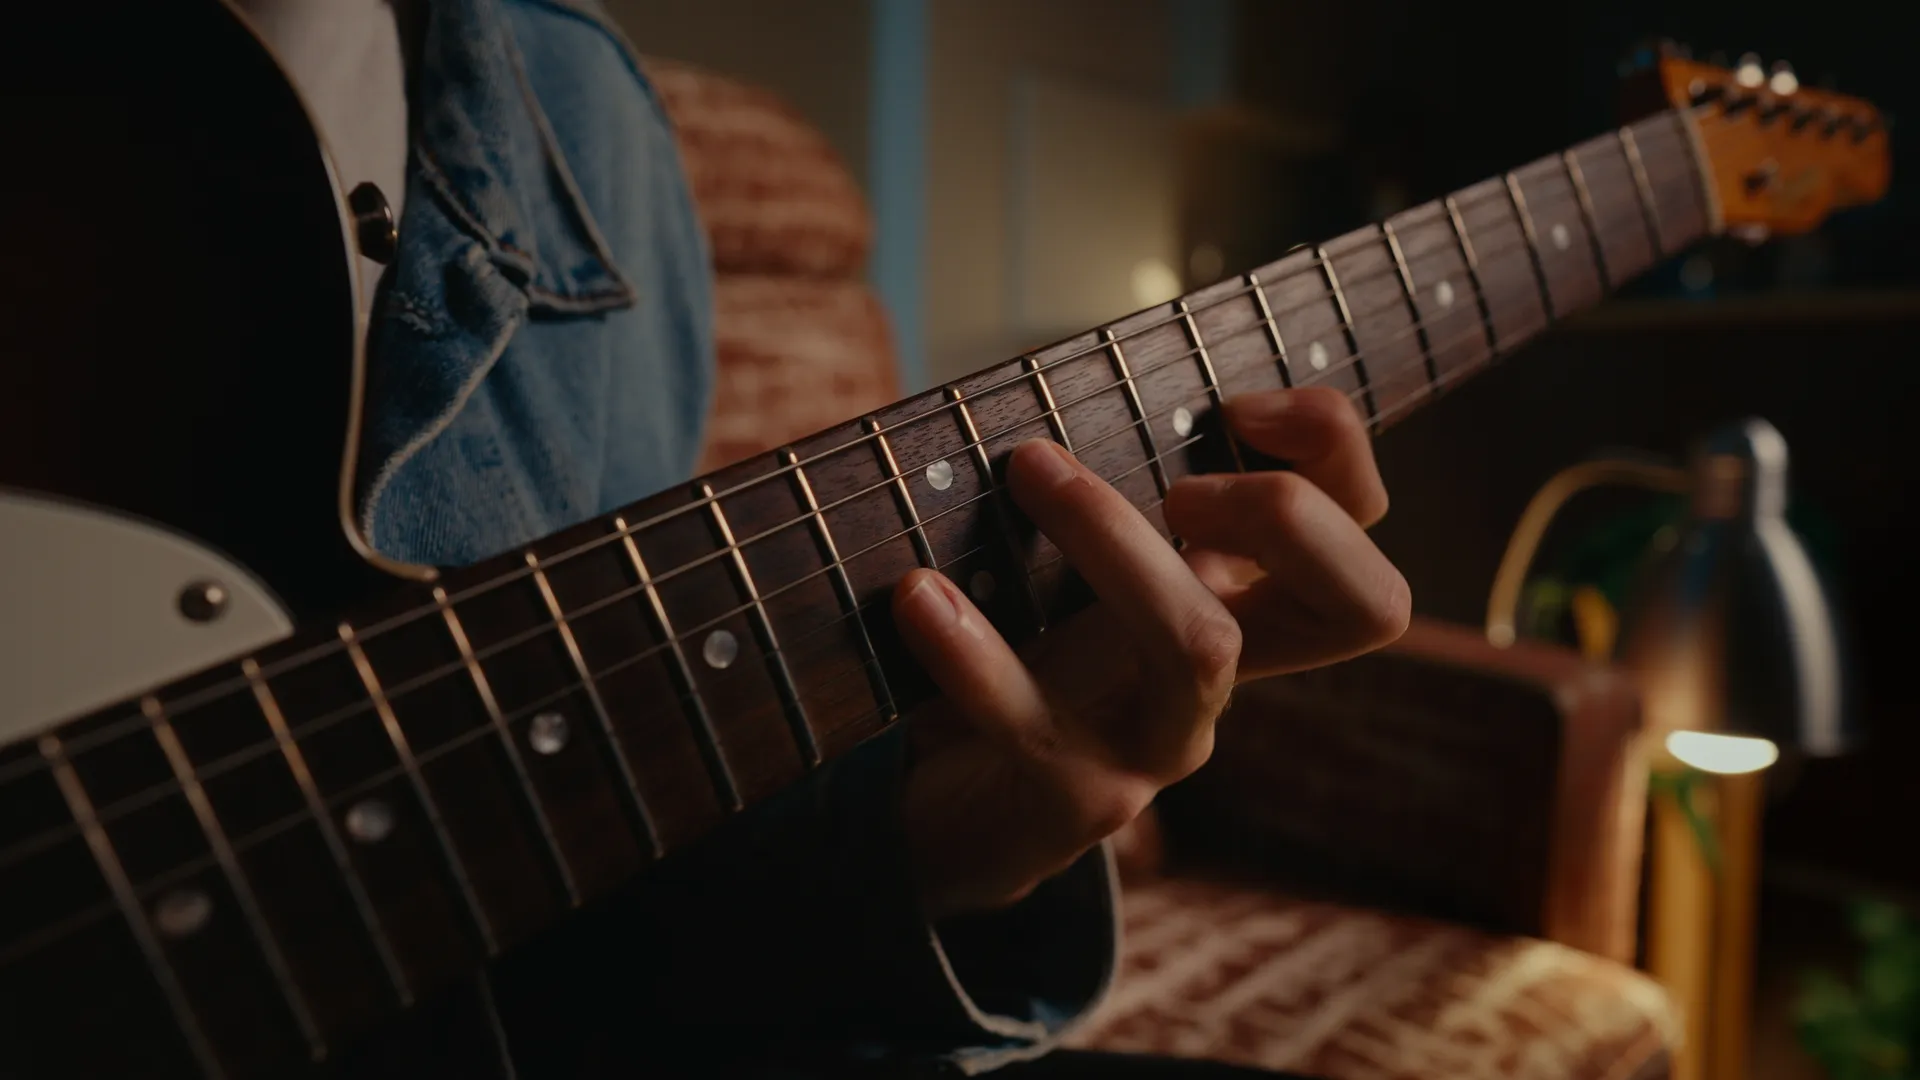
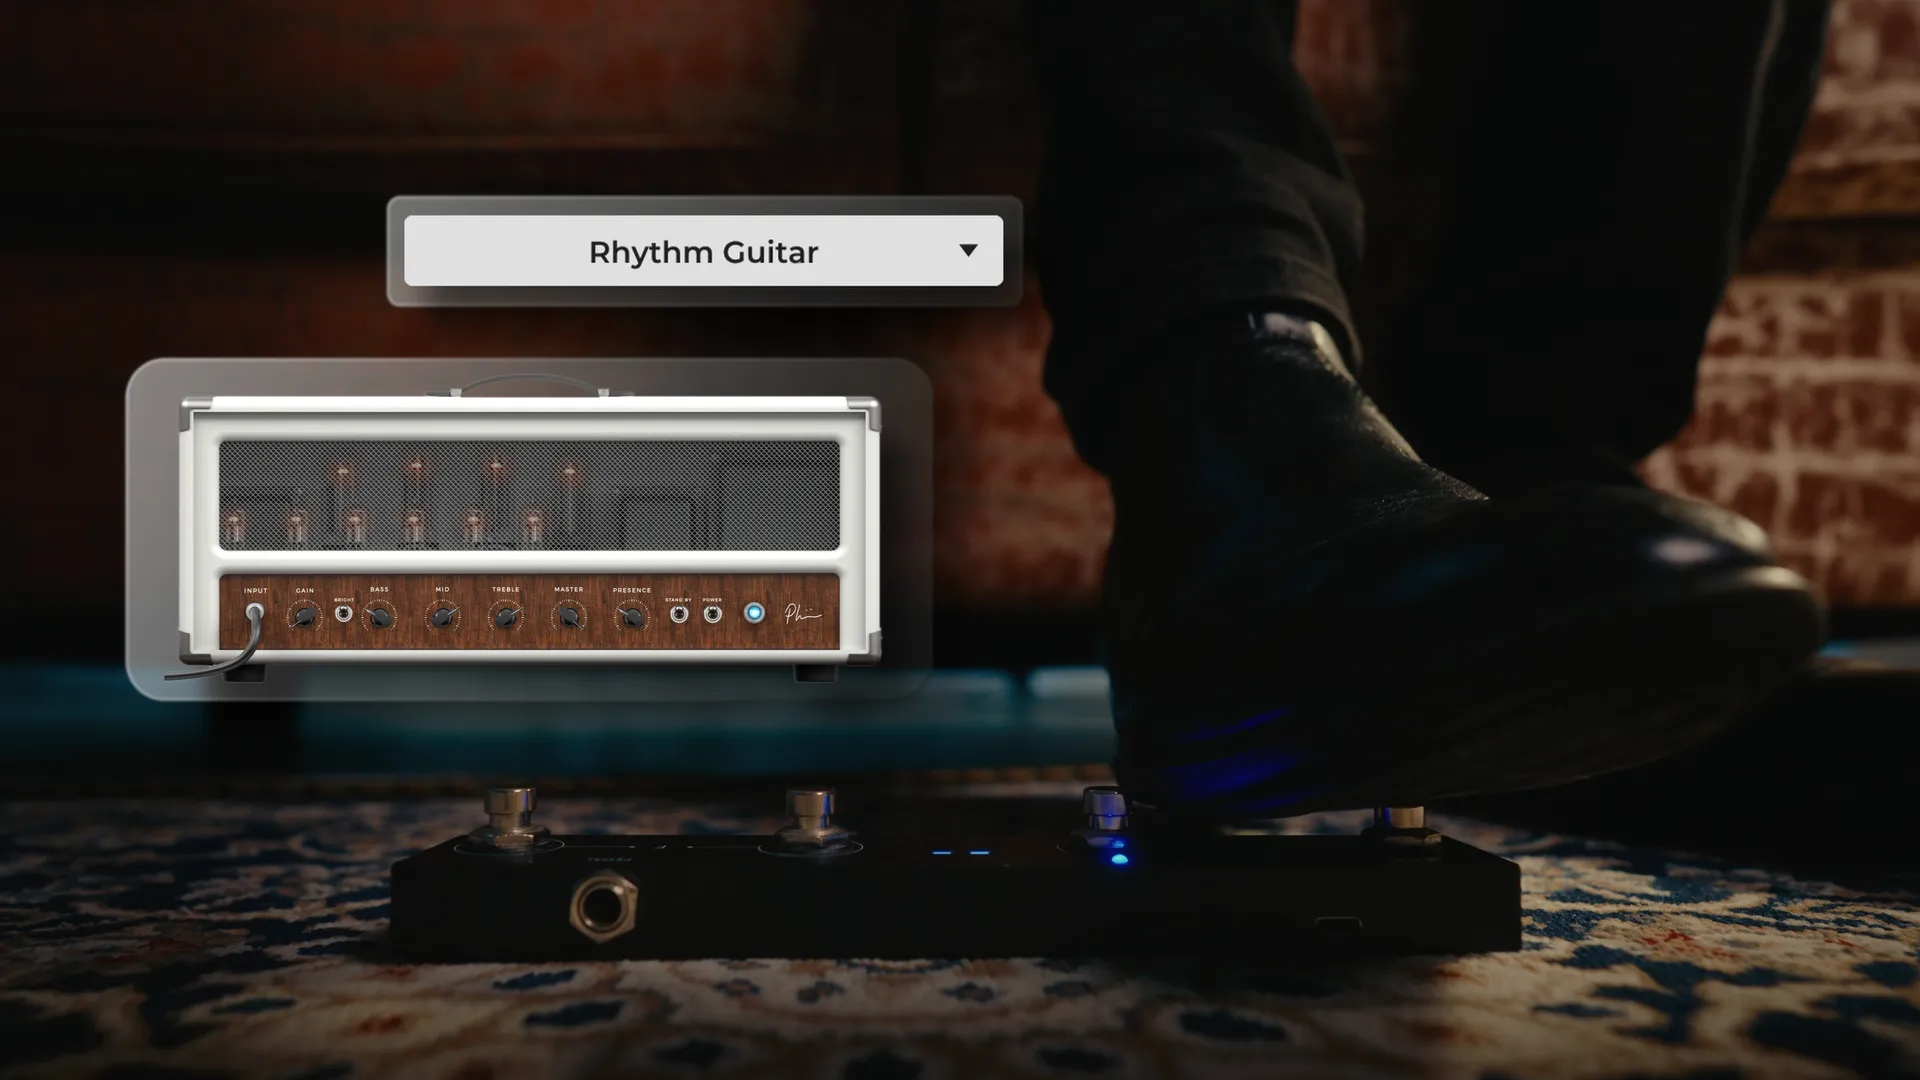
With this spec ad, I strived to create an ad that showcases the real-world use of the M-VAVE MIDI Foot Controller Pedal. This is a great tool for guitarists who want a physical controller for their digital guitar plugin to switch between guitar sounds seamlessly. Whether transitioning from a clean, harmonic rhythm tone to a sharp, distorted lead, this pedal makes it easy to take on multiple roles mid-song, much like using a loop pedal.
For this ad, I wanted to push my creative boundaries by experimenting with new video and animation techniques. I incorporated super-zooms, glass animations, rotating product close-ups, 3D text and ring animations, all designed to compliment the visual storytelling and present the product in a more engaging and dynamic way.
This ad showcases the M-VAVE Foot Controller in a real, practical application that resonates with guitarists. More importantly, it presents the product in a short, visually engaging, and dynamic format that brings it to life on screen.
Video edited & graded in DaVinci Resolve
Advert ● November 2024
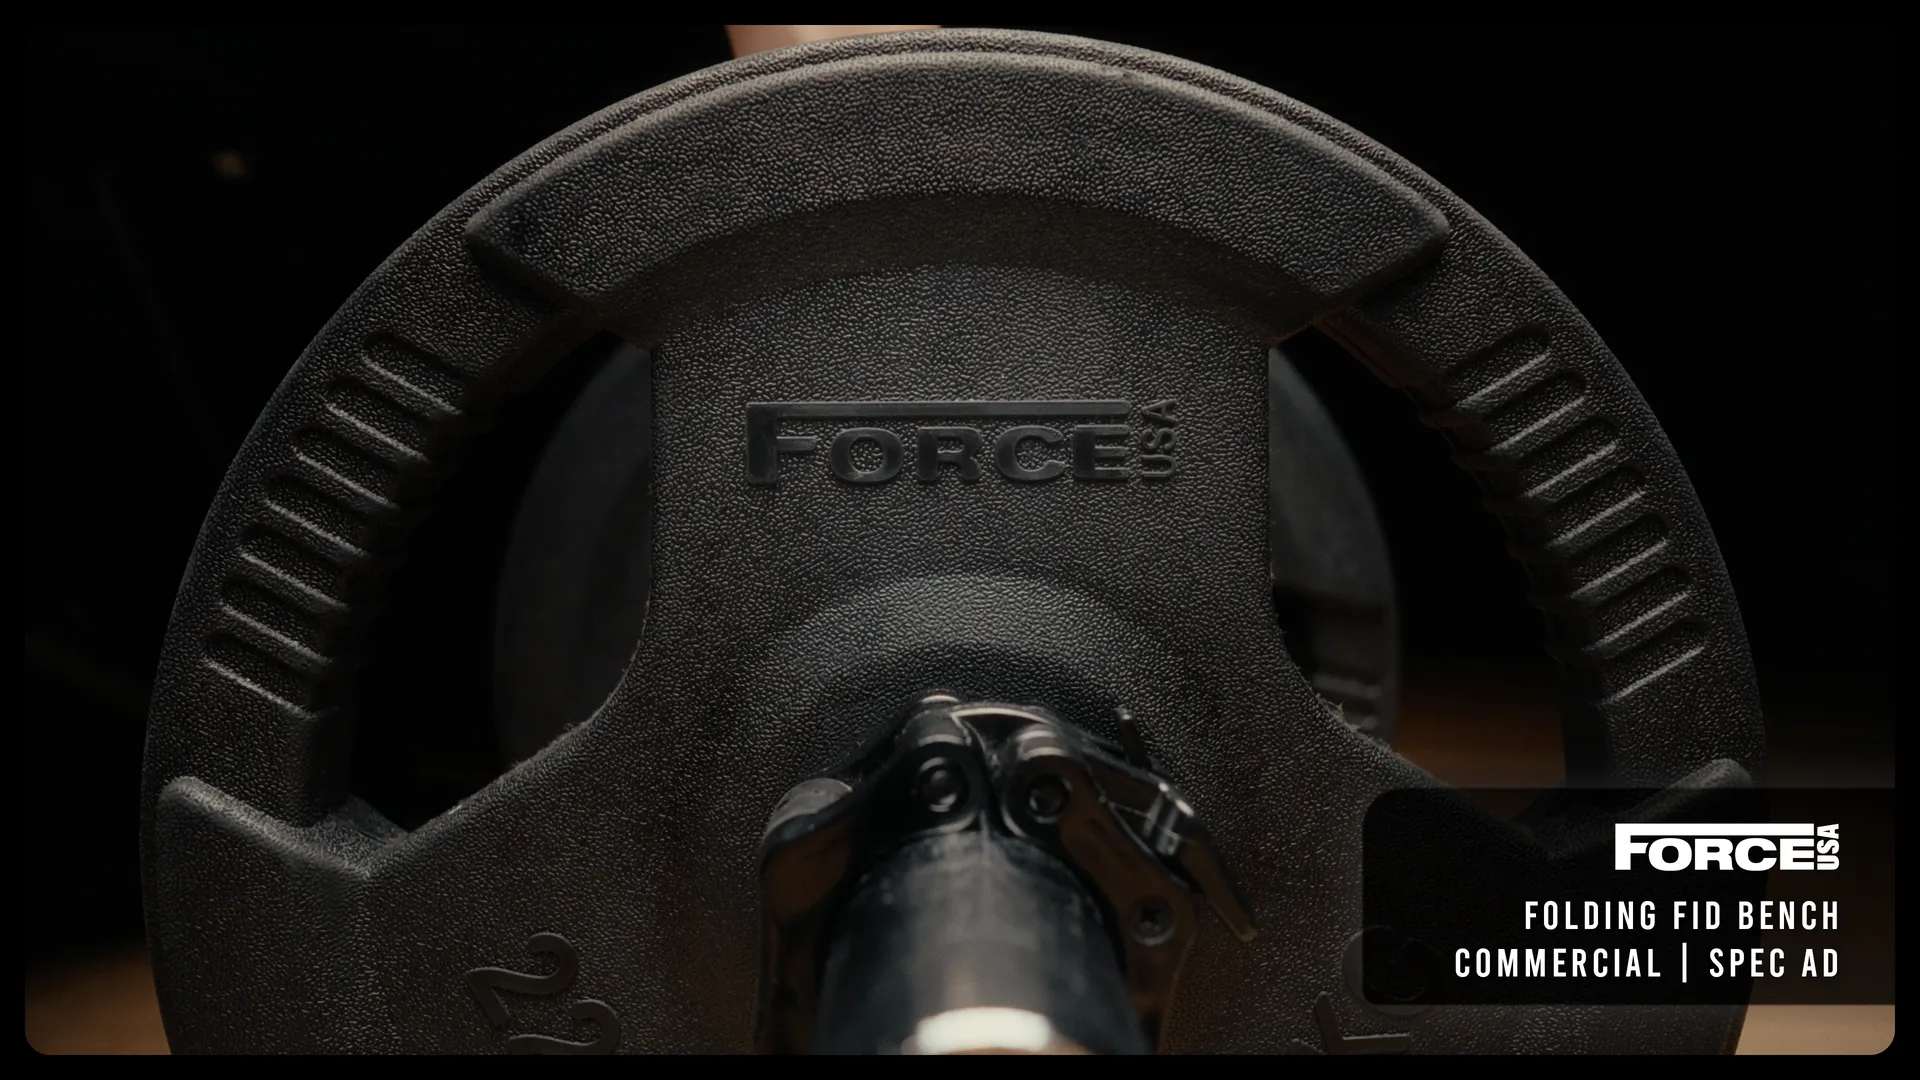
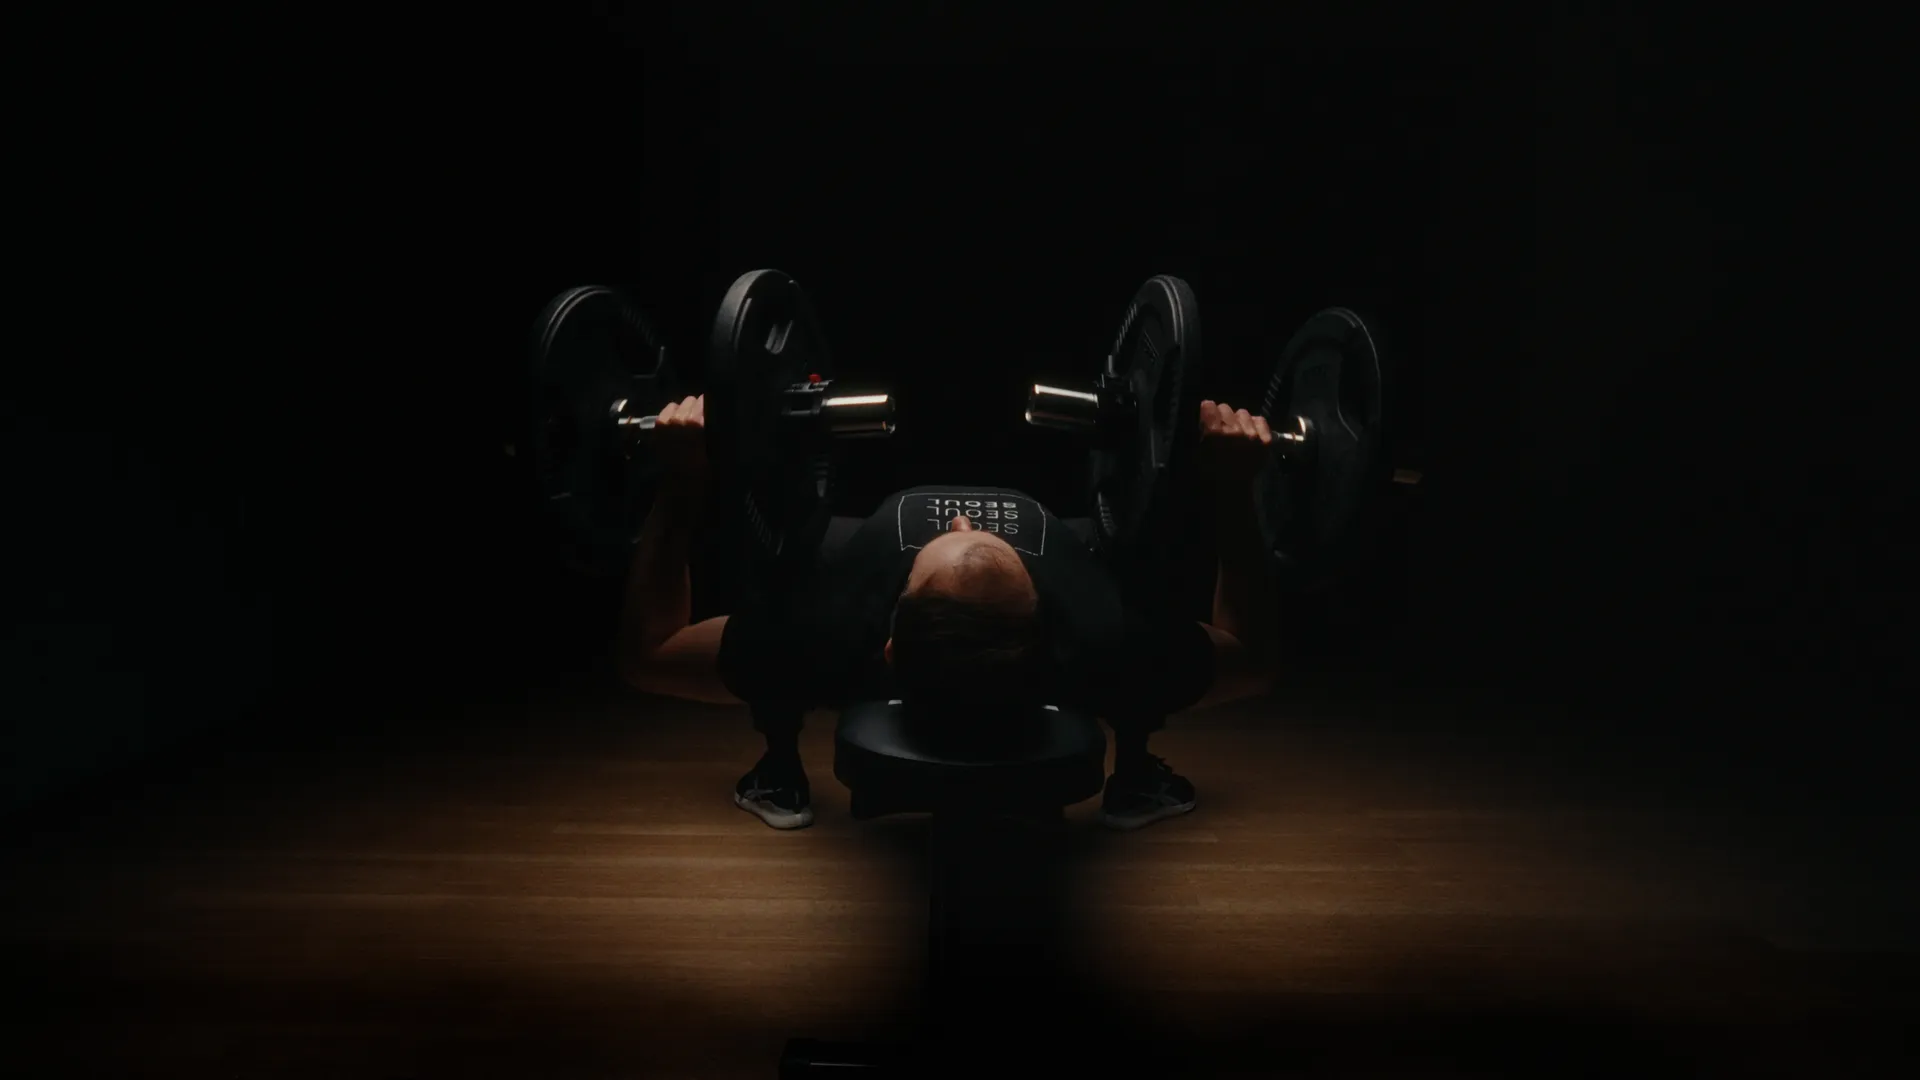
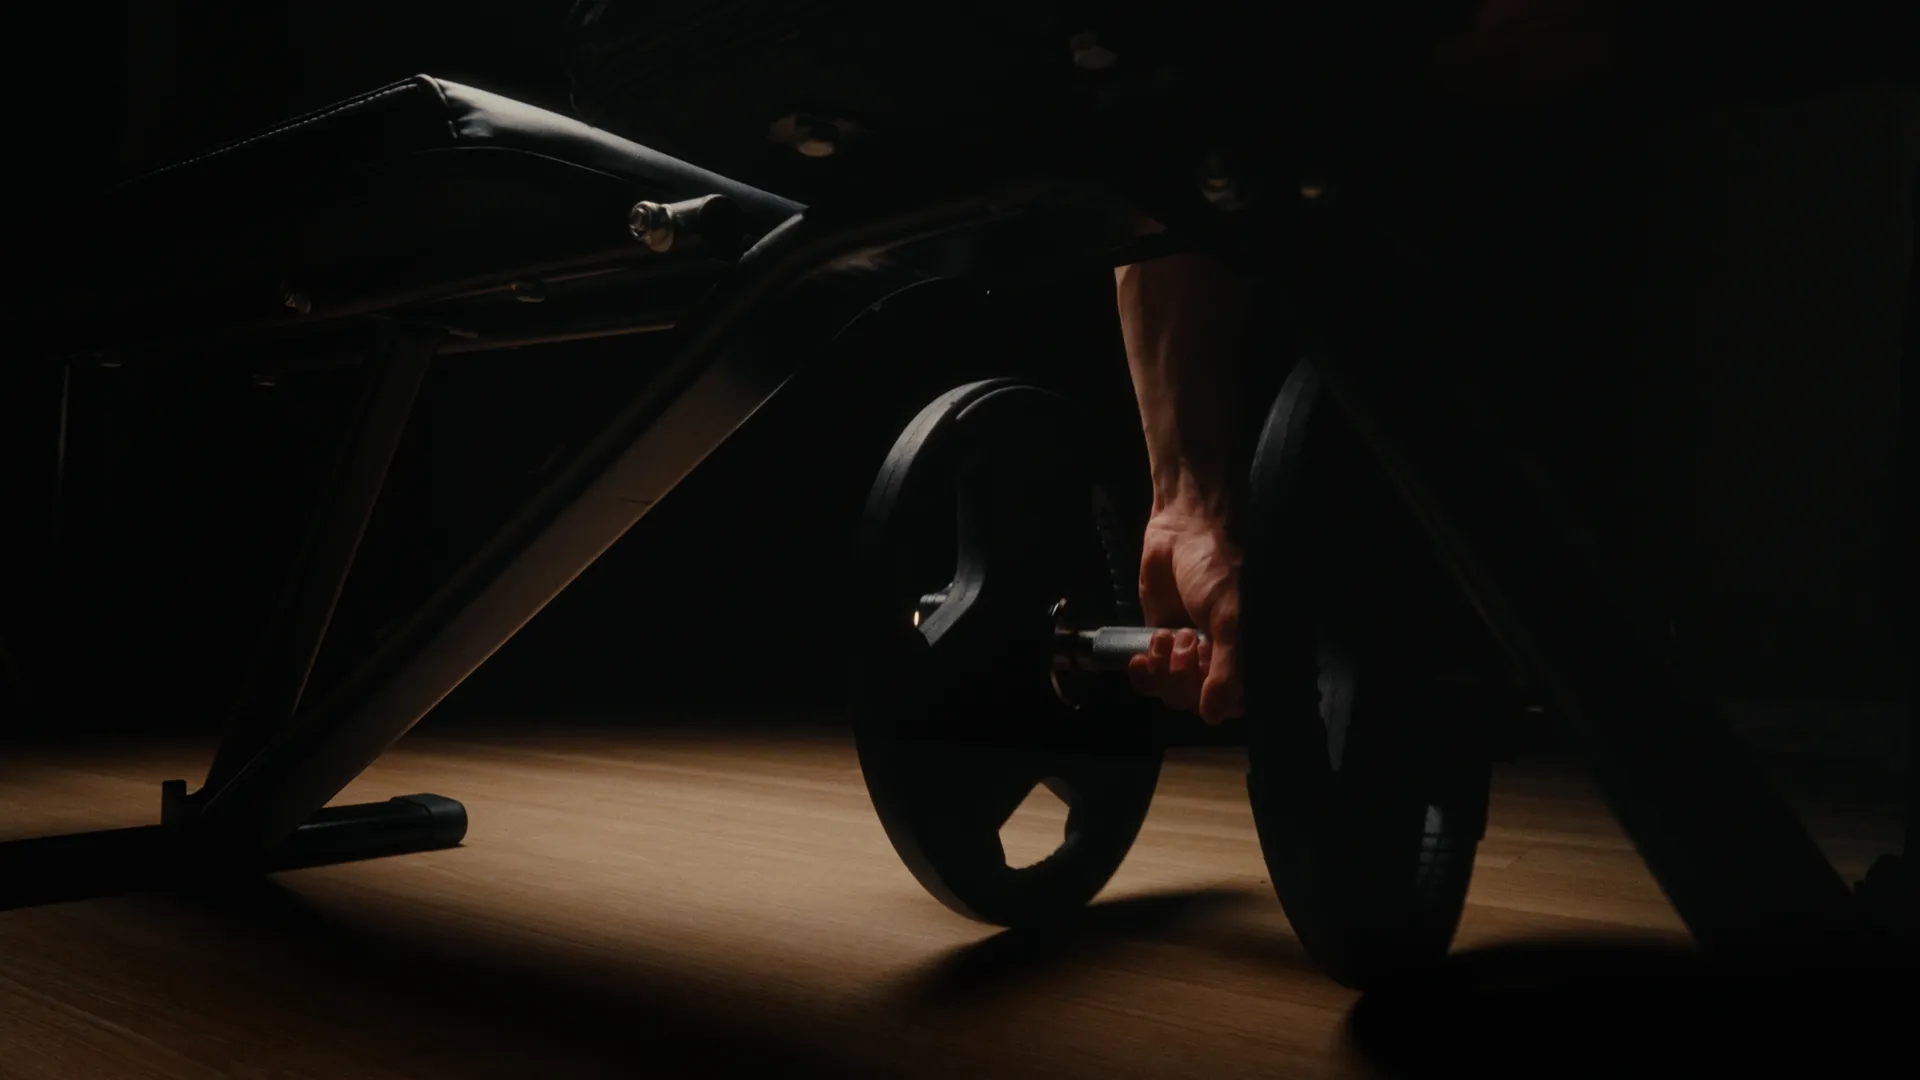
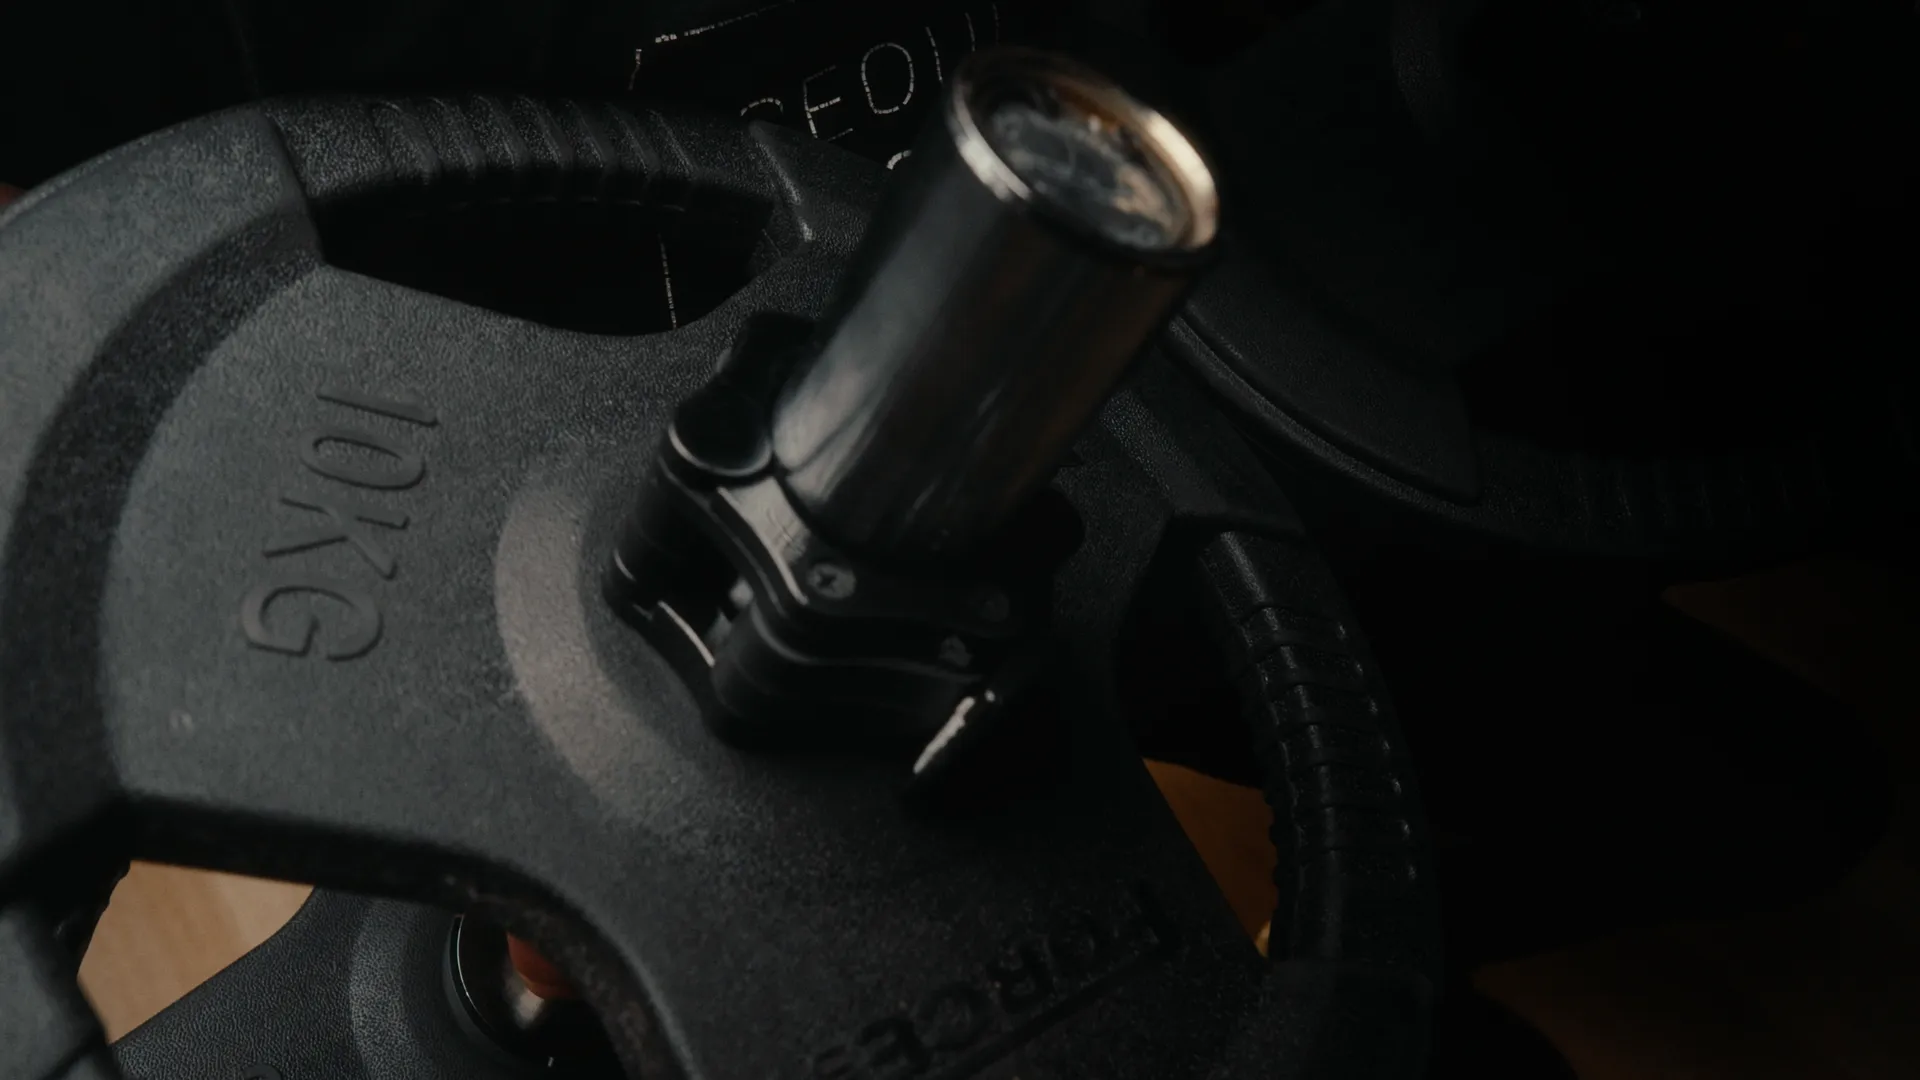
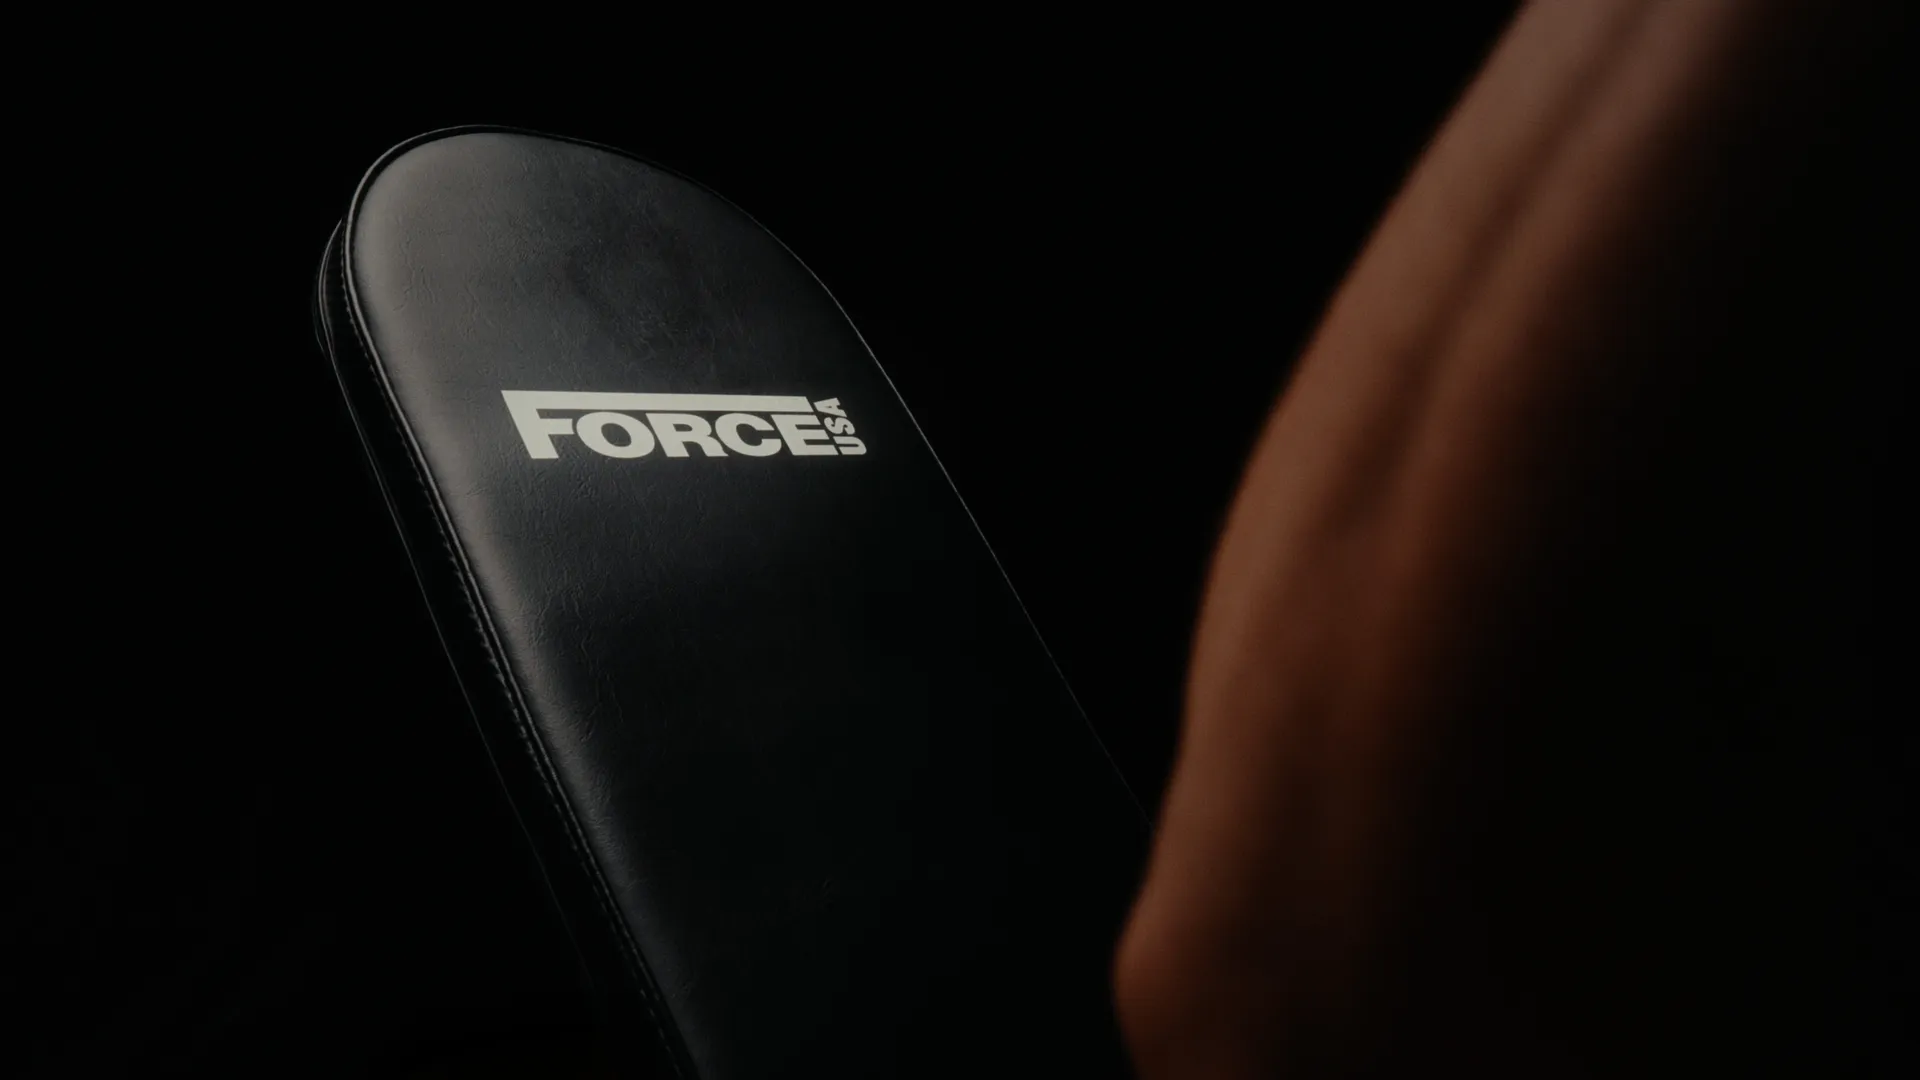
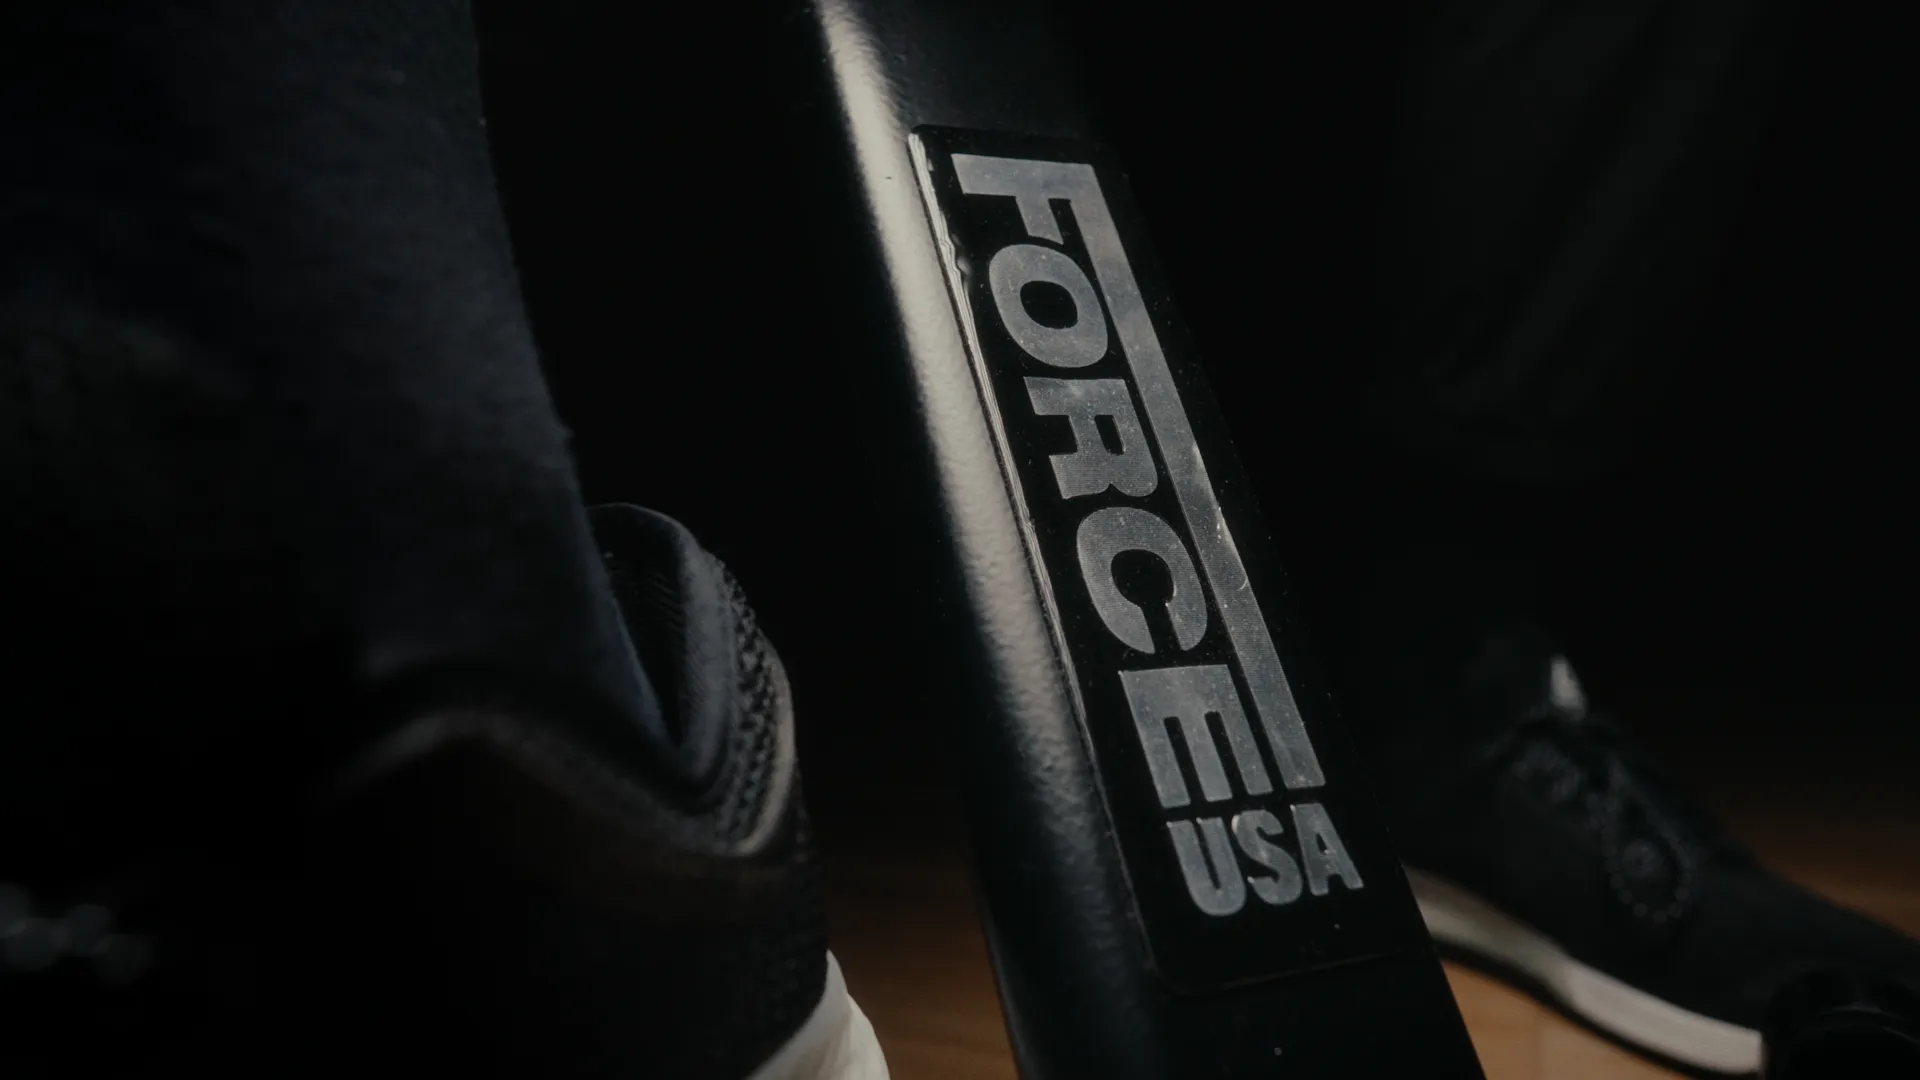
Force USA Folding Bench
I wanted to expand my advertising portfolio into the fitness industry, and with this spec ad, I set out to showcase the versatility and practicality of the Force USA Foldable Home Bench in a real-world setting. My goal was to bring the core message, “Turn your home into a gym,” to life by transitioning from a warm, sunset-lit living room to a focused, blacked-out setting, illustrating how the bench transforms a living space into an intense workout environment.
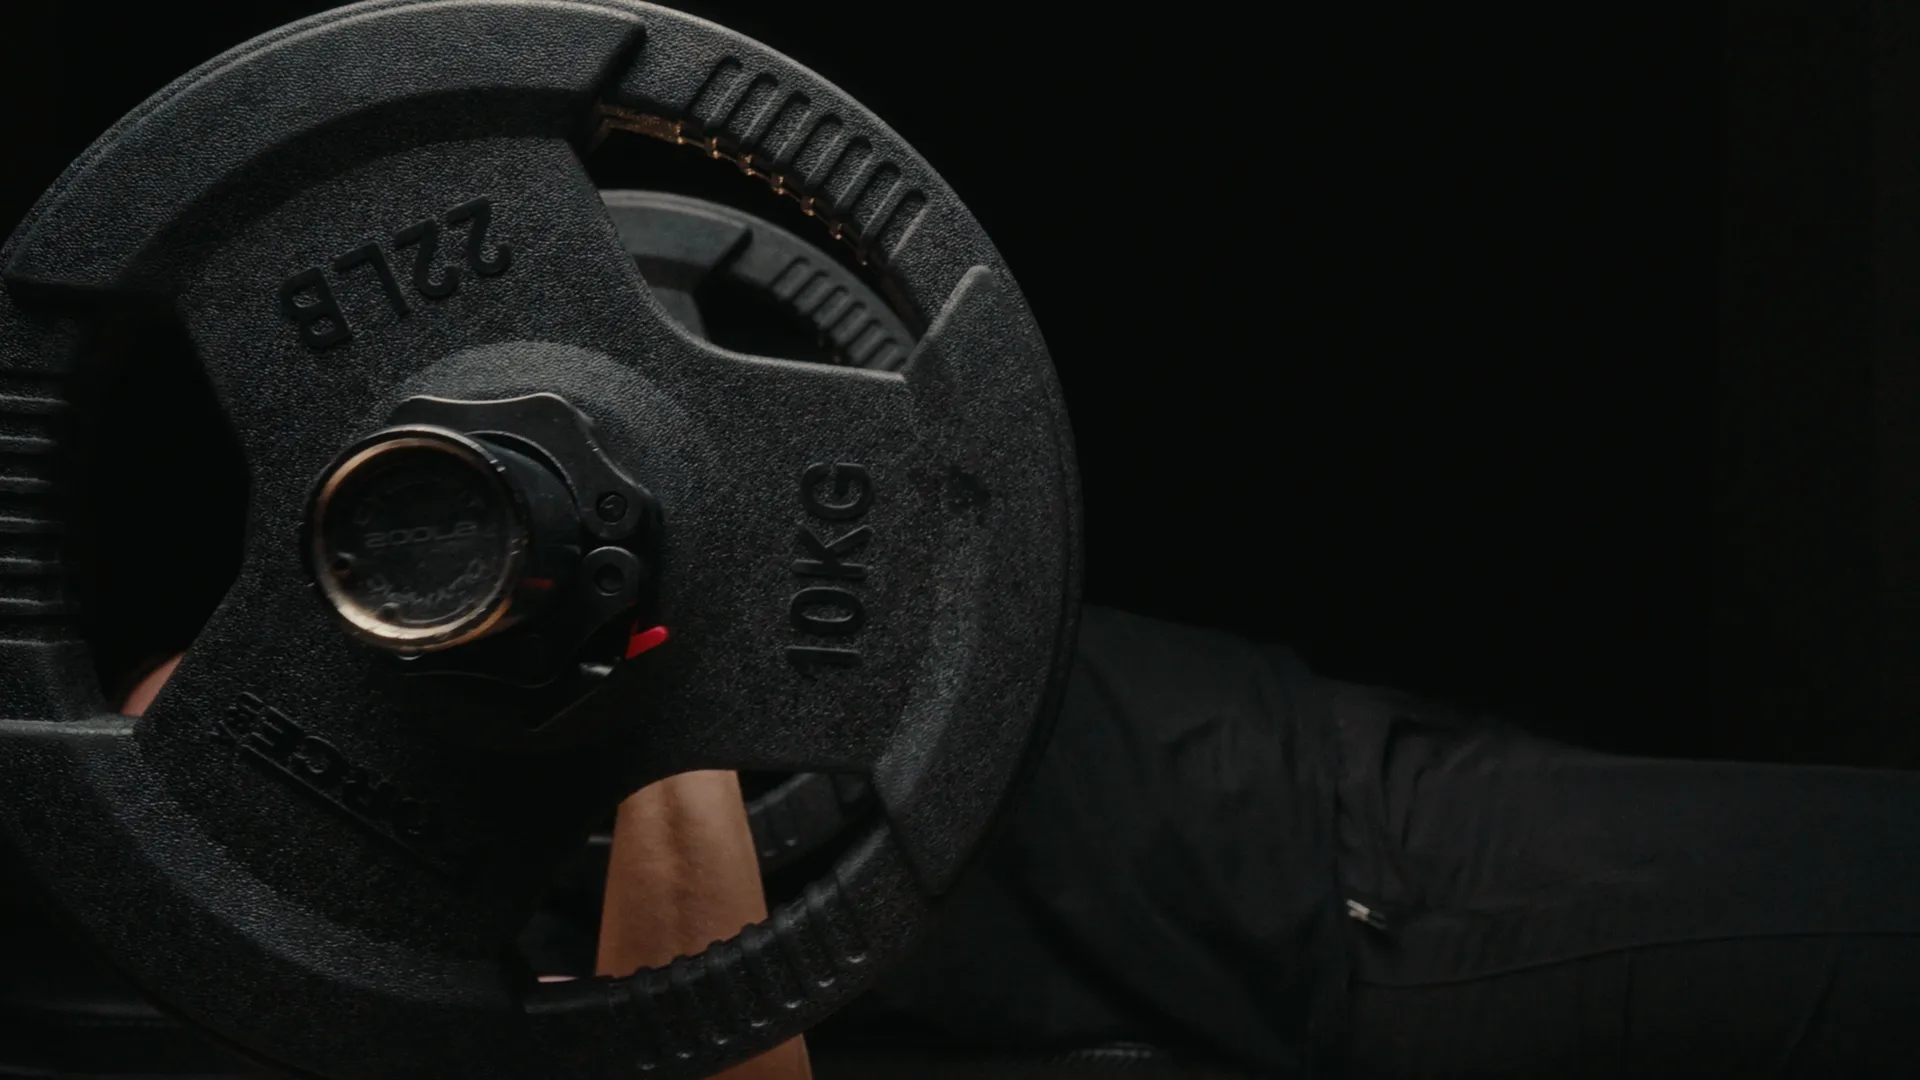
I aimed to present the bench as a reliable fitness tool, supporting a range of heavy exercises, while offering the convenience of folding compactly to leave the room clean and uncluttered afterward. I also strived to integrate the Force USA branding naturally throughout the ad, ensuring a consistent brand presence as the gym-goer worked out.
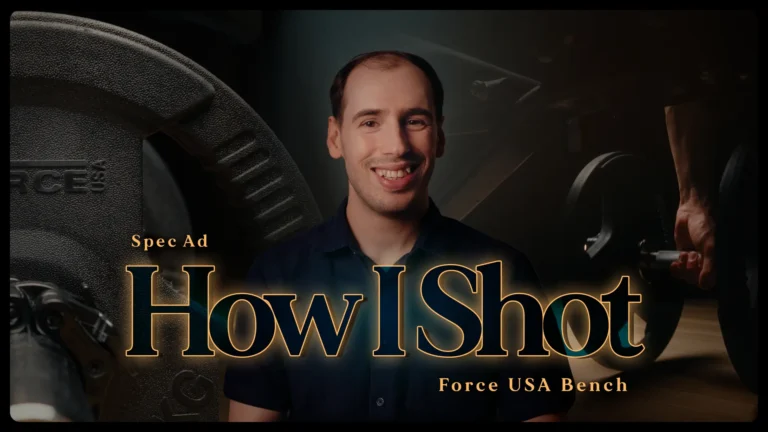
How I Shot | Behind The Scenes
Discover the creative process behind transforming a living room into a cinematic home gym.
Video edited & graded in DaVinci Resolve
Advert ● October 2024
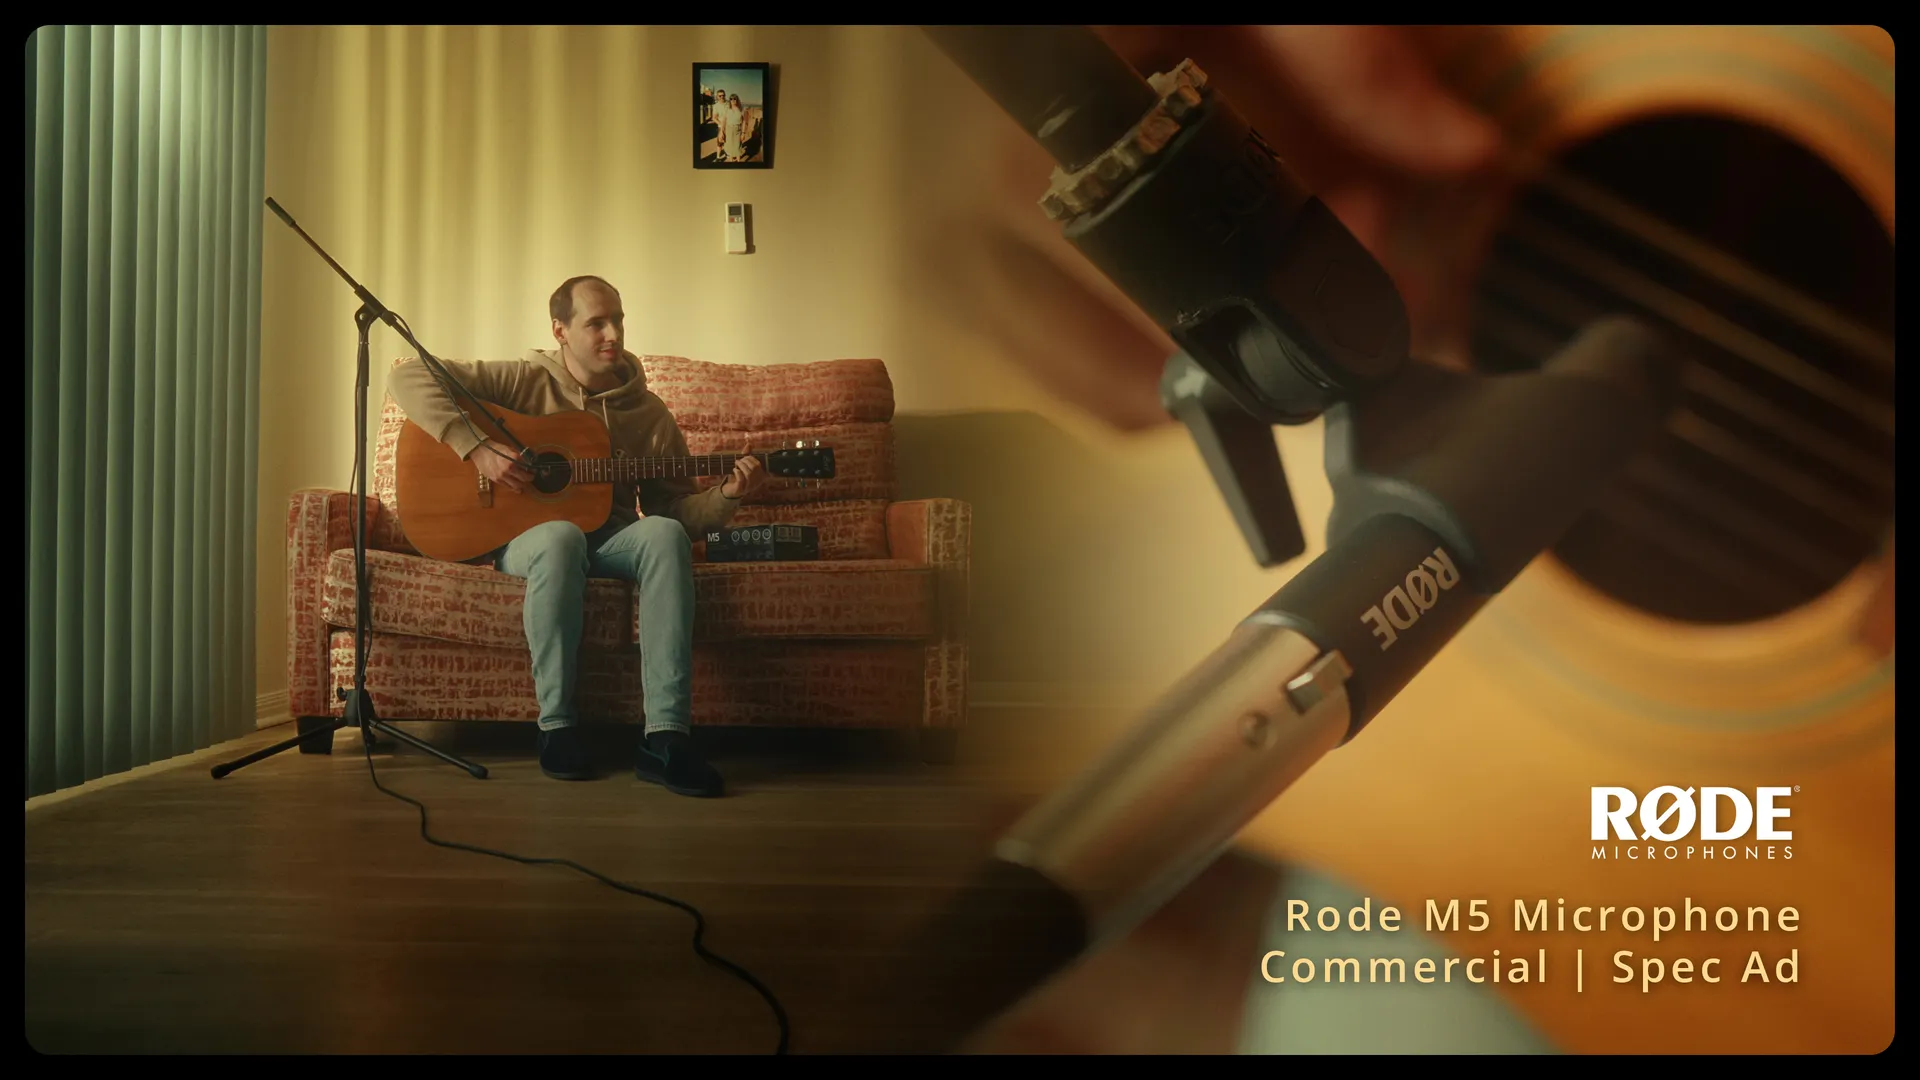
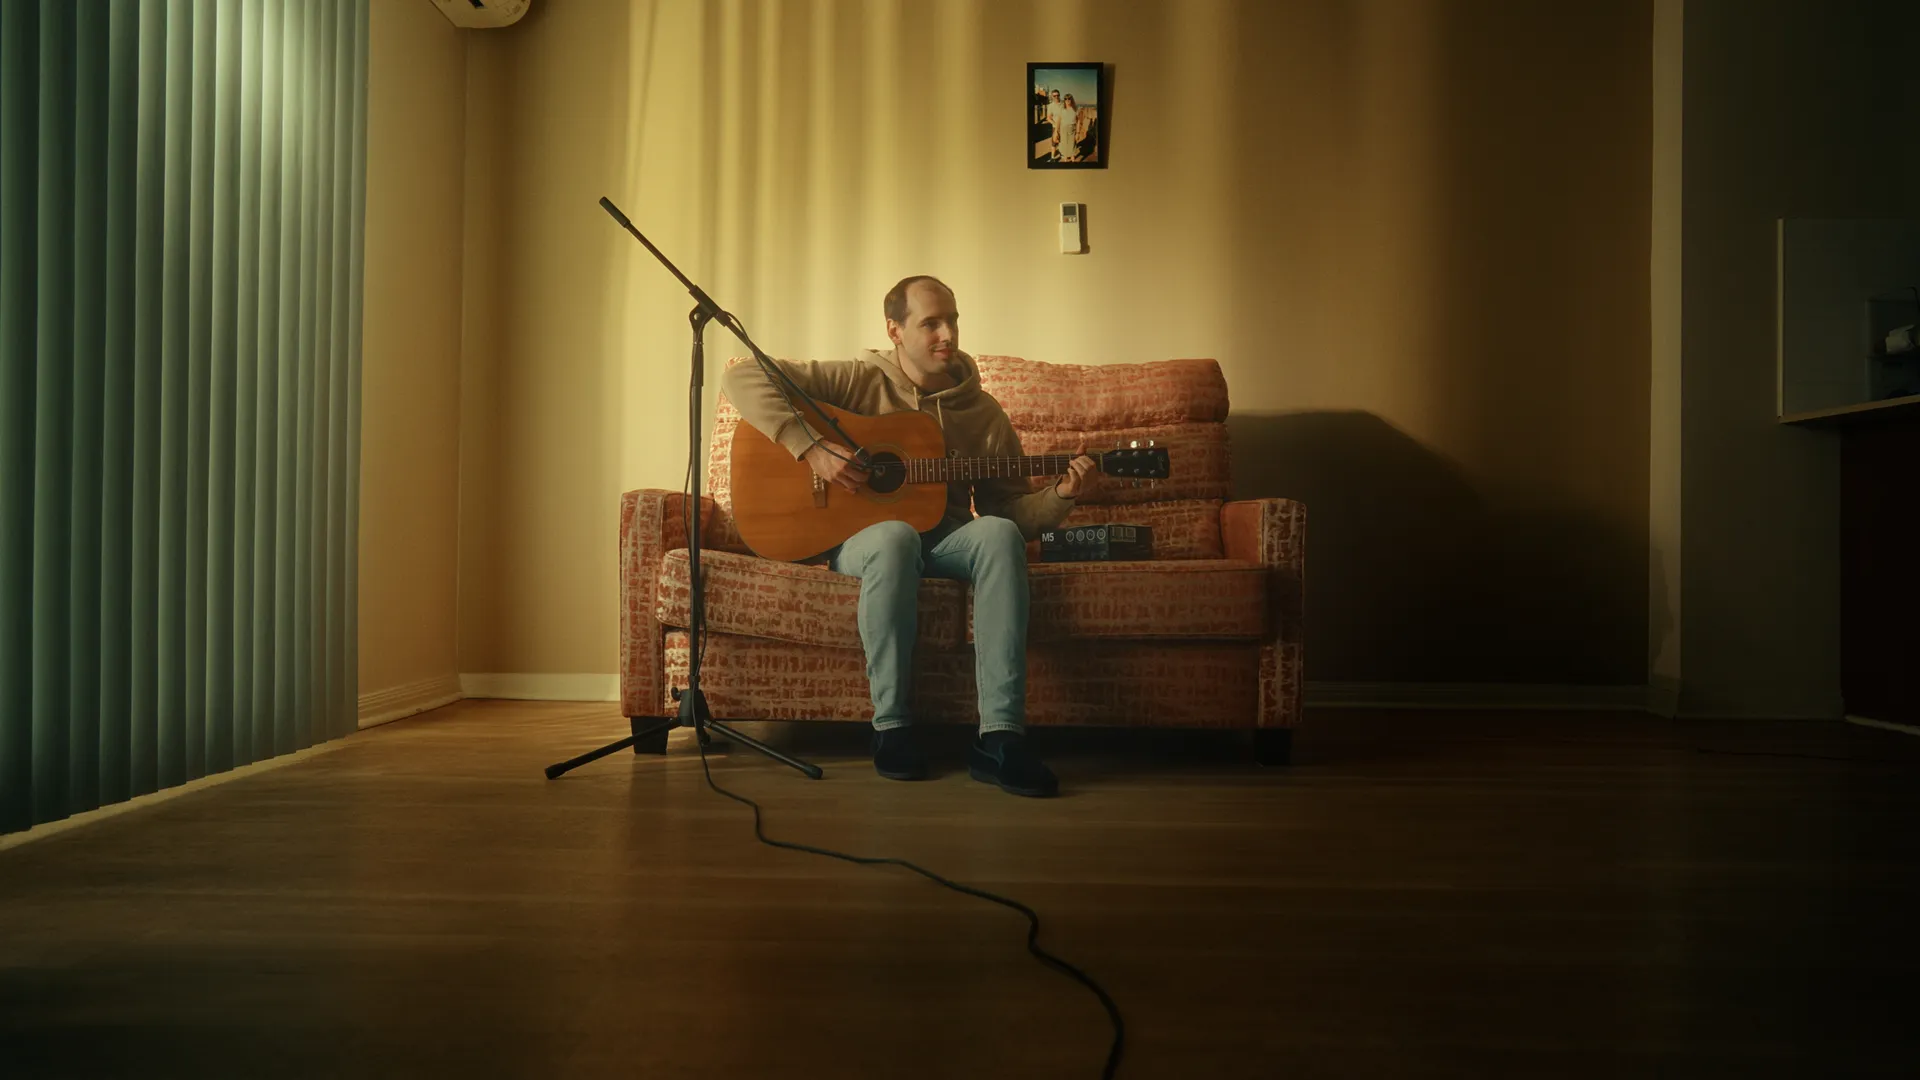
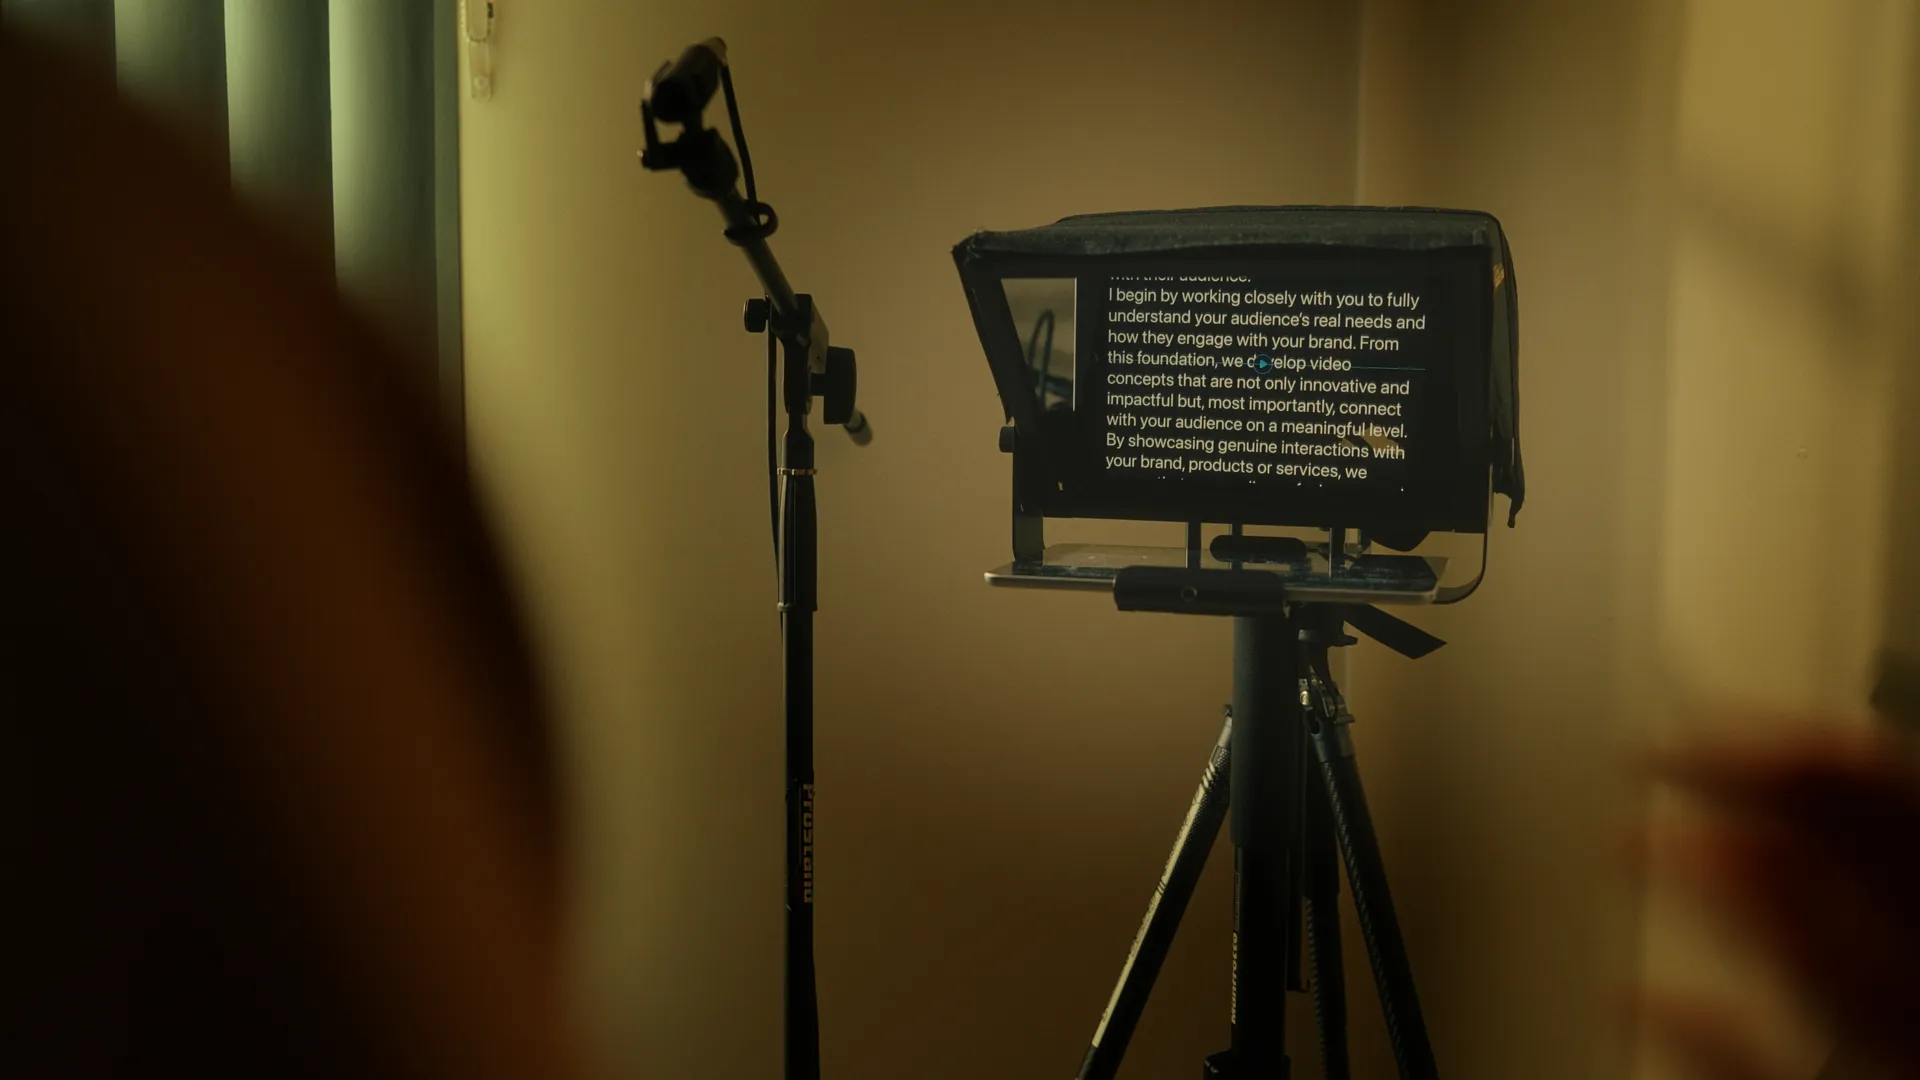
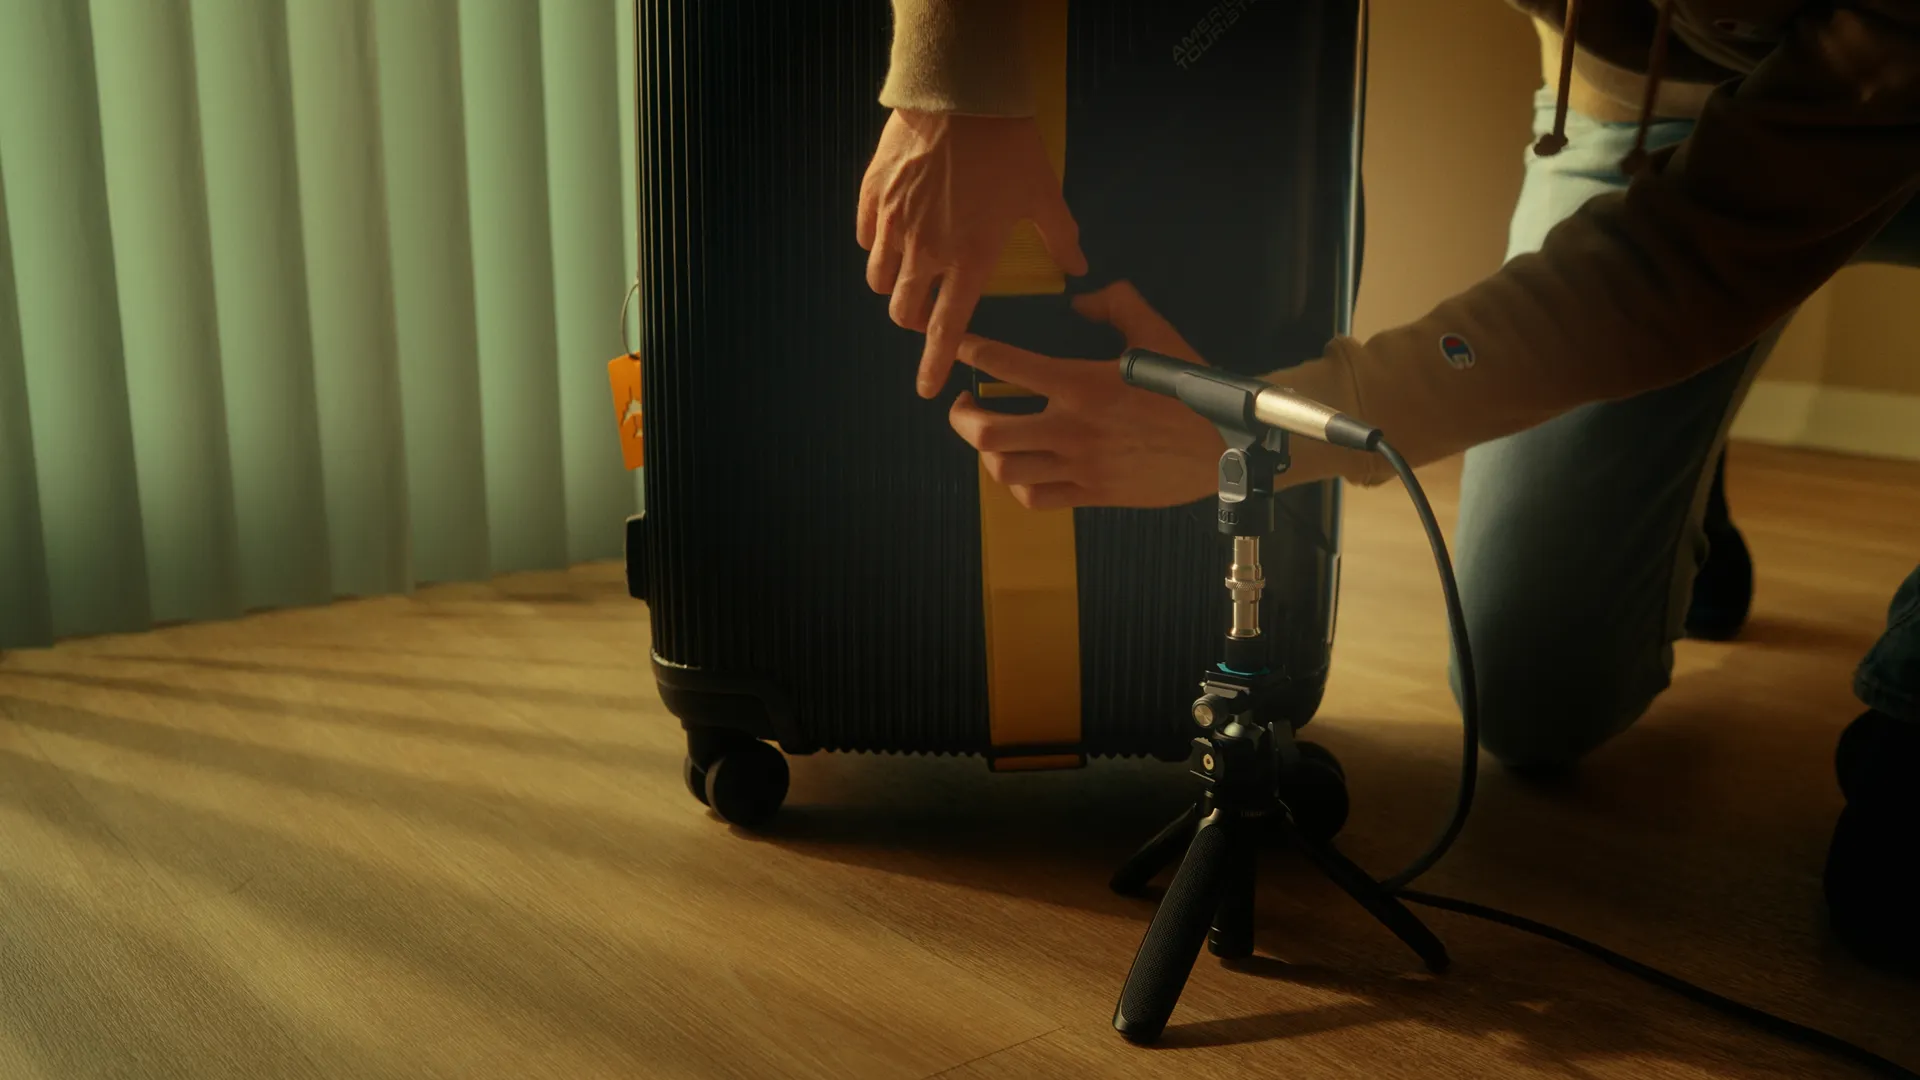
Rode M5 Mic
I set out to create an ad that showcases the real-world versatility of the Rode M5 microphone. Whether it’s for music recording, voiceovers, or sound effect capture, the Rode M5 excels.
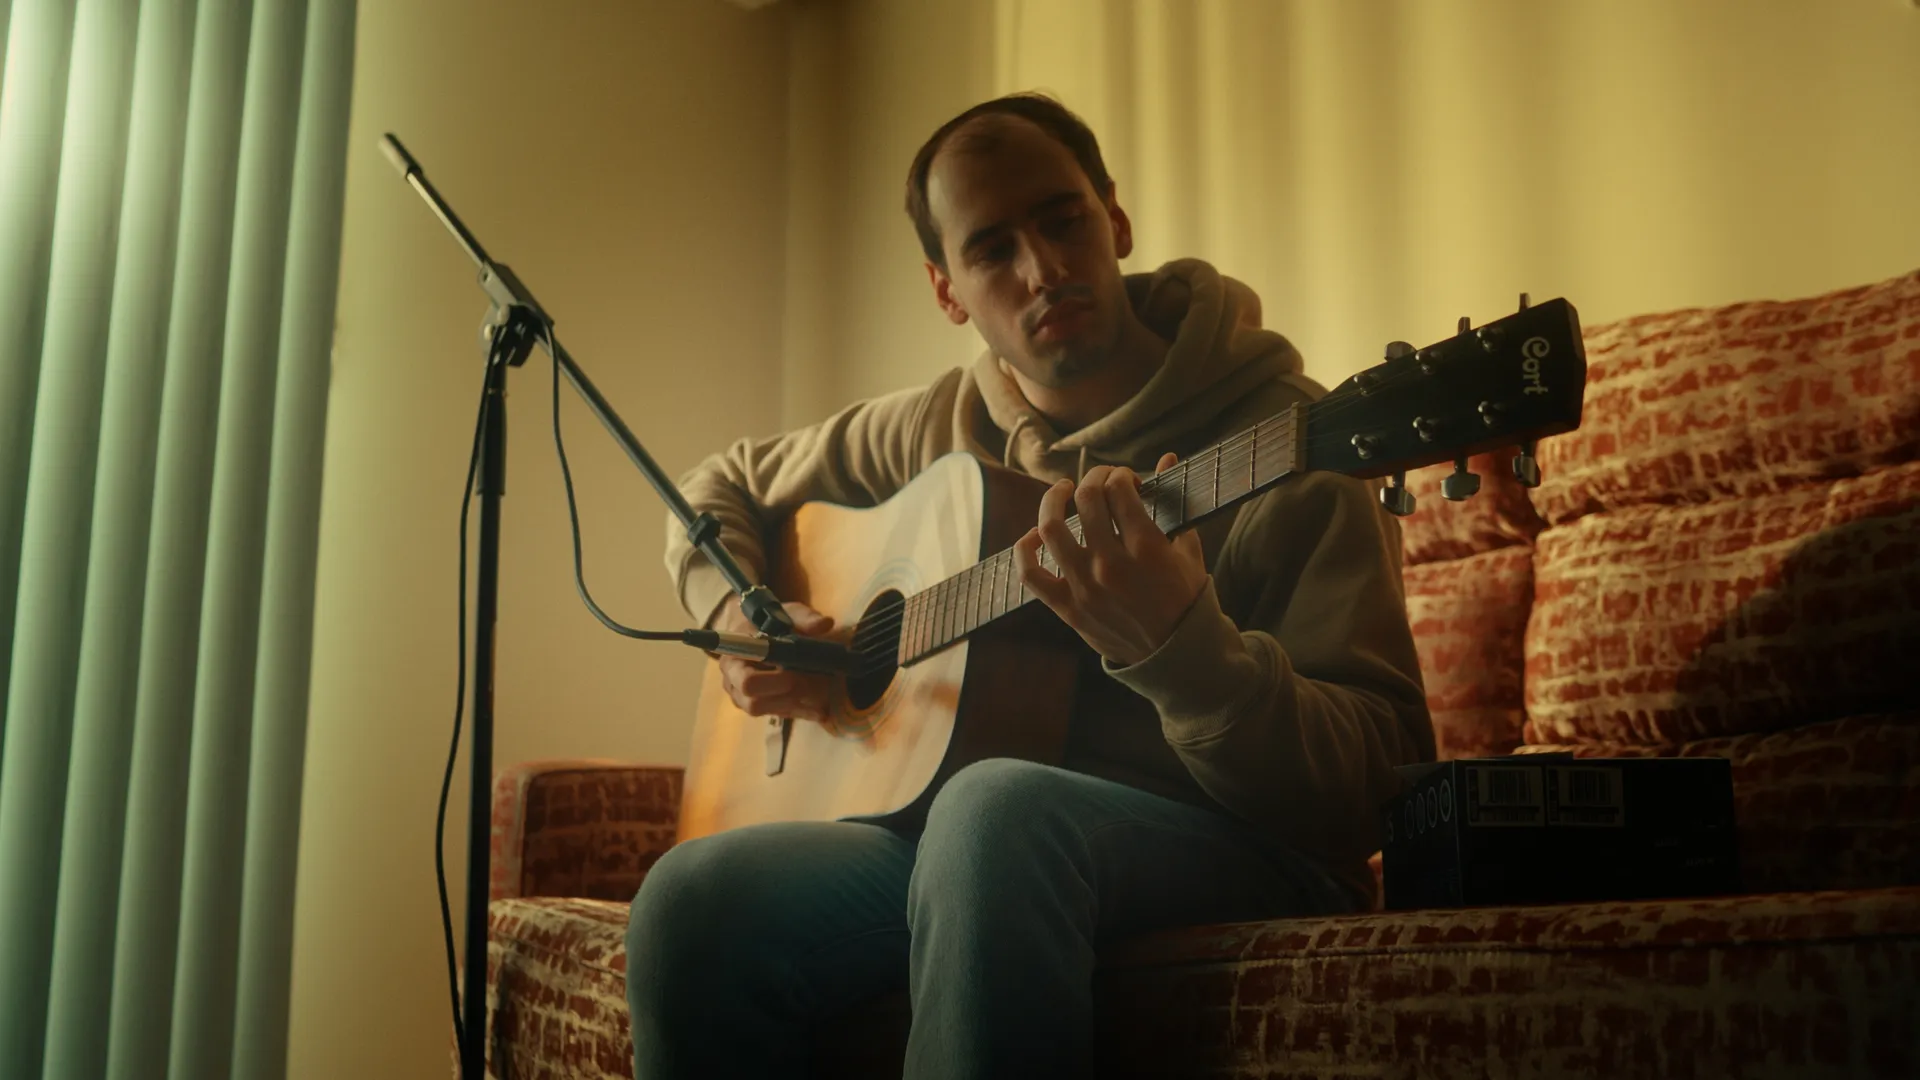
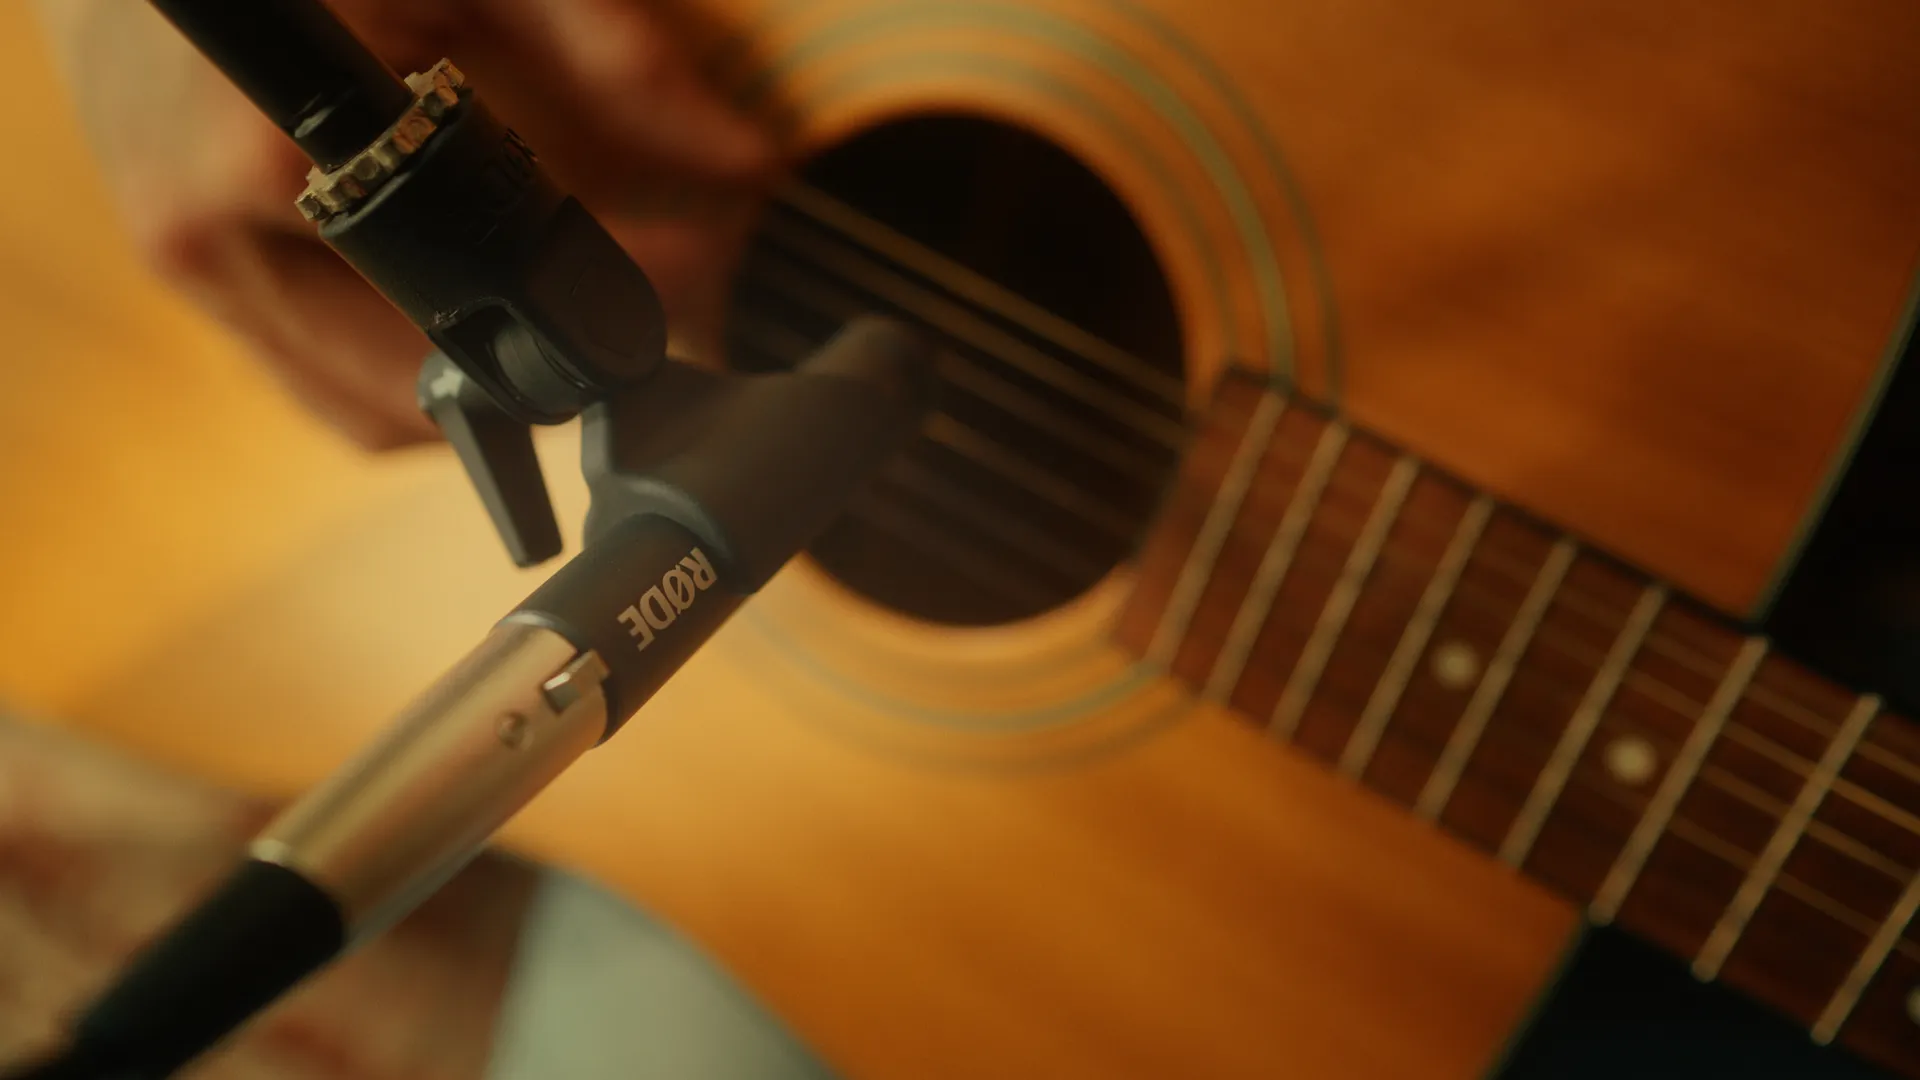
To highlight its clarity and sensitivity, I recorded a natural acoustic guitar performance directly with the Rode M5, which serves as the foundation for the ad’s audio.
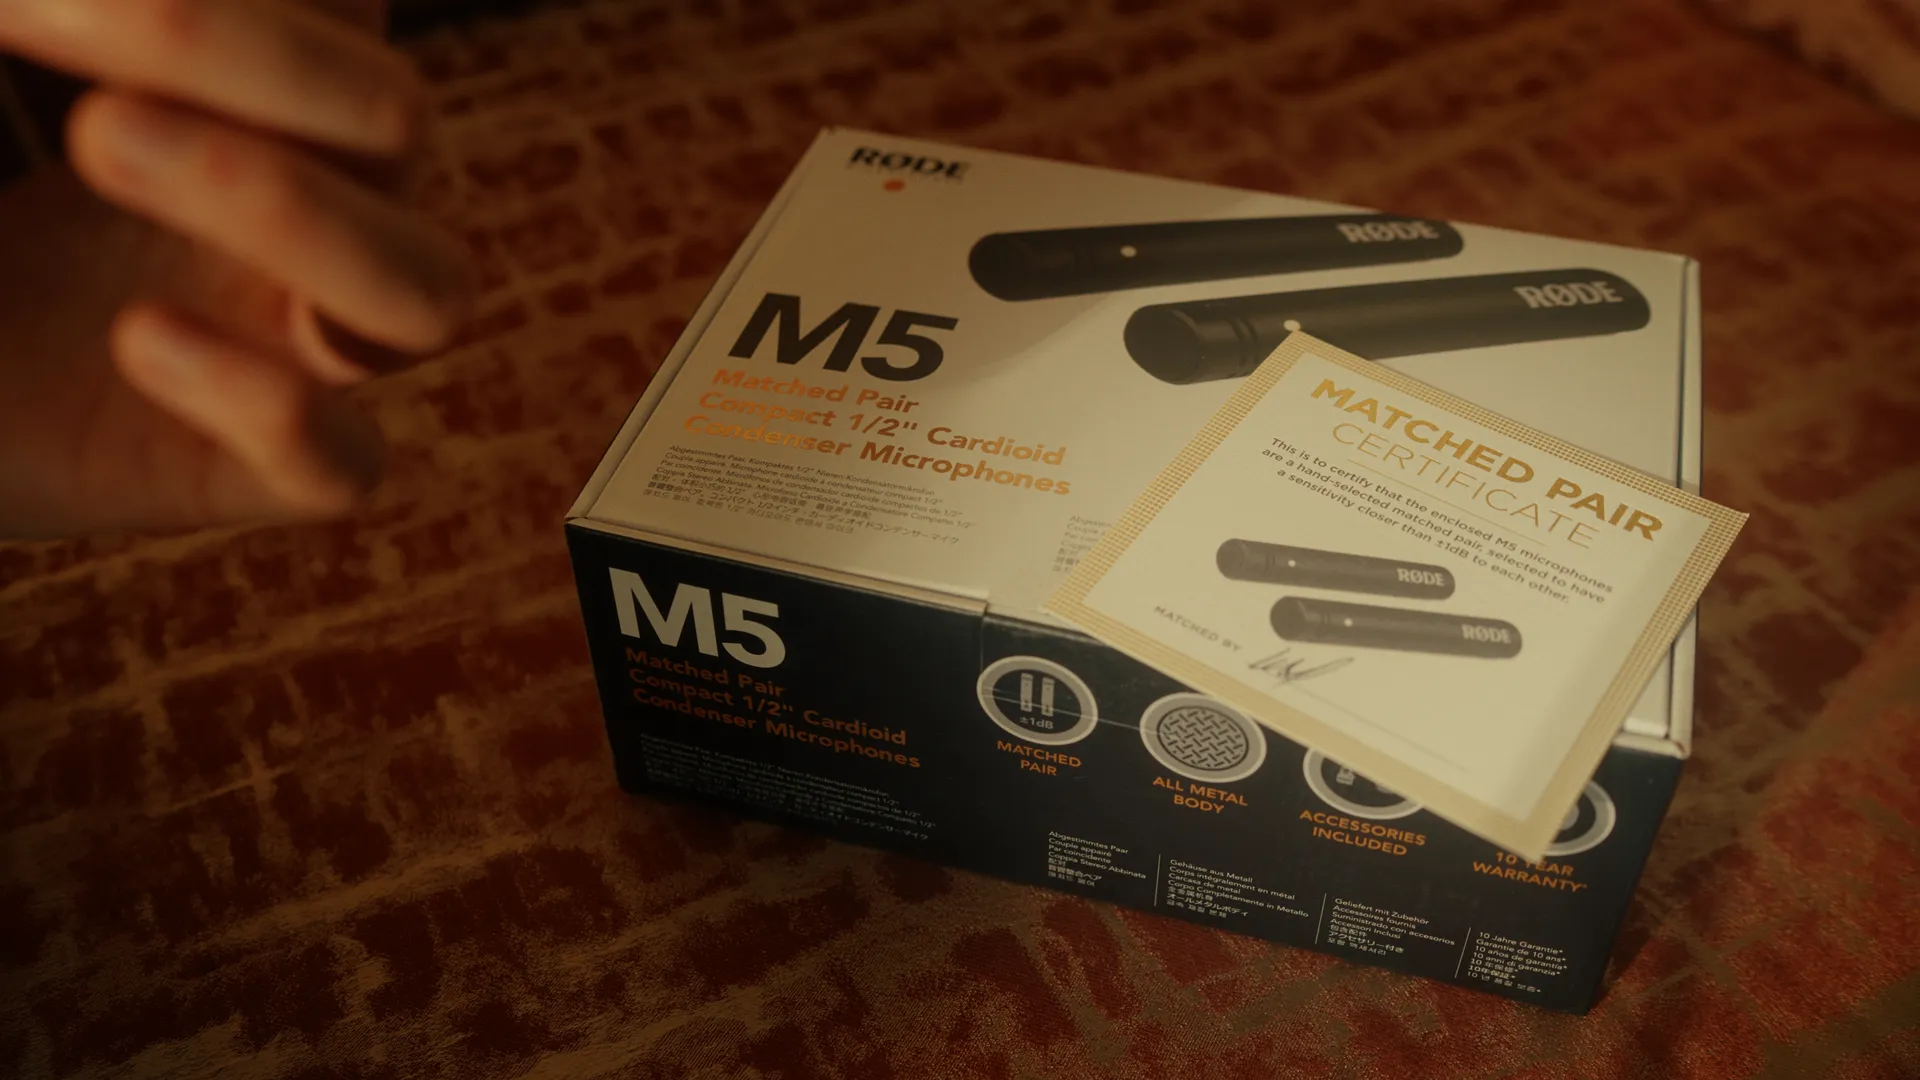
Additionally, I aimed to highlight Rode’s commitment to quality by showcasing the signed golden Quality Control Certificate included with the microphones. This certificate verifies the matched sensitivity of both units, underscoring the brand’s dedication to providing quality in the market.
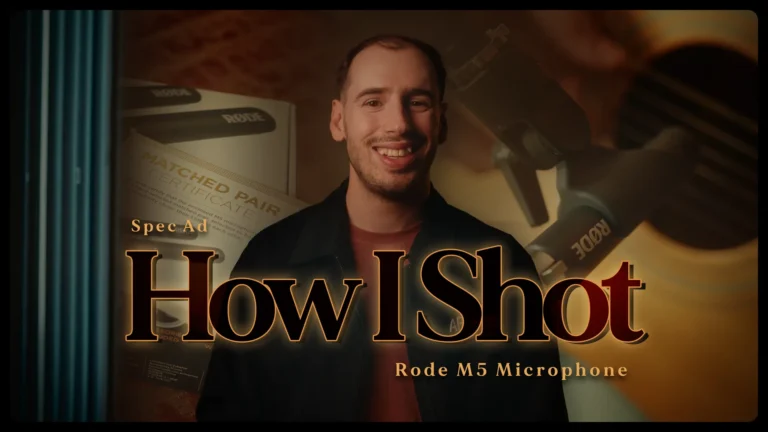
How I Shot | Behind The Scenes
Explore the concepts, creative process and techniques behind crafting the Rode M5 Spec Ad.
Video edited & graded in DaVinci Resolve
Advert ● September 2024
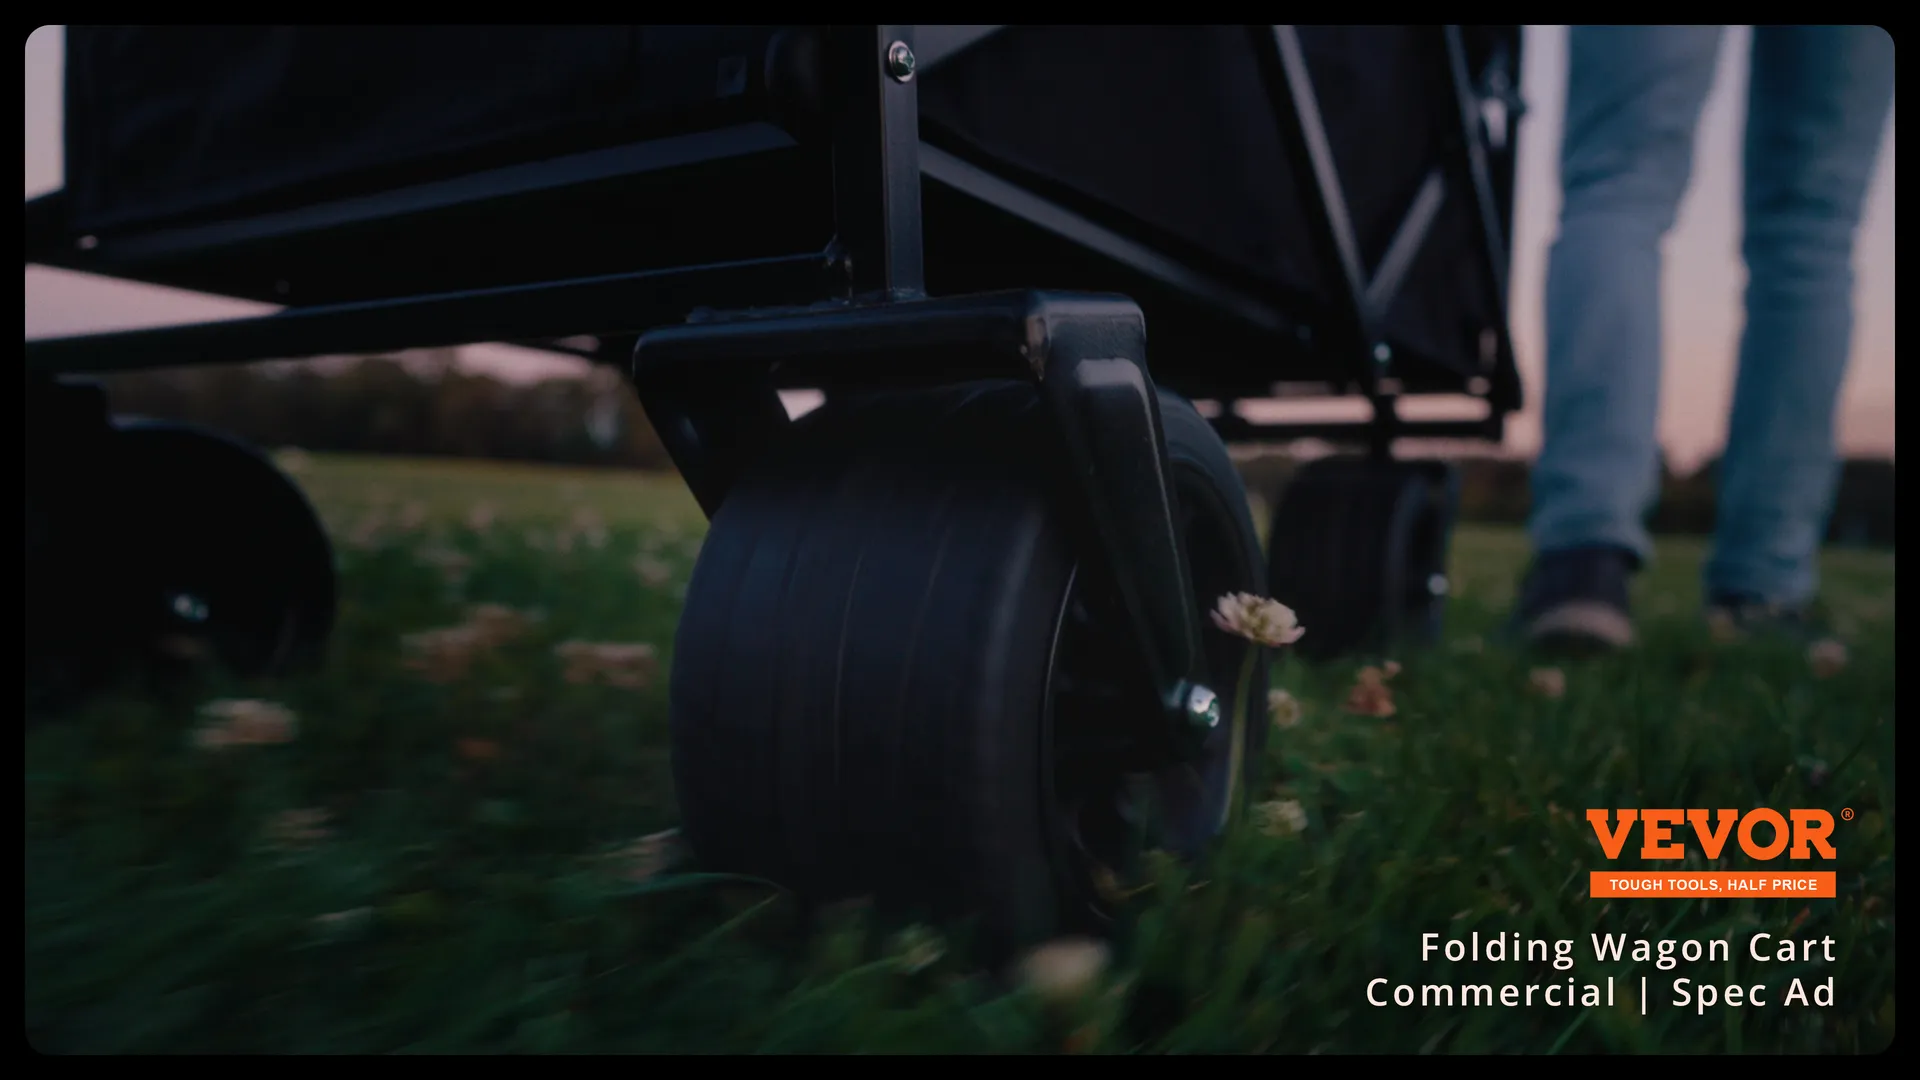
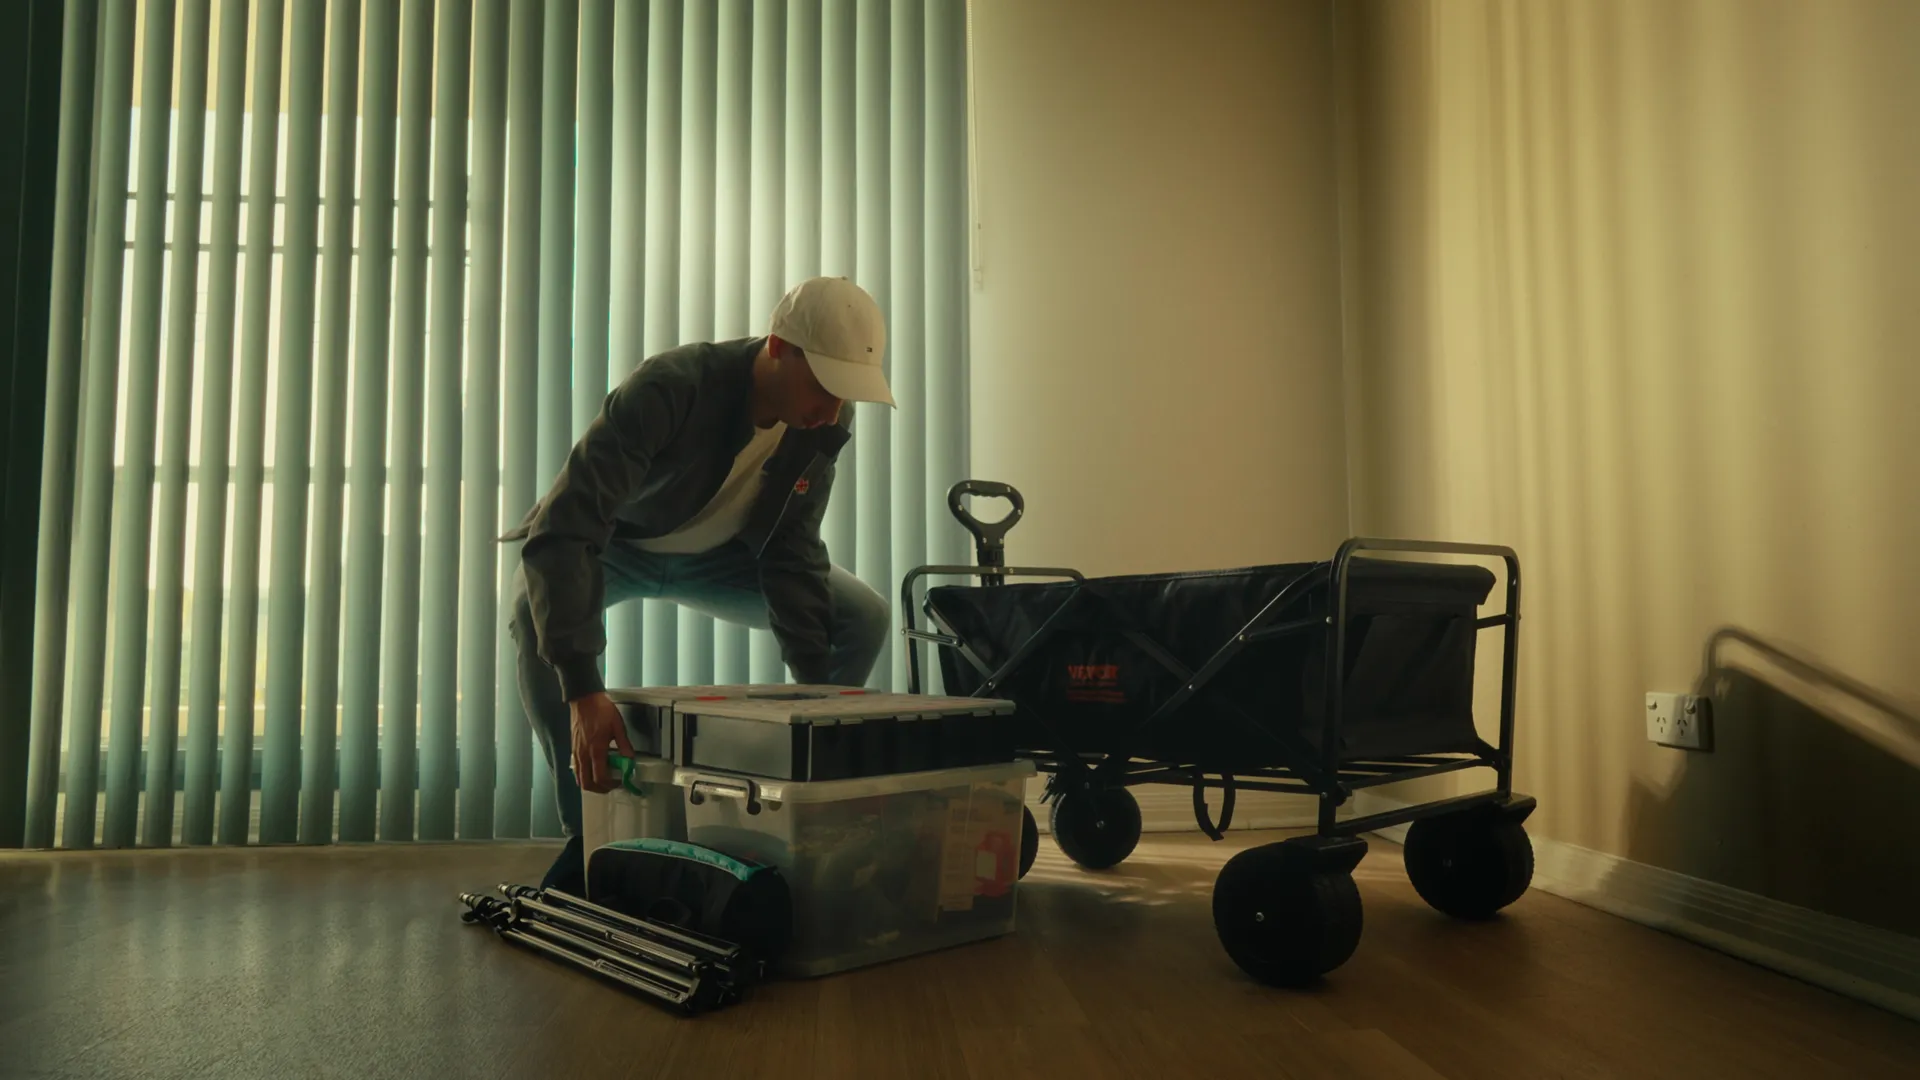
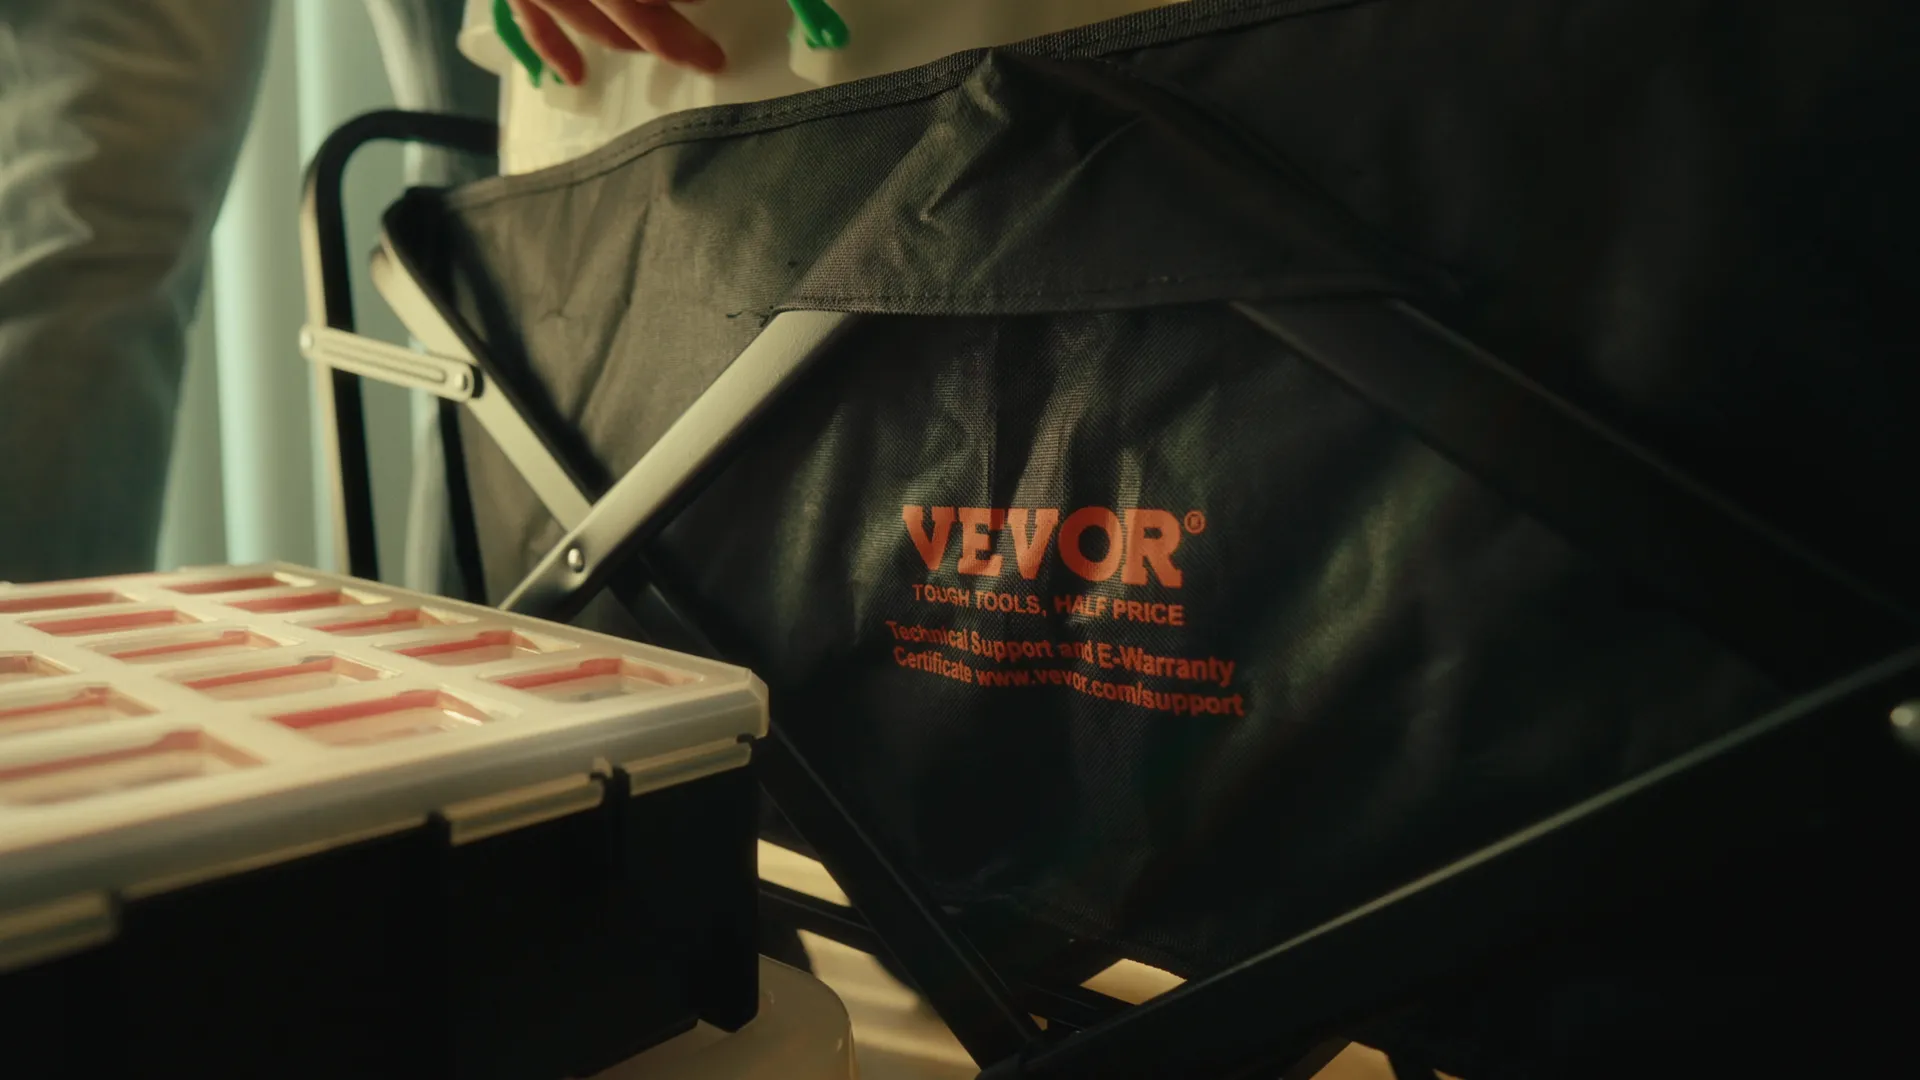
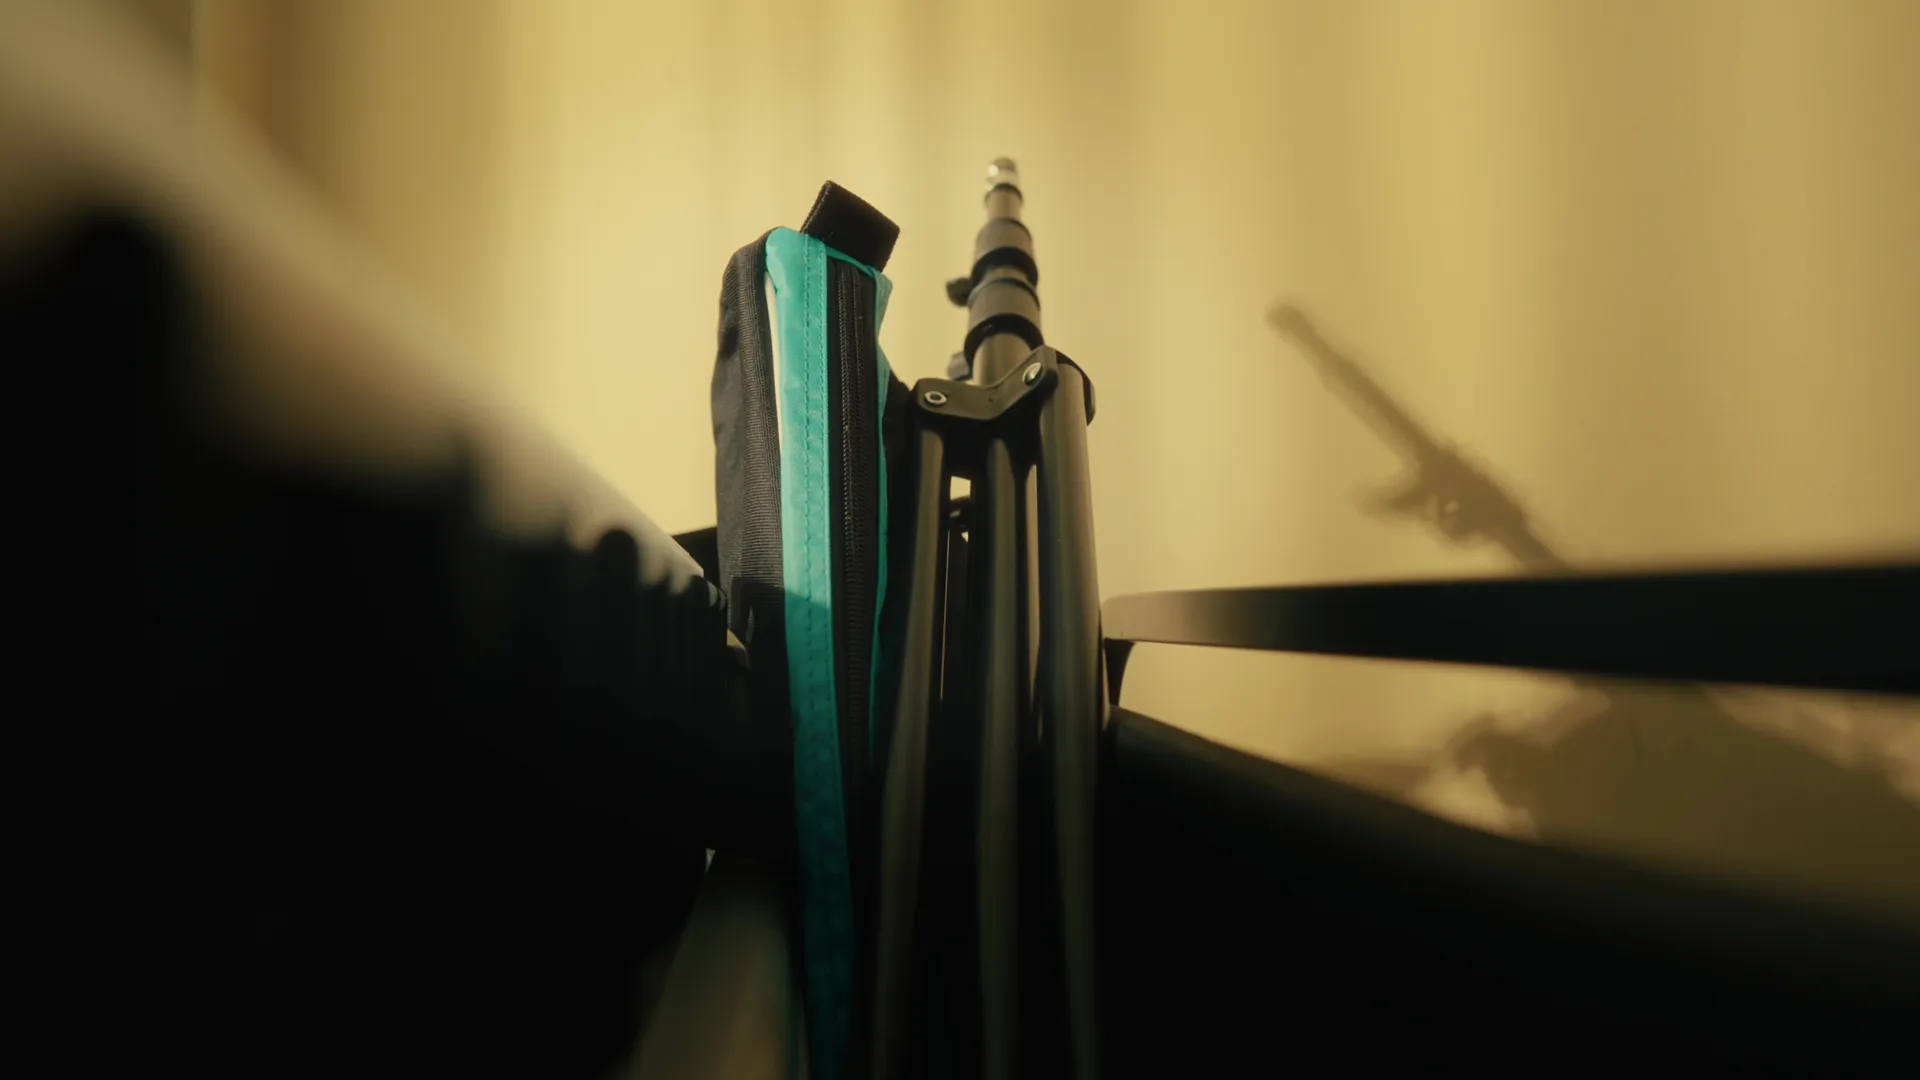
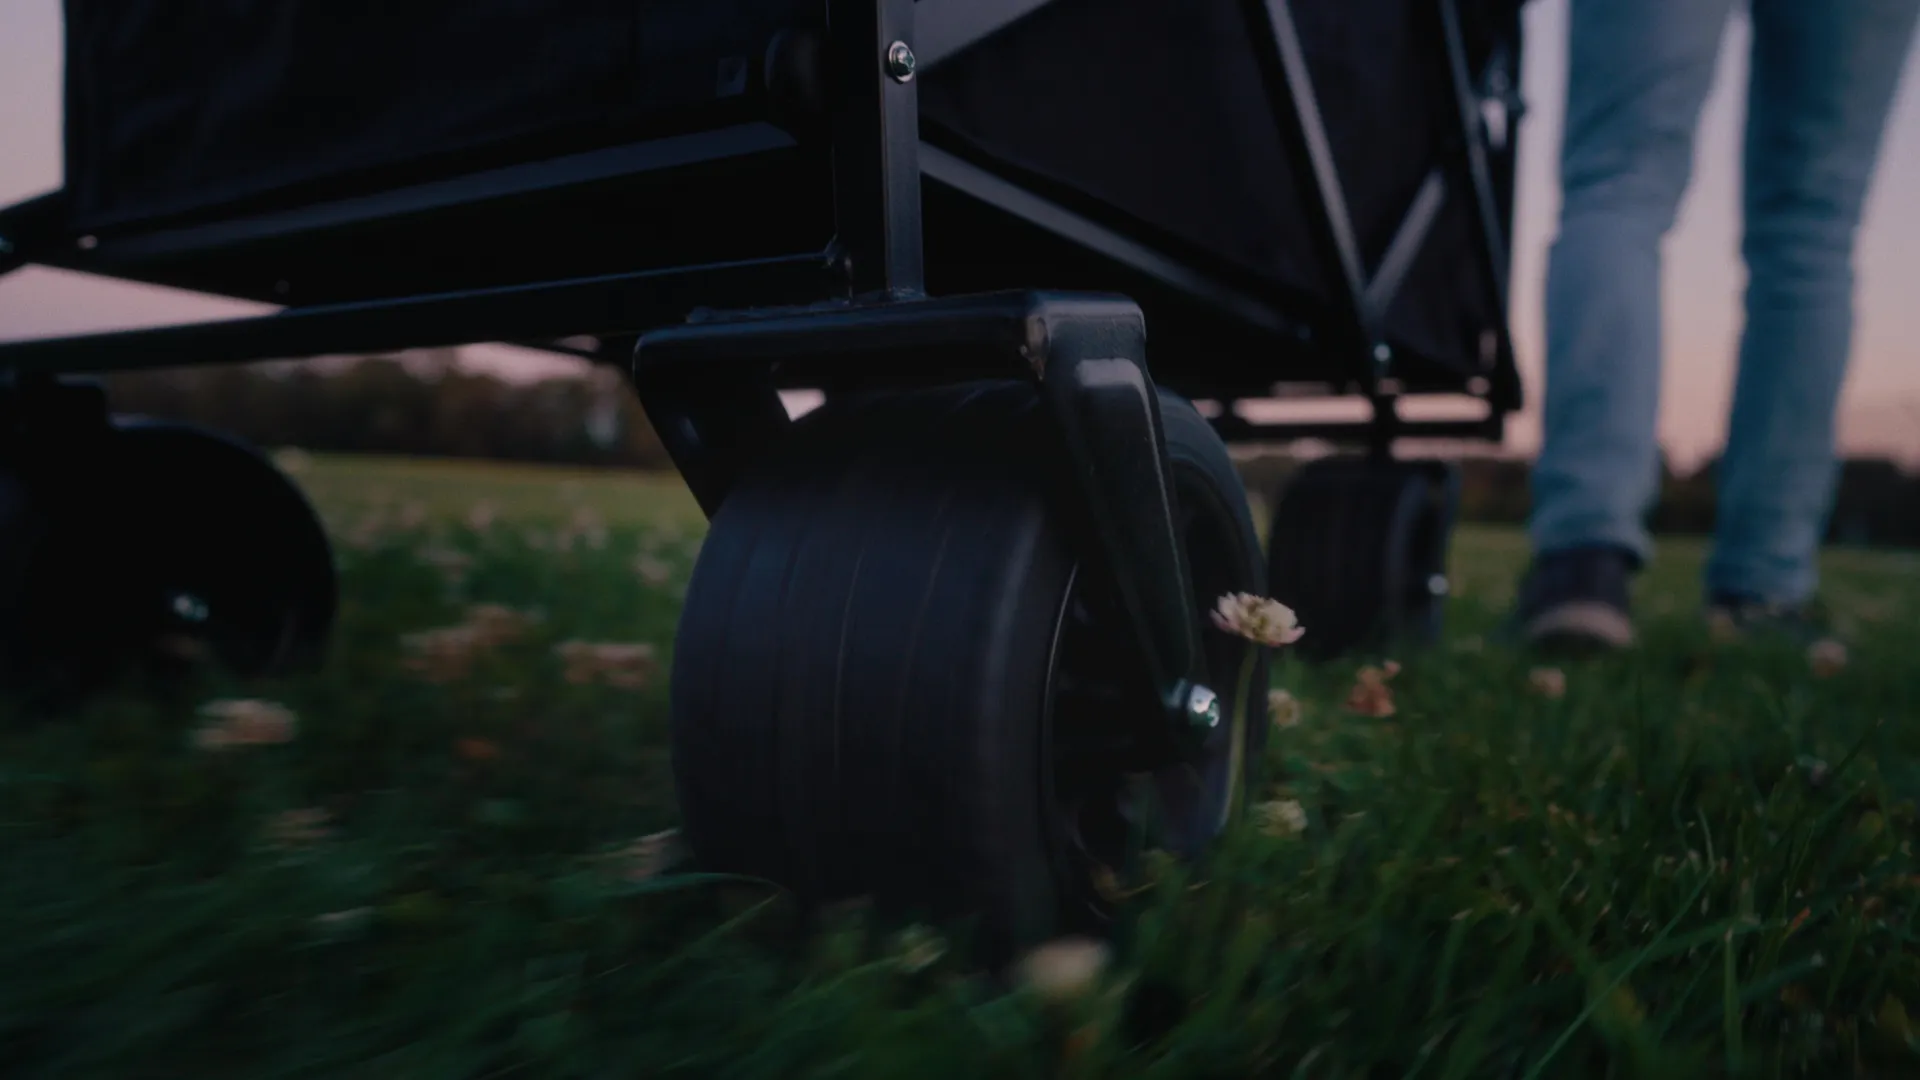
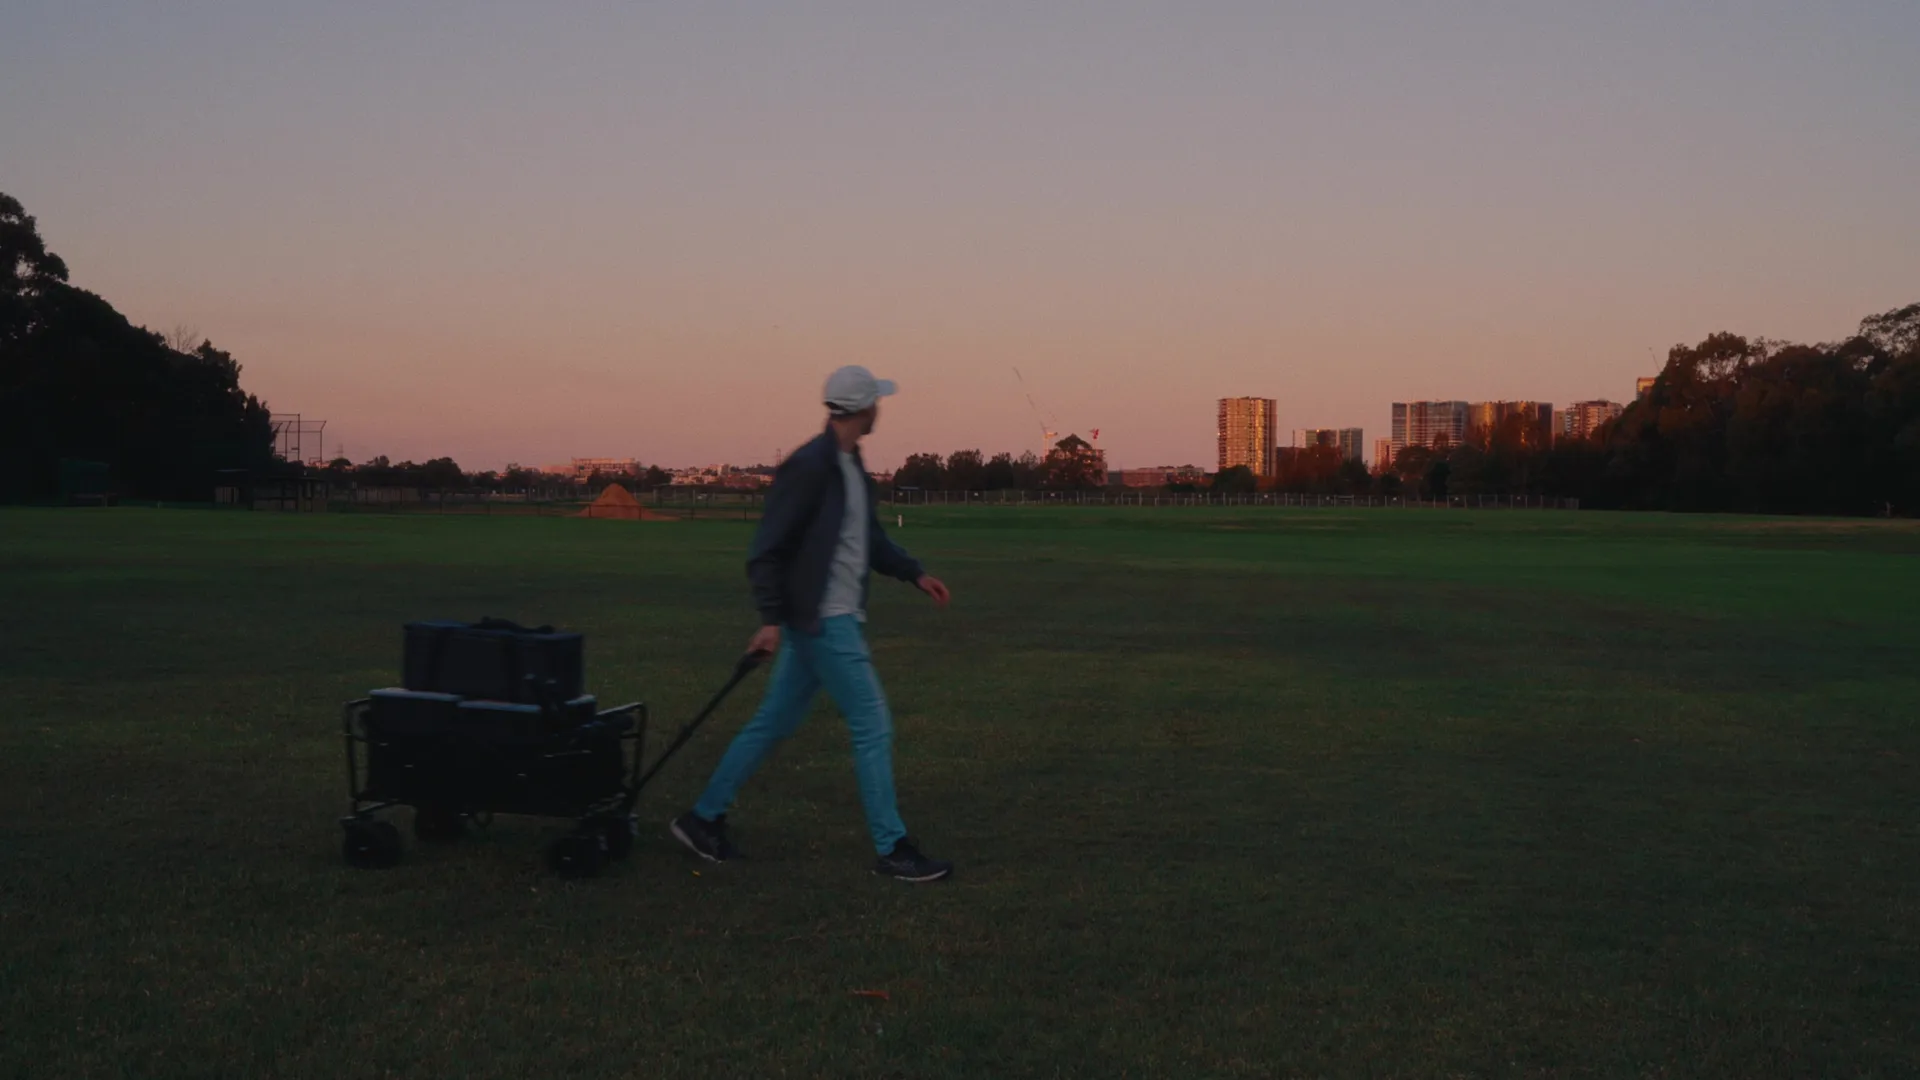
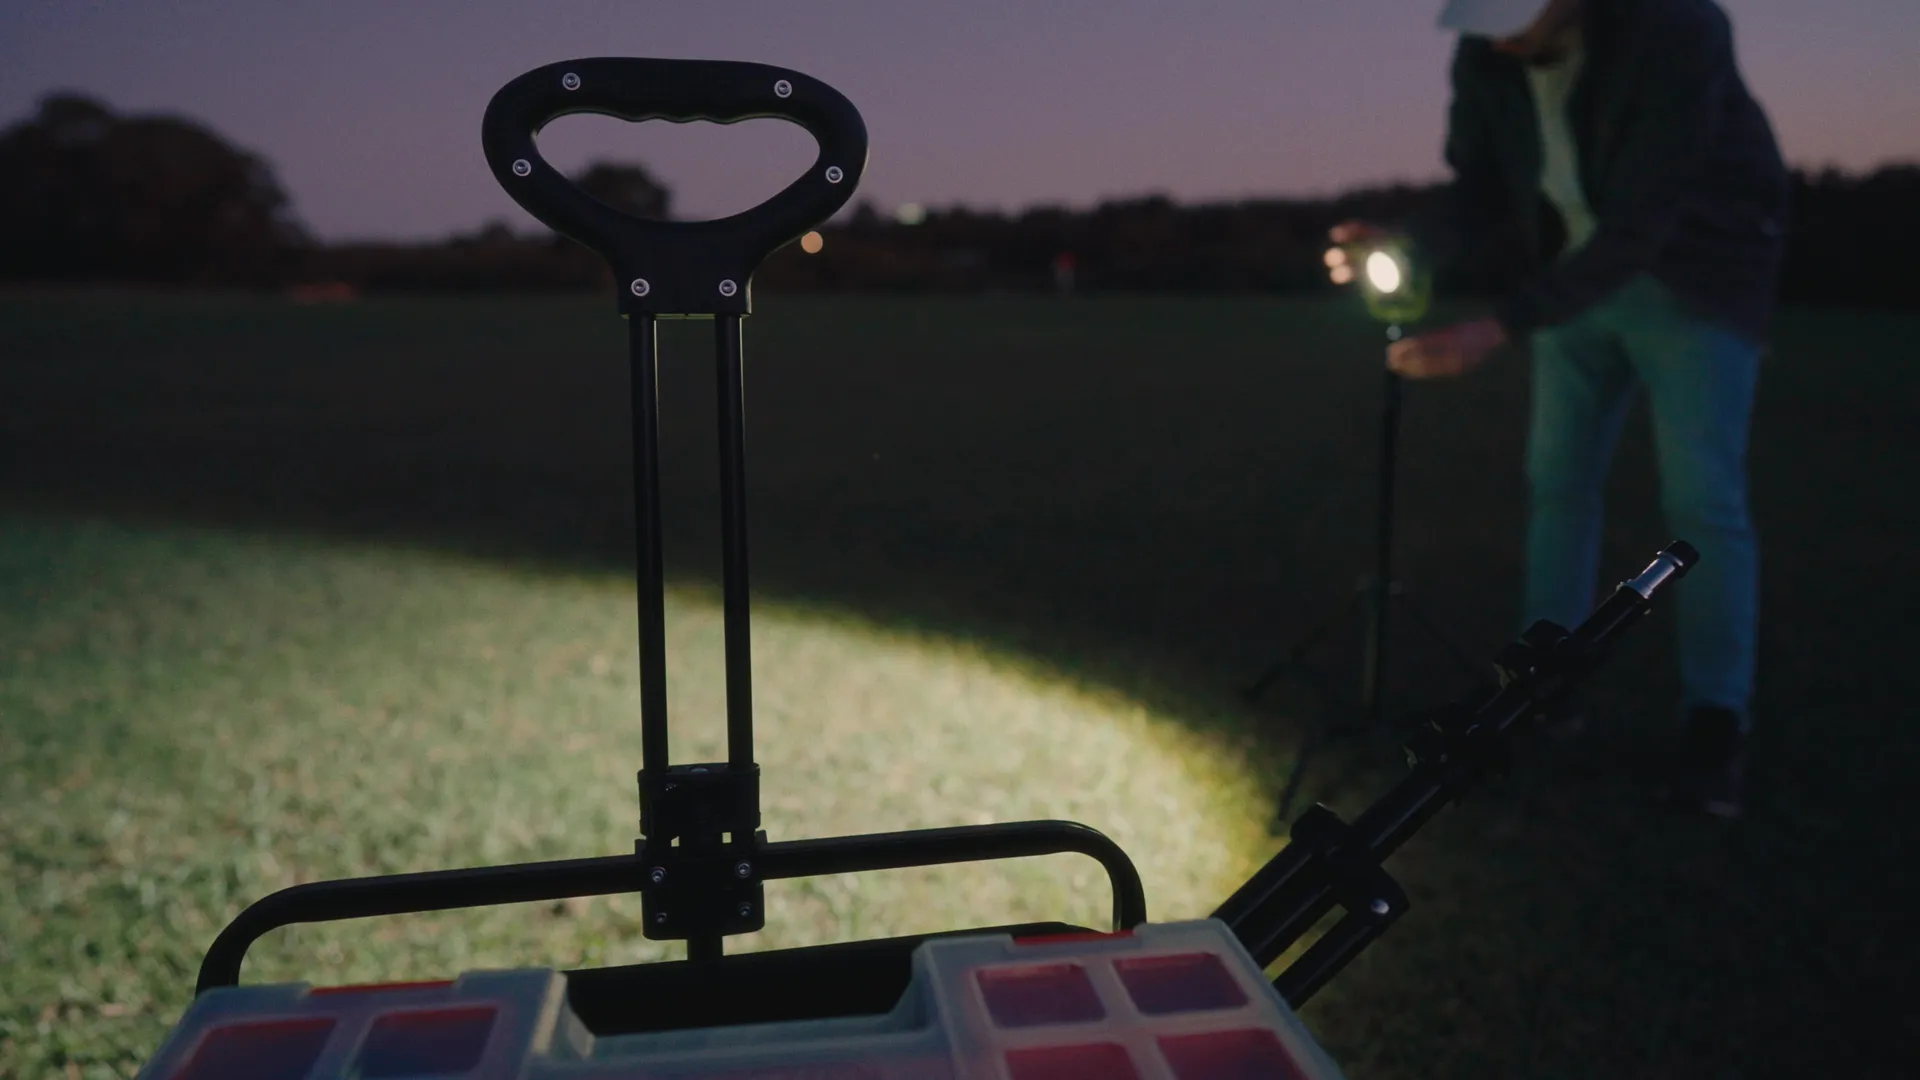
VEVOR Folding Wagon Cart
I set out to create an ad for a product that wasn’t originally marketed to the audience I’m targeting.
Whilst this type of cart was originally designed and advertised for camping or beach use, many creators like myself rely on them to haul heavy, bulky equipment to shoots.
My goal was to make a relatable and authentic ad that positions the cart as an essential tool for creators. From transporting gear to keeping things organised on set, and handling various terrains with ease, the ad positions the cart as a companion for creators.
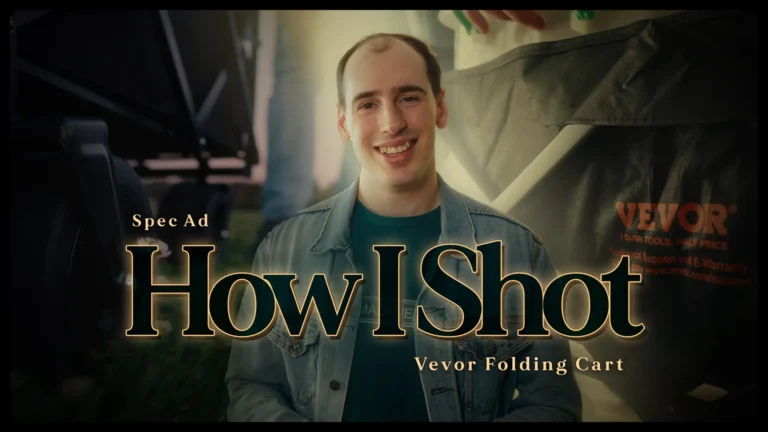
How I Shot | Behind The Scenes
Go behind the scenes to see how I positioned a camping cart as a companion for creators.
Video edited & graded in DaVinci Resolve
Advert ● June 2024
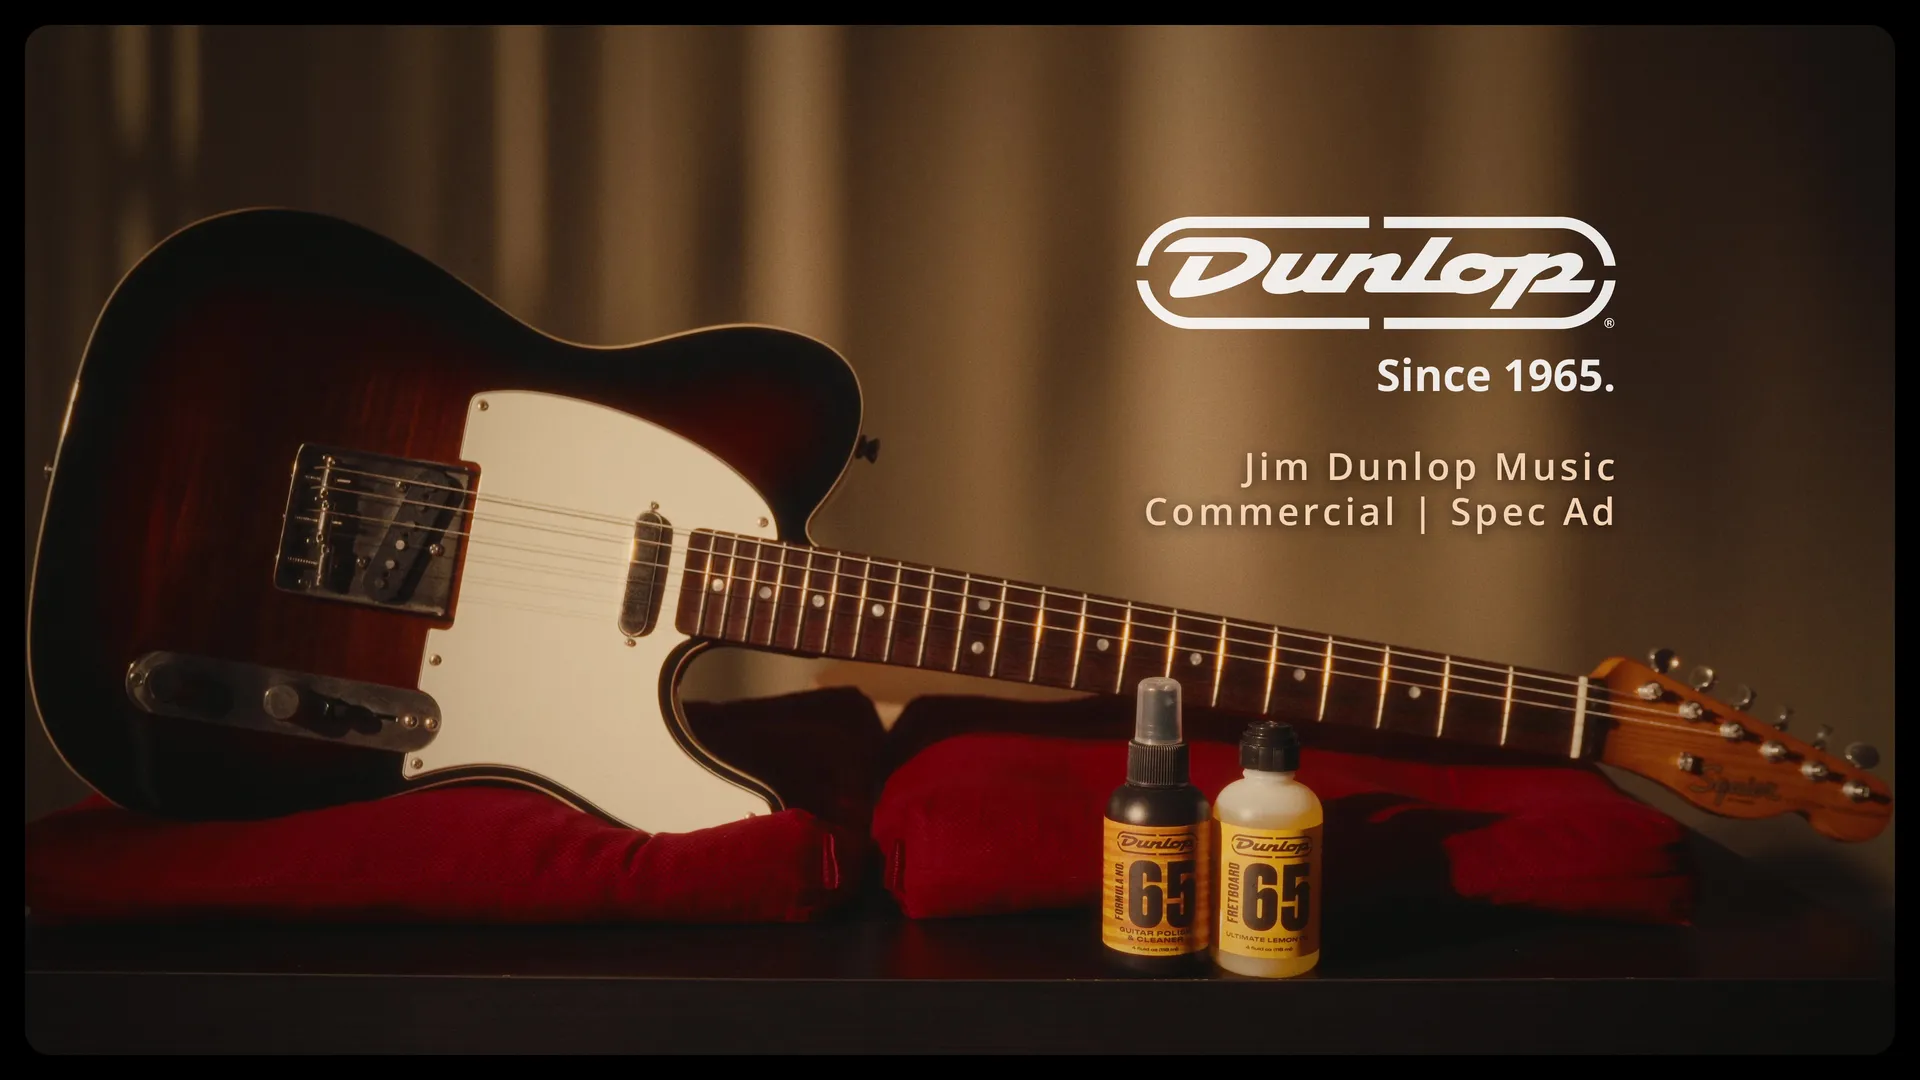
Dunlop Music
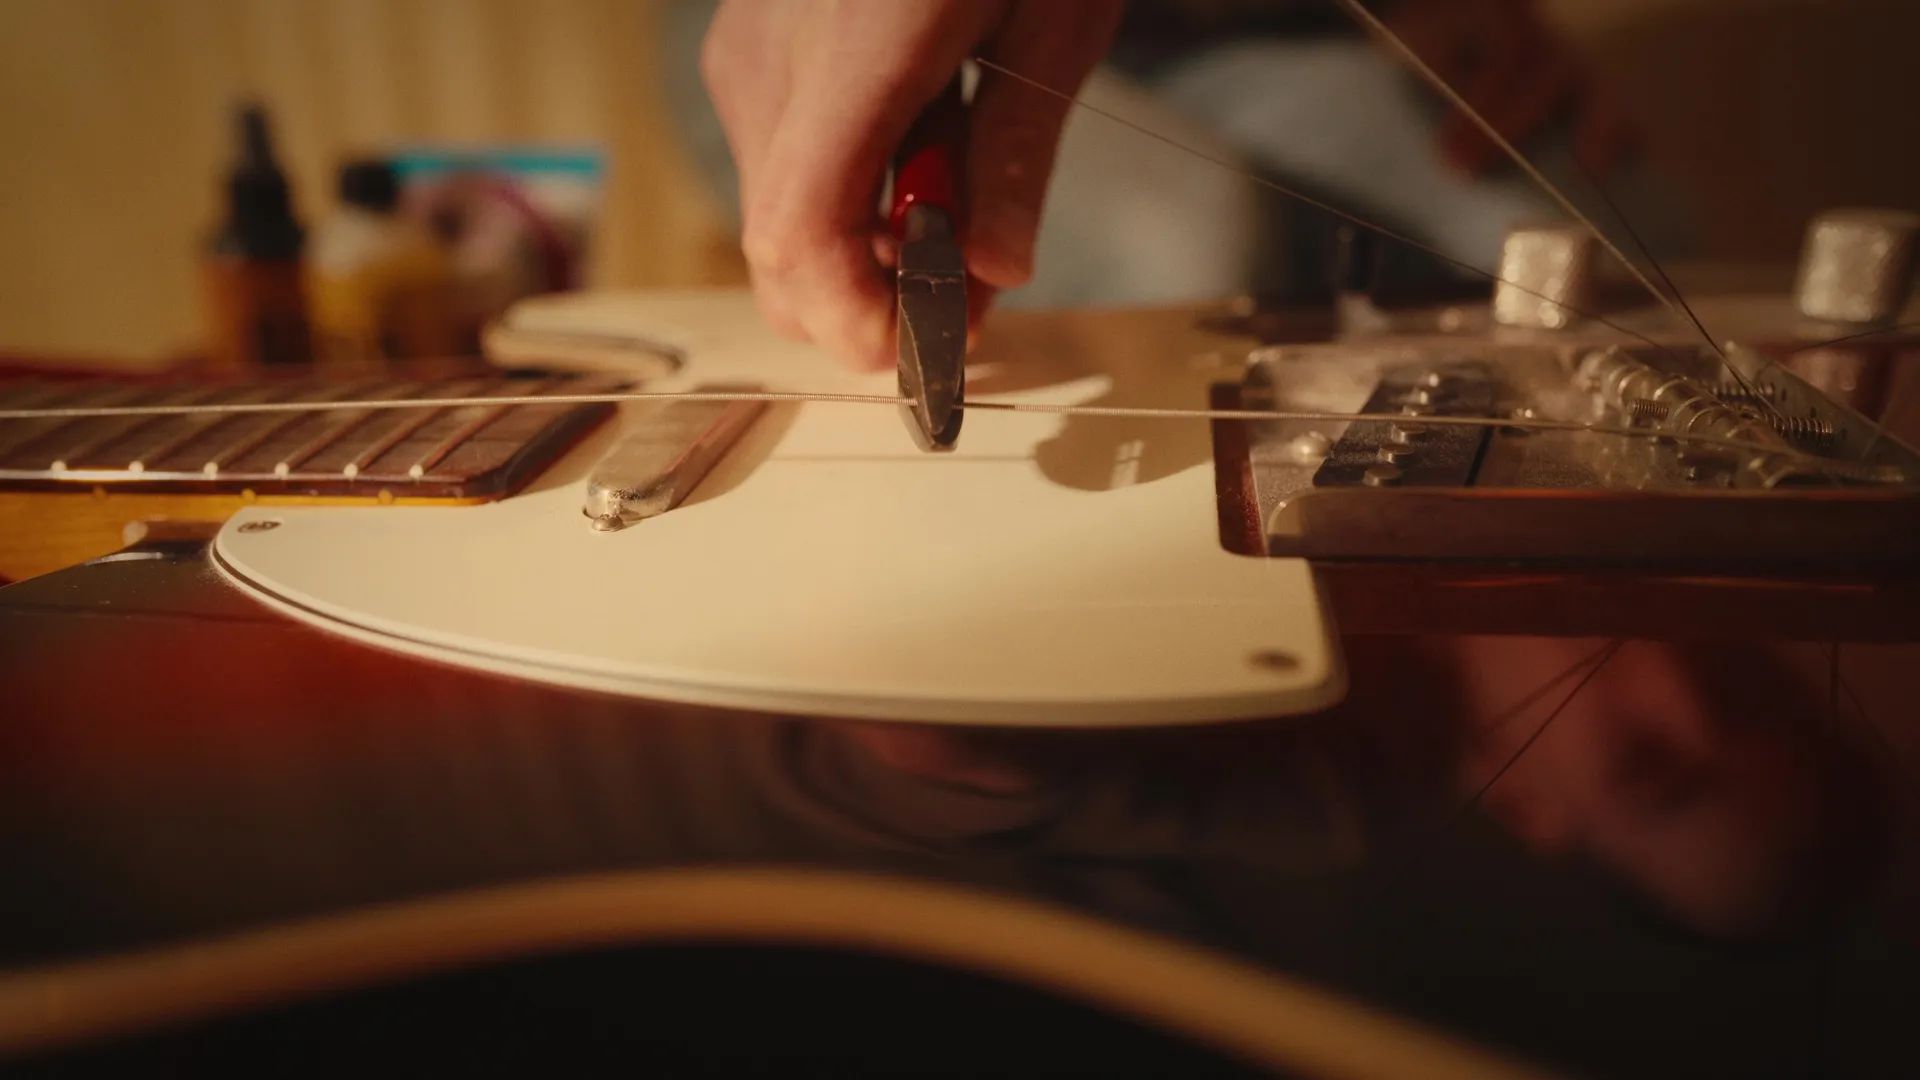
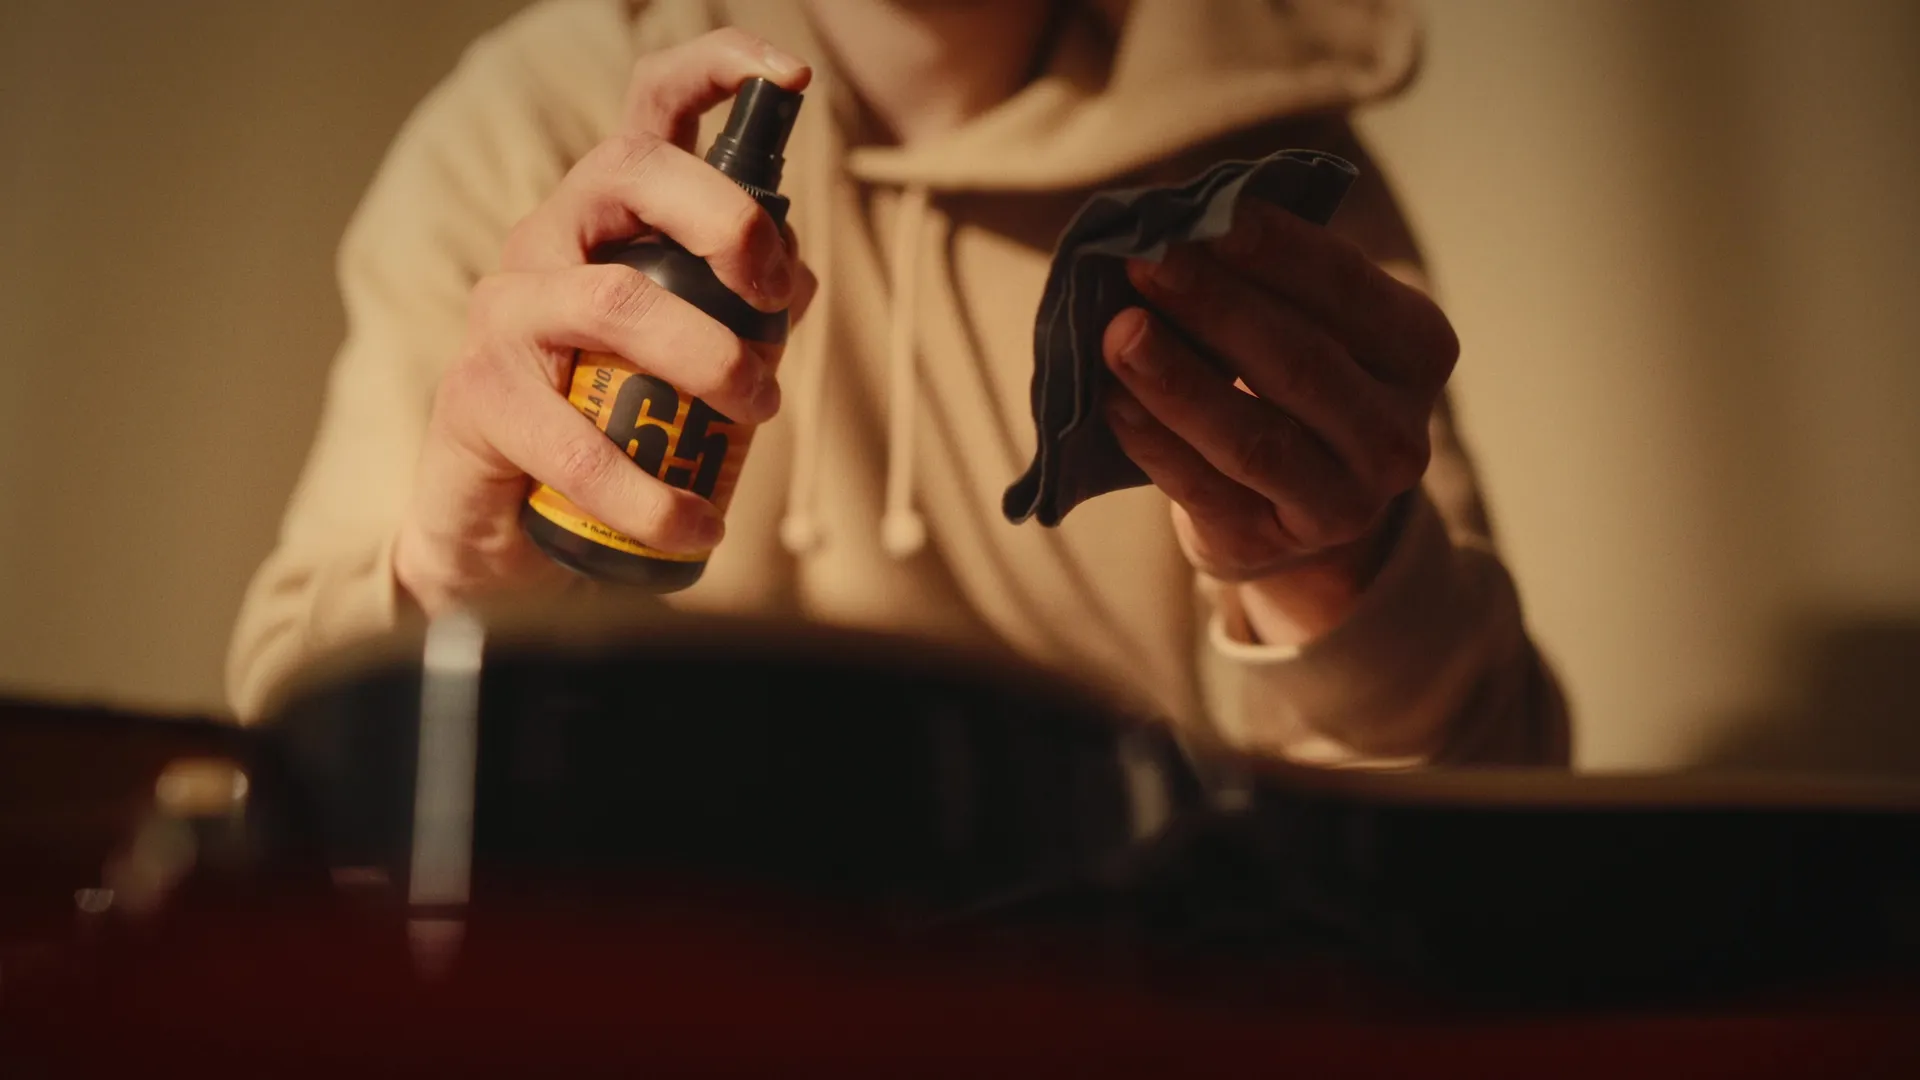
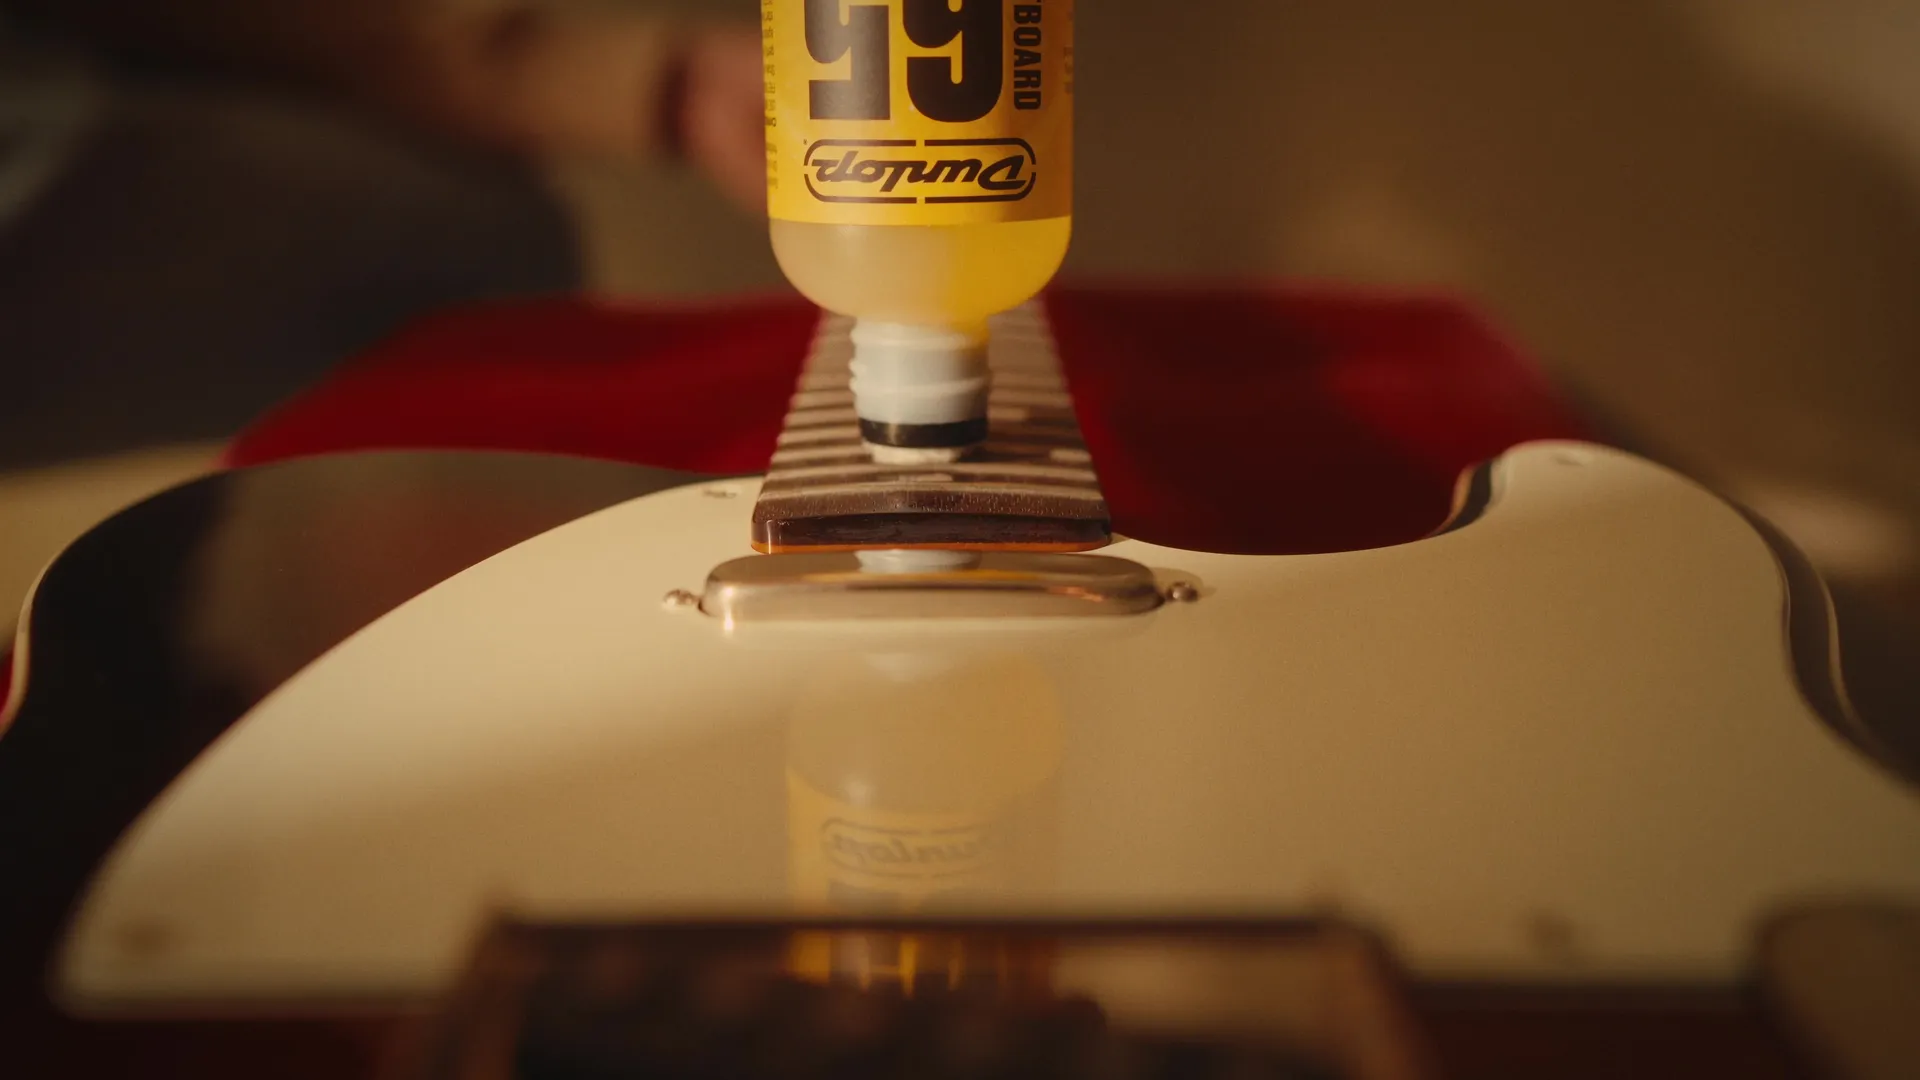
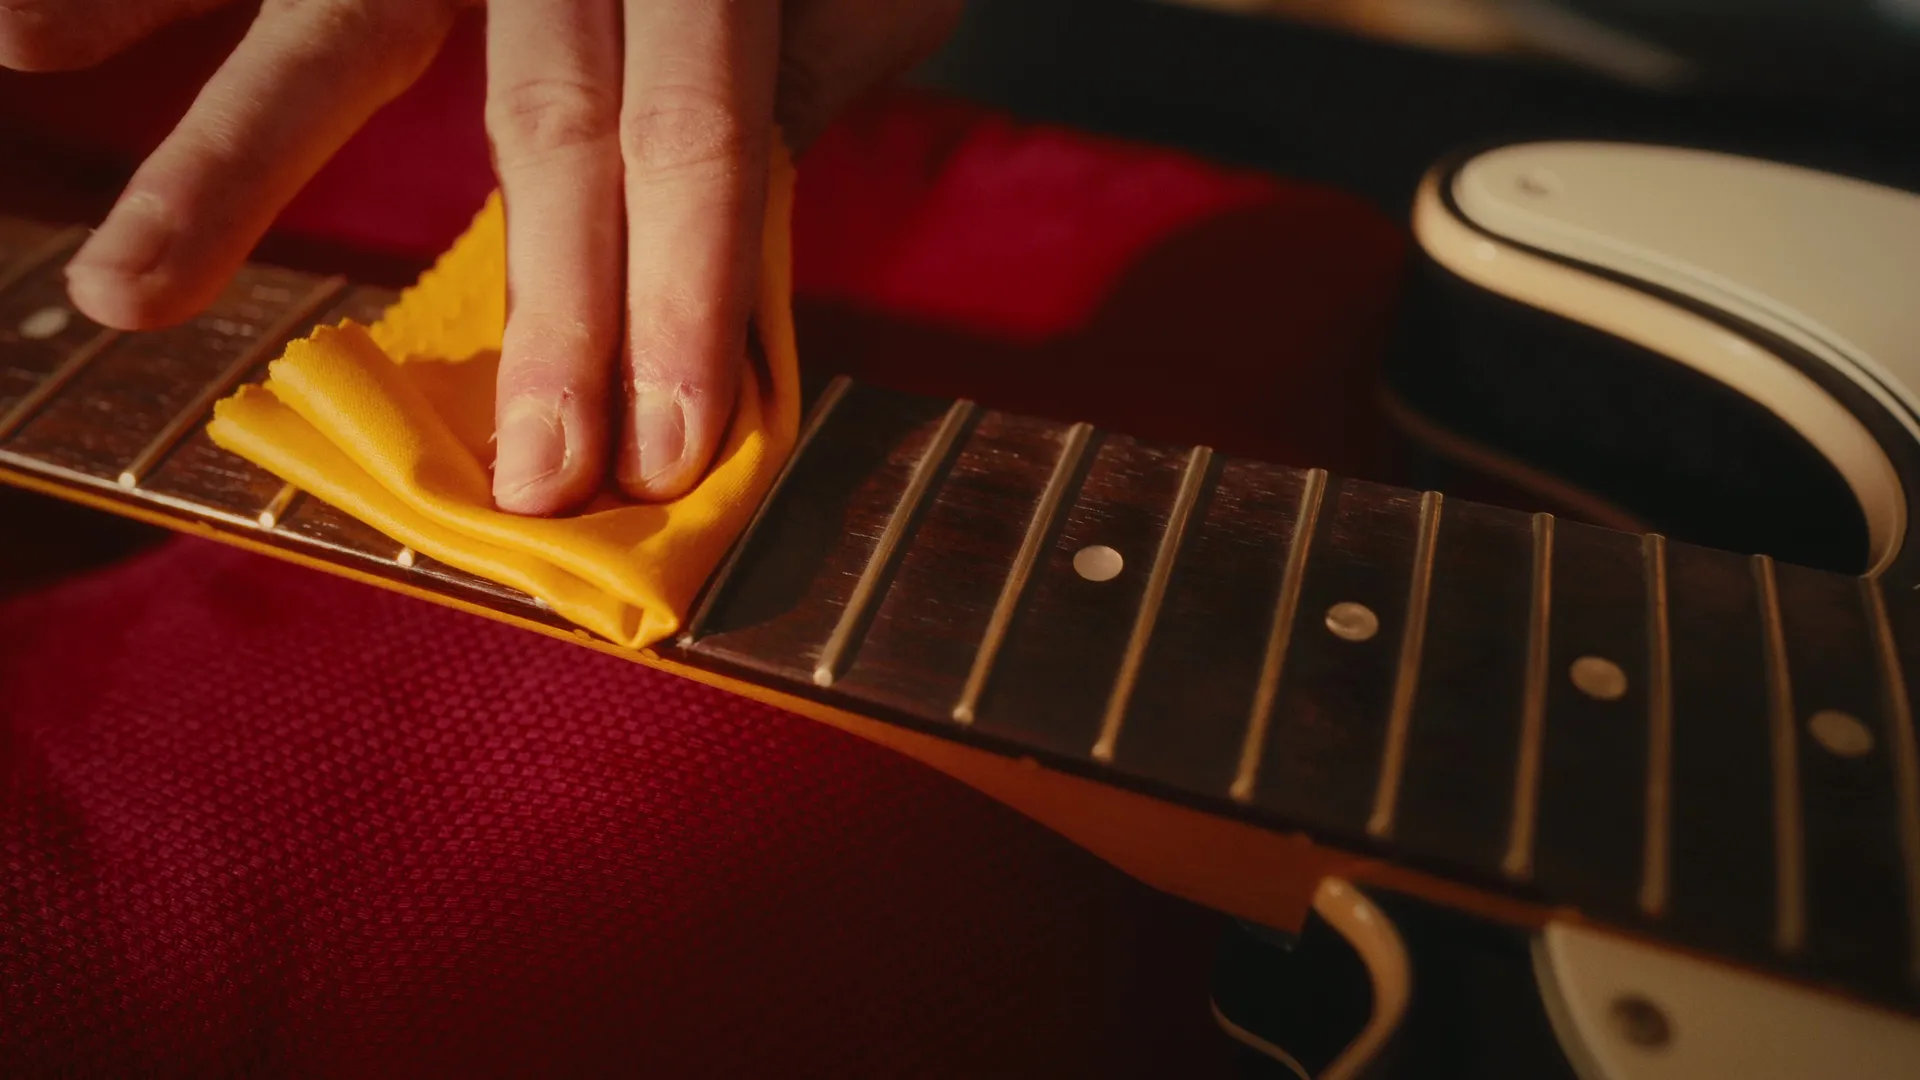
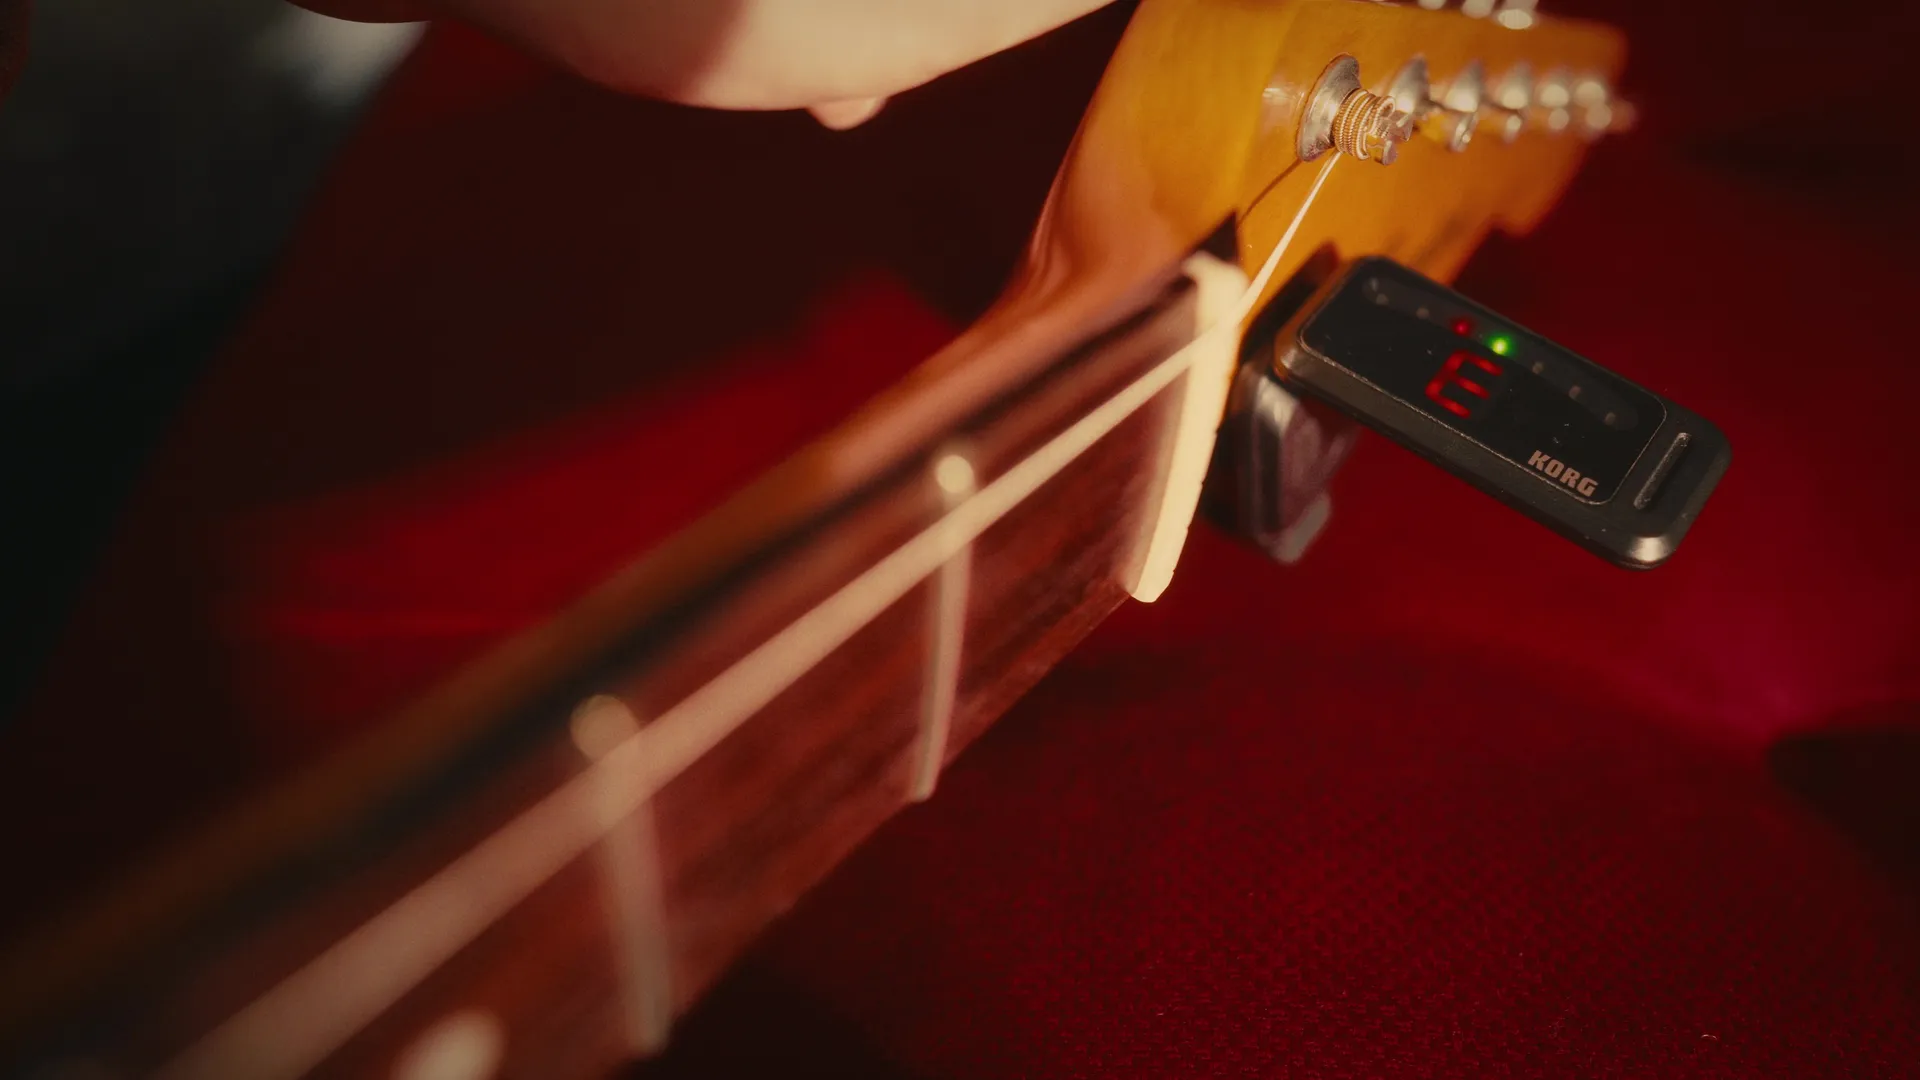
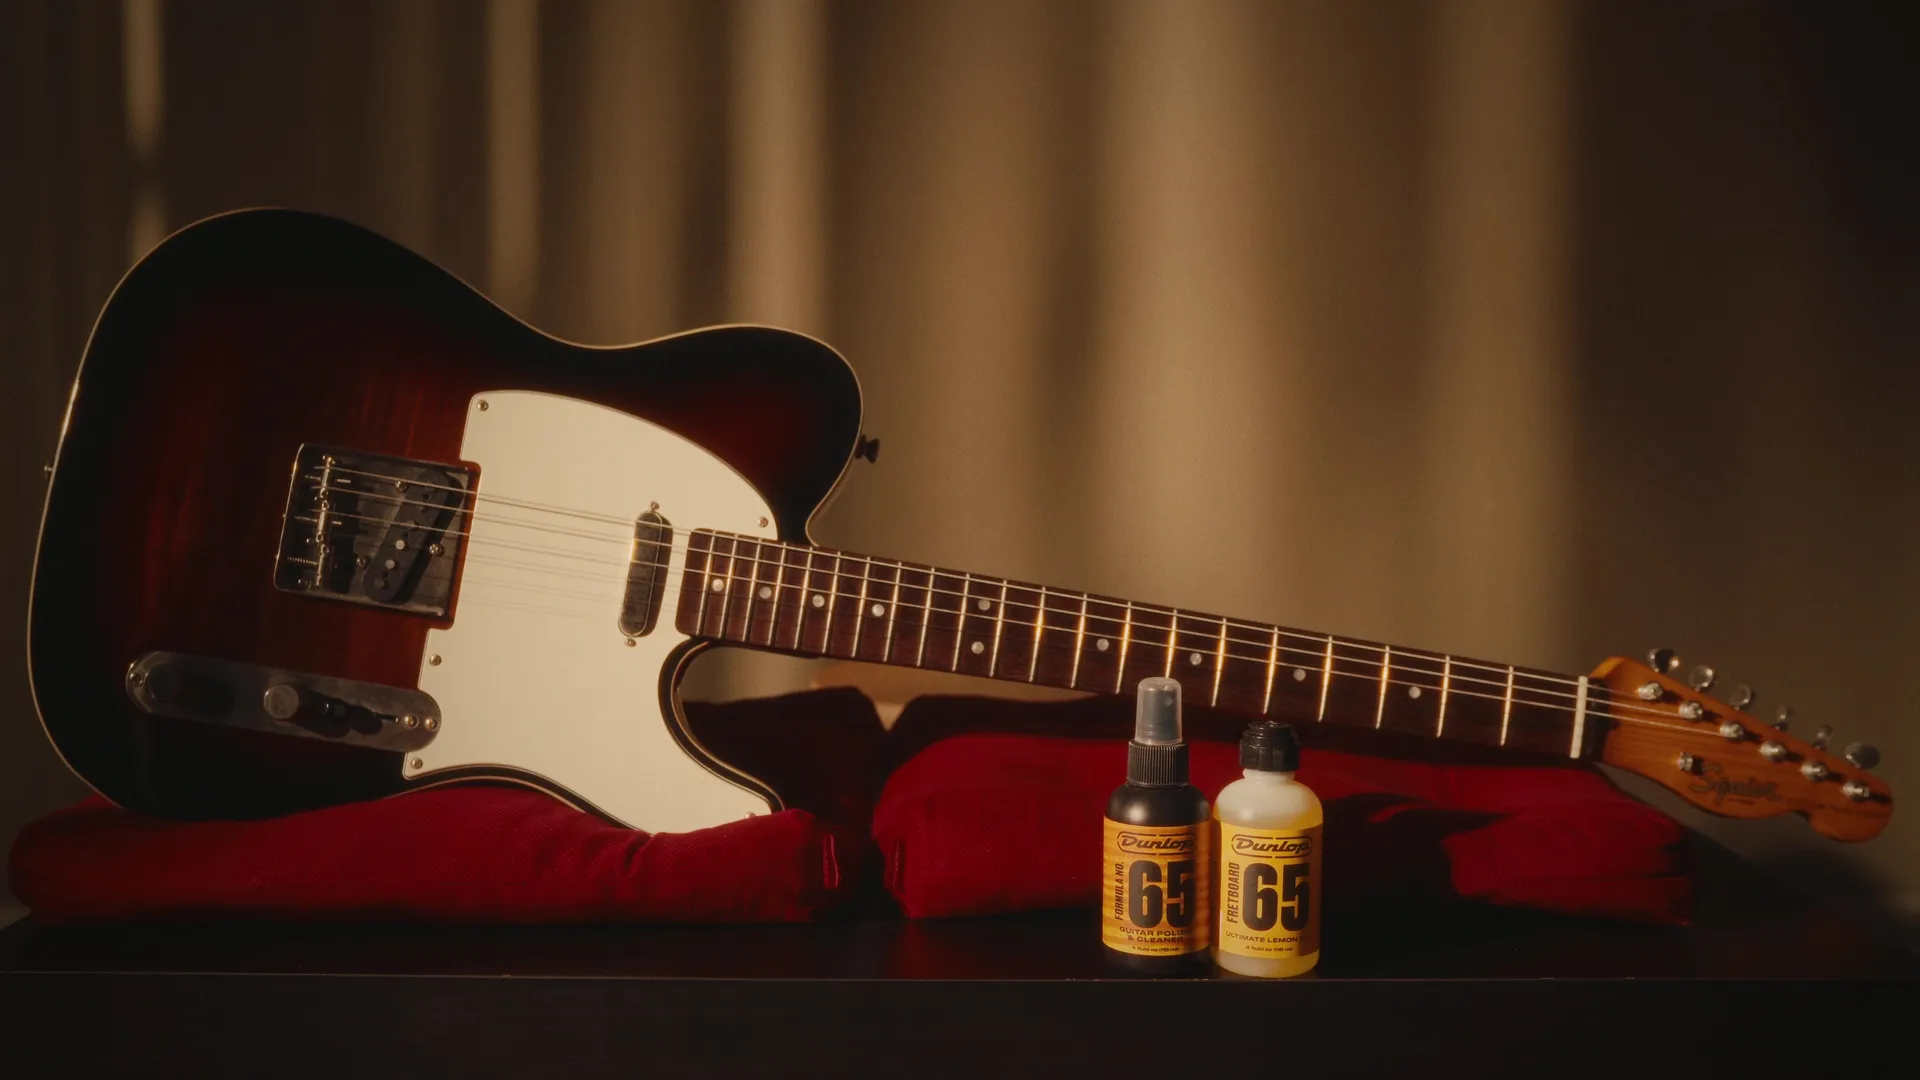
This spec ad features Jim Dunlop’s Formula 65 Cleaner & Polish and Formula 65 Ultimate Lemon Oil.
During the busy months of the first half of the year, my guitar gathered dust as I focused on other projects. Realising that many people can relate to their hobbies taking a backseat when life gets busy, I saw an opportunity to create a genuinely relatable ad.
My aim was to craft an ad that understood and reflected the brand’s audience in a real-world manner. For guitar enthusiasts, it offers a realistic, down-to-earth depiction of their own experiences and needs with music. Seeing their own experiences depicted in the ad and feeling understood, creates a deep connection of trust with the brand.
Video edited & graded in DaVinci Resolve
Music composed & mastered in FL Studio