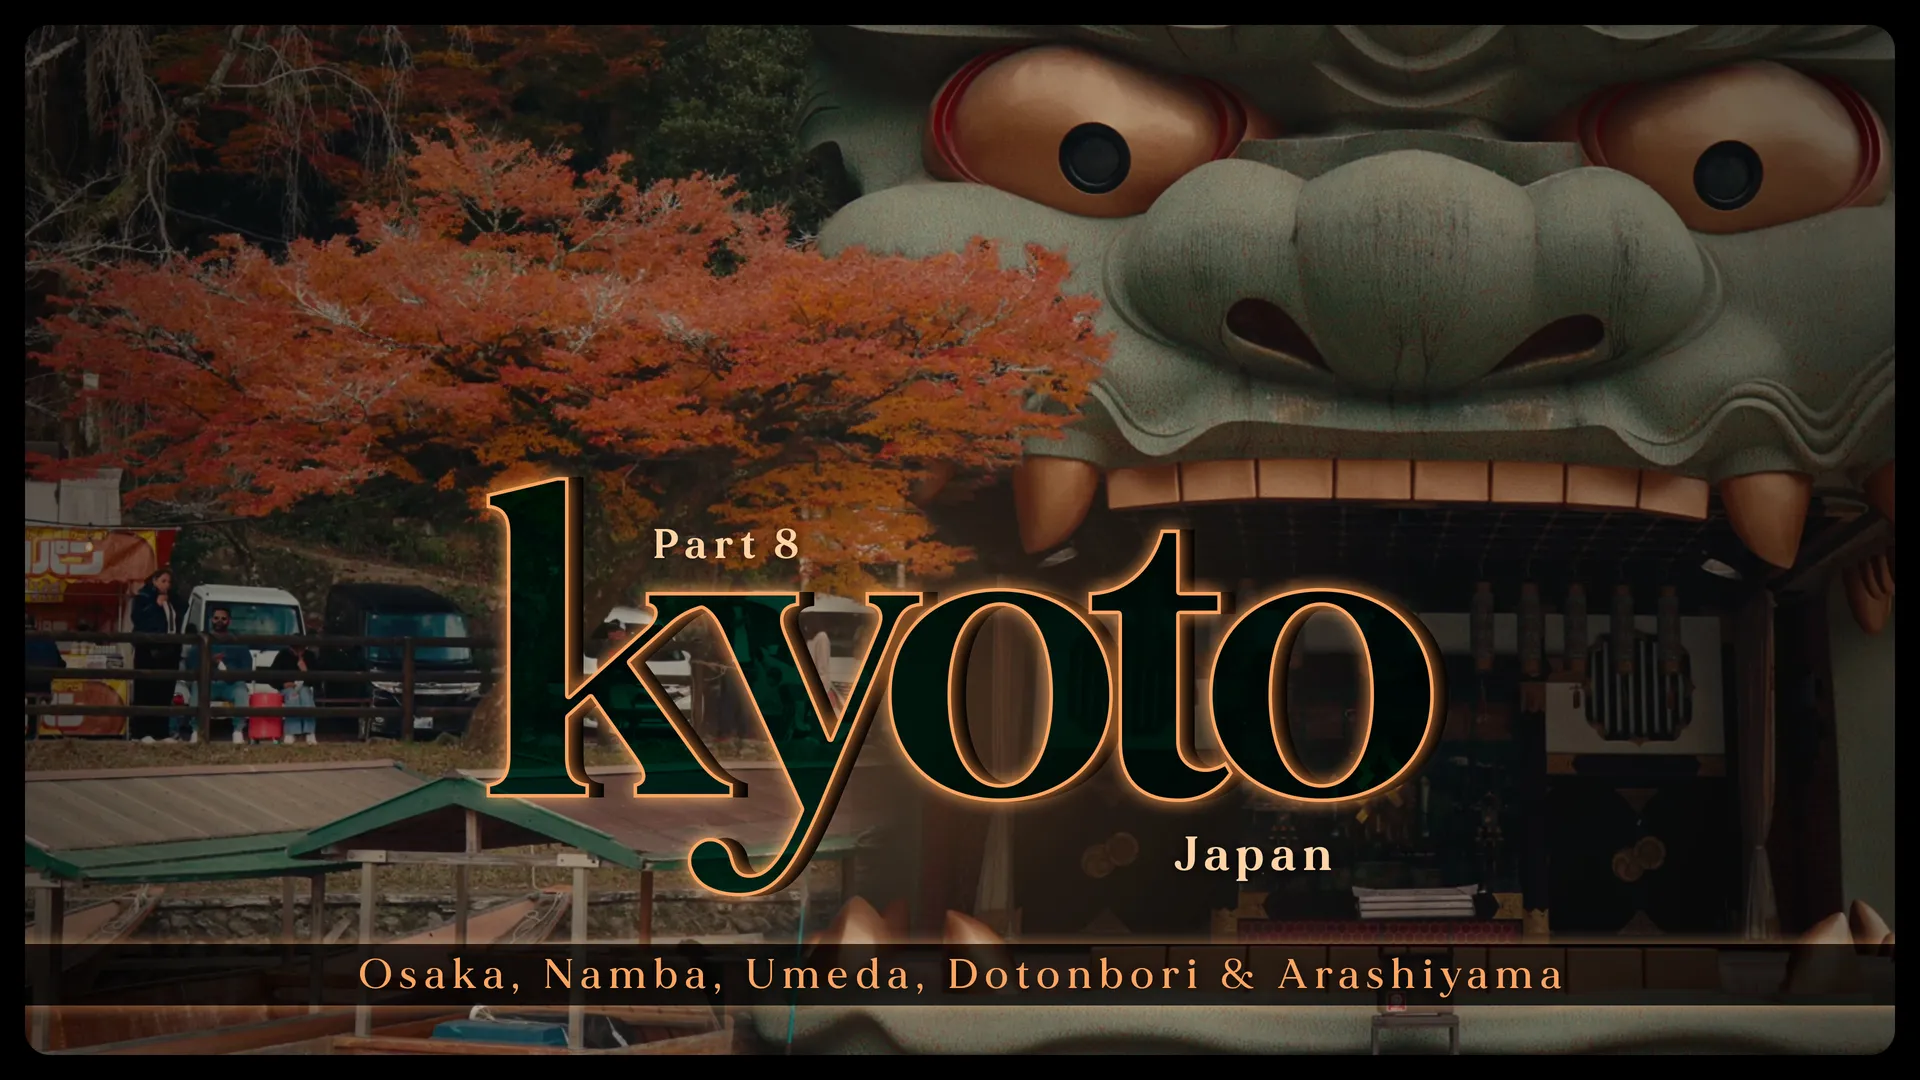
Travel ● March 2024

Japan

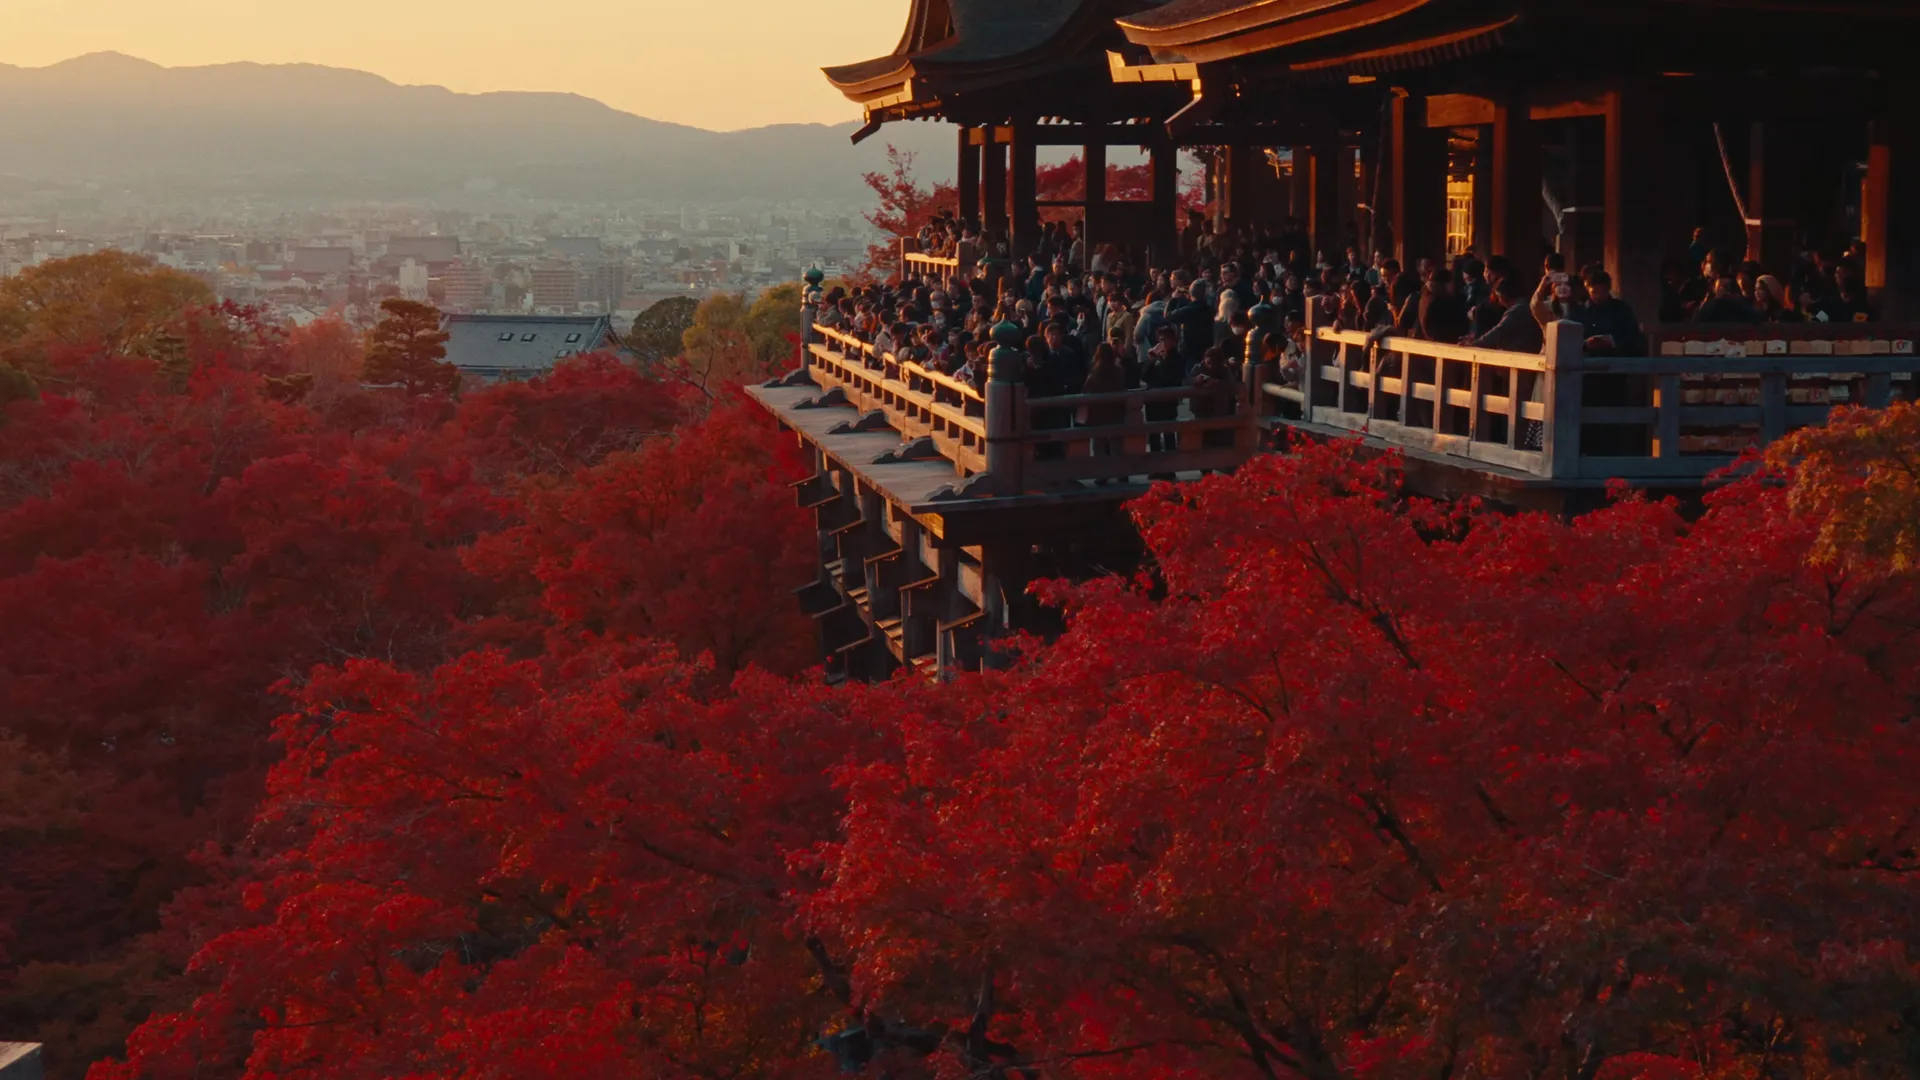
Visiting Japan had always seemed out of reach for me. Year after year, my friends would visit, sharing stories of their travels while I lived vicariously through them. I could never join them for one reason or another, but I always looked forward to the time when I would finally make it work and see Japan for myself.

In early 2020, that time came. My trip was booked and ready to go, but the COVID pandemic forced it all to be cancelled. After some very tough years for everyone, things started to look up again.

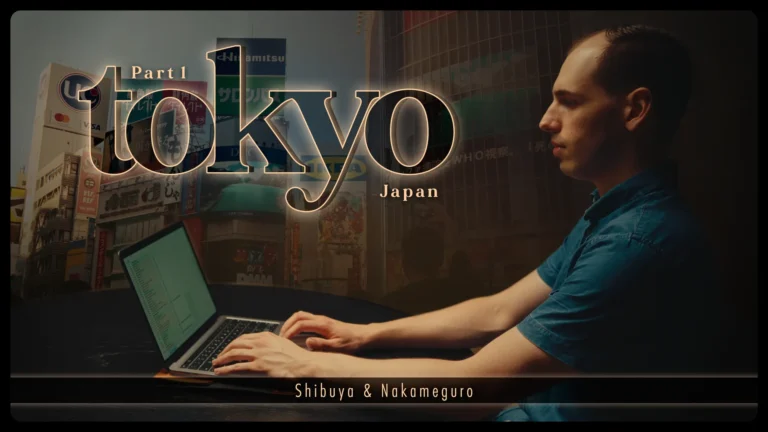
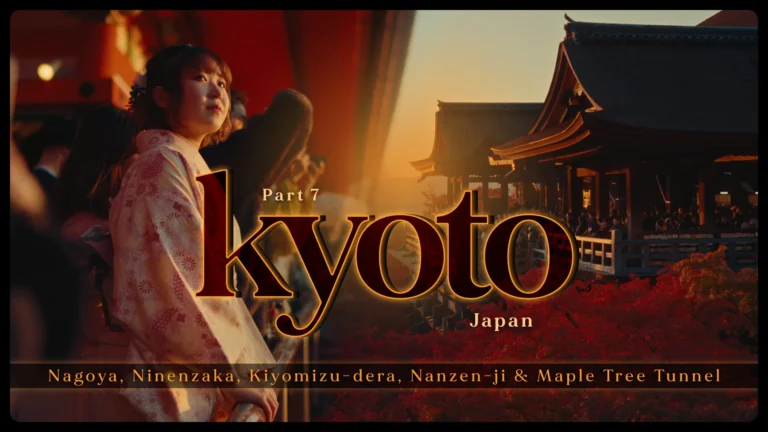
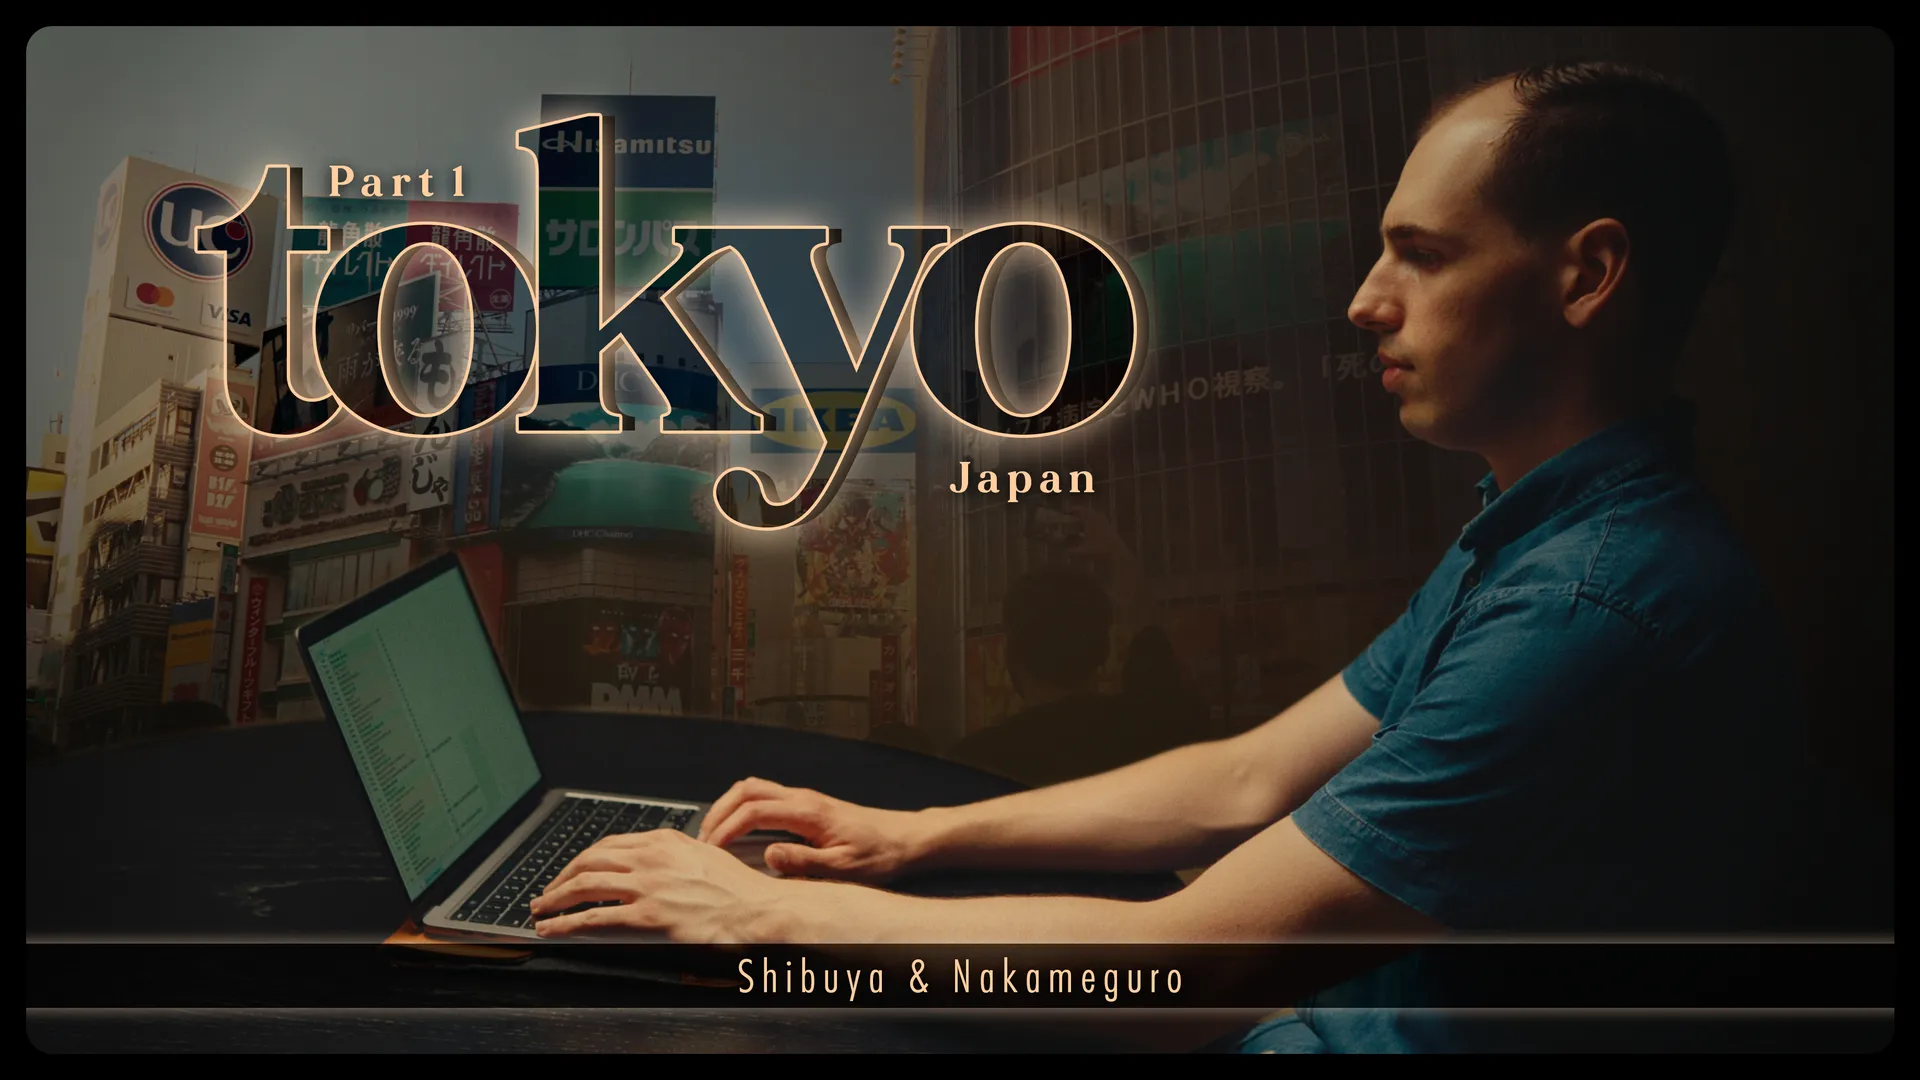
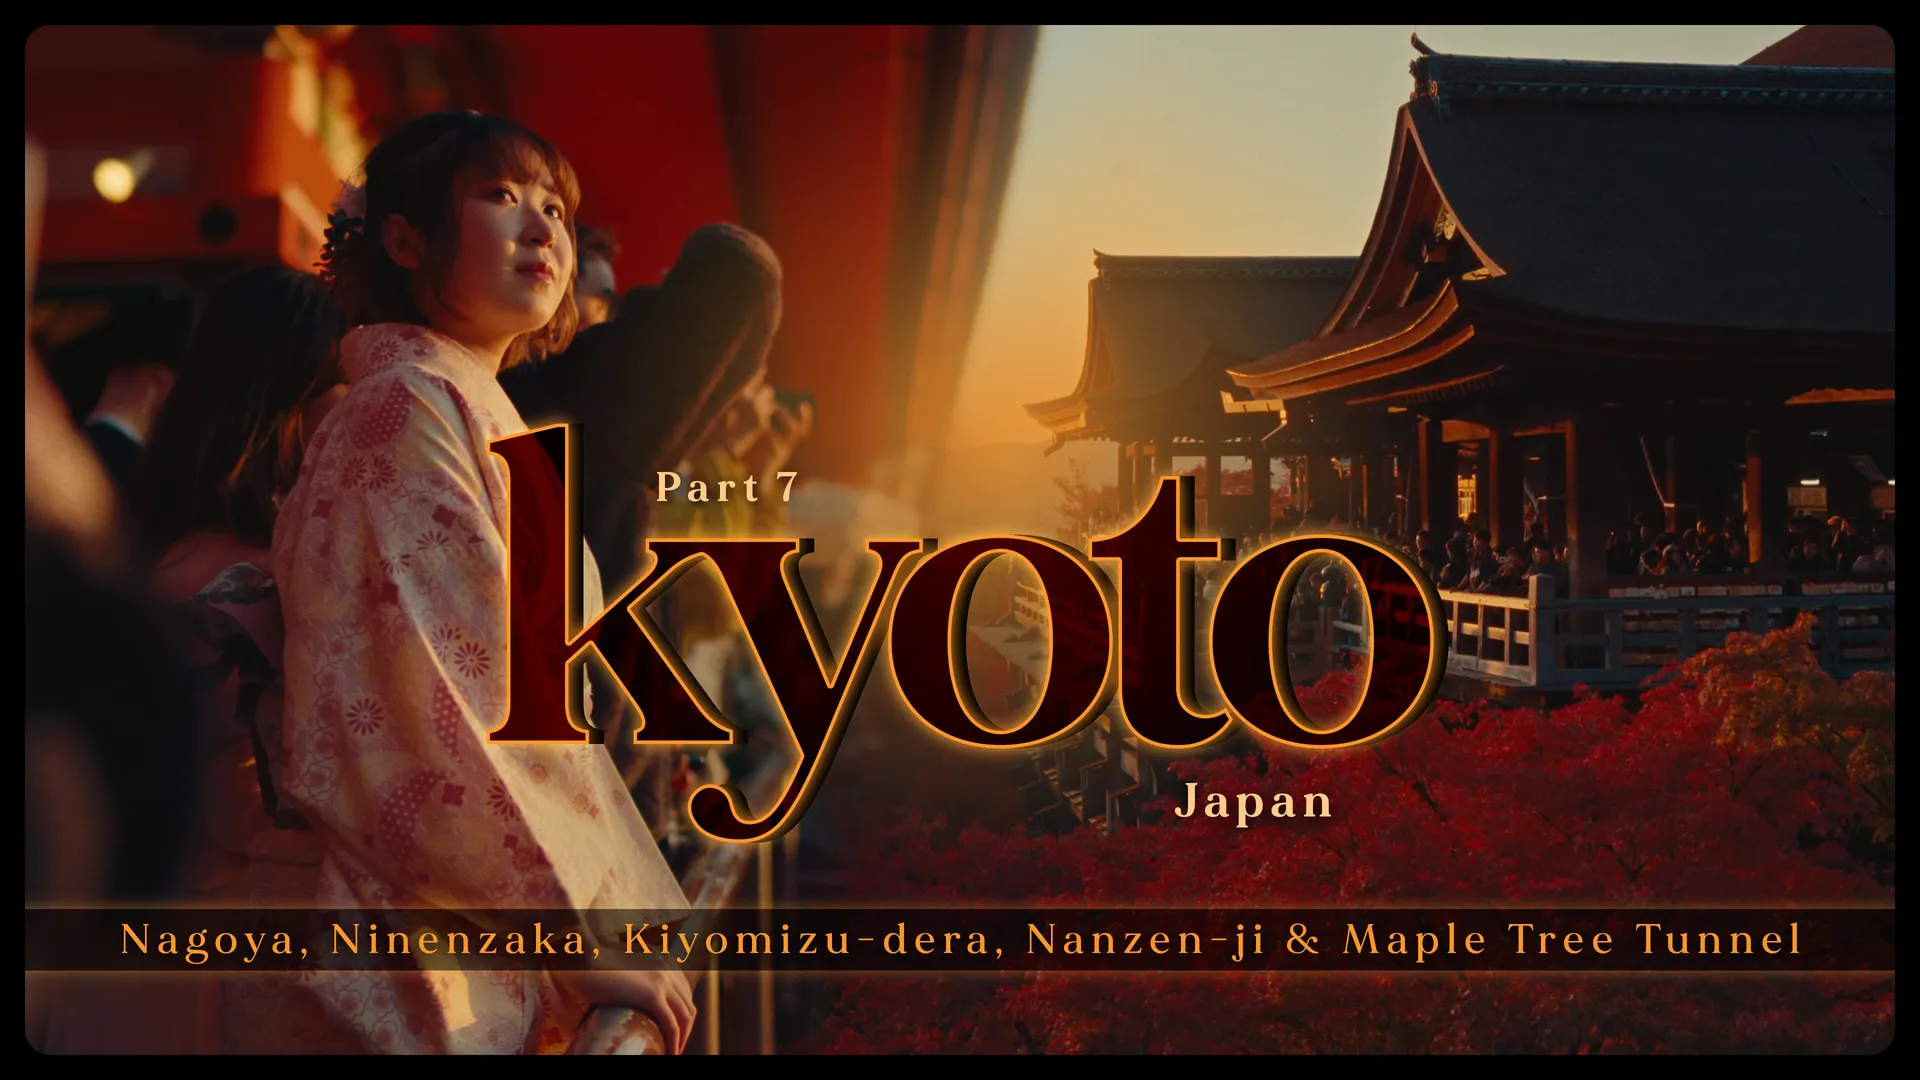
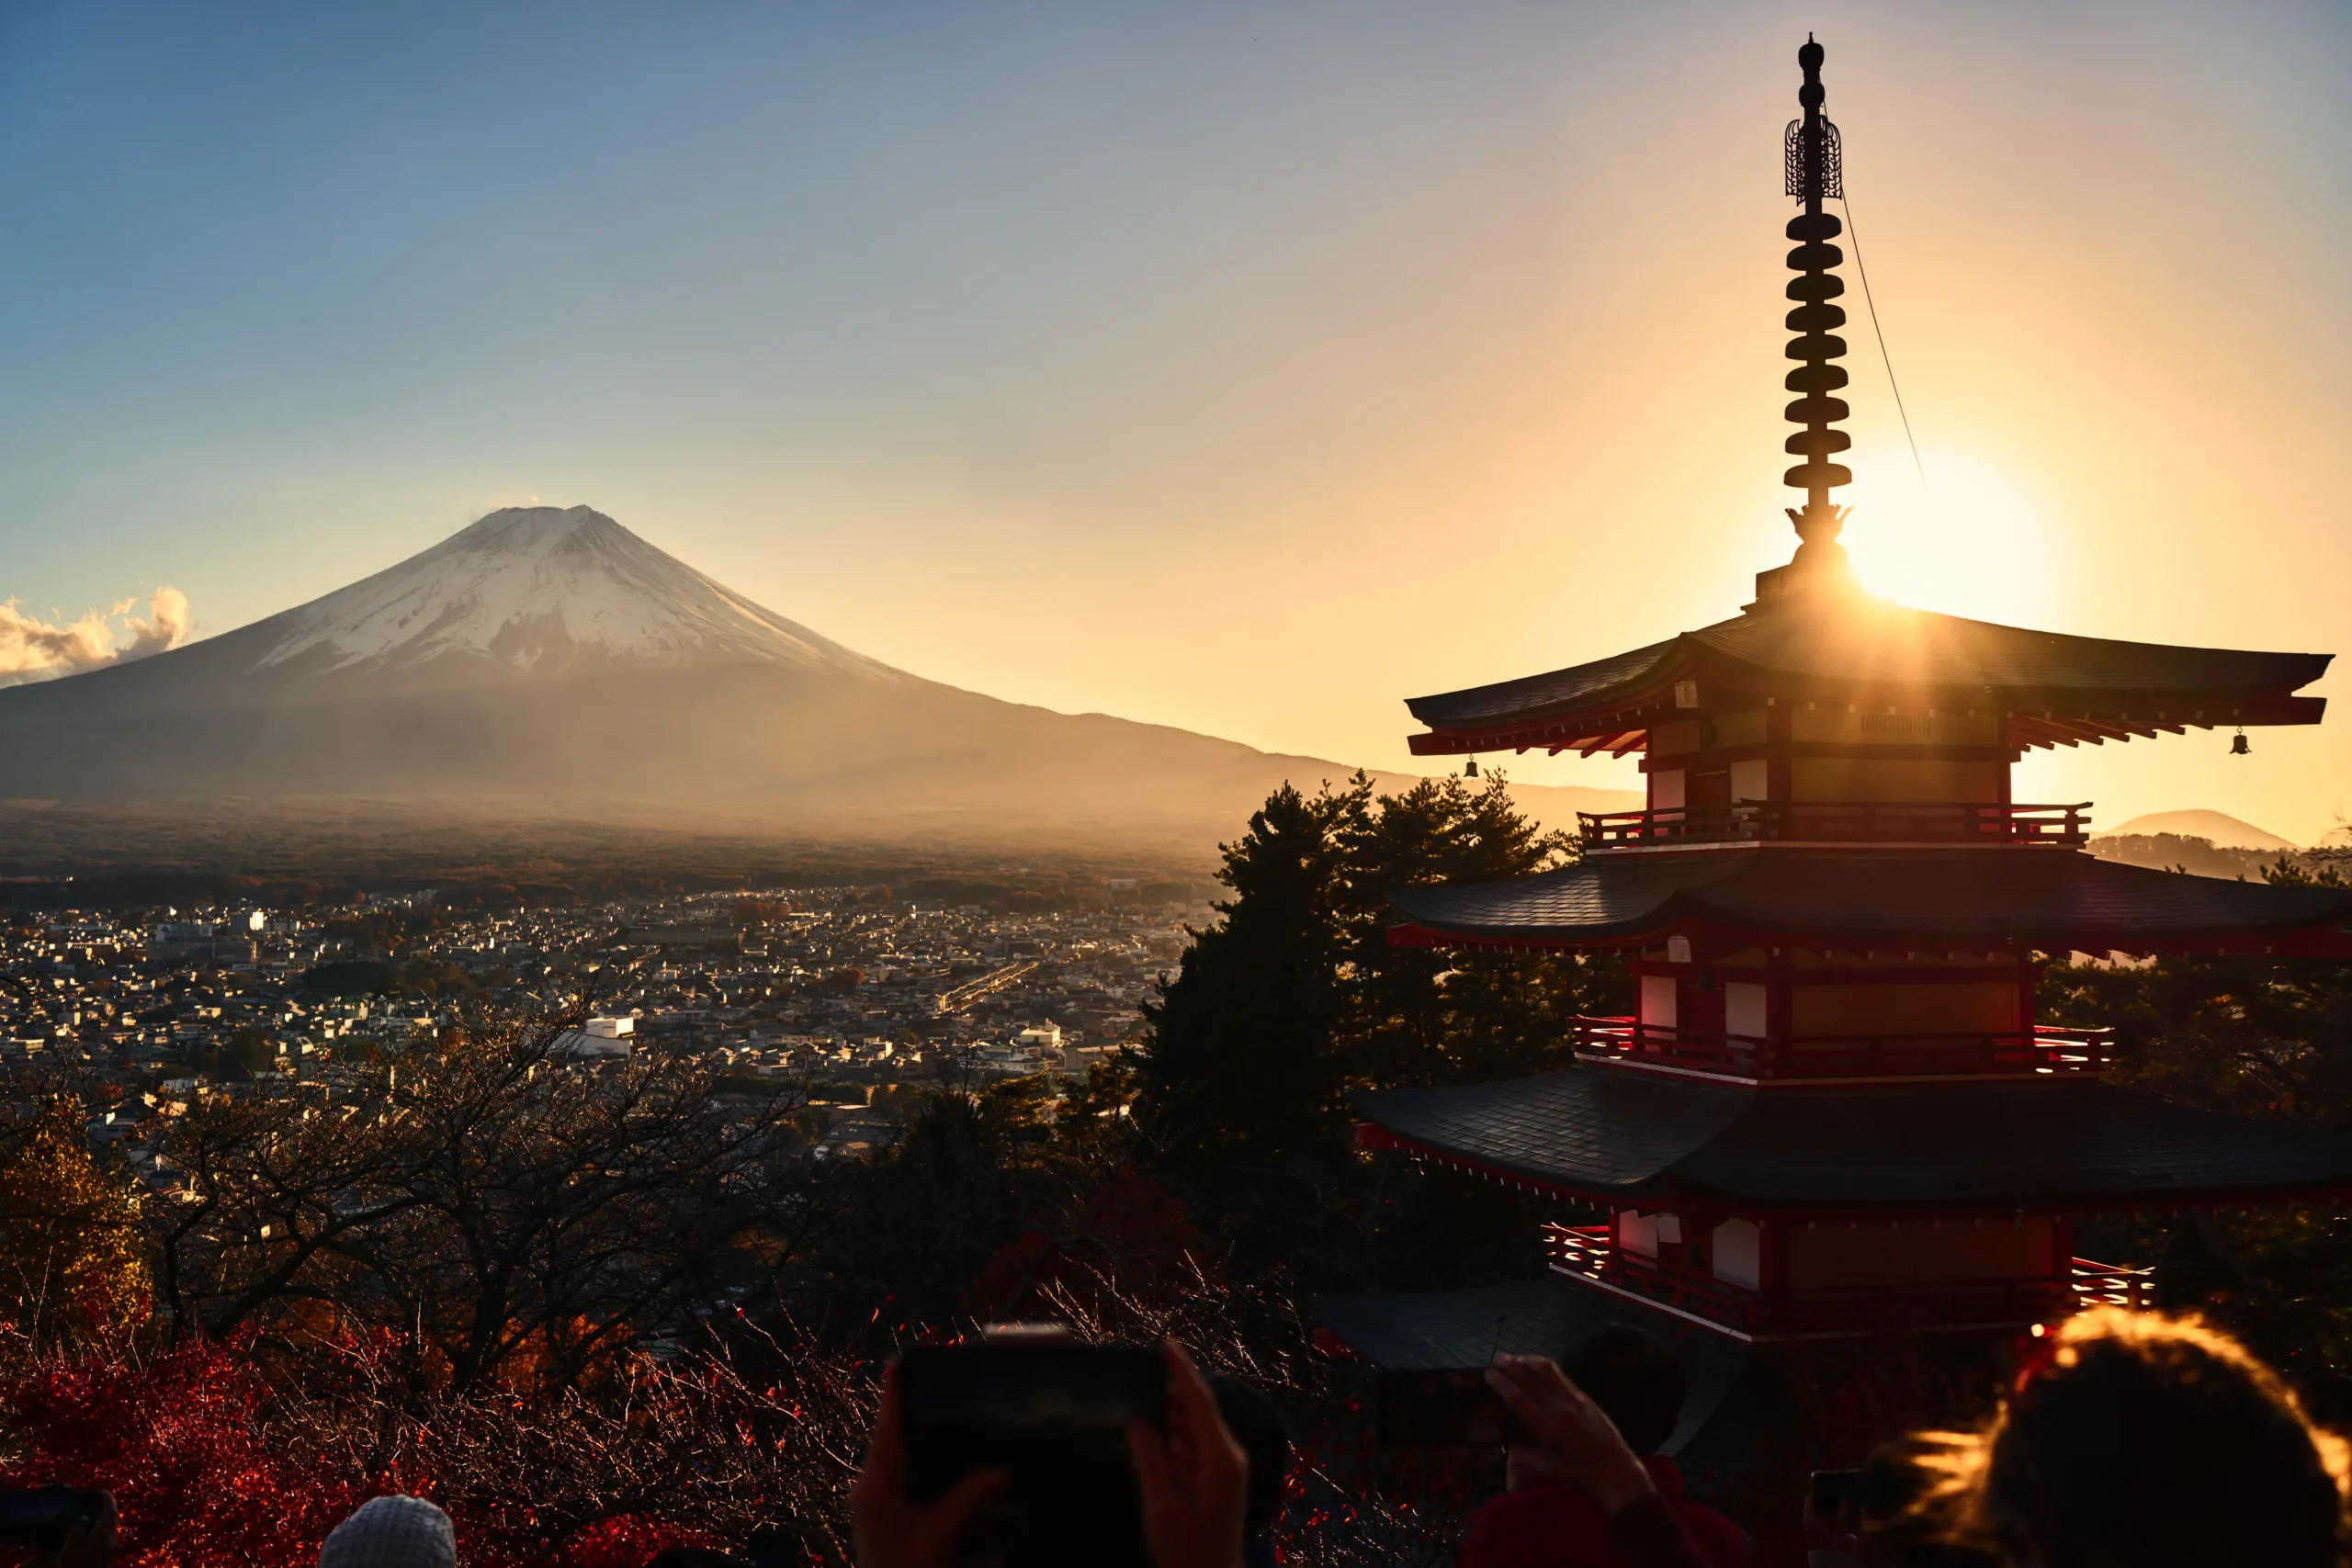
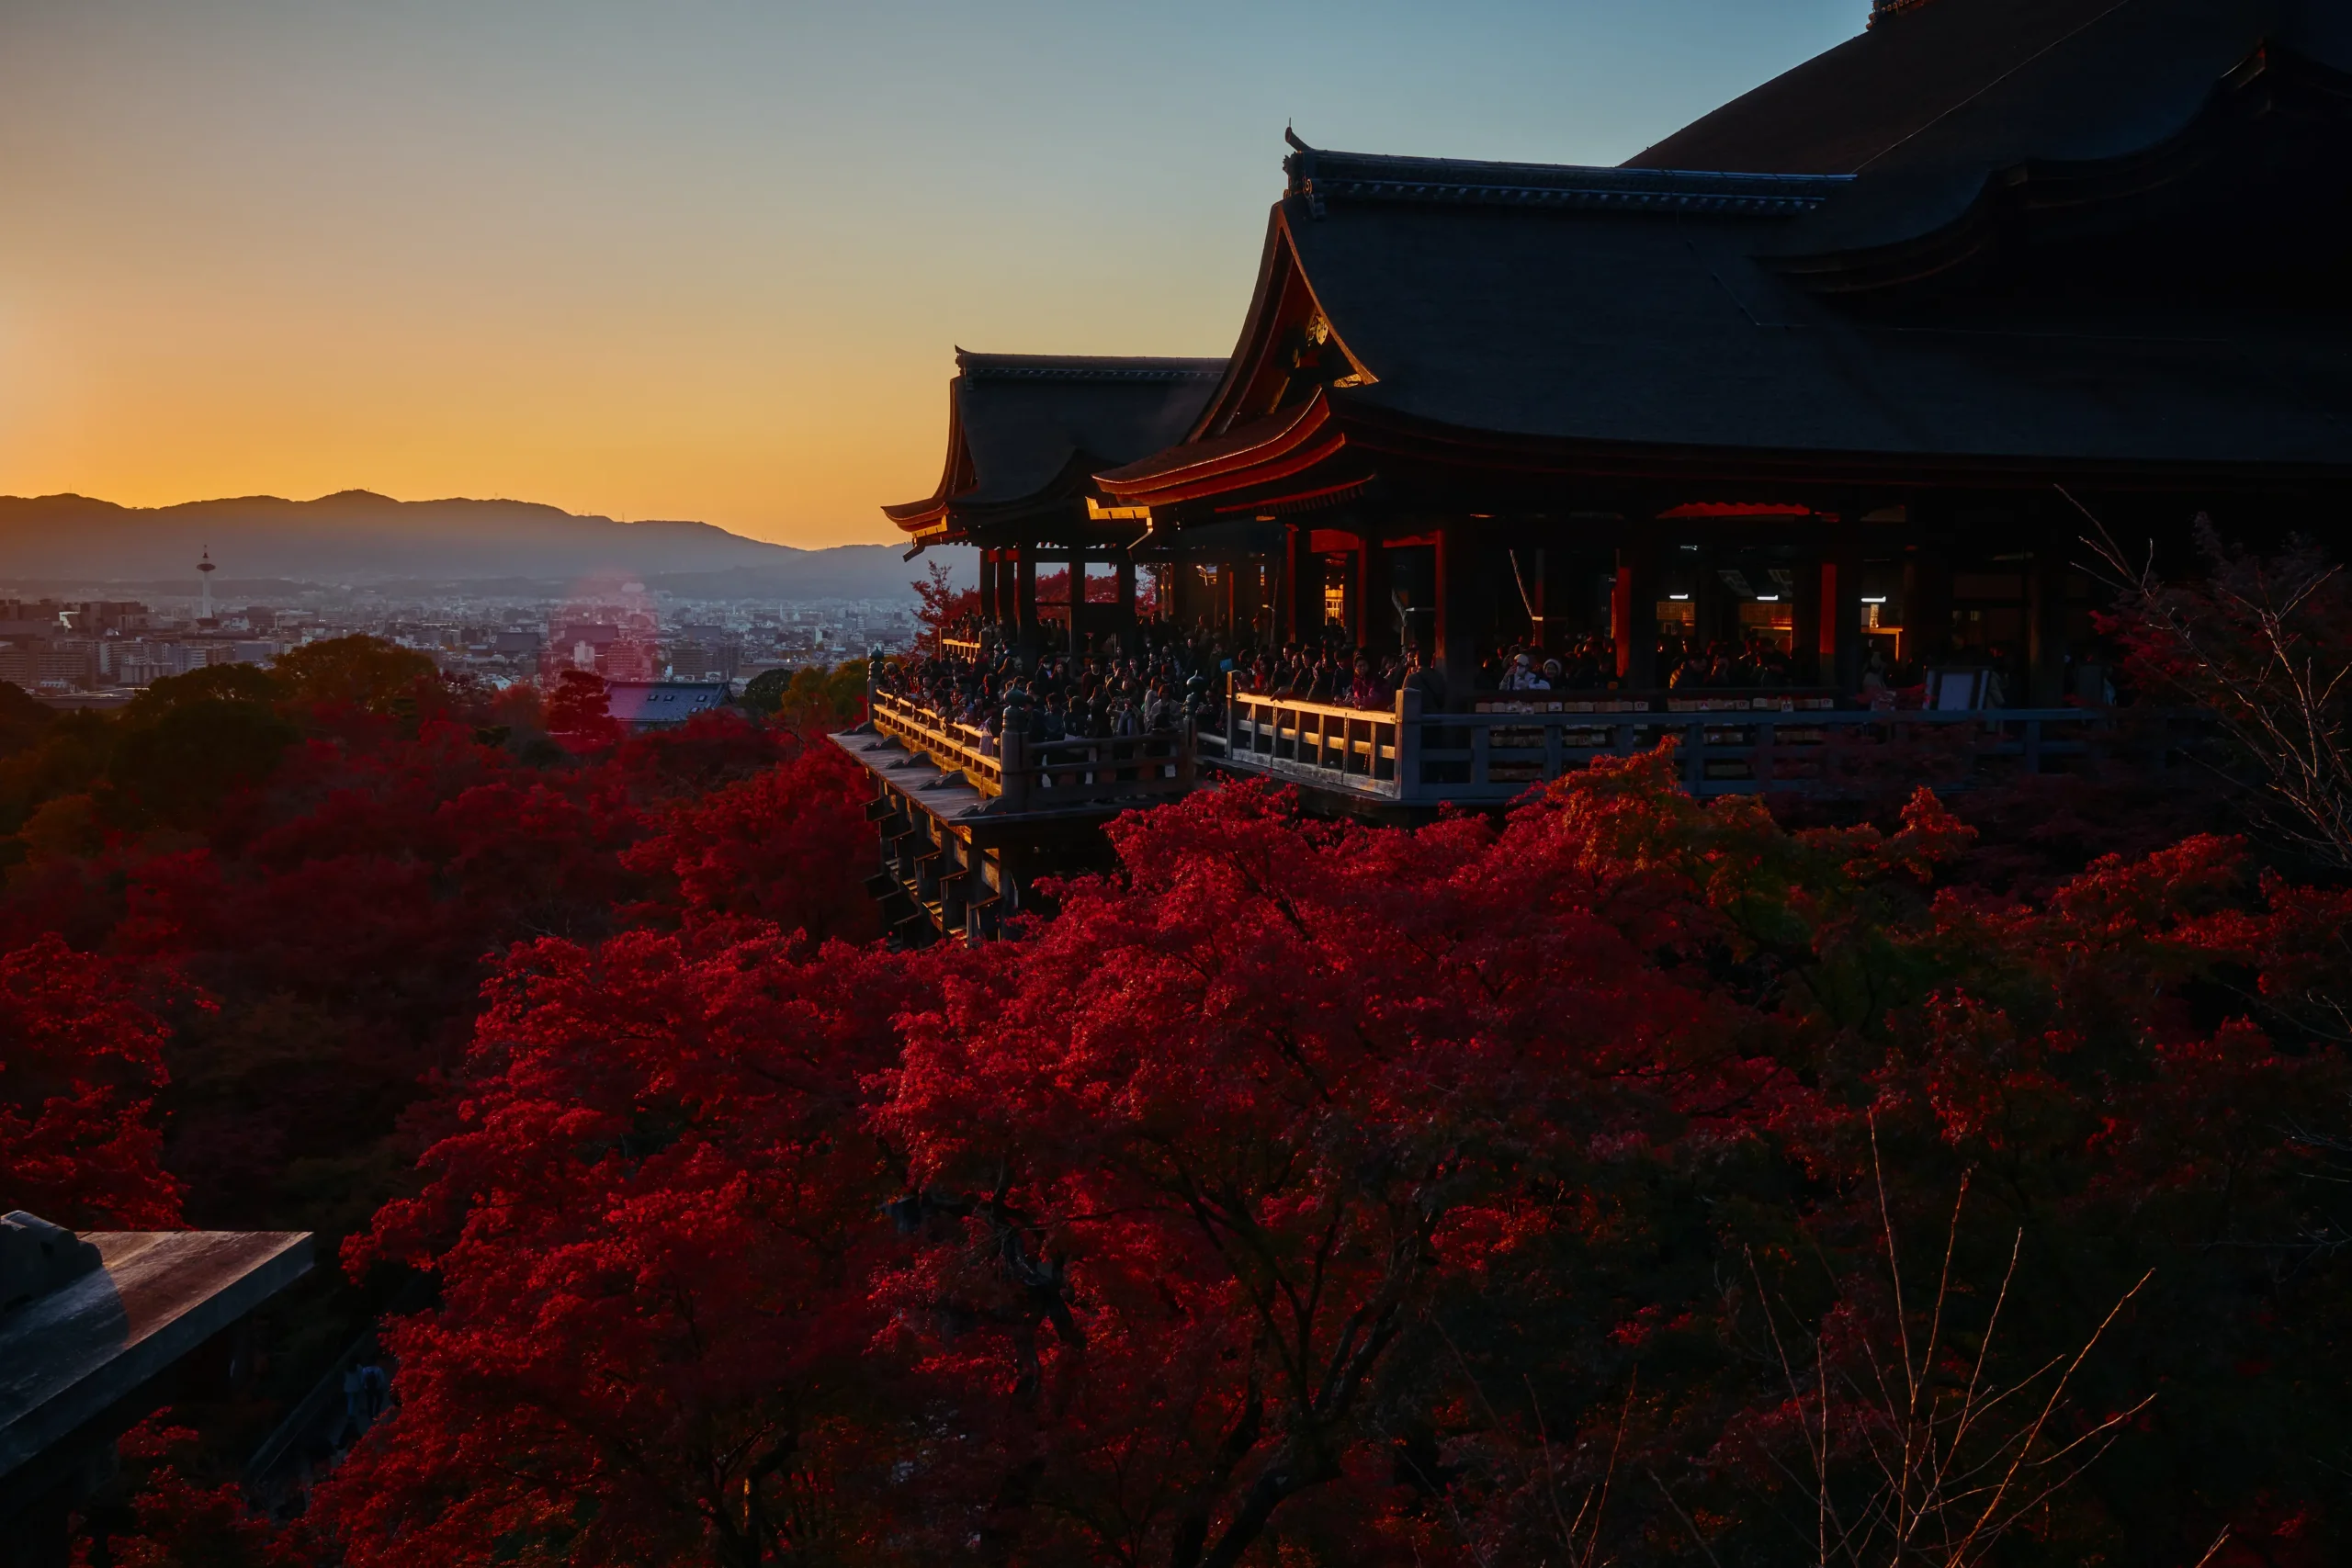
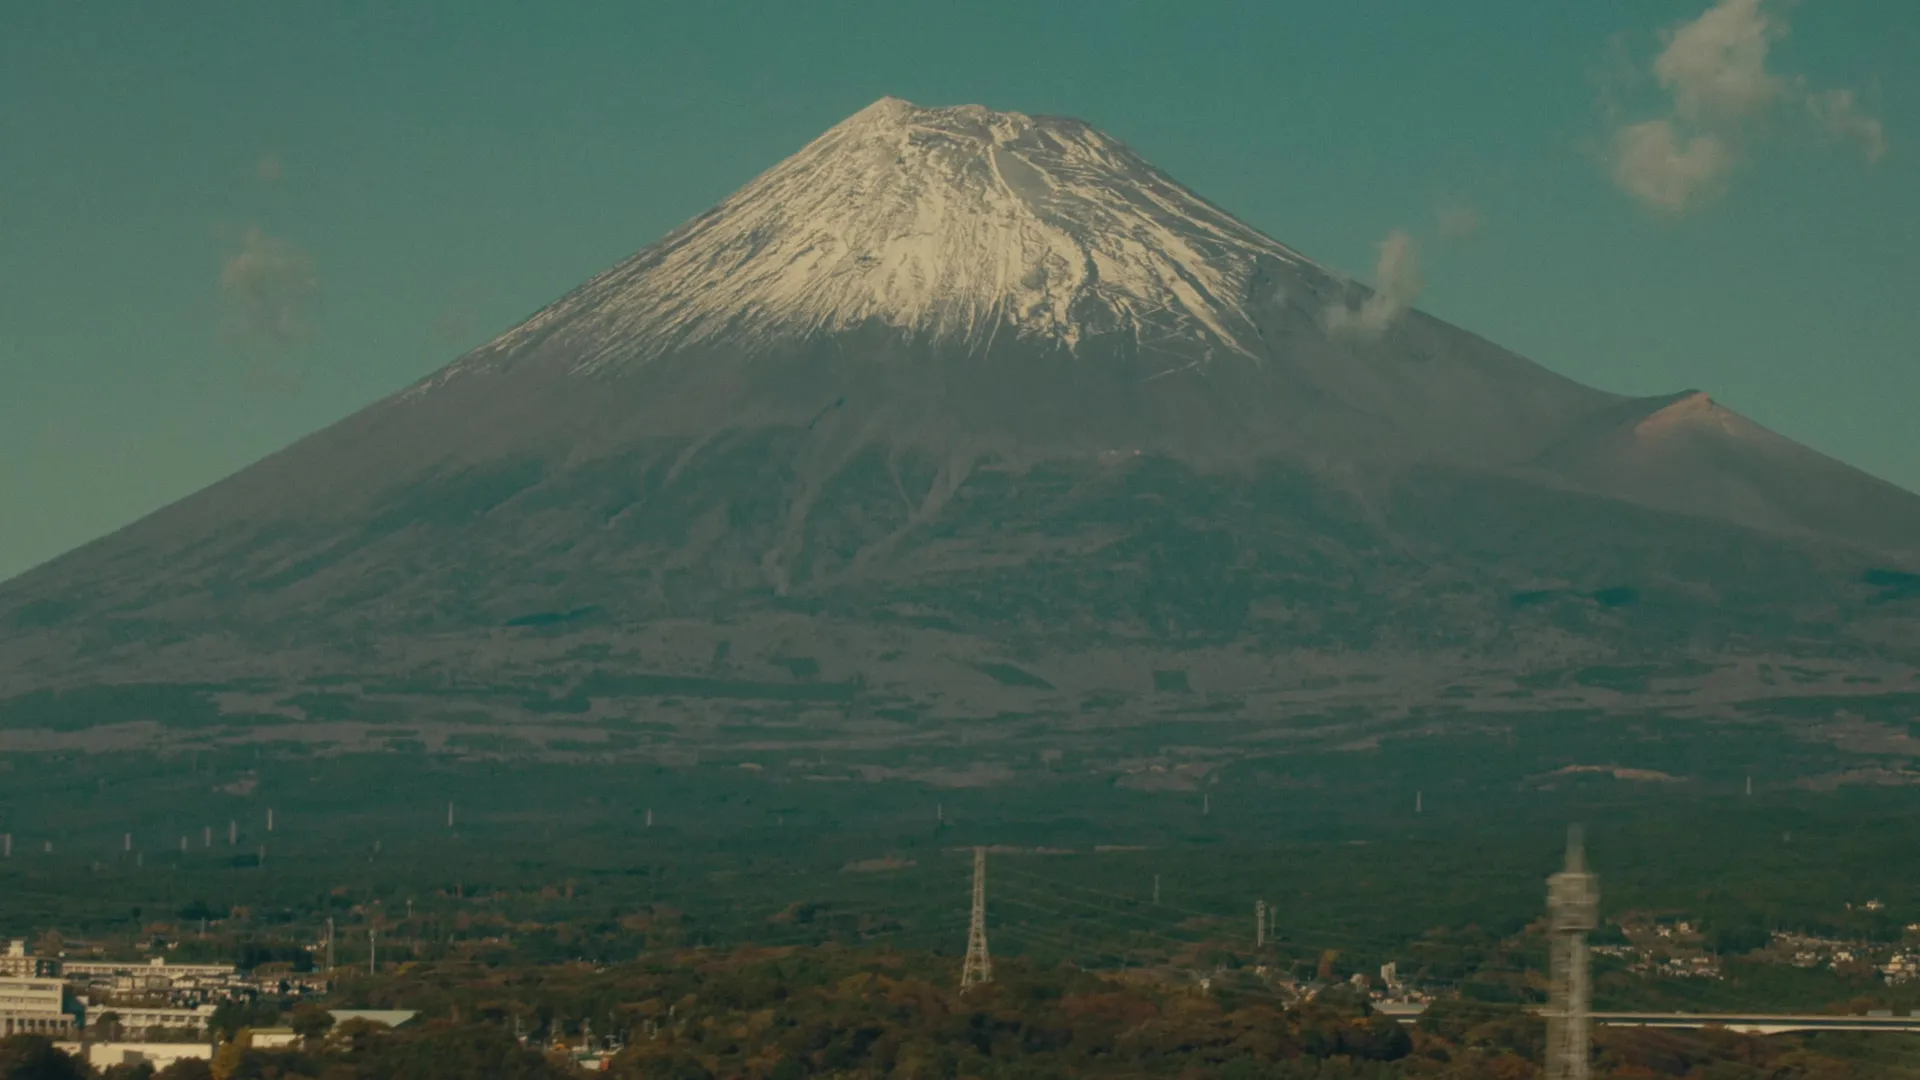
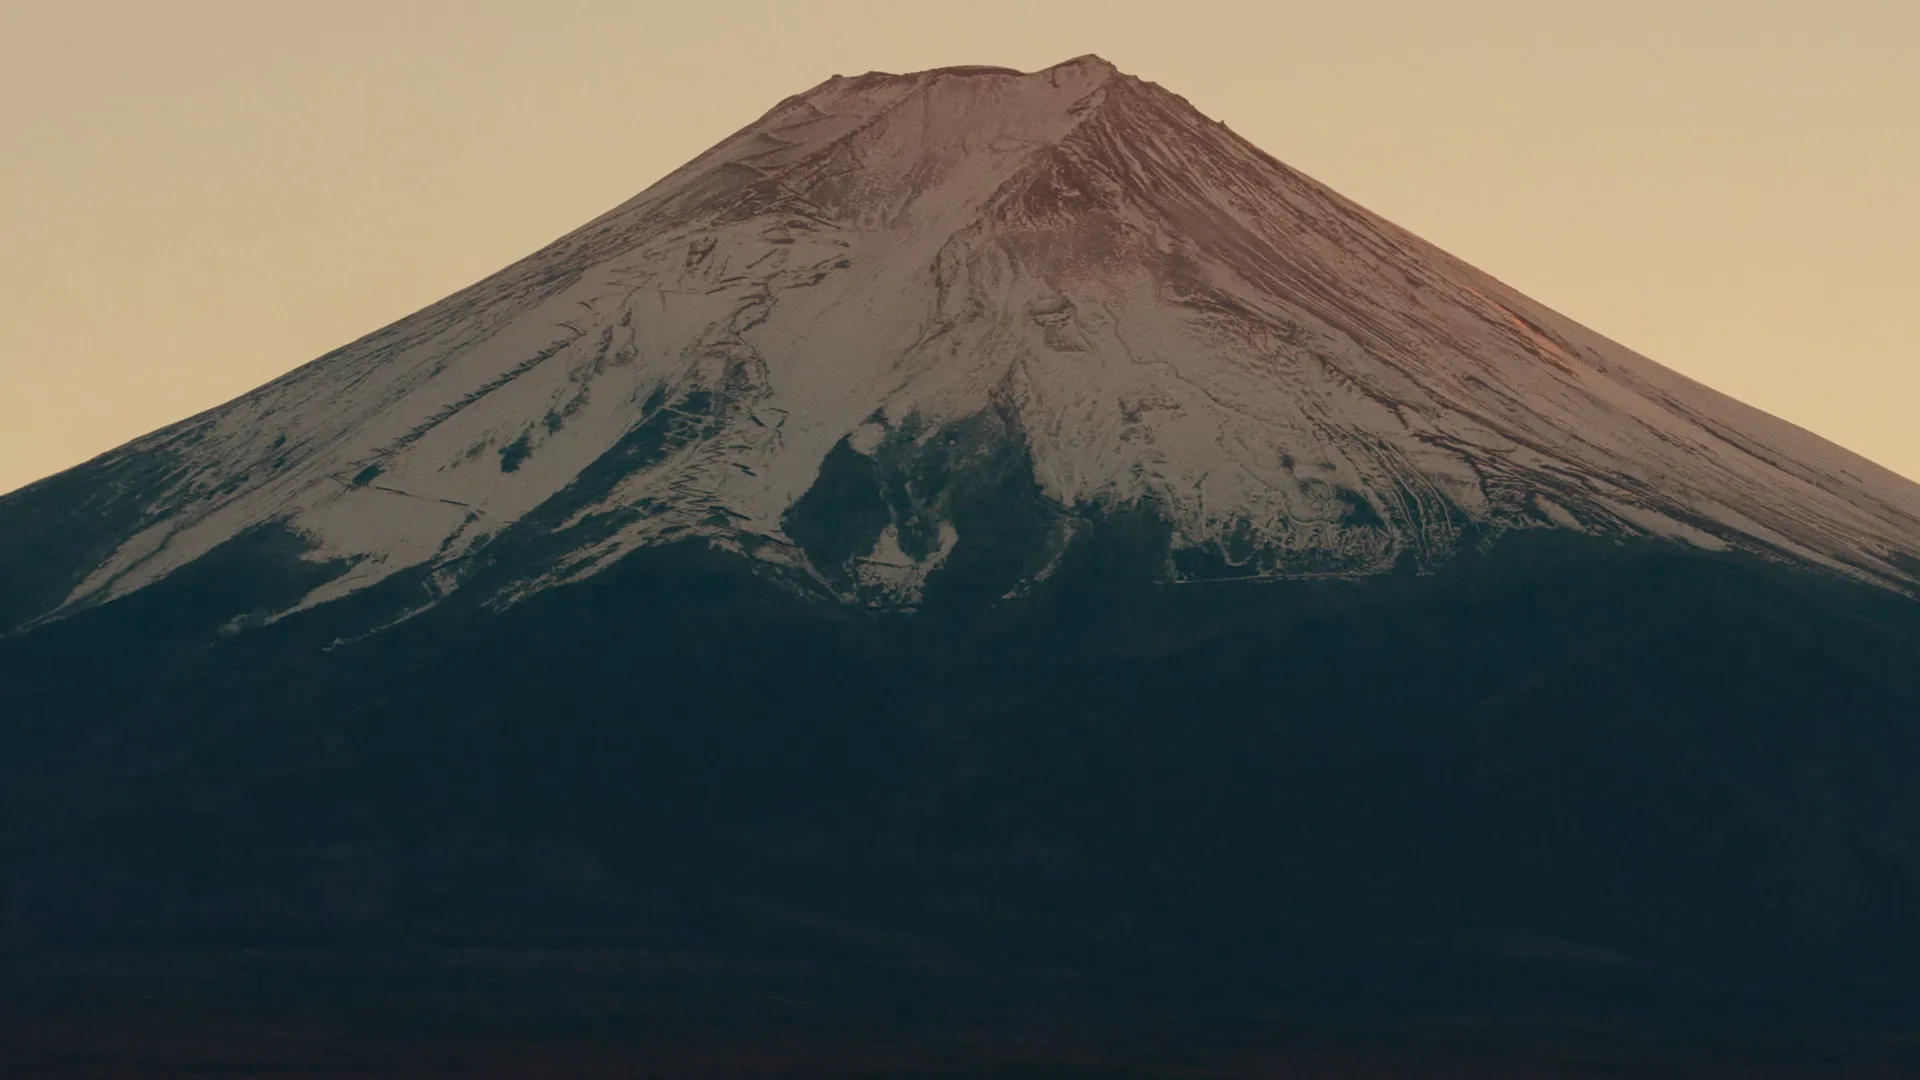
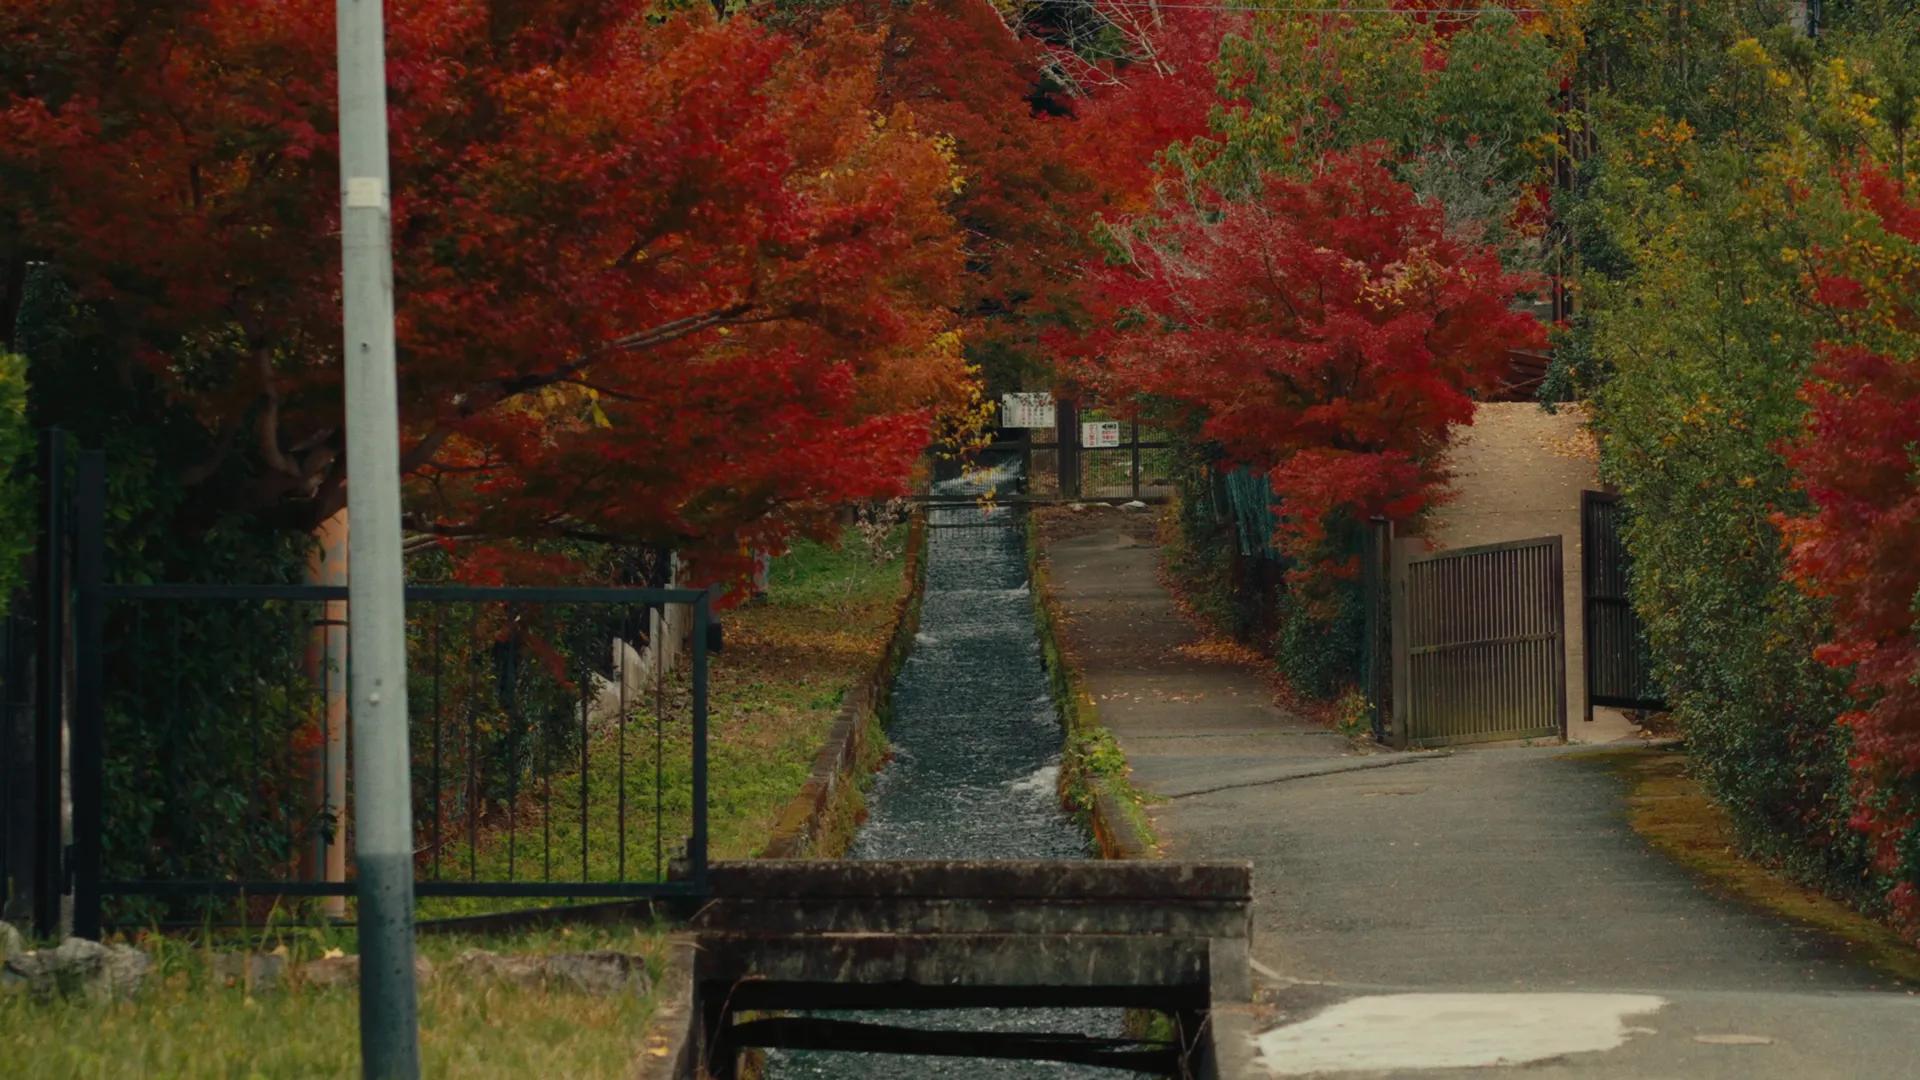
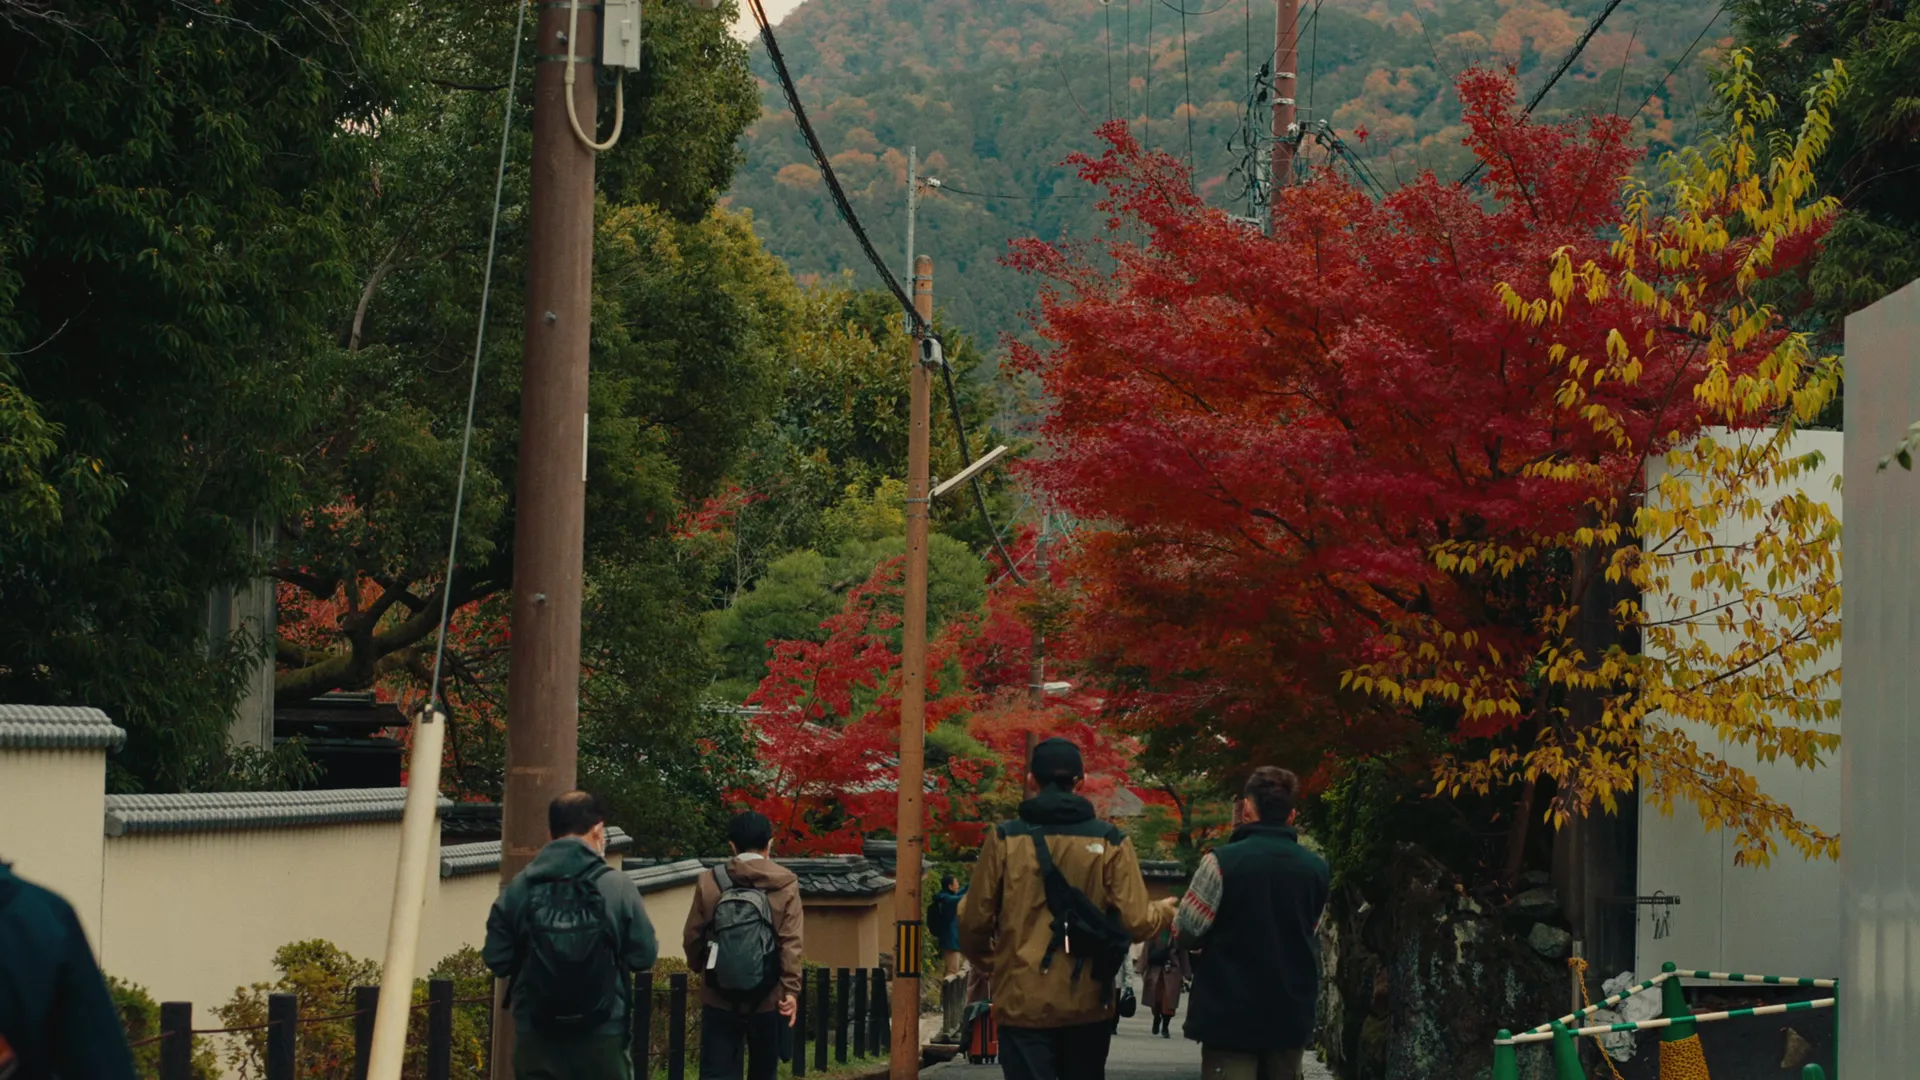
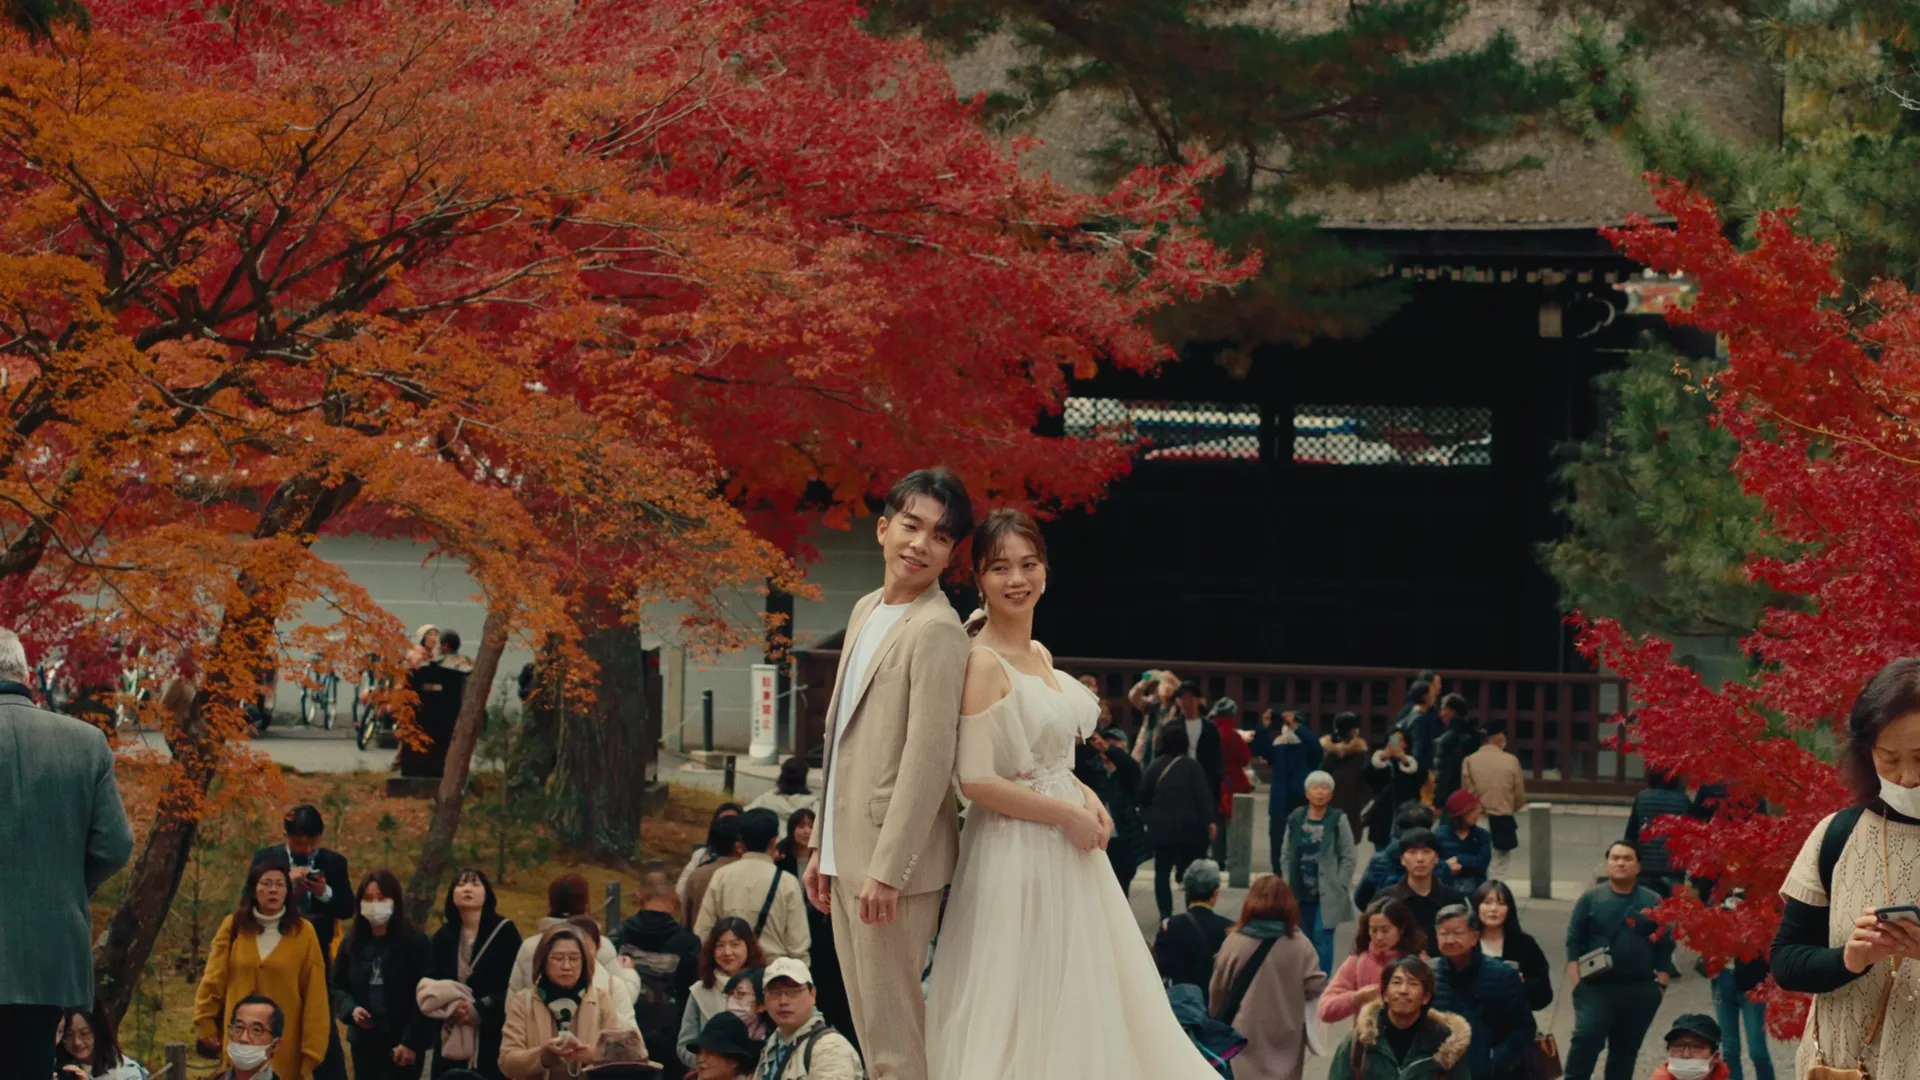
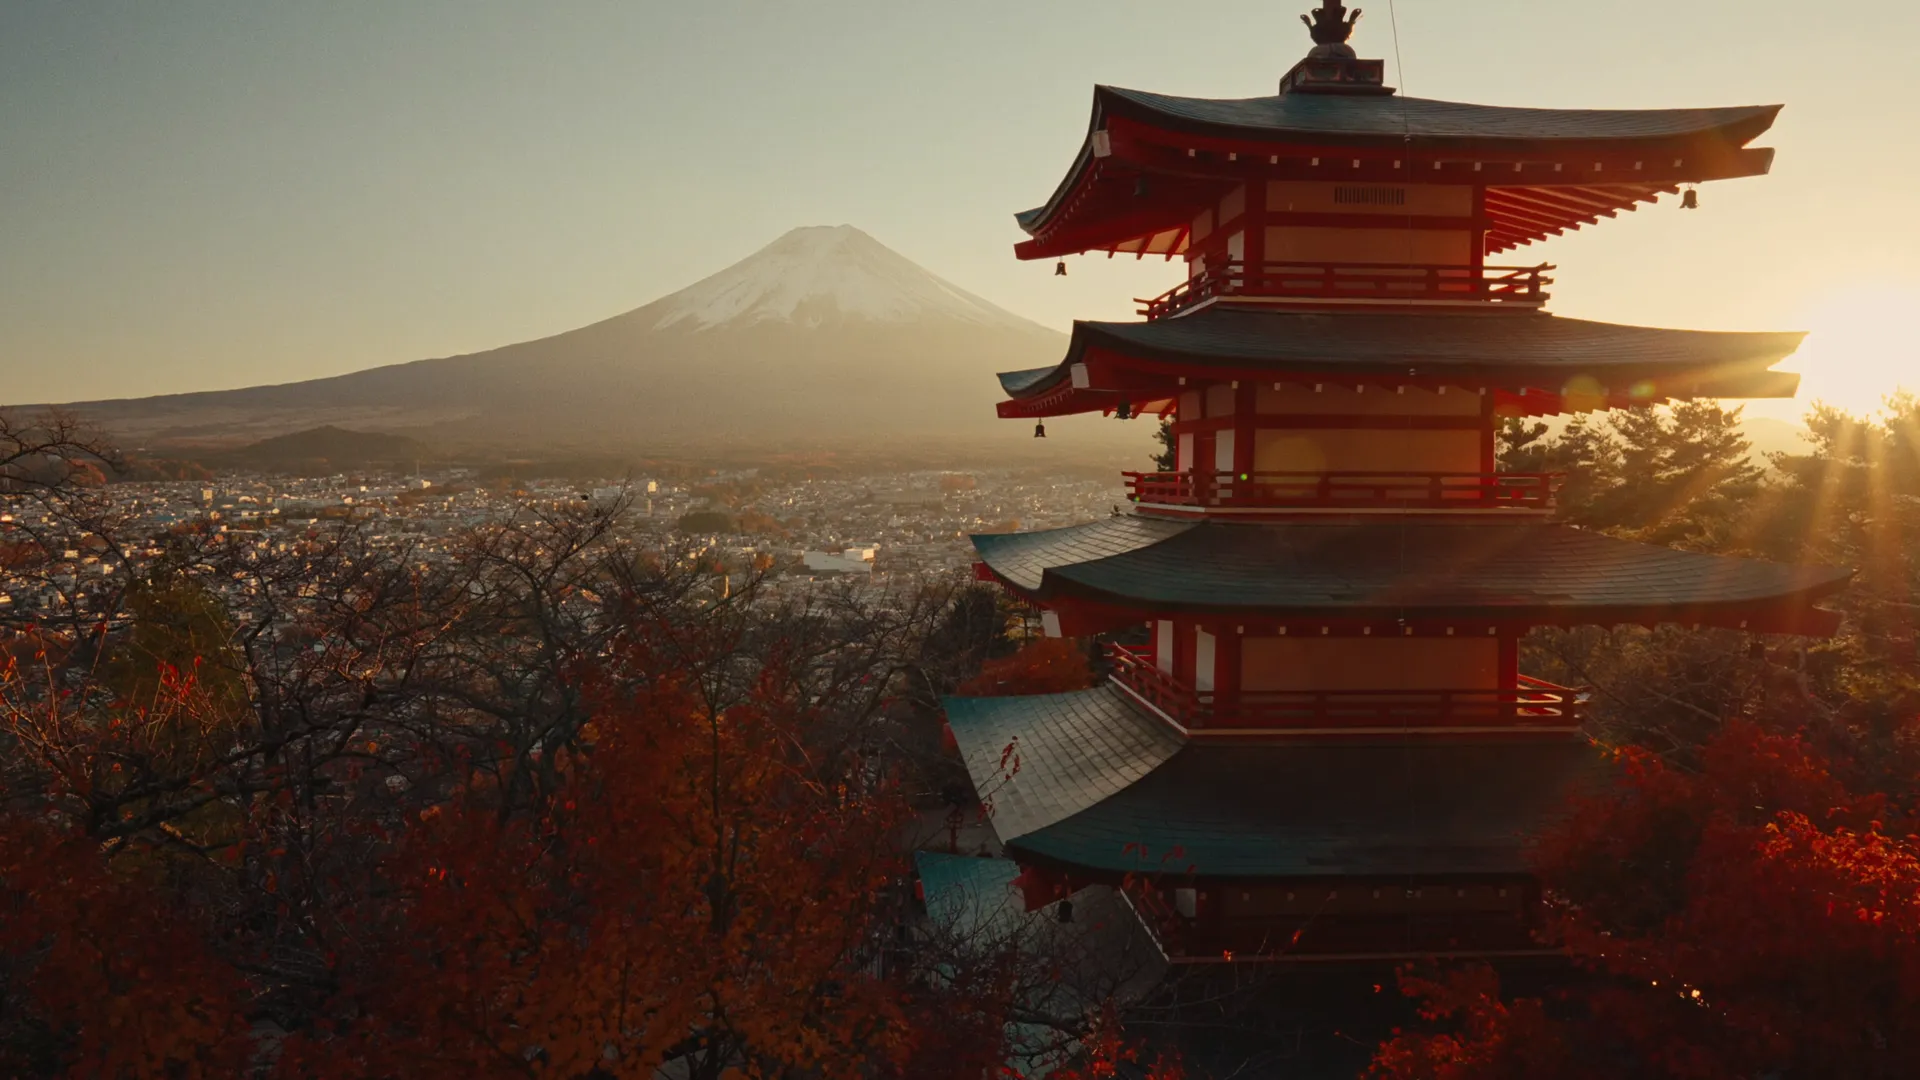
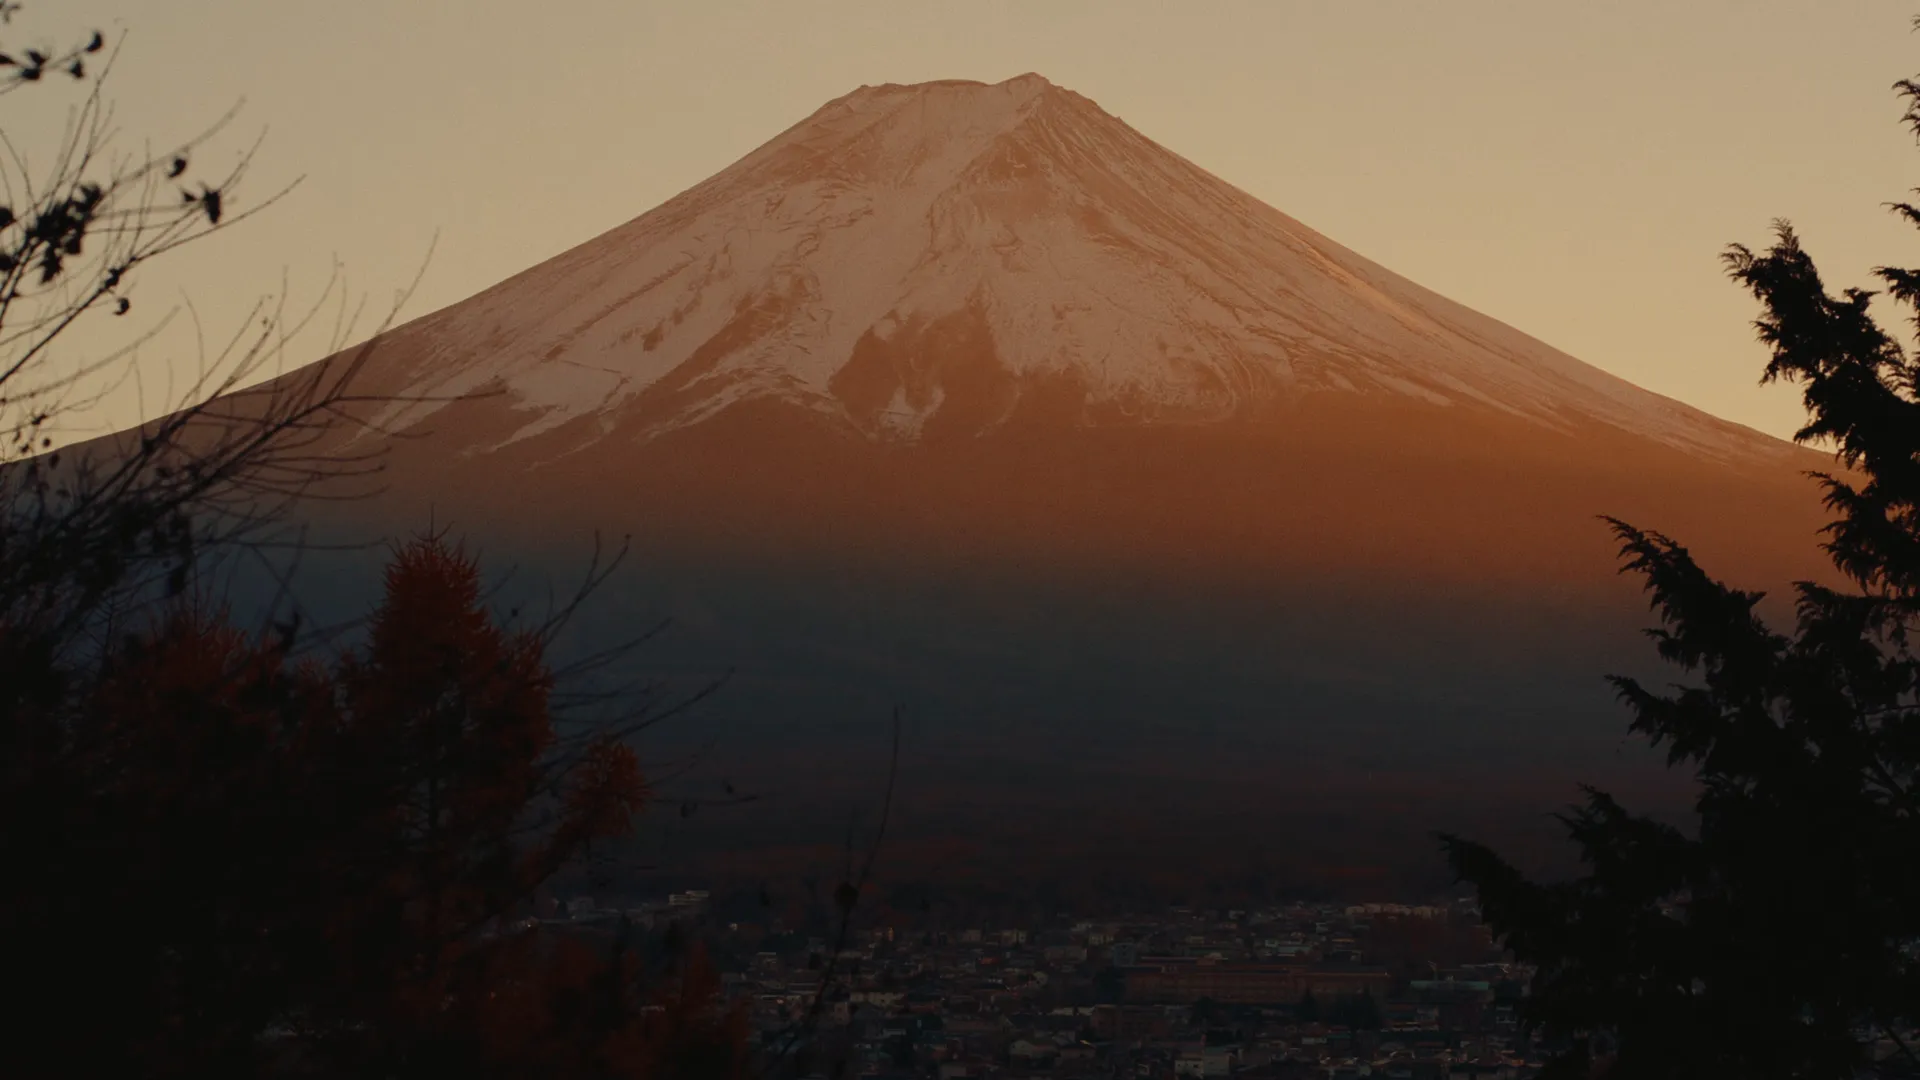
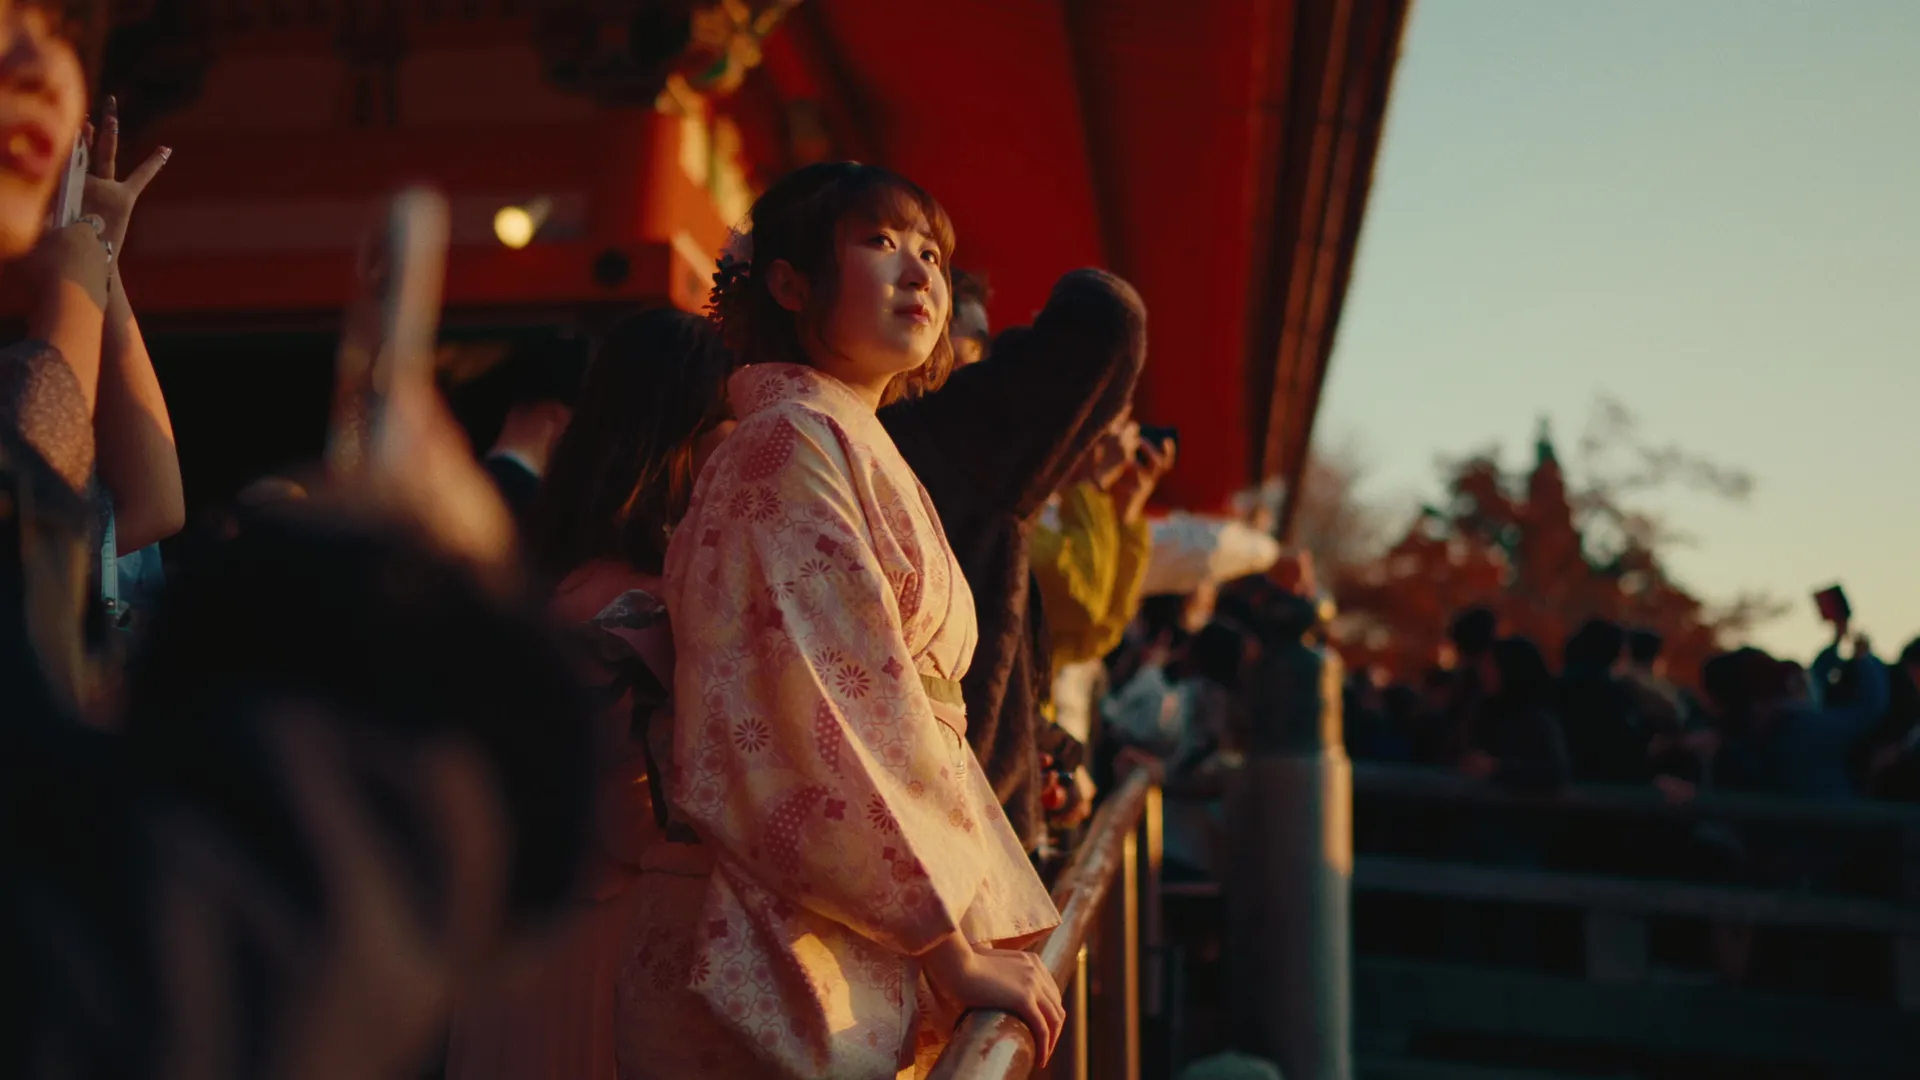
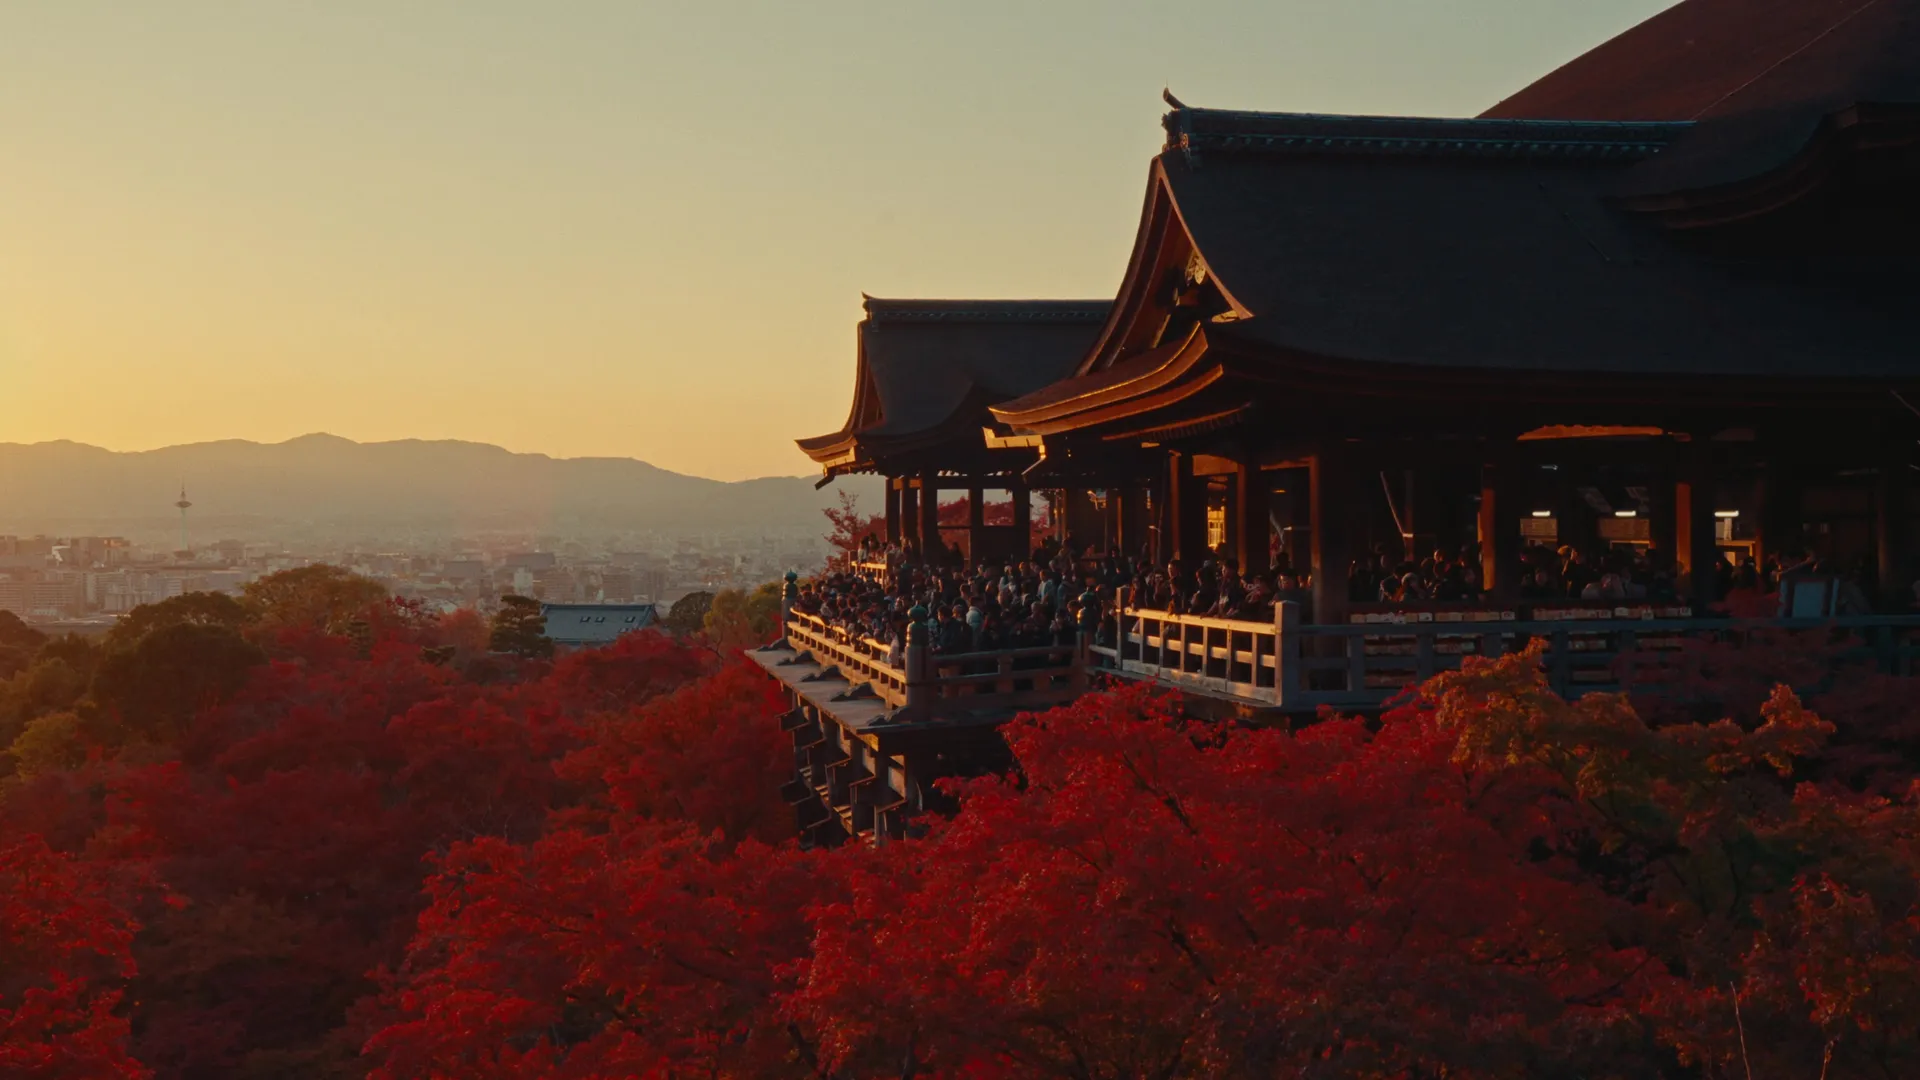
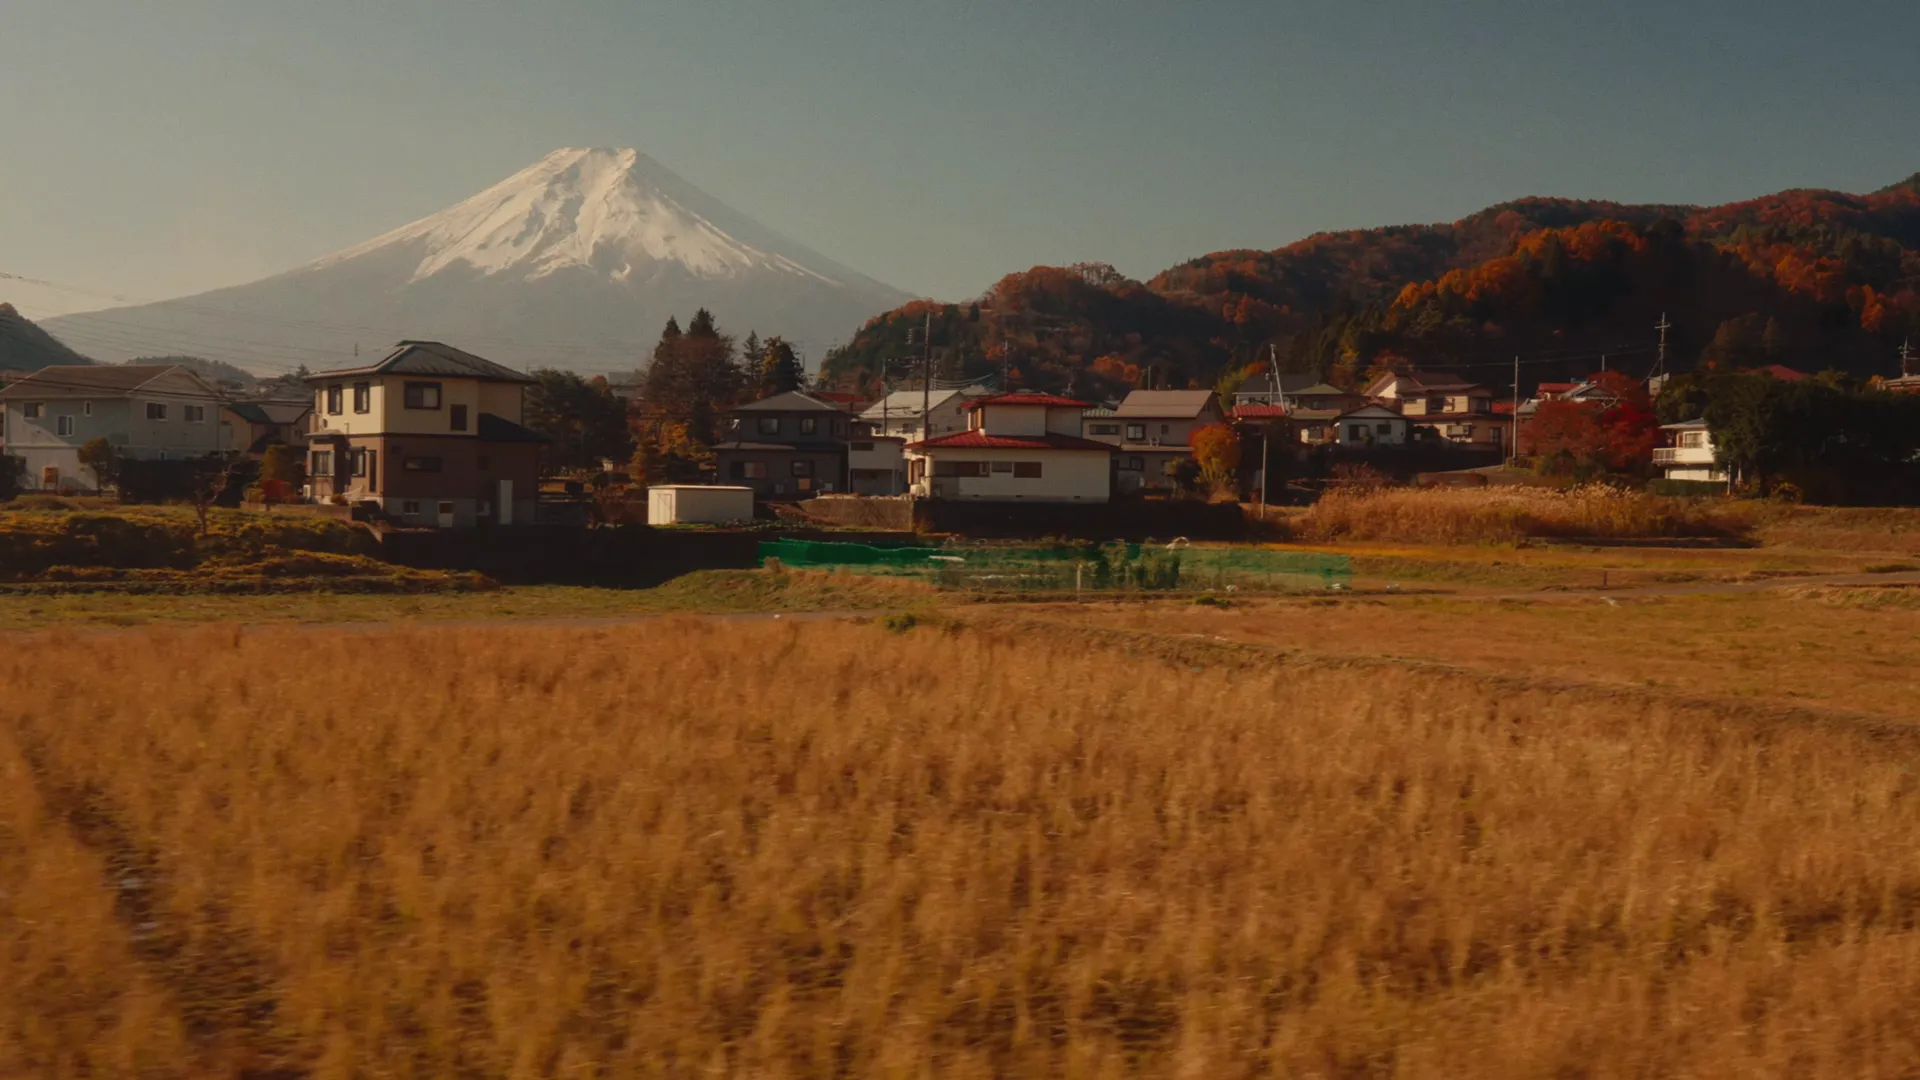
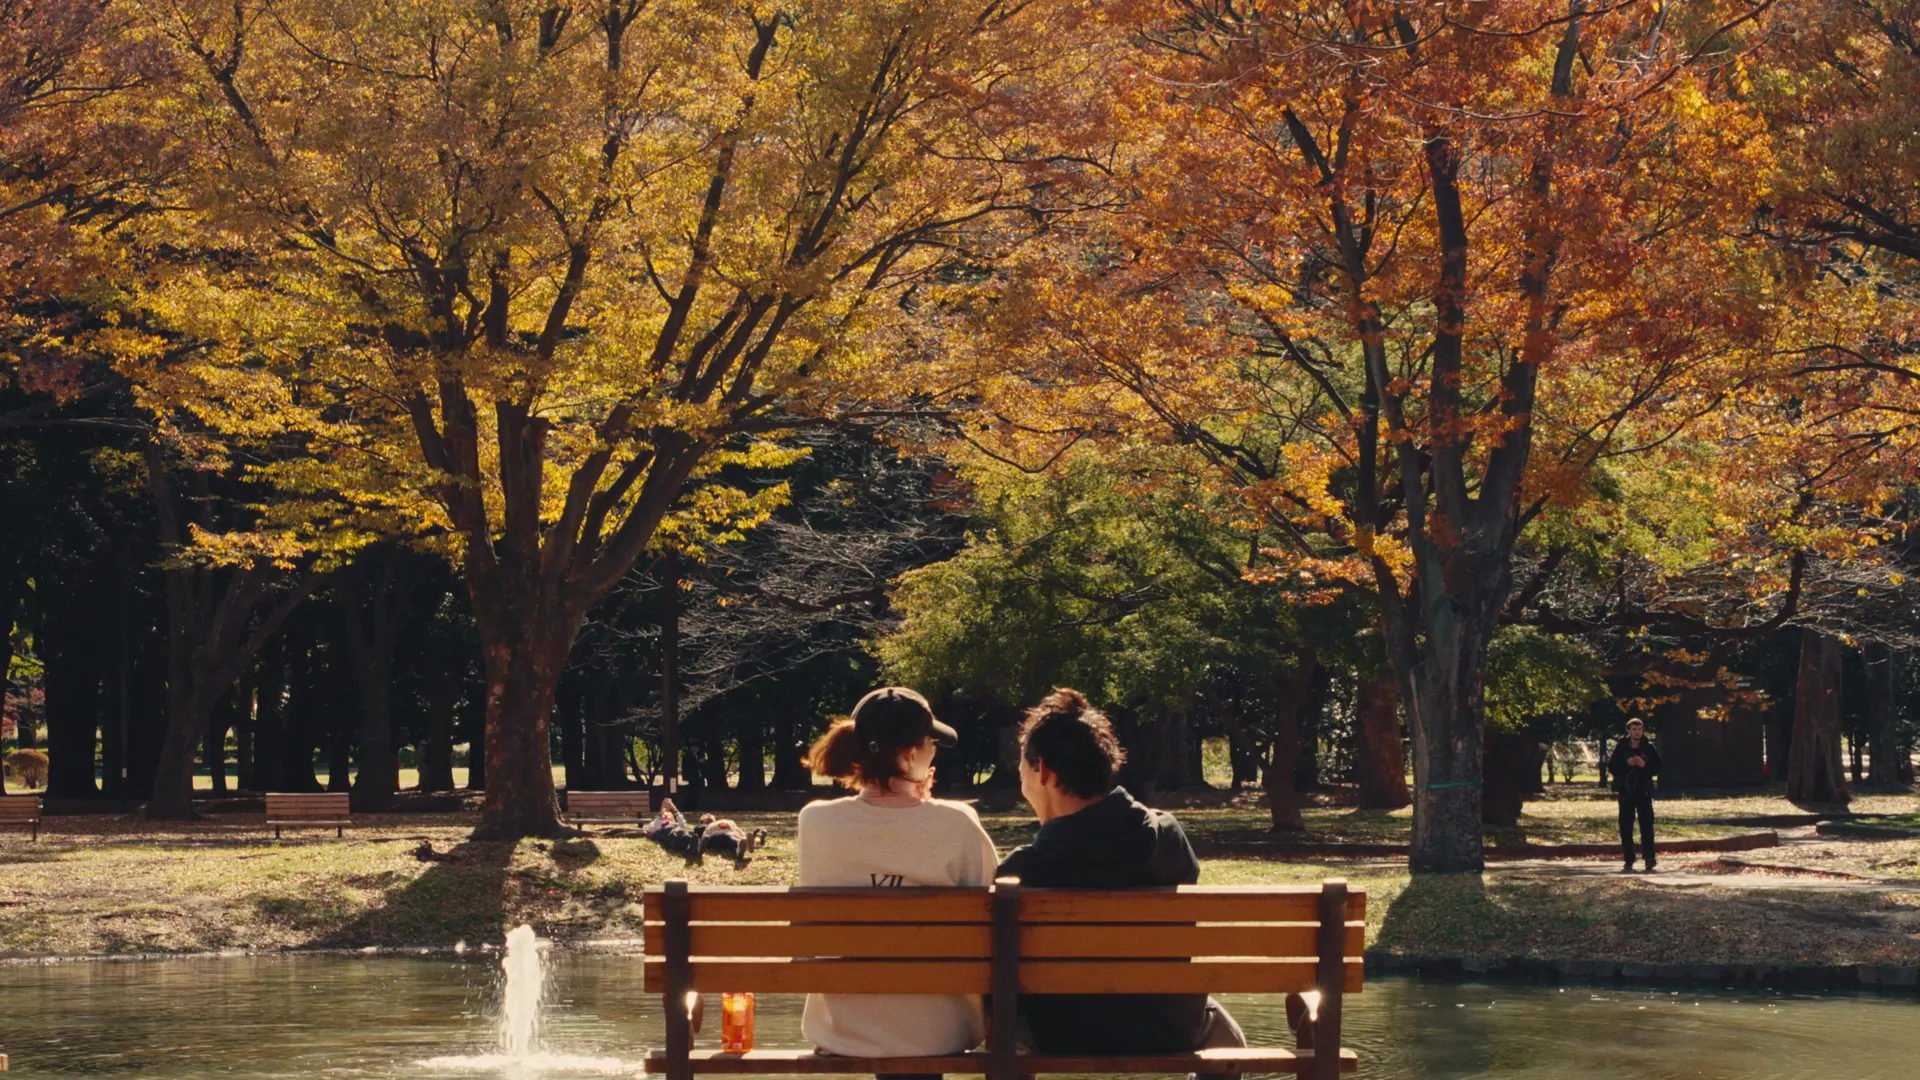
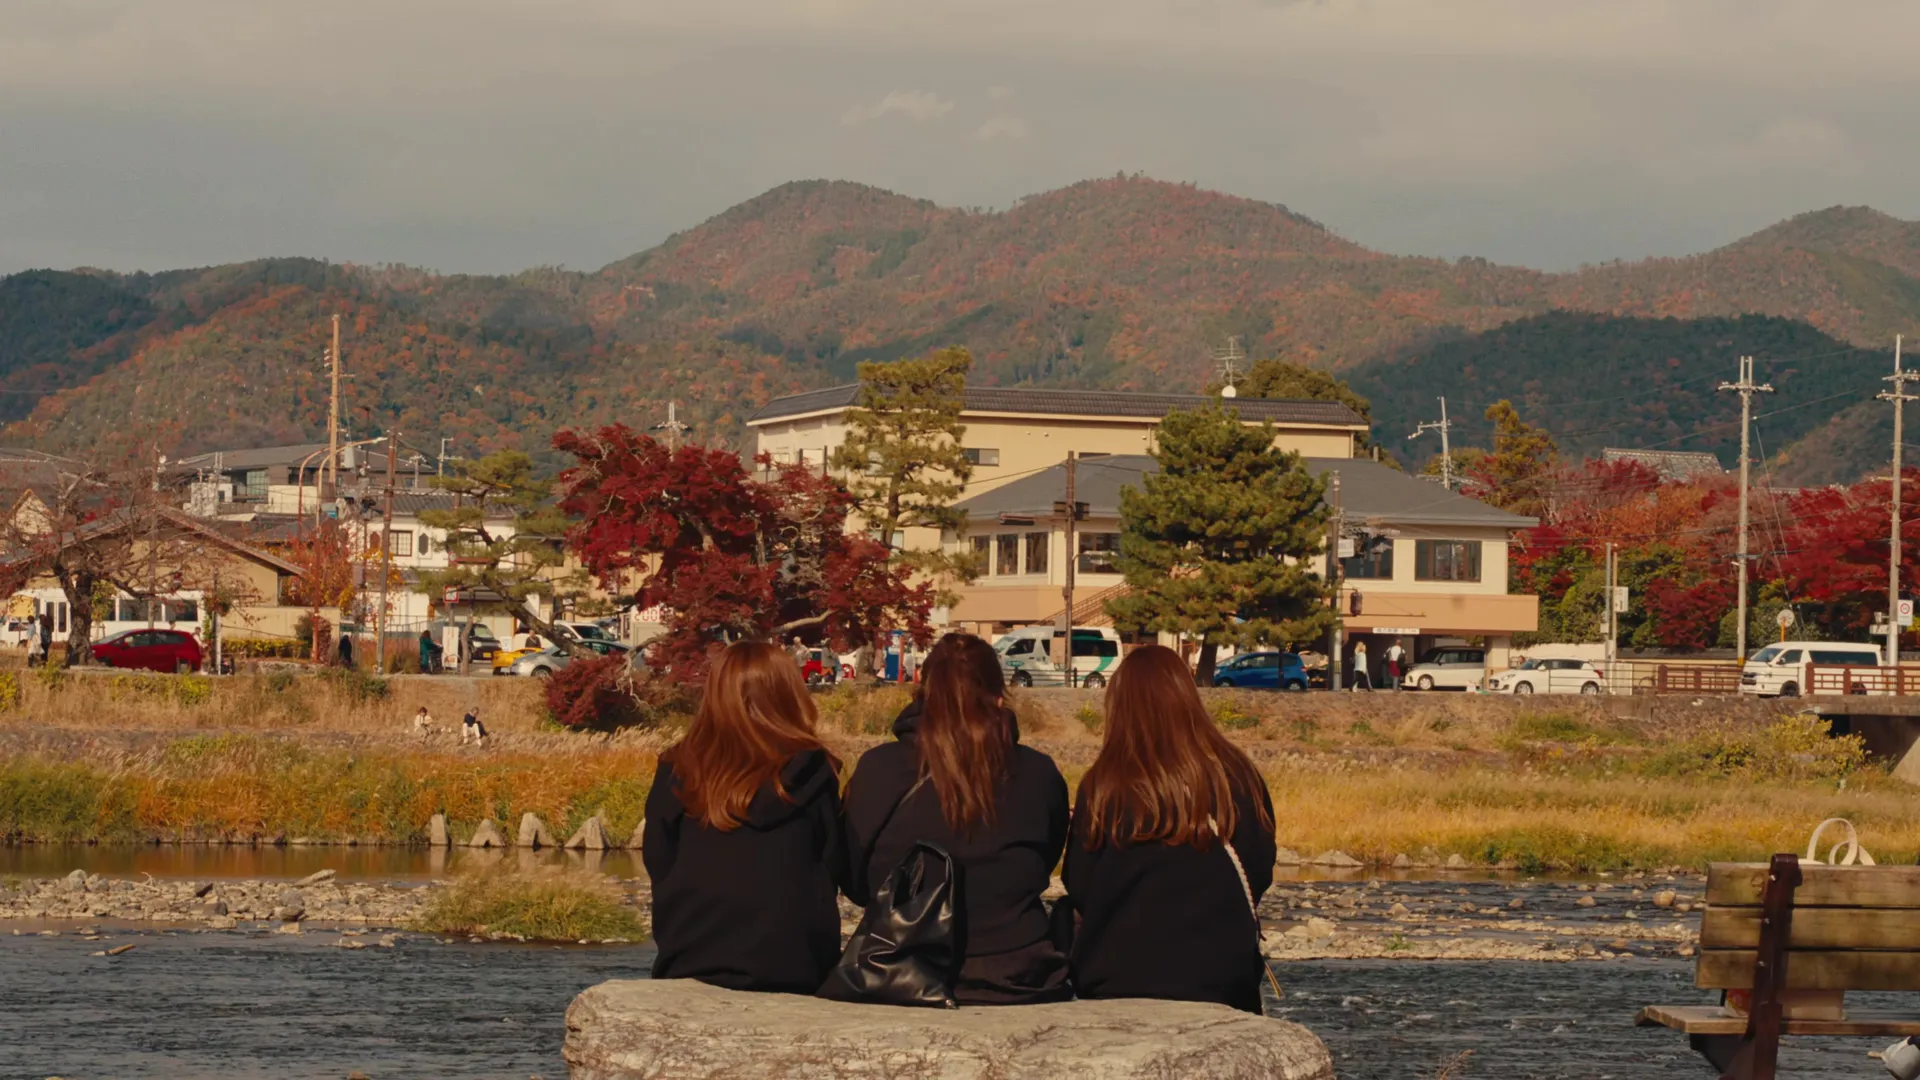
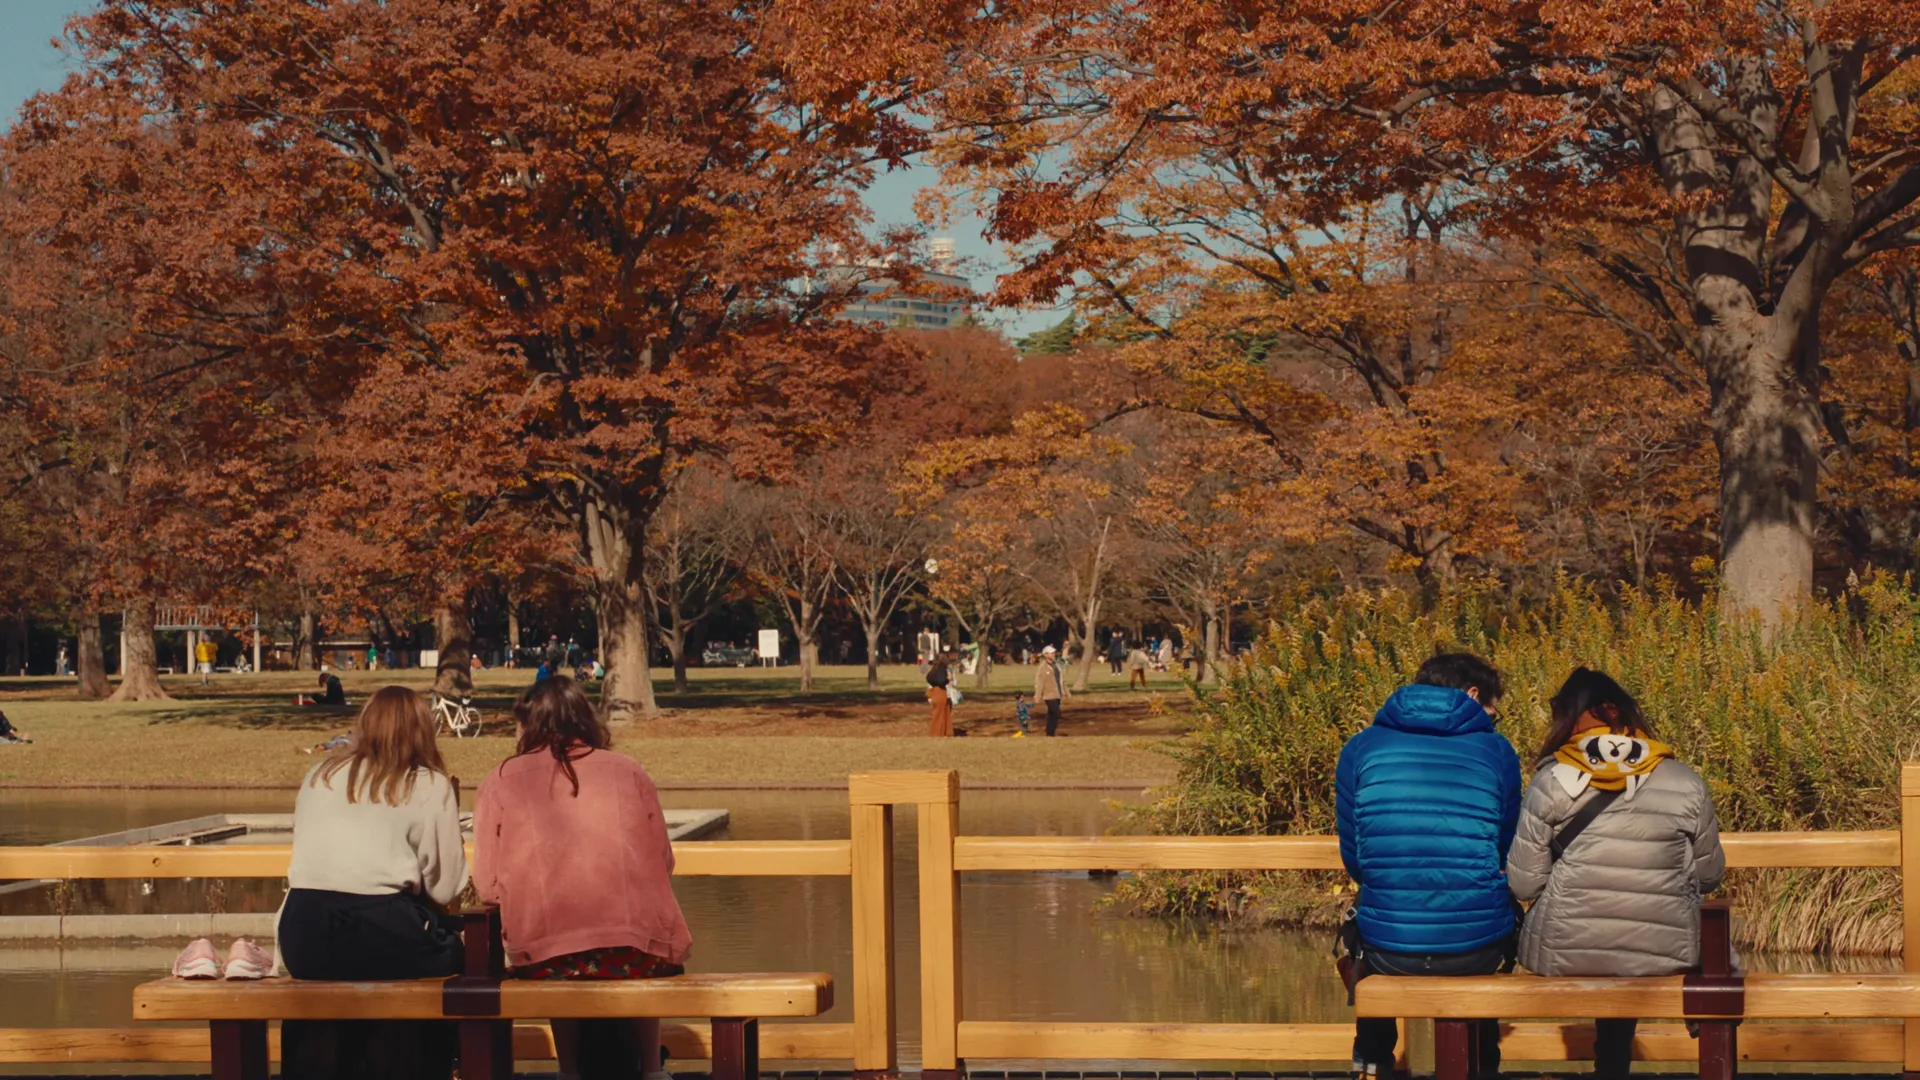
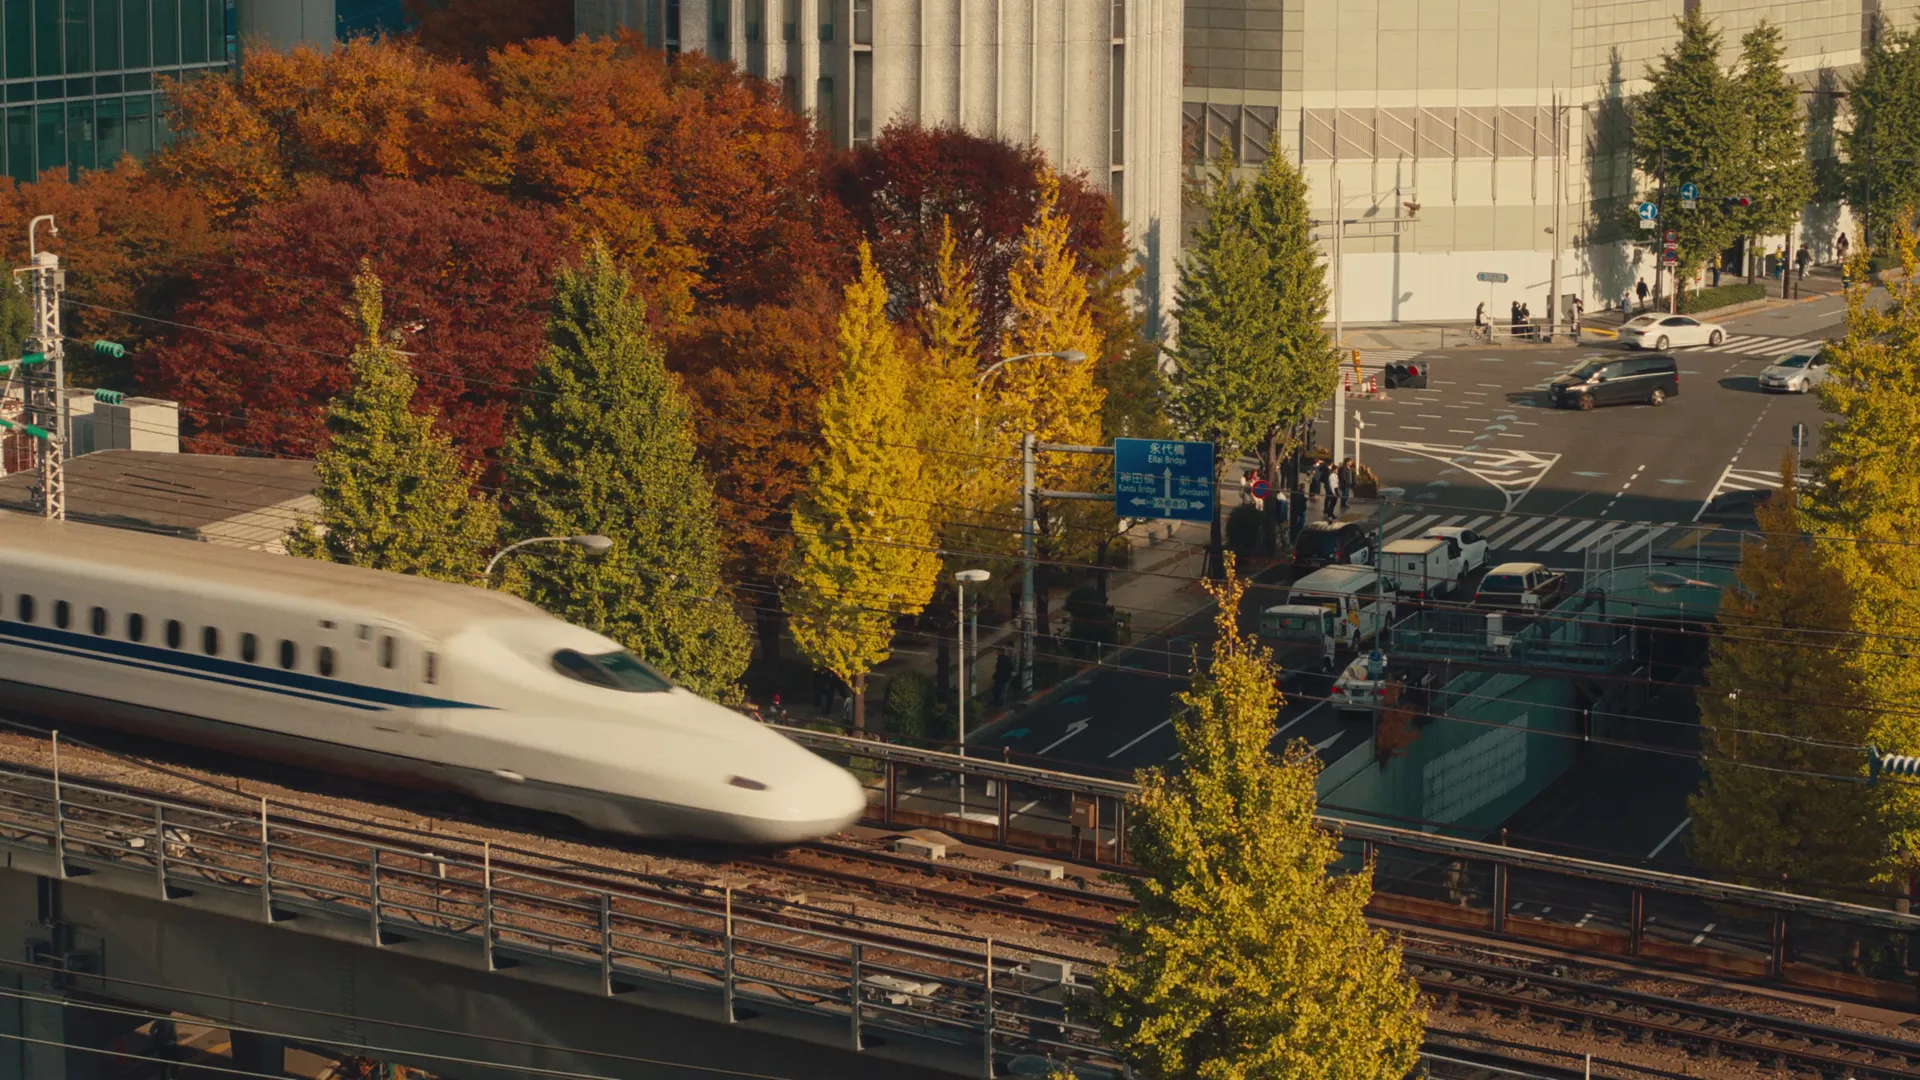
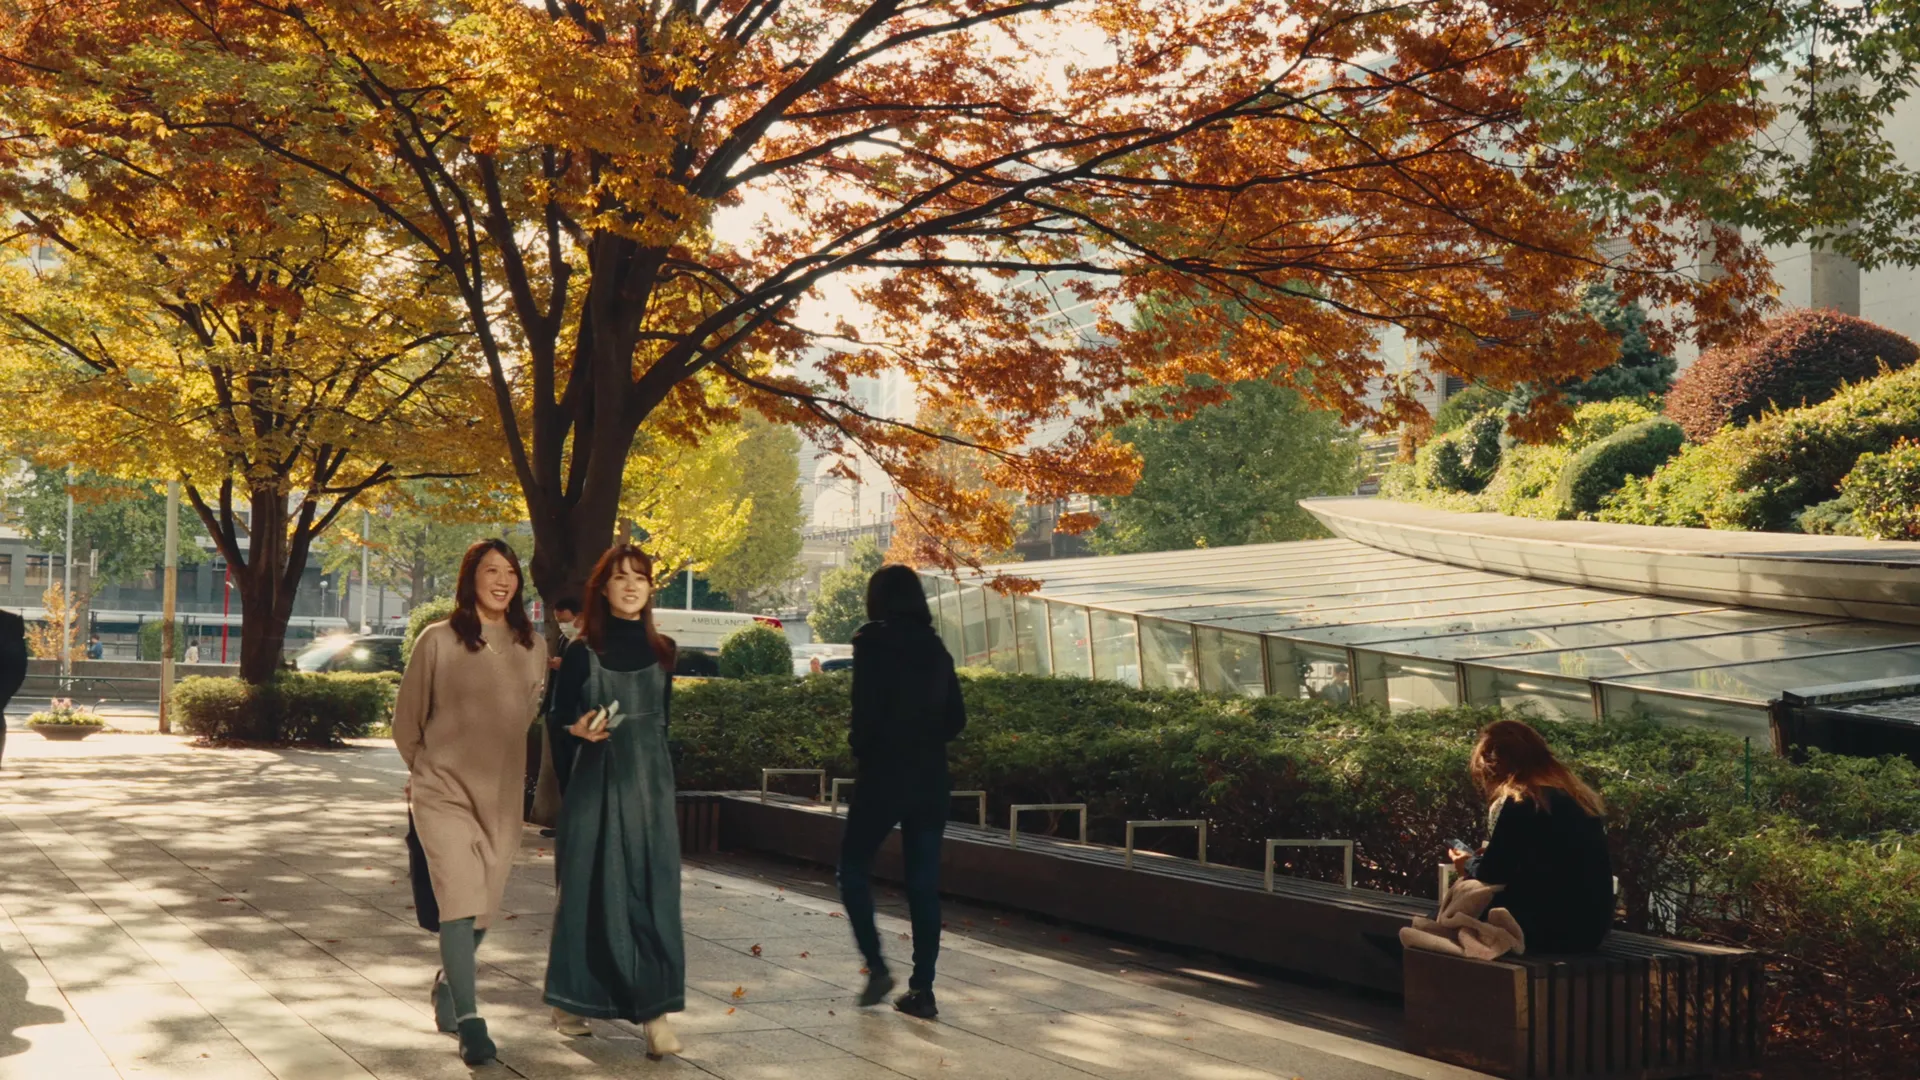
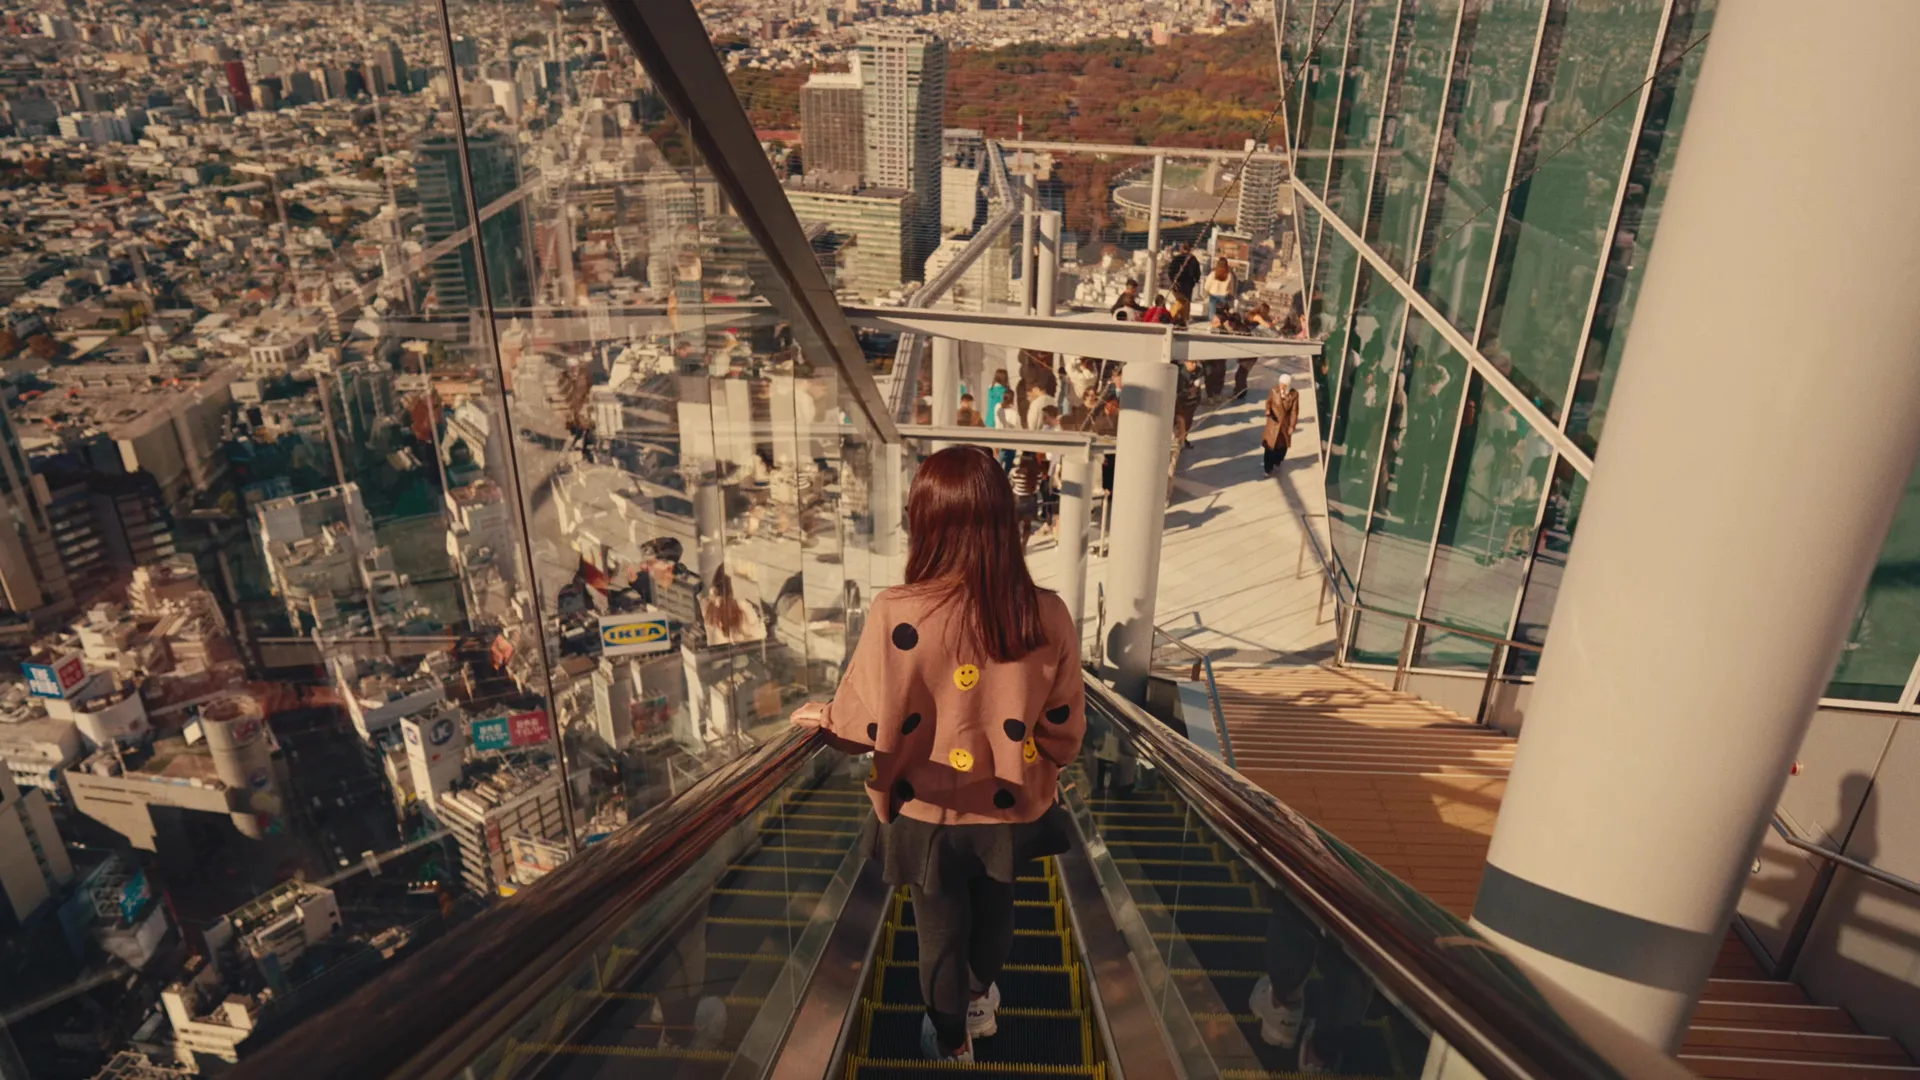
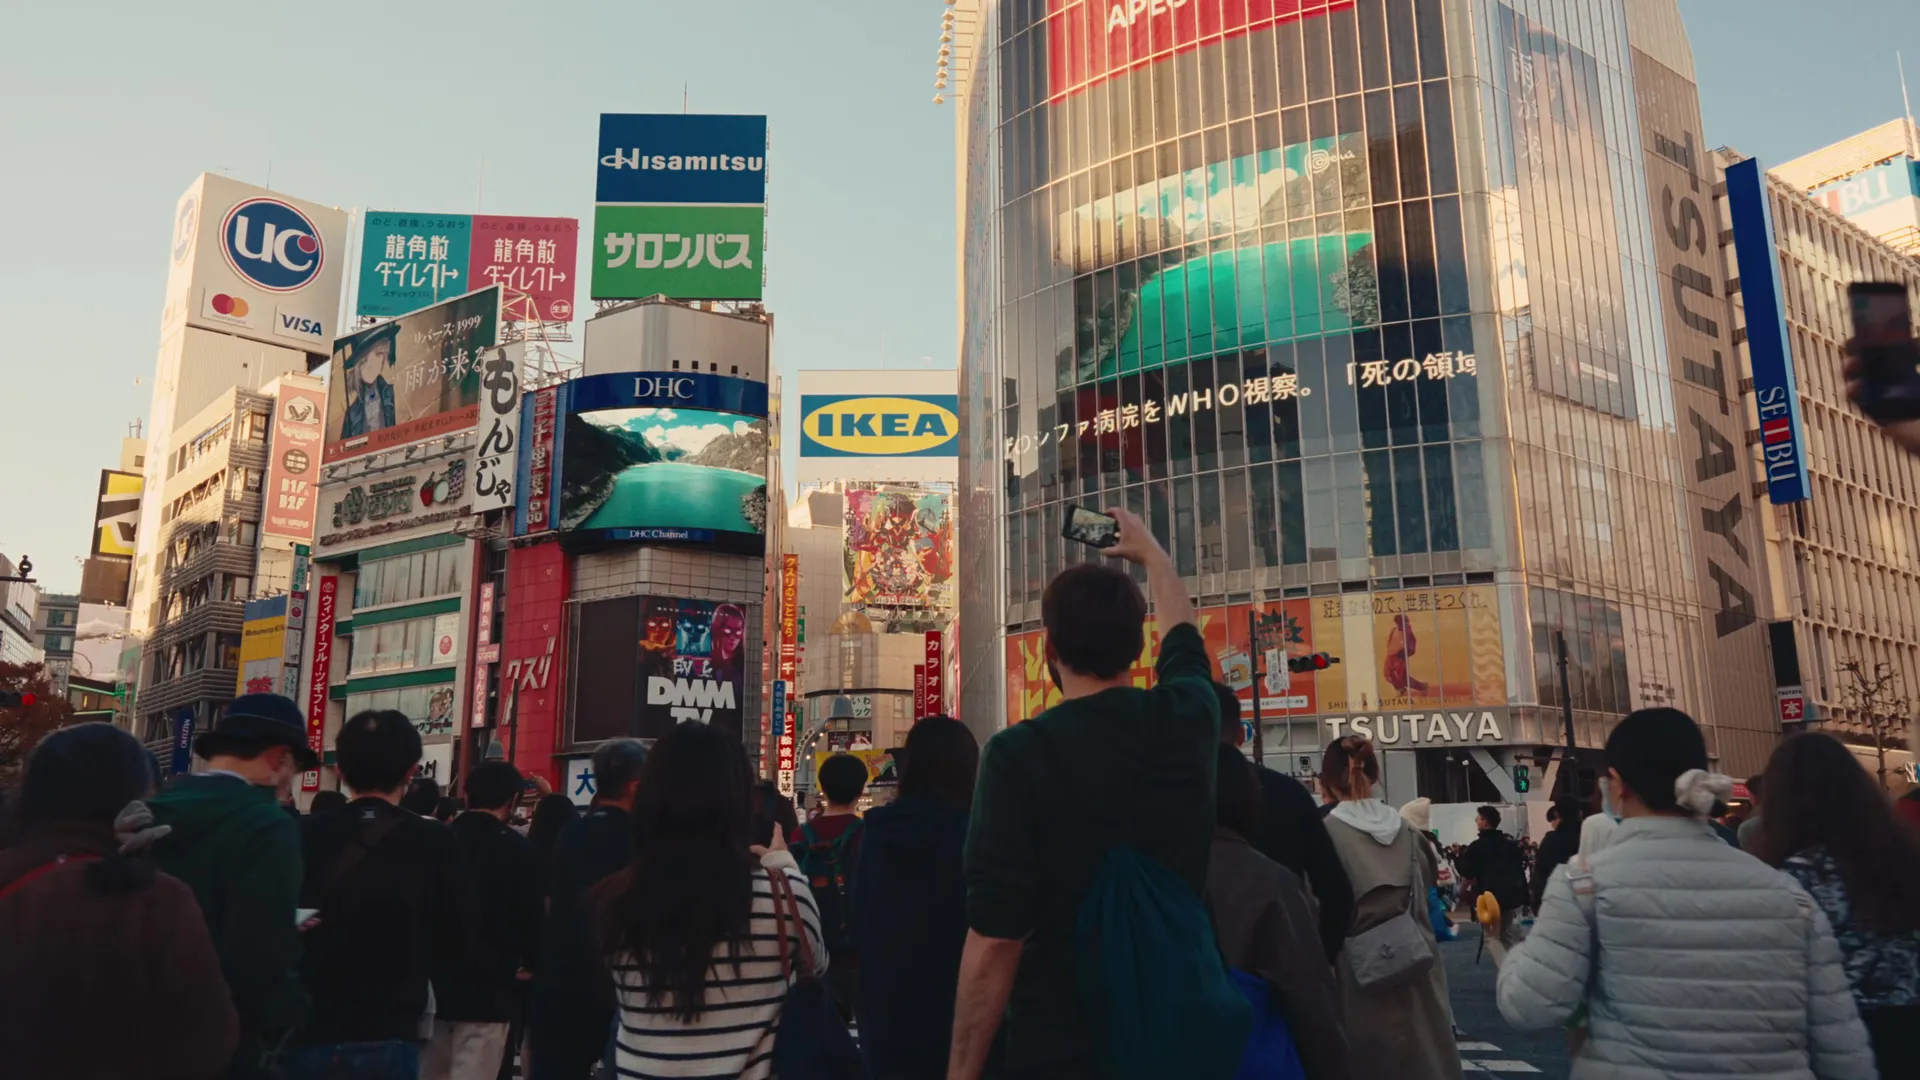
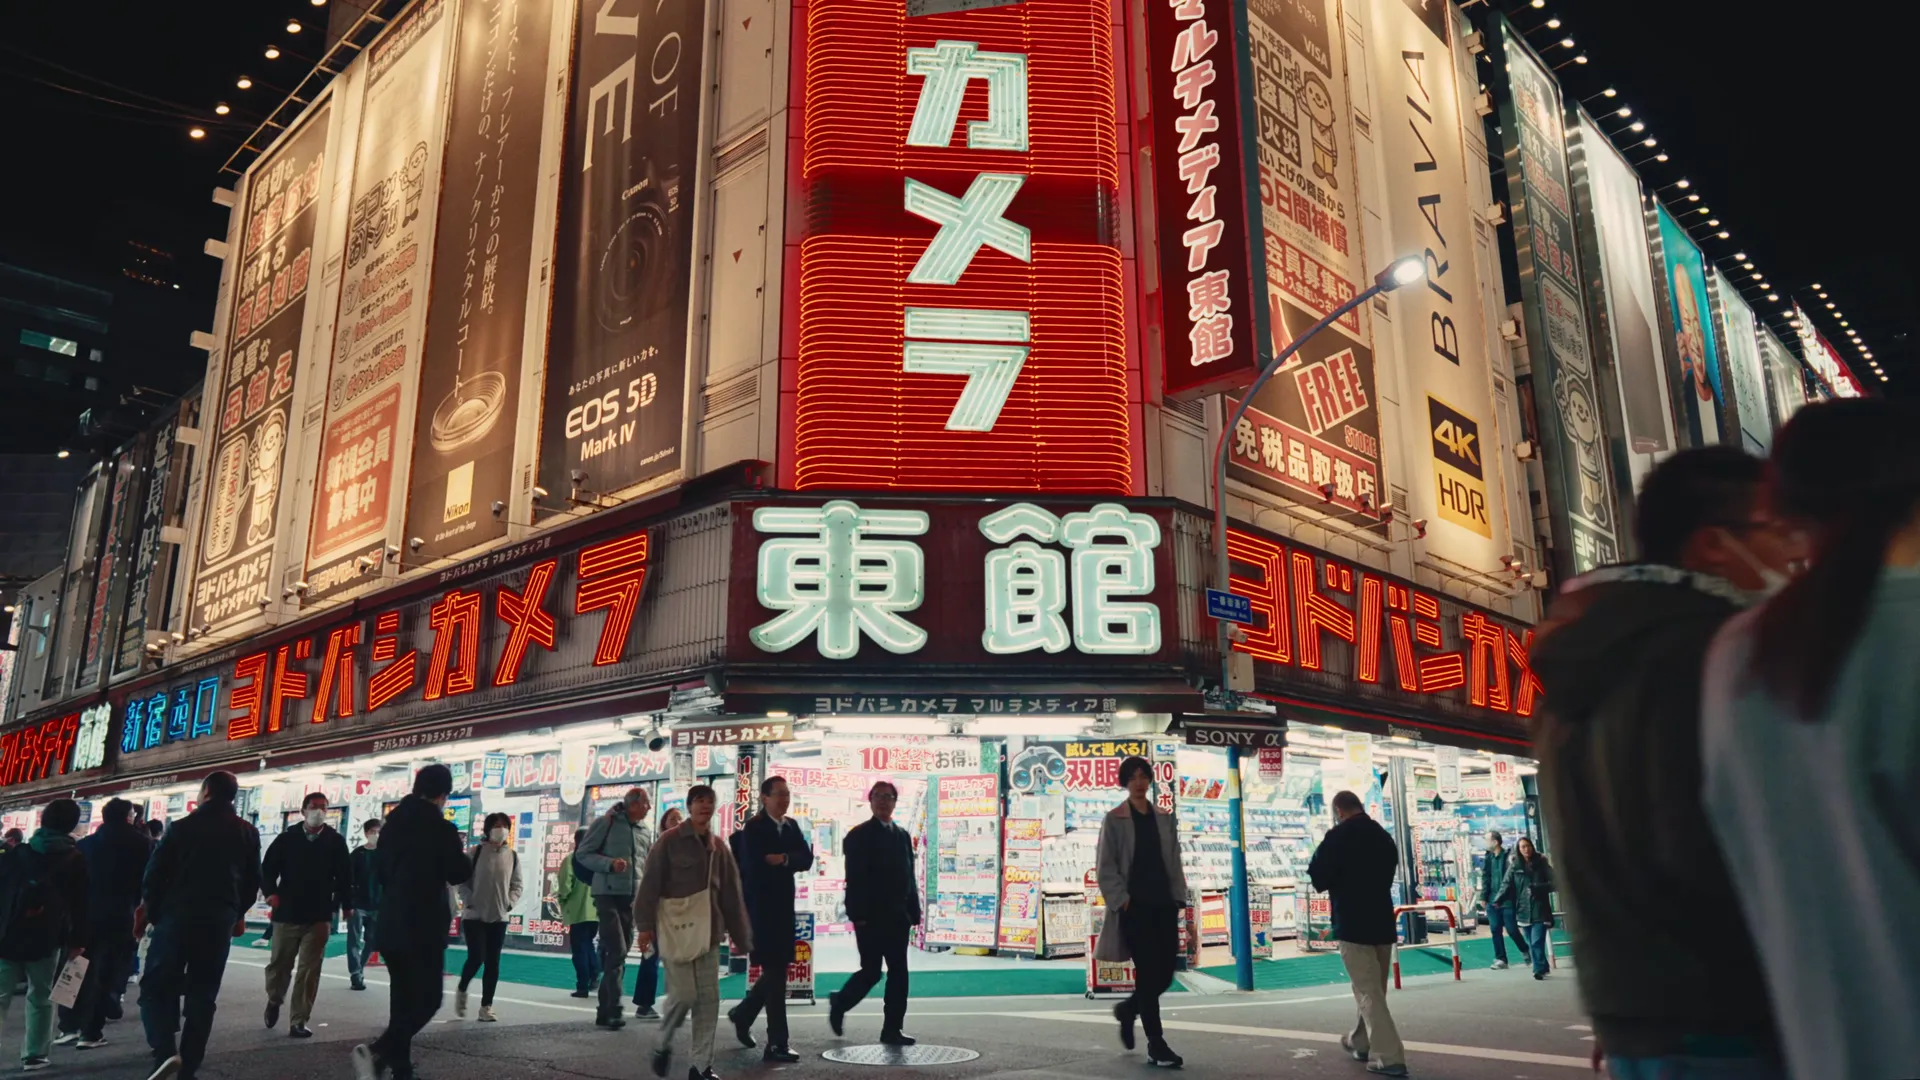
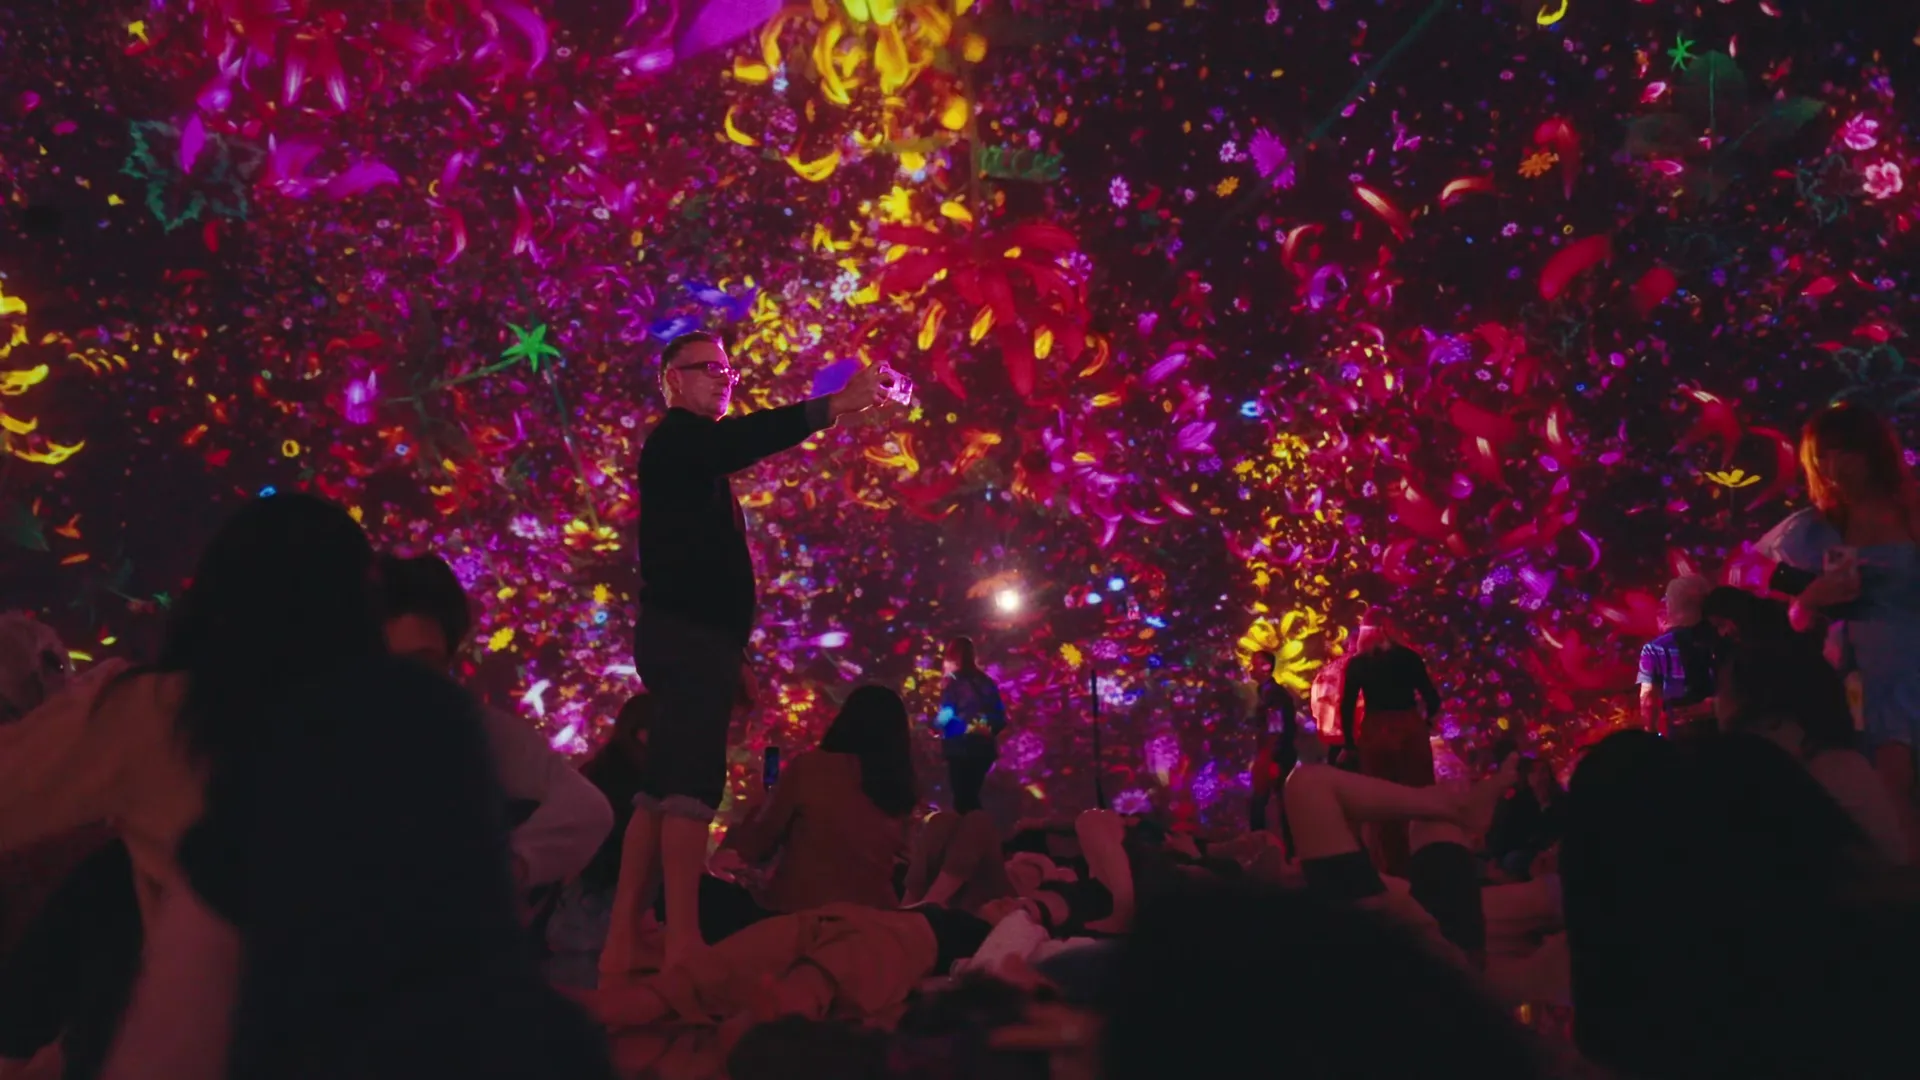
In November 2023, I ventured to Japan on my own.

Whilst I was unsure if it would all work out and if I could even navigate through Japan alone, I knew that with all the challenges that led me here, this would be a trip to remember forever.

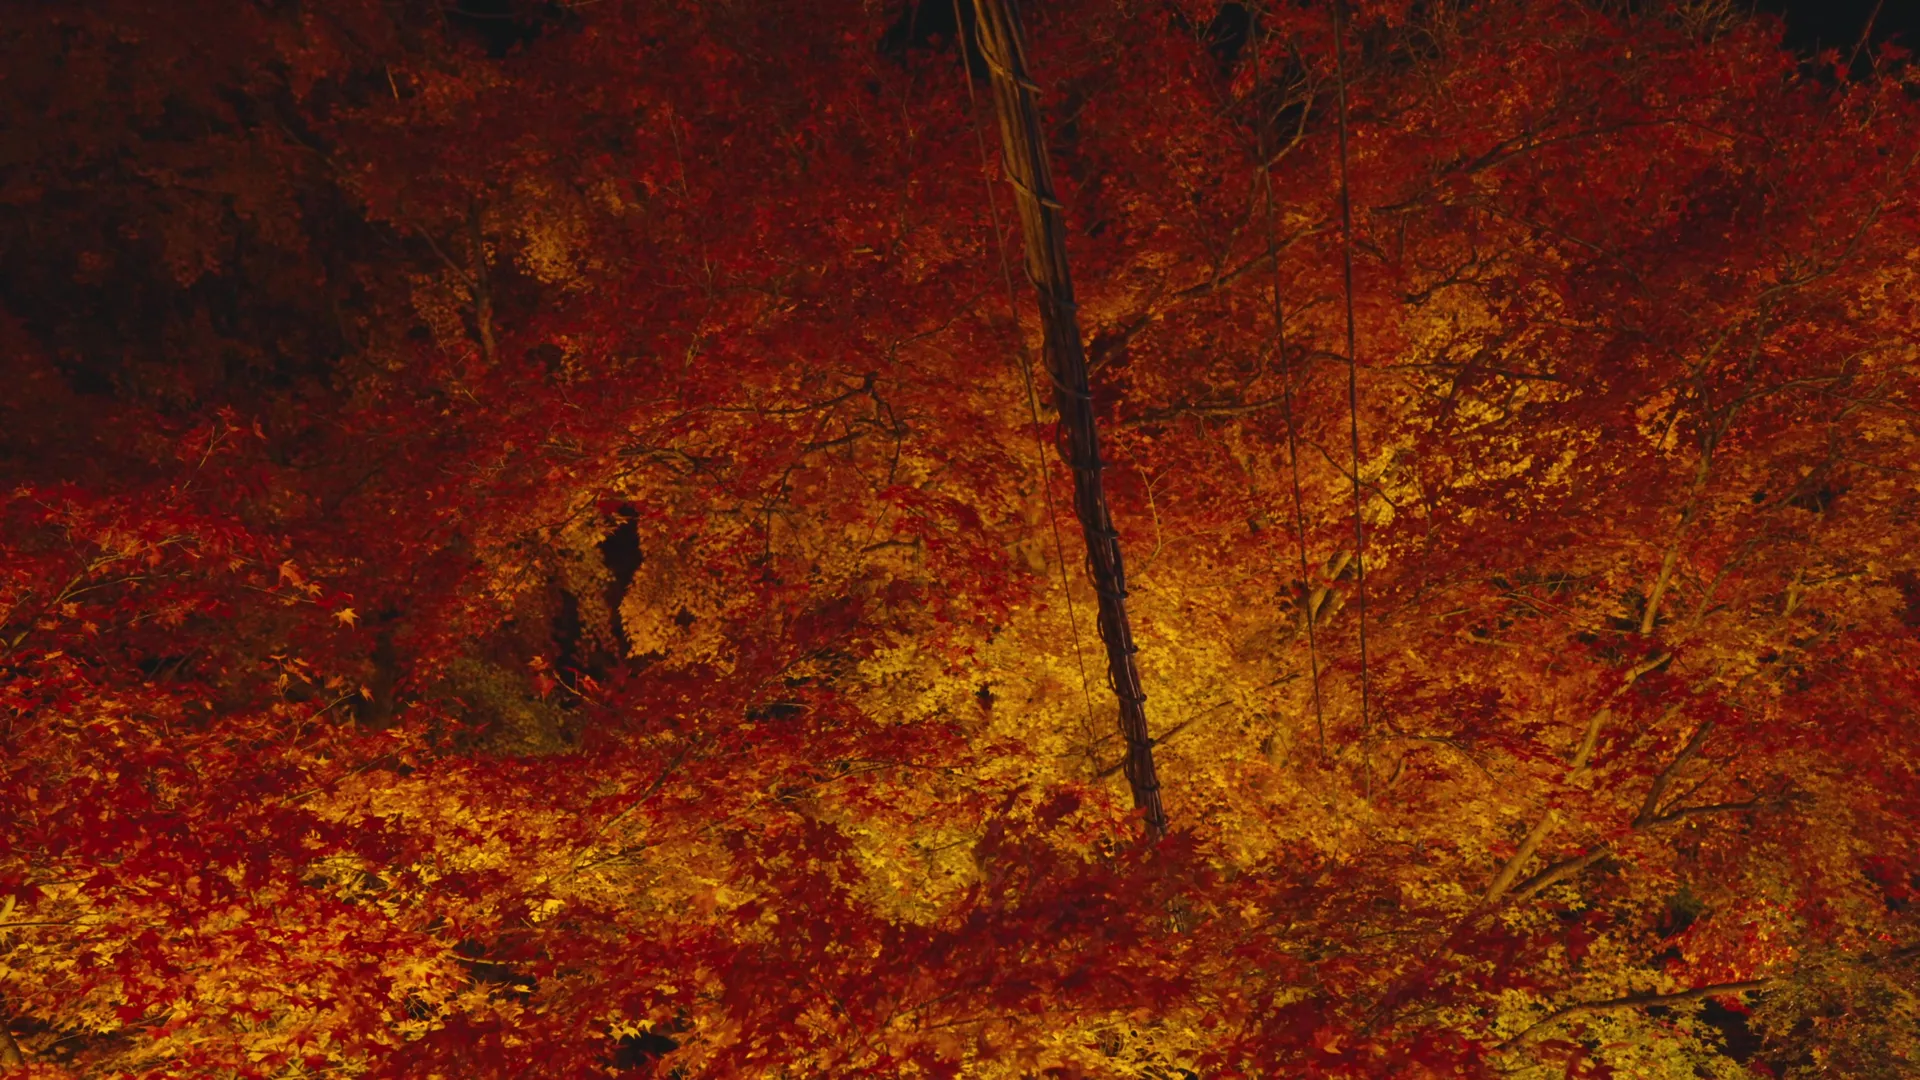
I dedicated & documented my journey to inspiring those who dream of visiting Japan. Whilst it’ll never be the same as being there, I hope to convey the sights and emotions, bringing Japan one step closer to you.

Videos edited & graded in DaVinci Resolve
Photos edited in Capture One & Adobe Photoshop

Videos

Photos

VIDEO STILLS

Contact

Project in mind?
Let’s Chat.

Let’s collaborate and create work that stands out.

It looks like you’re on mobile.

This section was crafted with a larger screen in mind.

Please head over to your Desktop to get started.

Take The Challenge

69 people have taken the challenge!

Can you edit faster than the B-Roll Fade & Finish PRO System?

First, Download the Challenge DaVinci Resolve Project Archive:

Then, follow these simple steps to Import the Project Archive into DaVinci Resolve:

  1. Download & Unzip: Click the download button above and extract the .zip file to your computer. You will see a folder ending in .dra (DaVinci Resolve Archive).

  2. Open the Project Manager: Launch DaVinci Resolve. If you are already in a project, click the Home icon in the bottom right corner to open the Project Manager.

  3. Restore the Archive: Right-click in any empty gray space within the Project Manager window and select “Restore Project Archive…”

  4. Select the Folder: Select the “Take The Challenge.dra” folder and click Open.

  5. Ready to Edit: The project will appear with all the necessary image assets loaded and ready for you to take the challenge.

Then, Choose Your Method below and Start the Stopwatch when you’re ready –

00:00

Time to Beat

Using the PRO Method: 02:14

Using the FREE Method: 03:18

Using the Native Method: 05:21

Choose Your Method

Editing Challenge Steps

For users using only native DaVinci Resolve tools.

Phase 1: The Foundation

Setting up base footage and initial blur transition.

  1. Setup A-Roll: Drag the A-Roll Image from the Media Pool onto Video Track 1.
  2. Add Adjustment Clip: Open the Effects tab (top-right) and drag an Adjustment Clip onto Video Track 2.
  3. Apply Blur: Drag Gaussian Blur (Resolve FX -> Filters) effect onto the Adjustment Clip at Video Track 2.
  4. Animate Blur: With the playhead at the start of the Adjustment Clip, keyframe Blur Strength at 0.000 in the Inspector. Move playhead forward 10 frames and keyframe it at 0.600.

Phase 2: Background Dim & B-Roll Setup

Creating dim transition and preparing first B-Roll.

  1. Create Dim: Drag a Solid Color (Generators category in Effects tab) onto Video Track 3.
  2. Animate Dim: With the playhead at the start of the Solid Color, keyframe Opacity at 0.00 in Inspector. Move playhead forward 10 frames and keyframe it at 40.00.
  3. Place First B-Roll: Drag your first B-Roll Image from the Media Pool onto Video Track 4.
  4. Crop B-Roll: Use the Cropping sliders in the Inspector or the Crop option in the dropdown menu located under the Viewer, to crop to the designated boundary.
  5. Scale & Position B-Roll: Use the Zoom & Position sliders in the Inspector or the Transform option in the dropdown menu located under the Viewer, to scale and center the image.

Phase 3: Polish & Movement

Adding styling and entrance fade animation.

  1. Add Border: Drag the Outer Stroke effect (Effects category in Effects tab) onto the B-Roll image. Set Border Edge to ‘Circle’ and the color to light grey (e.g. #8a8a8a).
  2. Add Subtle Drop Shadow: In the Inspector’s Shadow section of the Outer Stroke effect, set Softness to 0.0112, Light Distance to 0.96, and Blend to 0.75.
  3. Set Animation Keyframes: Ensure the playhead is already forward 10 frames. In the Video tab of the Inspector, set keyframes for both Position and Opacity (under Composite) without changing the values.
  4. Entrance Animation: Move the playhead to the start of the B-Roll clip. Adjust the Y Position in Inspector down by about 100.000 and then set the Opacity (under Composite) to 0.00.

Phase 4: Final Adjustments & Batch

Final framing and batch applying effects.

  1. Extend Timeline: Add subsequent B-Roll Images from Media Pool to Video Track 4. Extend Video Tracks 1, 2 & 3 to match the total length of your B-Roll sequence.
  2. Final Crop, Scale & Position: For each remaining B-Roll image, repeat Steps 8 and 9 to ensure individual cropping and centering are correct.
  3. Batch Apply Attributes: Select the first B-Roll image and press Ctrl + C. Select all remaining B-Roll images and press Alt + V to open the Paste Attributes panel. Check only the Fusion Effects box and click Apply.

Editing Challenge Steps

For users utilising the free version of the B-Roll Fade & Finish tool.

Phase 1: The Foundation

Setting up base footage and A-Roll tool.

  1. Setup A-Roll: Drag the A-Roll Image from the Media Pool onto Video Track 1.
  2. Add Adjustment Clip: Open the Effects tab (top-right) and drag an Adjustment Clip onto Video Track 2.
  3. Apply A-Roll Effect: Drag and drop the ‘A-Roll Blur & Dim’ effect onto the Adjustment Clip on Video Track 2.

Phase 2: B-Roll Setup & Framing

Applying B-Roll tool and framing.

  1. Place First B-Roll: Drag your first B-Roll Image from the Media Pool onto Video Track 3.
  2. Apply B-Roll Effect: Drag and drop the ‘B-Roll Fade & Finish – FO’ effect onto the B-Roll Image on Video Track 3.
  3. Move Playhead: Move the Playhead forward 10 frames. In the dropdown menu located under the Viewer, select the Fusion Overlay option.
  4. Crop, Scale & Position: From the Starting Position, use the Outer Frame and Left Point to crop the B-Roll. Use the Inner Frame to scale the B-Roll image and the Right Point to center it.

Phase 3: Animation & Extension

Setting keyframes and extending timeline.

  1. Set Keyframe: With the Playhead still at 10 frames, click the keyframe icon next to the ‘Center’ parameter (under Scale & Positioning) in the Inspector.
  2. Animate Position: Move the Playhead to the start of the B-Roll clip. In the Inspector, adjust the Y Center slider down by approximately 100.000.
  3. Extend Timeline: Add subsequent B-Roll Images from Media Pool to Video Track 3. Then extend the A-Roll (Video Track 1) and Adjustment Clip (Video Track 2) to match the total length of your B-Roll sequence.

Phase 4: Batch & Final Adjustments

Batch applying effects and final framing.

  1. Apply B-Roll Effect to Second B-Roll: Drag the B-Roll Fade & Finish – FO effect from the Effects tab onto the second B-Roll image and set the Fade In Duration to 0.0 in the Inspector.
  2. Batch Apply Attributes: Select the second B-Roll image and press Ctrl + C. Select all remaining B-Roll images and press Alt + V to open the Paste Attributes panel. Check only the Fusion Effects box and click Apply.
  3. Final Crop, Scale & Position: Repeat Step 7 for each remaining B-Roll image to ensure individual cropping and centering are correct.

Editing Challenge Steps

For users utilising the B-Roll Fade & Finish PRO System.

Phase 1: The Foundation

Setting up base footage and PRO A-Roll tool.

  1. Setup A-Roll: Drag the A-Roll Image from the Media Pool onto Video Track 1.
  2. Add Adjustment Clip: Open the Effects tab (top-right), go to the Effects category, and drag an Adjustment Clip onto Video Track 2.
  3. Apply A-Roll Effect: Drag and drop the ‘A-Roll Blur & Dim PRO’ effect onto the Adjustment Clip on Video Track 2.

Phase 2: B-Roll Setup & Framing

Applying PRO B-Roll tool and framing.

  1. Place First B-Roll: Drag your first B-Roll Image from the Media Pool onto Video Track 3.
  2. Apply B-Roll Effect: Drag and drop the ‘B-Roll Fade & Finish PRO’ effect directly onto the B-Roll Image on Video Track 3.
  3. Move Playhead: Move the Playhead forward 10 frames. In the dropdown menu located under the Viewer, select the Fusion Overlay option.
  4. Crop, Scale & Position: Use the Diagonal Points to crop the B-Roll to the designated boundary. Use the Outer Frame to scale the image and the Center Point to position it within the composition.

Phase 3: Animation & Extension

Setting movement and extending timeline.

  1. Configure Animation: In the Inspector panel, go to the ‘Fade & Animation’ section and set the In Animation parameter to ‘Up’.
  2. Extend Timeline: Add subsequent B-Roll Images from Media Pool to Video Track 3. Then extend the A-Roll (Video Track 1) and Adjustment Clip (Video Track 2) to match the total length of your B-Roll sequence.

Phase 4: Batch & Final Adjustments

Batch applying effects and final framing.

  1. Apply B-Roll Effect to Second B-Roll: Drag the B-Roll Fade & Finish PRO effect from the Effects tab onto the second B-Roll image and set the Fade In Duration to Static in the Inspector.
  2. Batch Apply Attributes: Select the second B-Roll image and press Ctrl + C. Select all remaining B-Roll images and press Alt + V to open the Paste Attributes panel. Check only the Fusion Effects box and click Apply.
  3. Final Crop, Scale & Position: Repeat Step 7 for each remaining B-Roll image to ensure individual cropping and centering are correct.