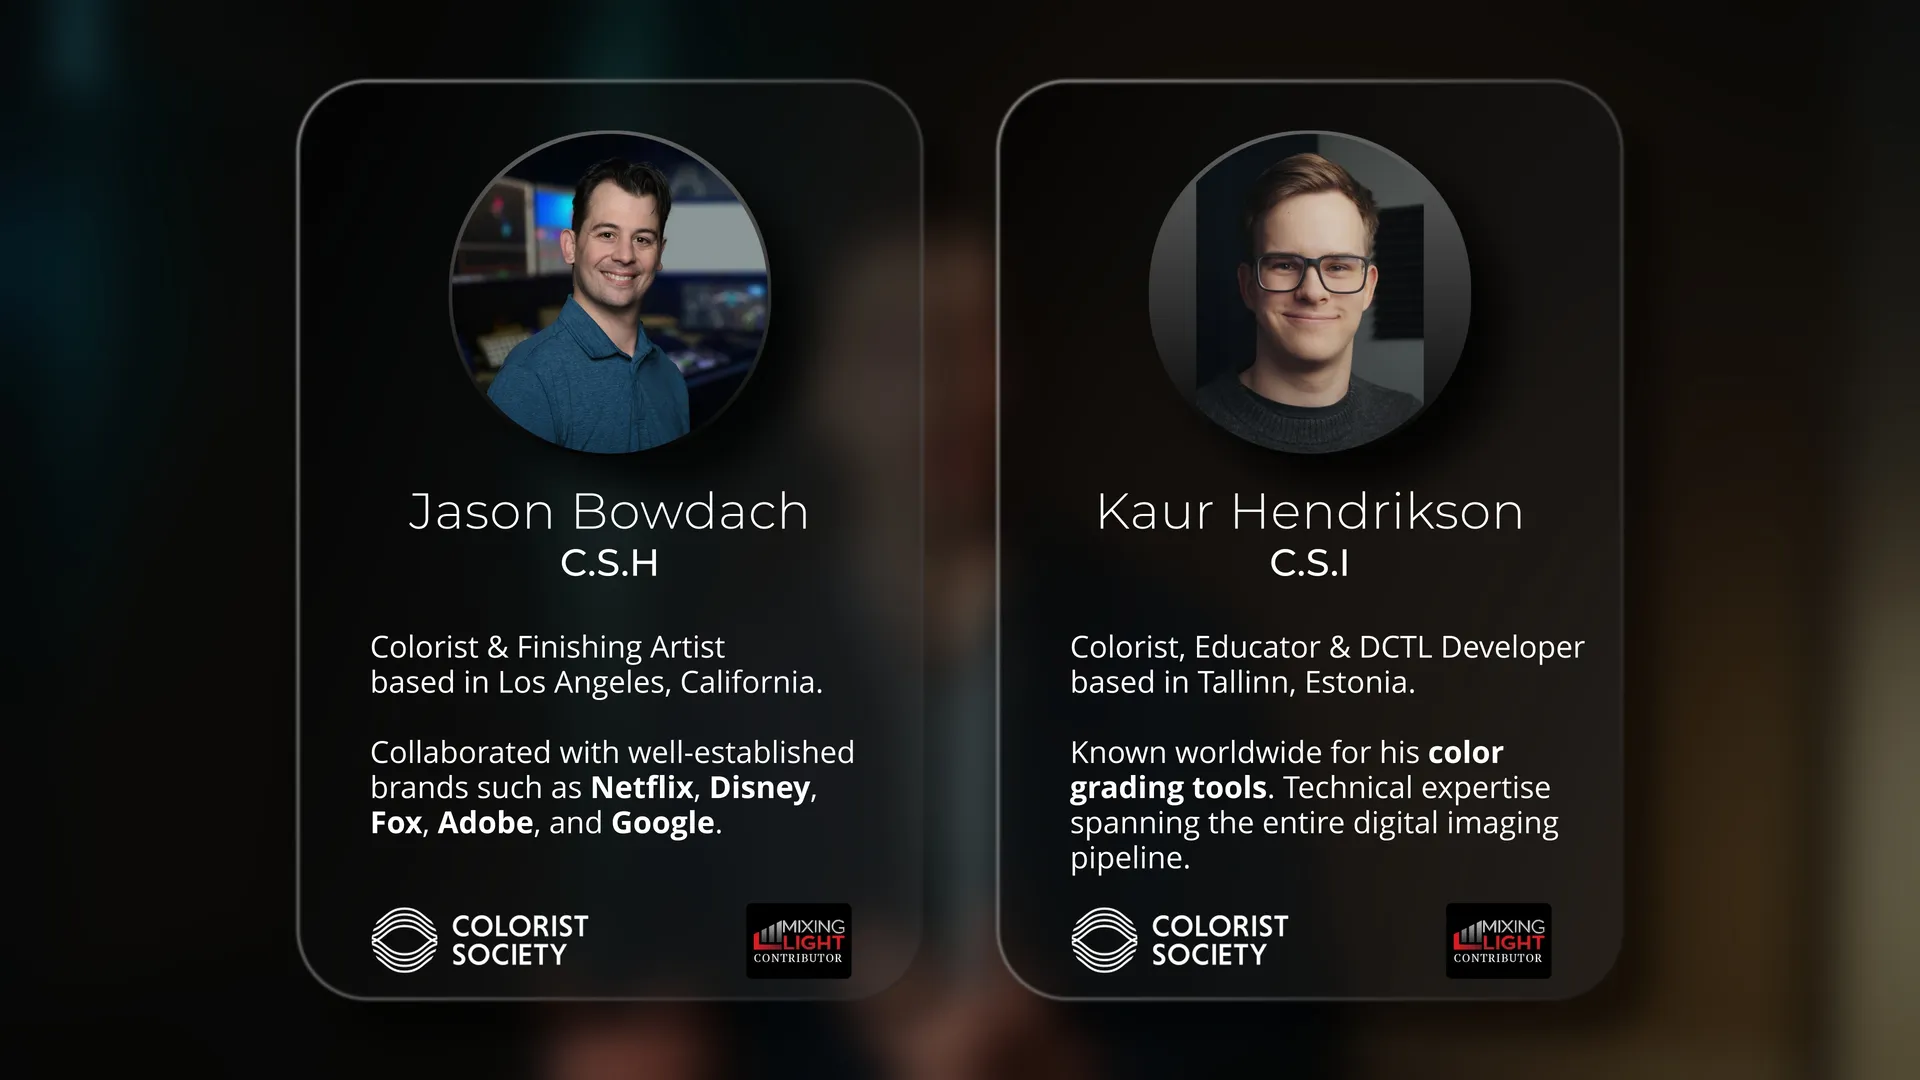
Partnership ● May 2026
PixelTools
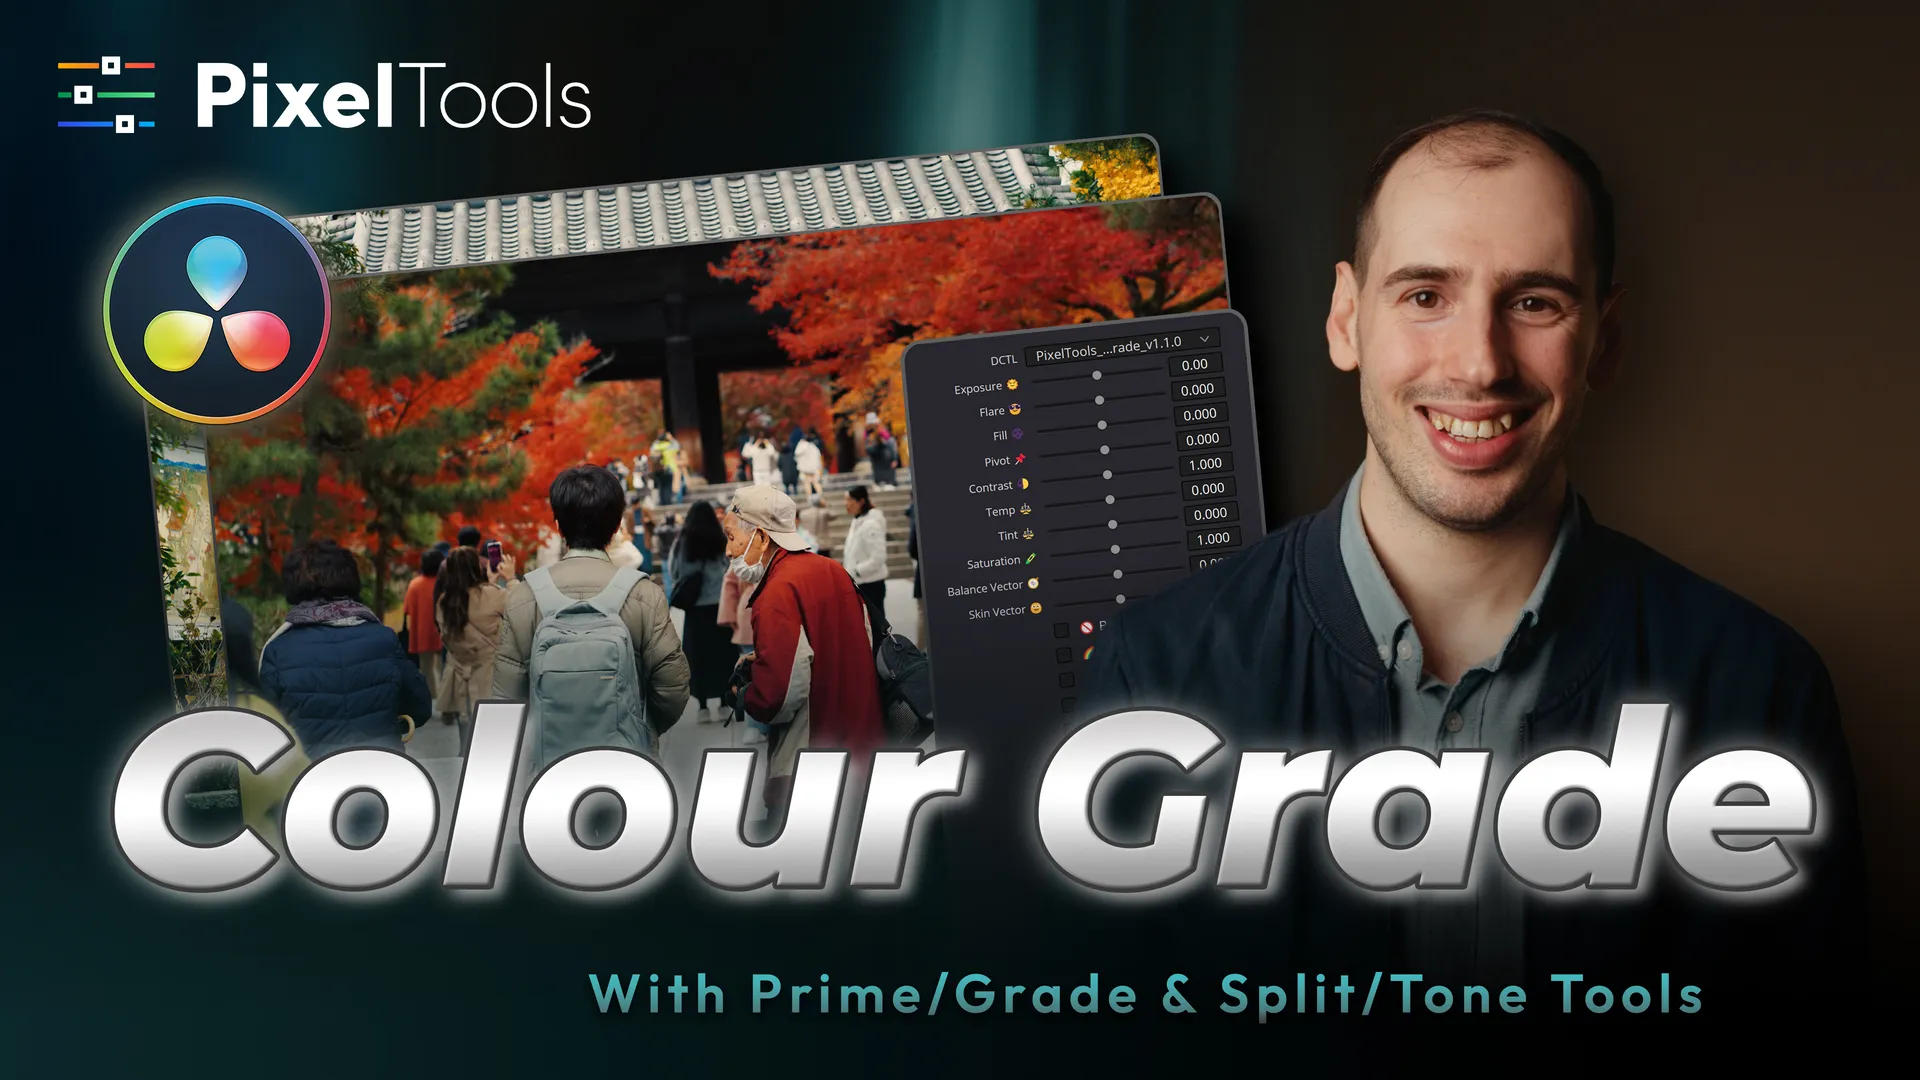
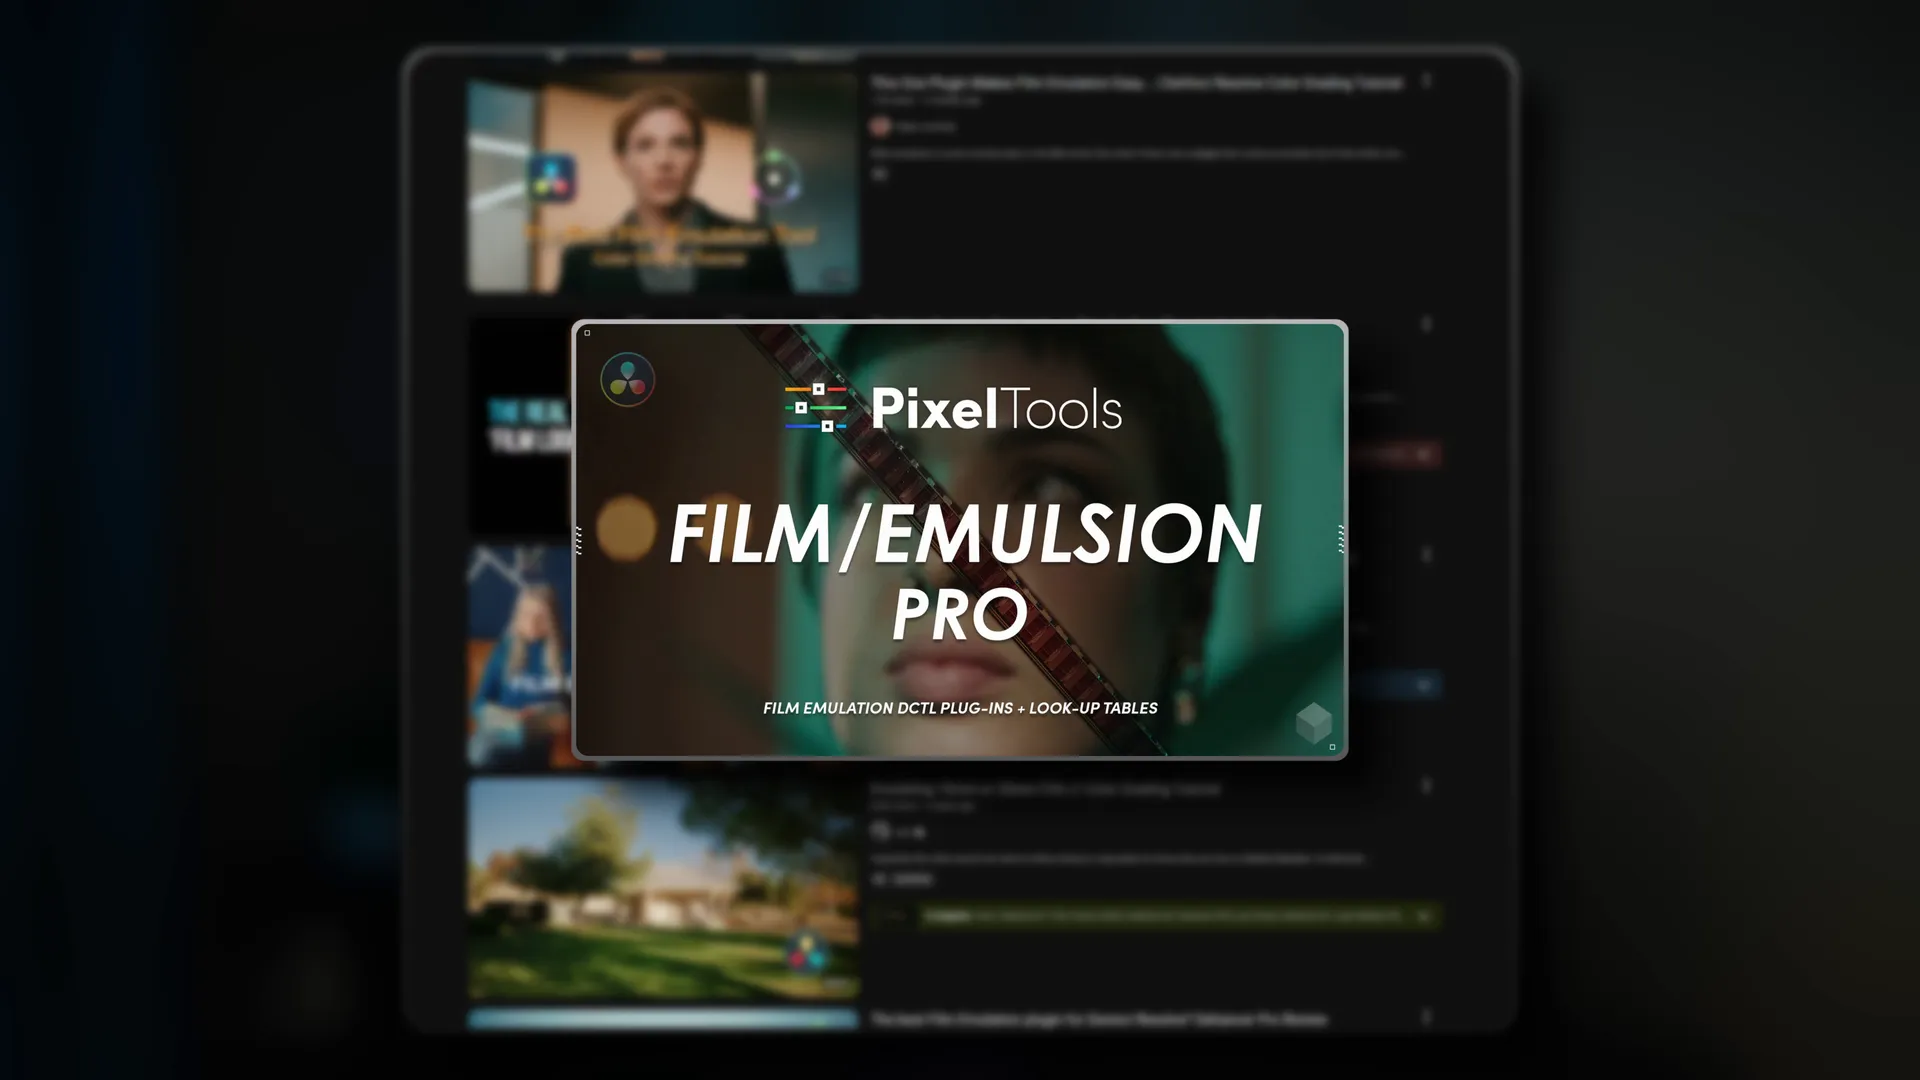
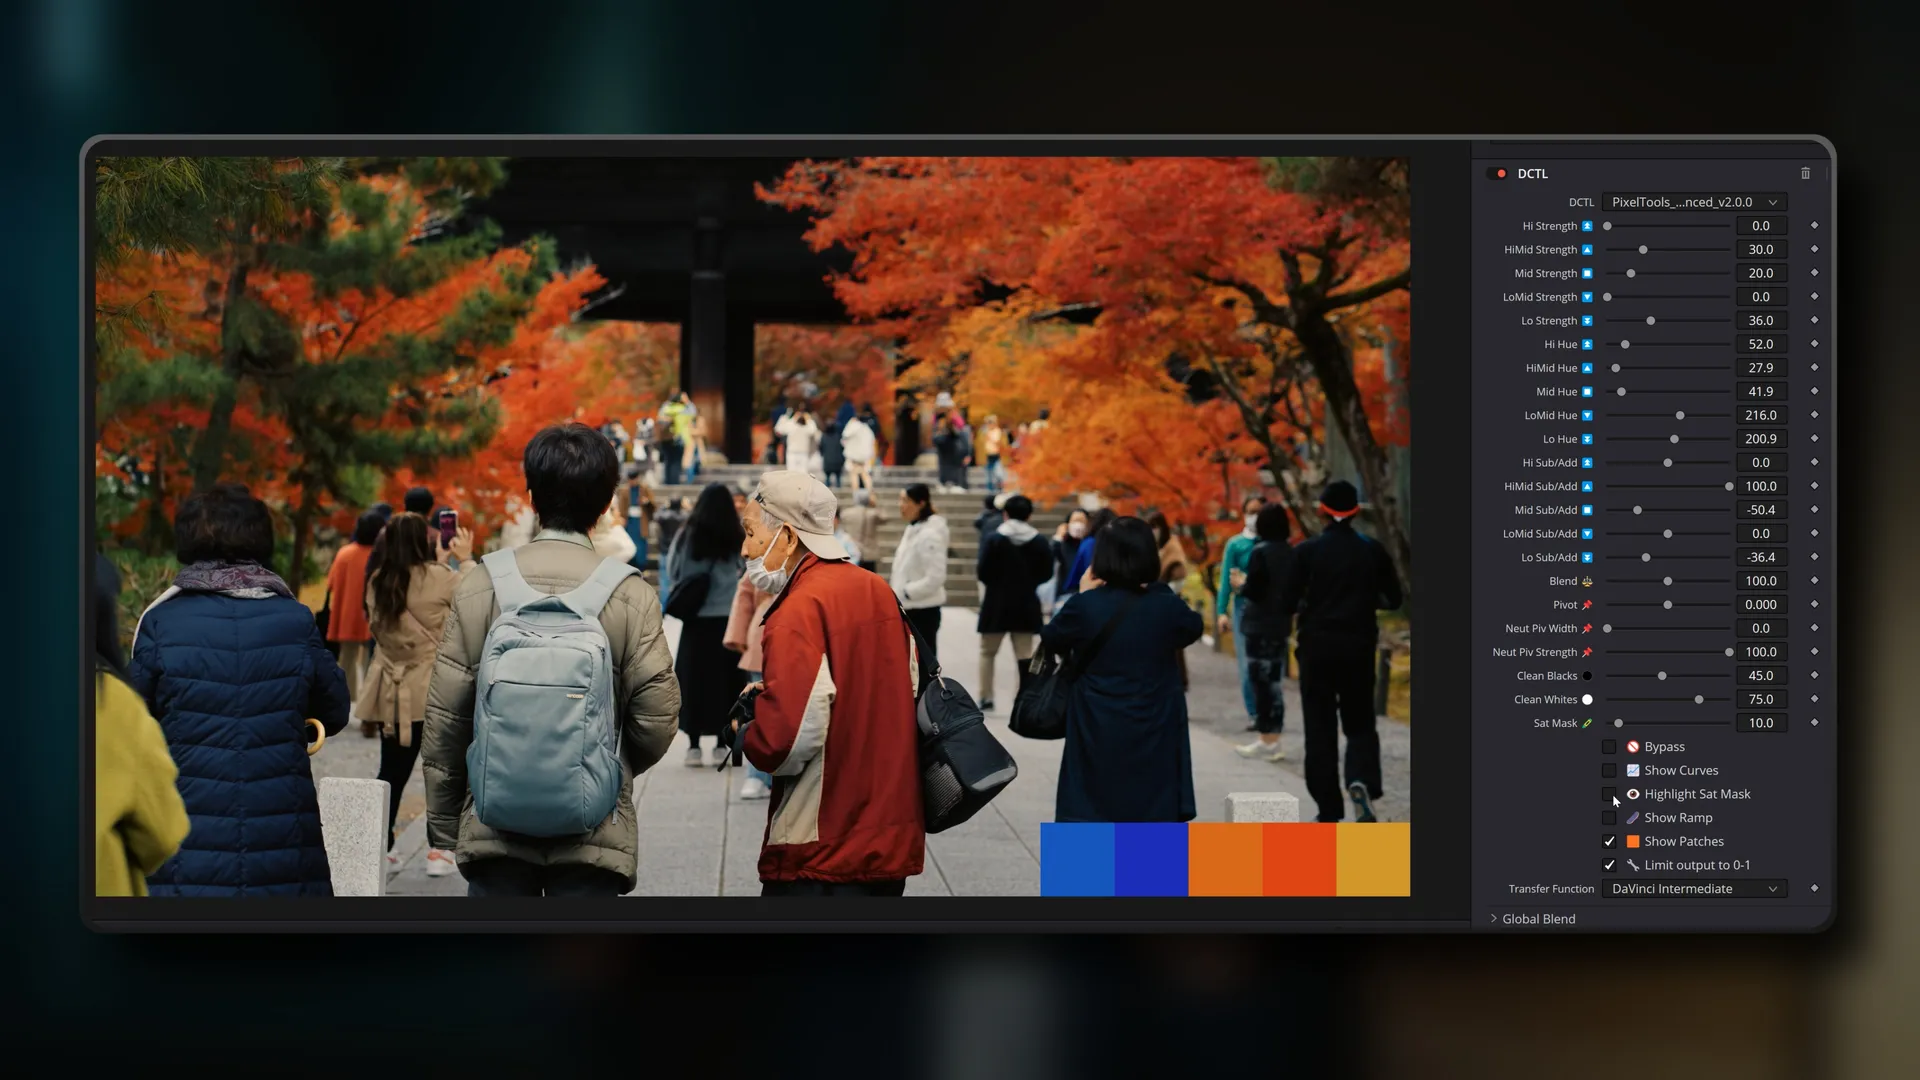
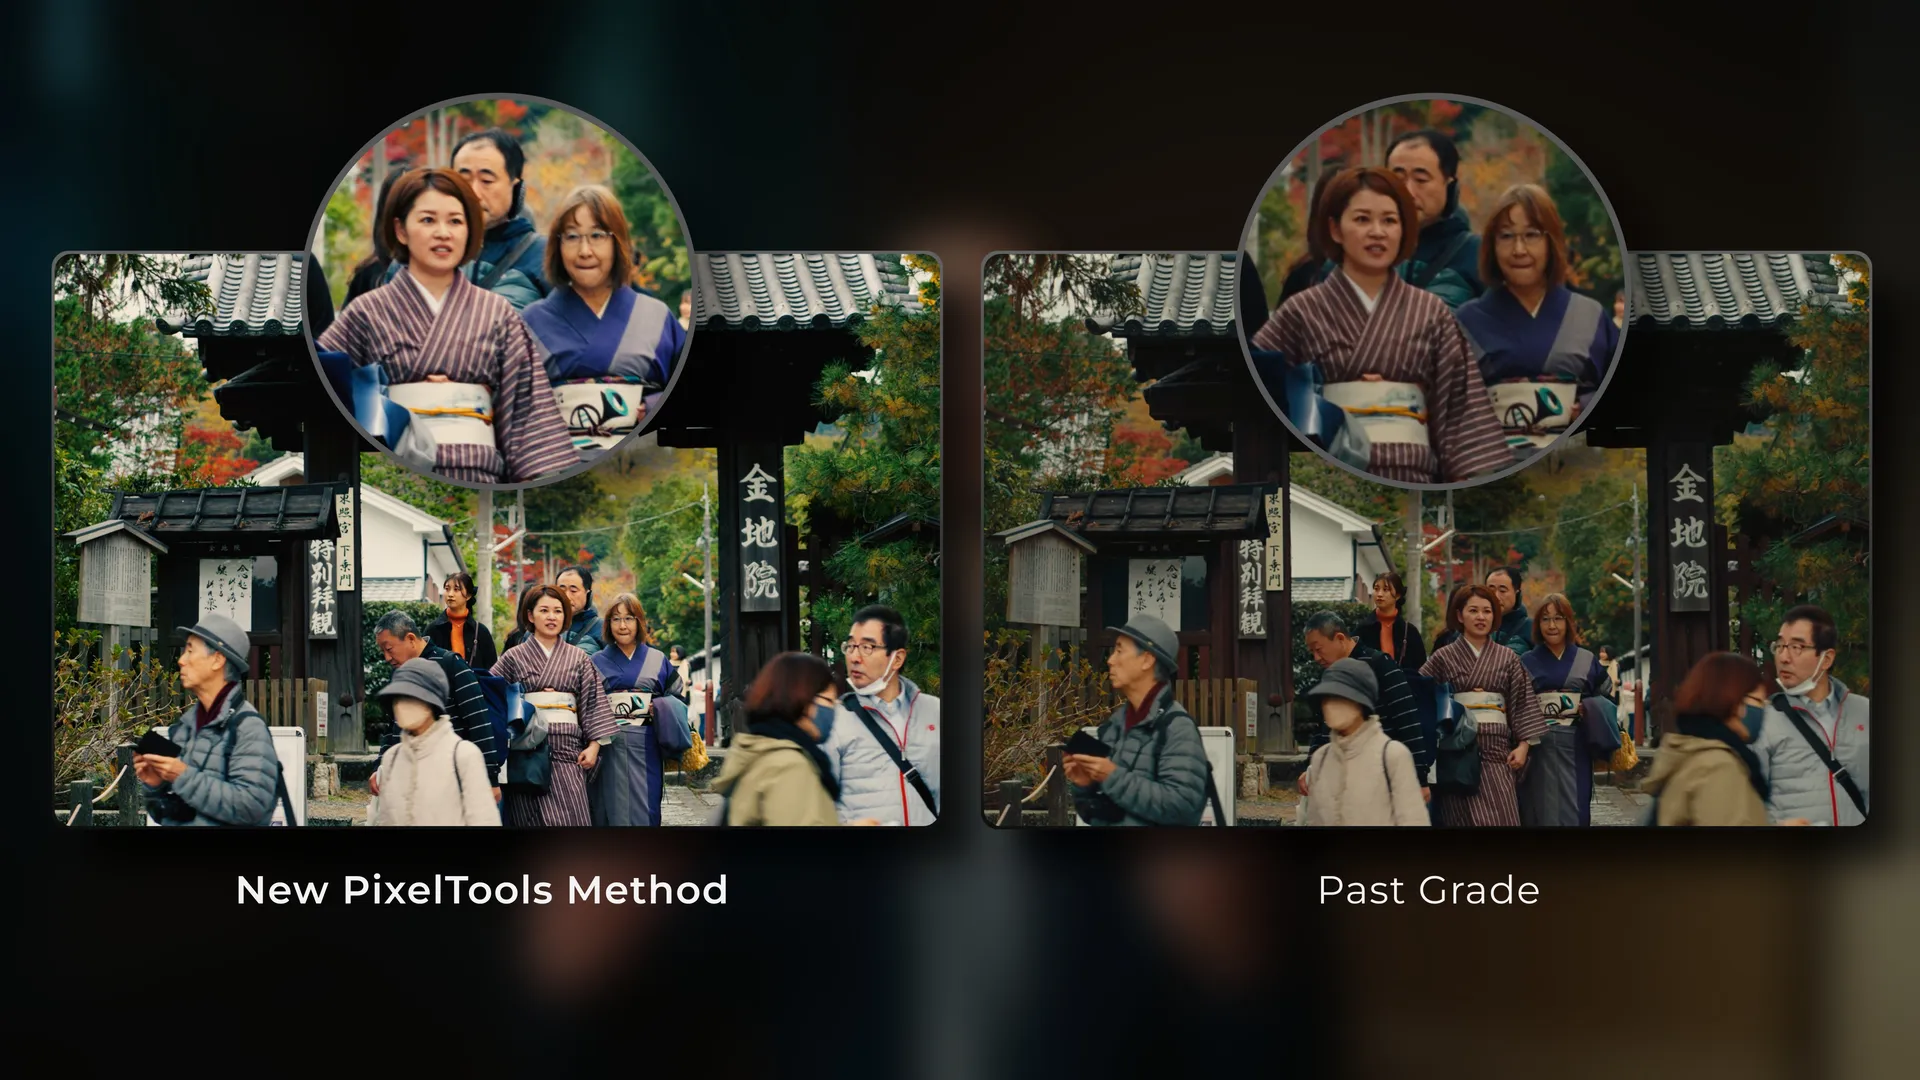
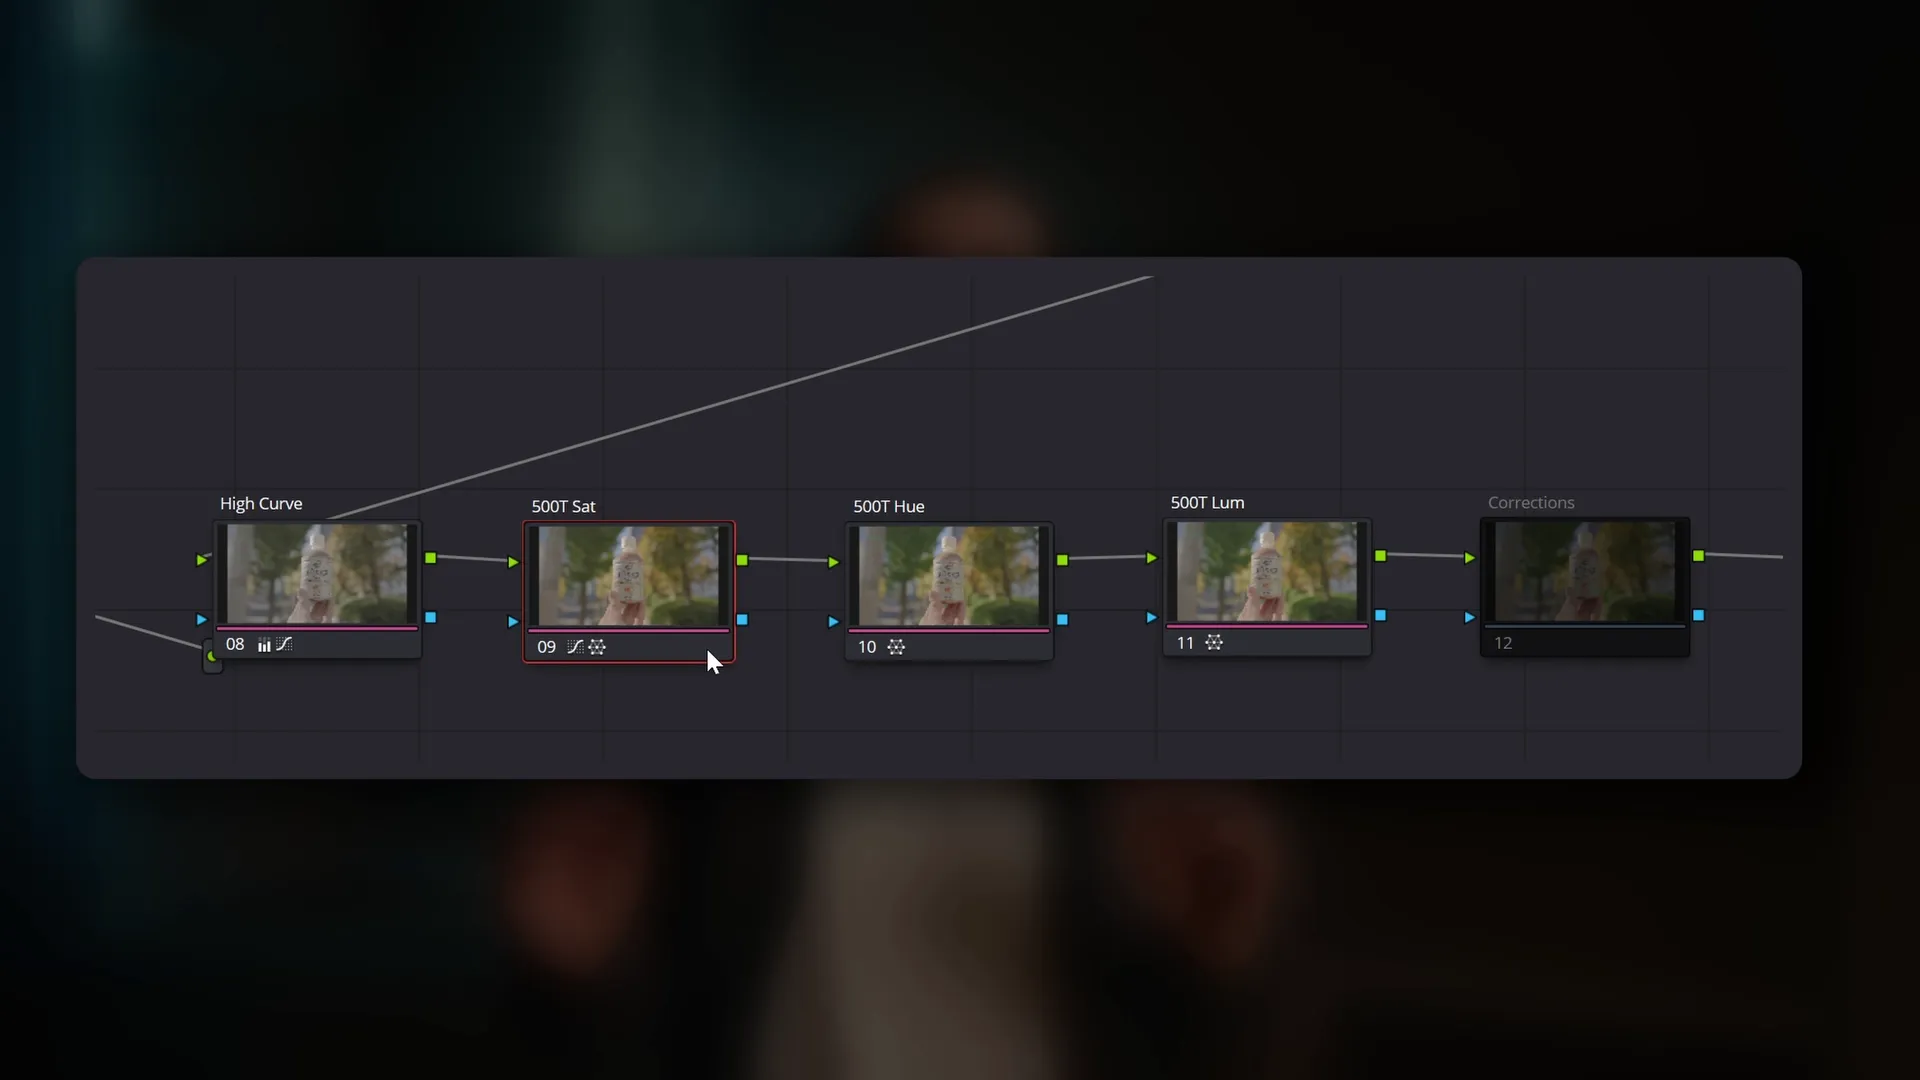
Achieve Refined & Stylised Colour Grades in DaVinci Resolve | PixelTools Prime/Grade & Split/Tone
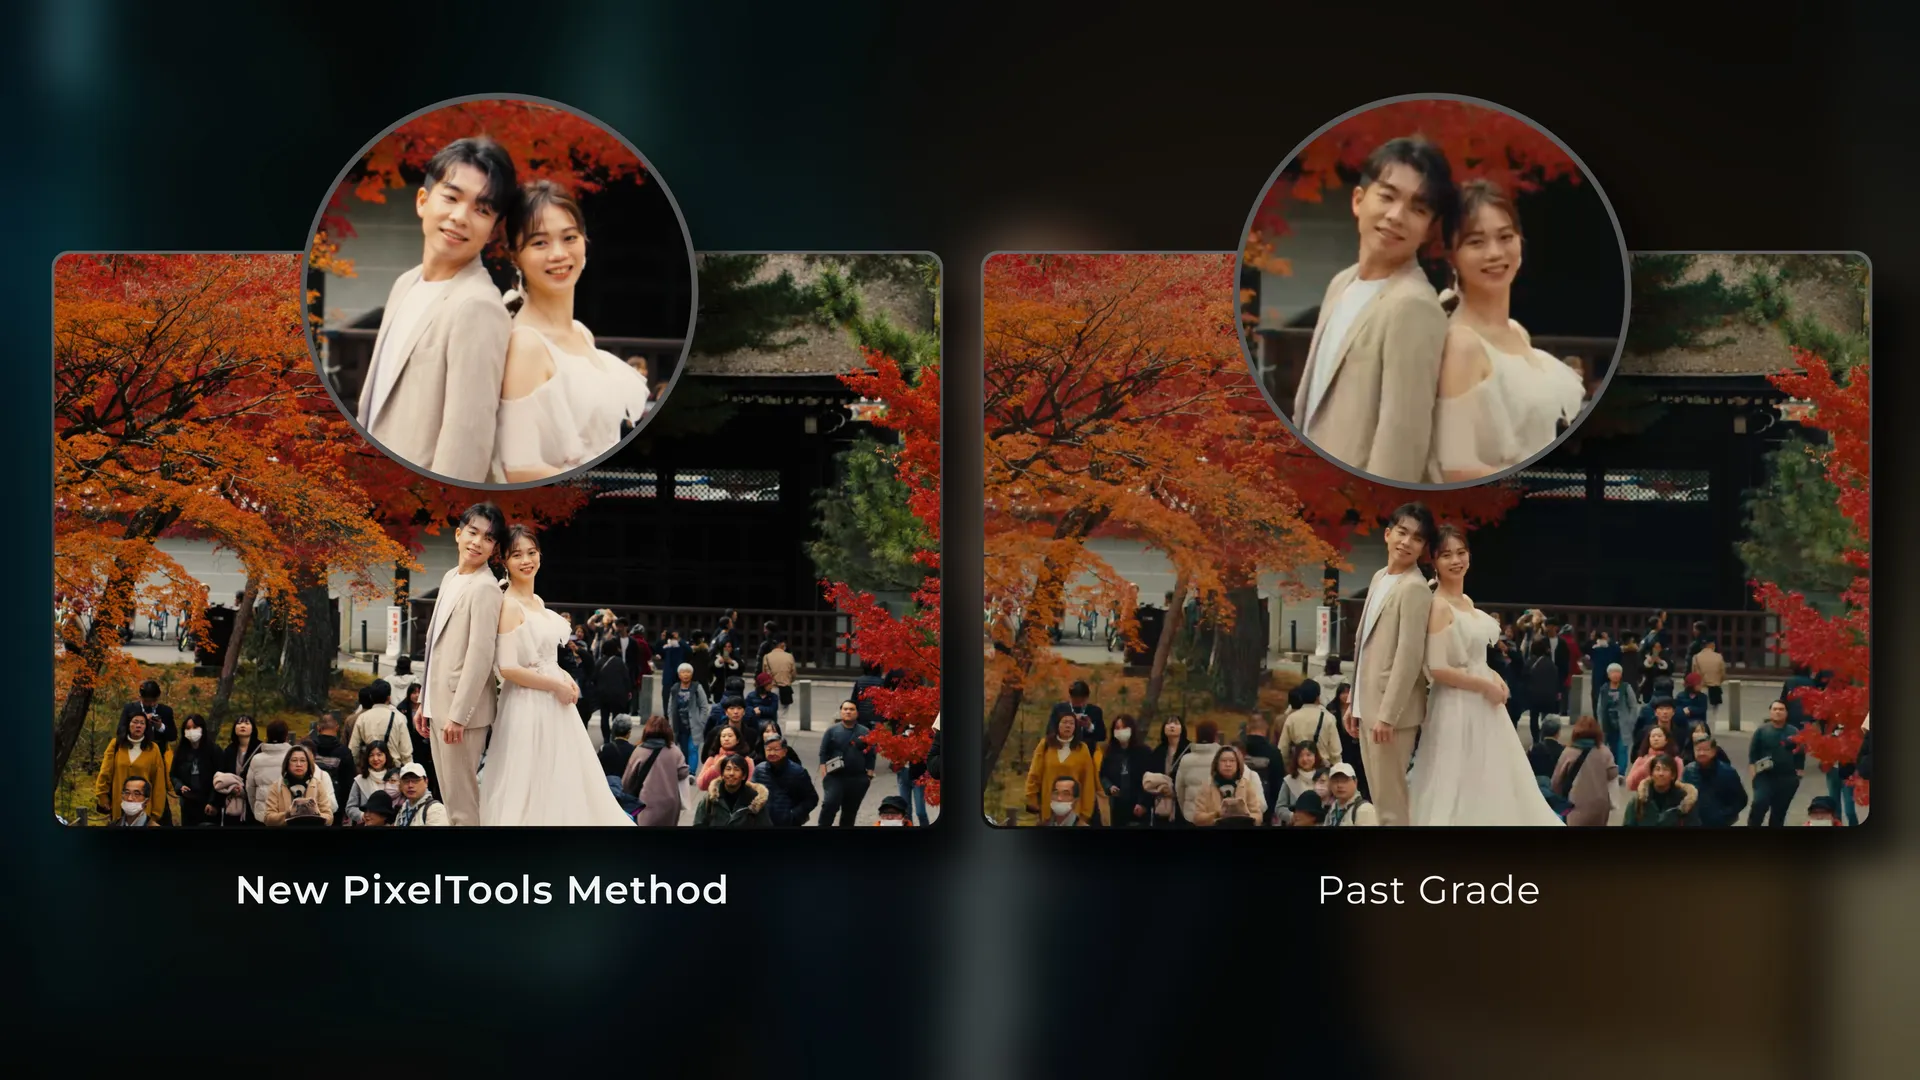
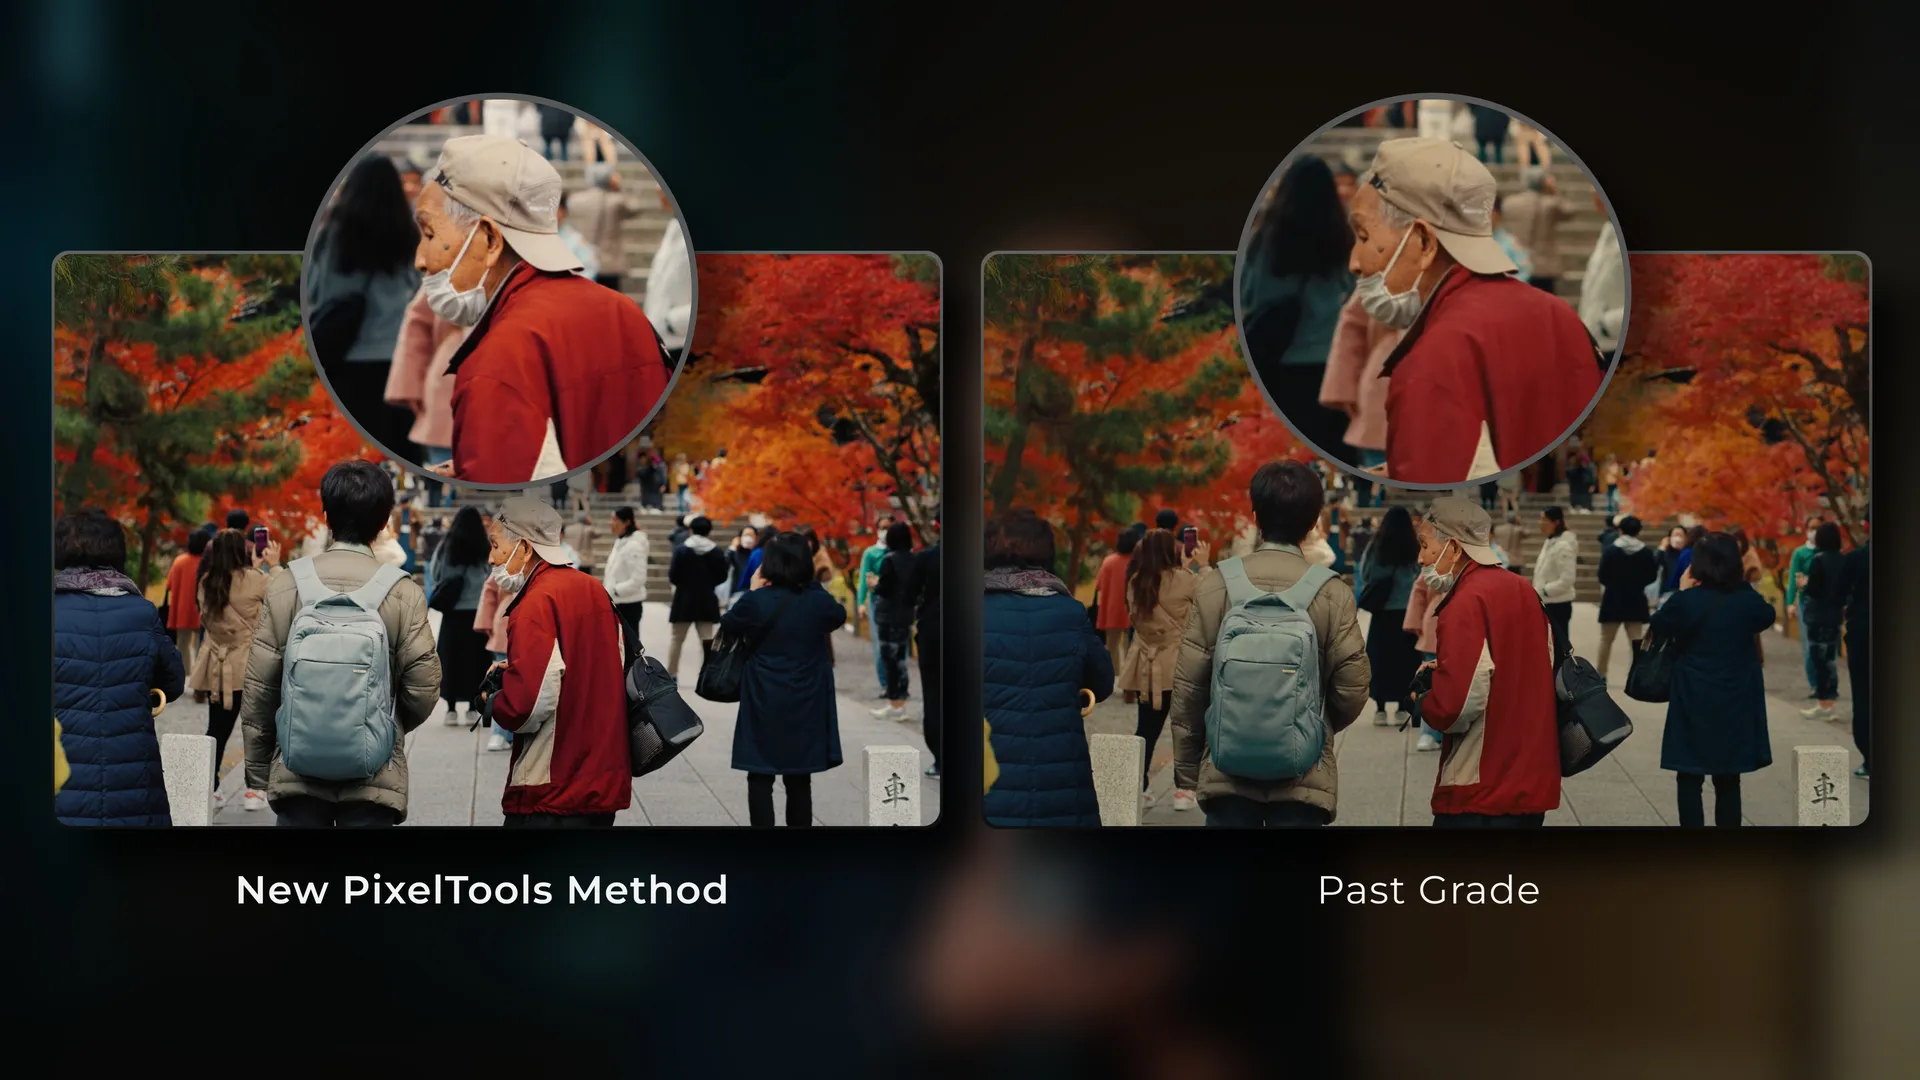
Colour Grading is not easy. Especially when you’re aiming for a refined, stylised look but with good colour separation and true-to life skin tones.
And not being able to achieve this balance can be really frustrating, because we treasure and pour so much effort into filming our footage, that we want the absolute best for it. And believe me, having gone through many periods over the years of trying to improve my color grading and continue trying to do so, I know exactly what it’s like to chase this and also how your vision & judgment of what makes a good colour grade changes over time.
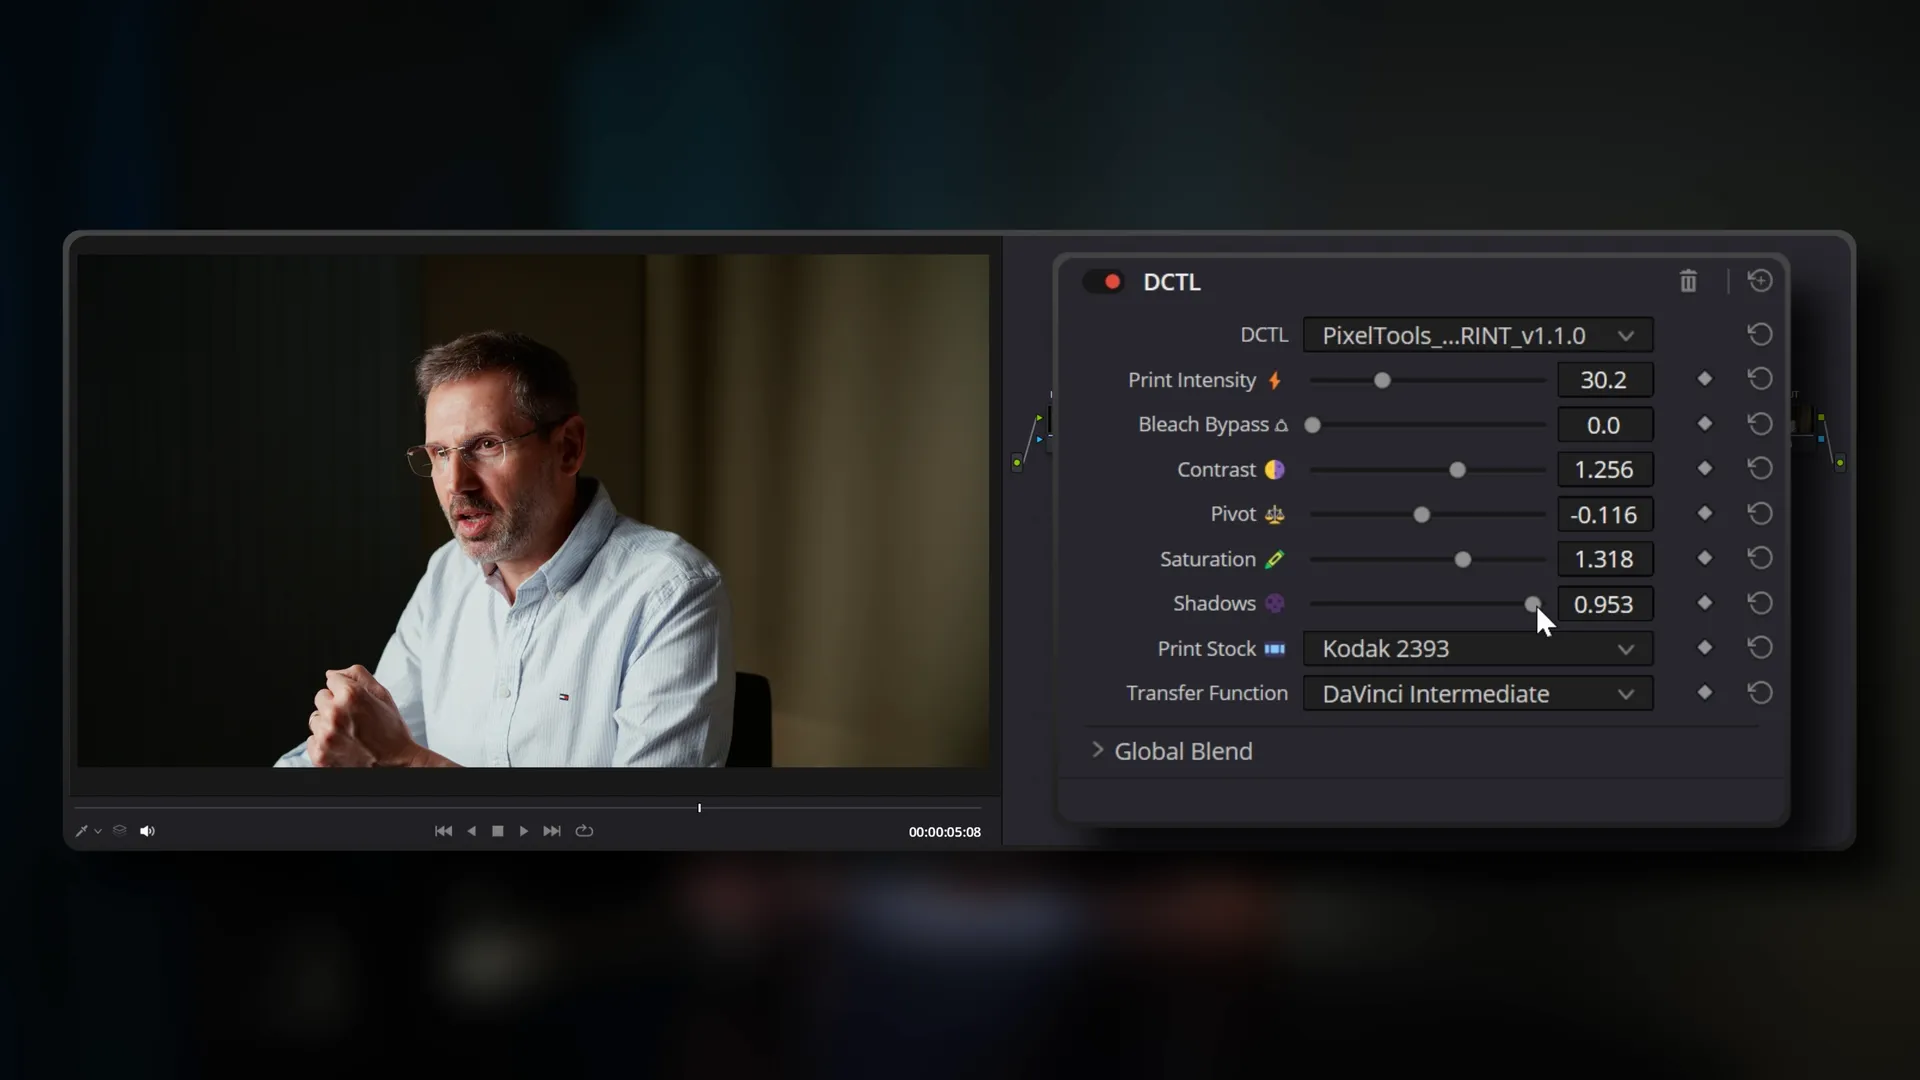
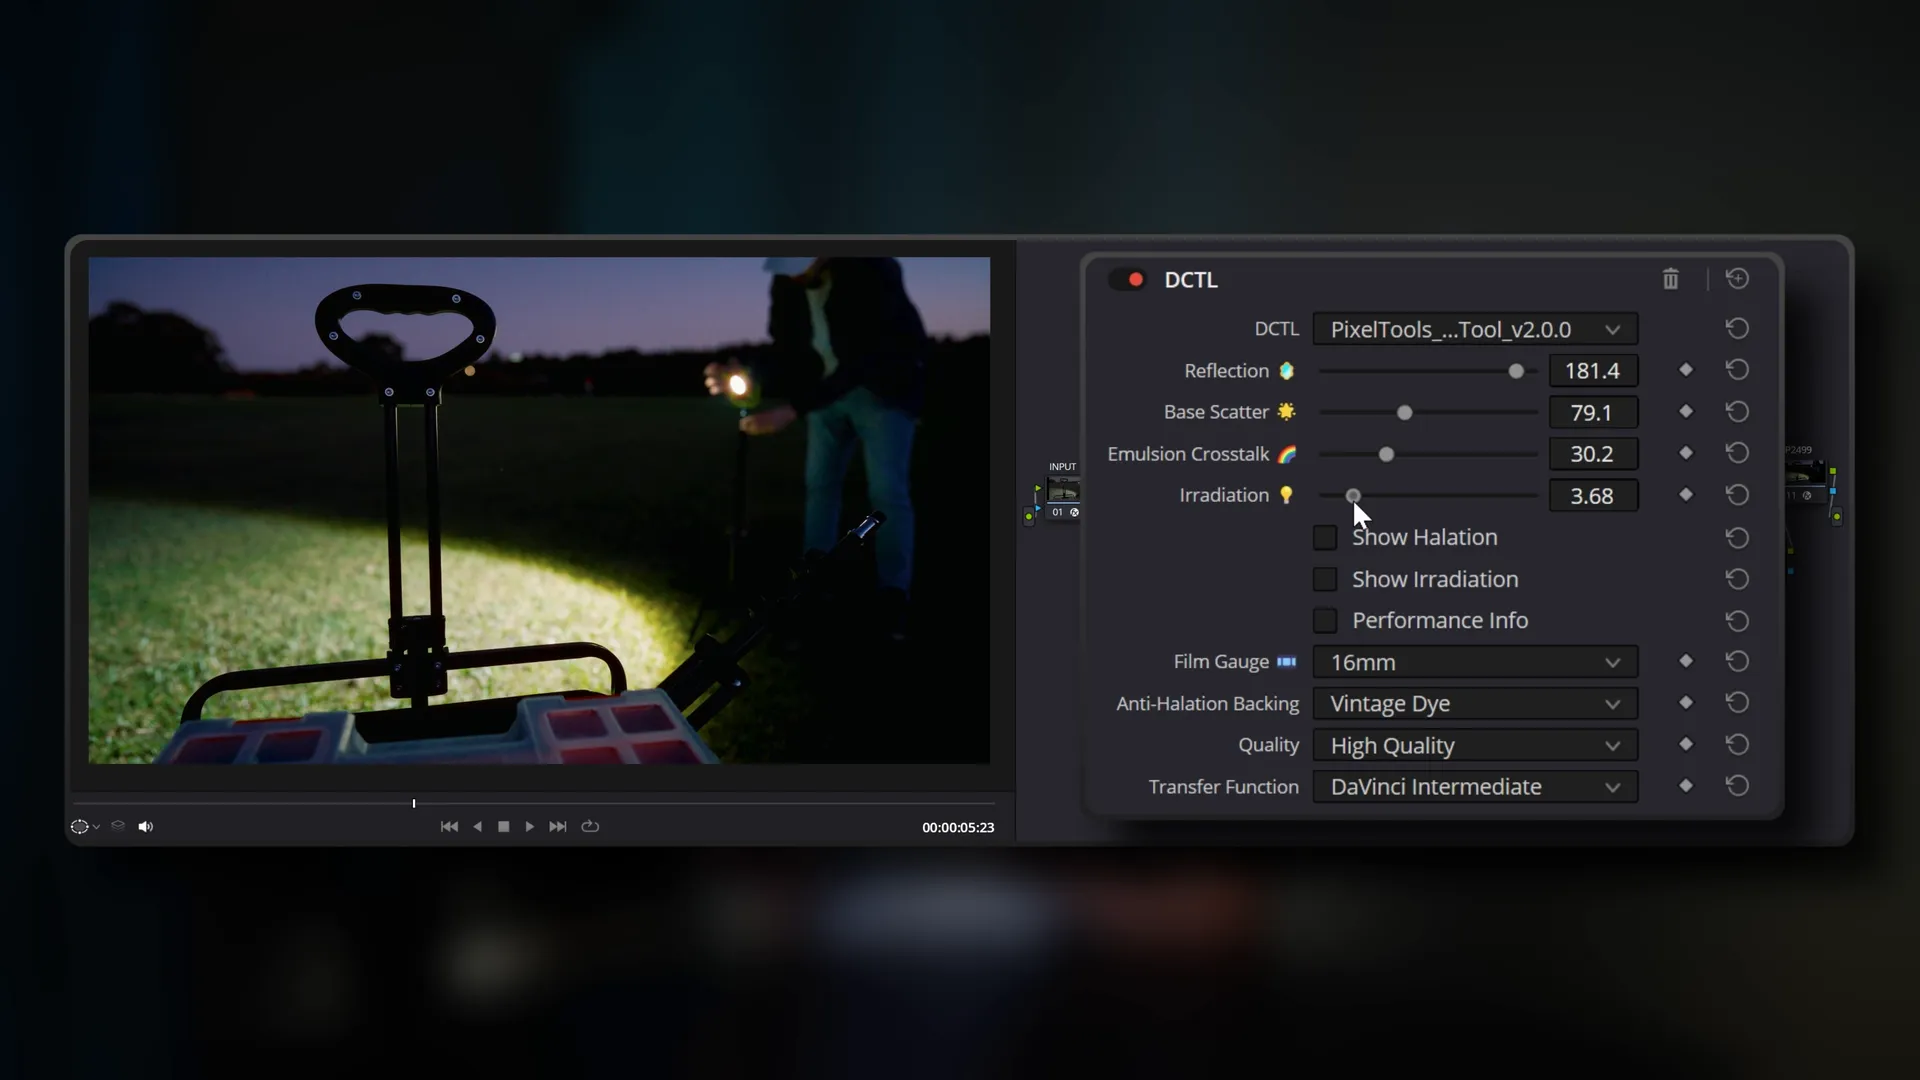
Recently, I had the opportunity to partner up with PixelTools and try out their new set of DaVinci Resolve colour grading tools which once again, made me re-evaluate my colour grading and see it in a whole new perspective.
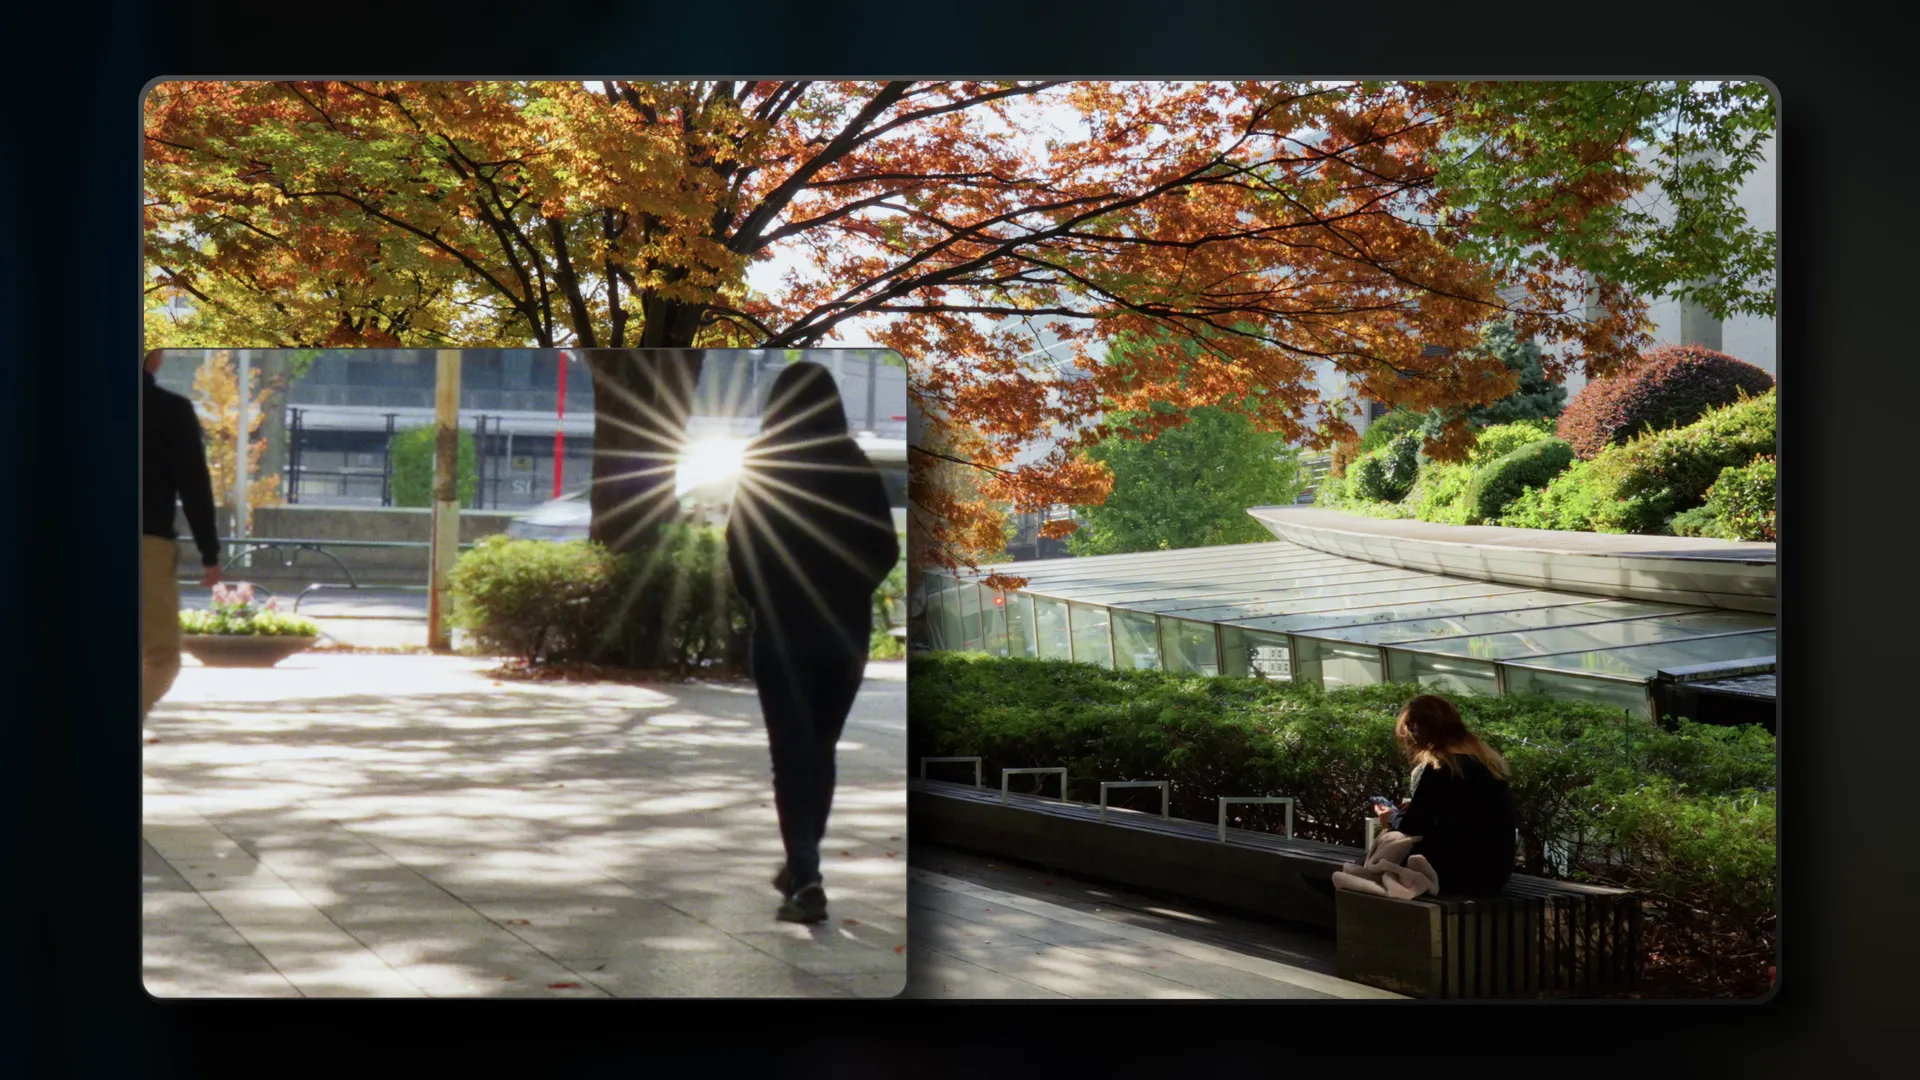
In this video, I break down what sets these tools apart and show exactly how I’ve been using them (alongside other free DCTLs I’ve discovered), to create colour grades that align with my goal of achieving a stylised yet intentional look with good colour separation and true-to-life skin tones without feeling overdone.
PixelTools Social Media
PixelTools shared the video across social media, accompanied by positive feedback.
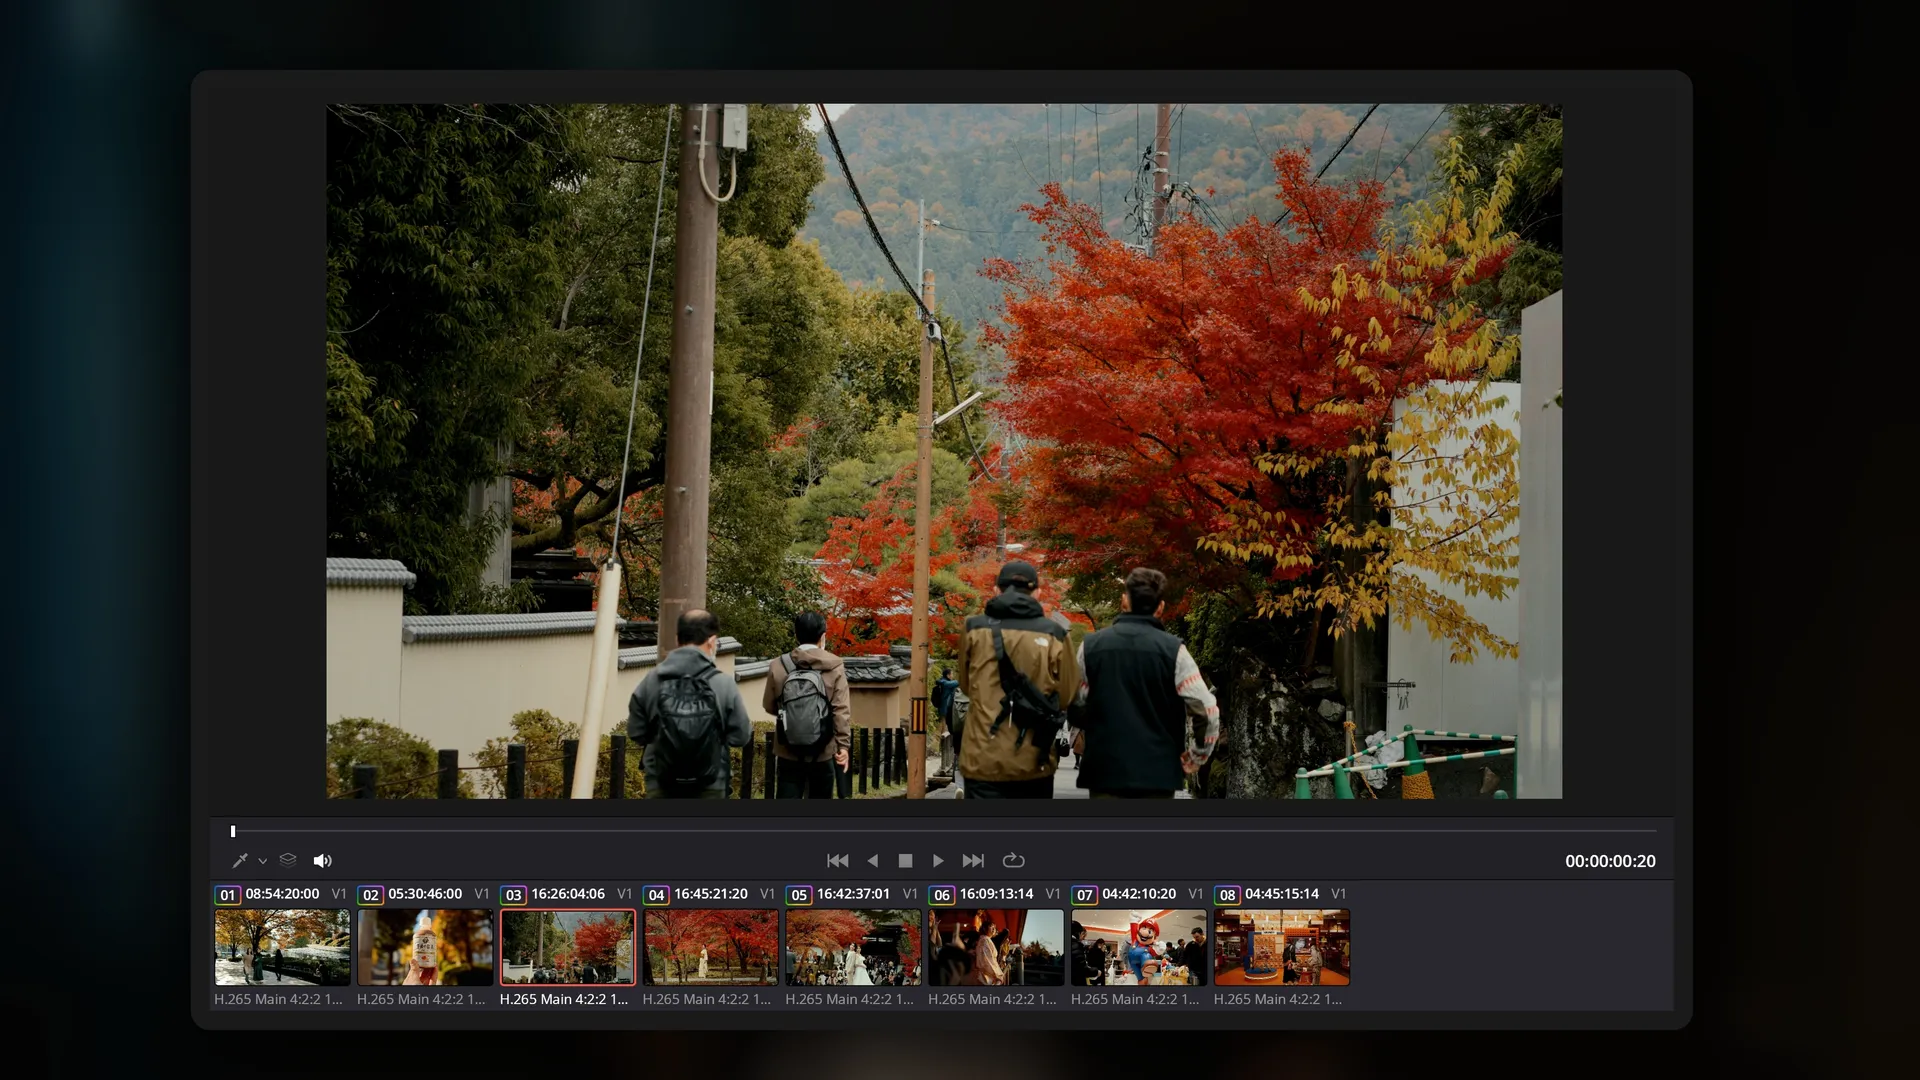
Video edited & graded in DaVinci Resolve


Partnership ● March 2025
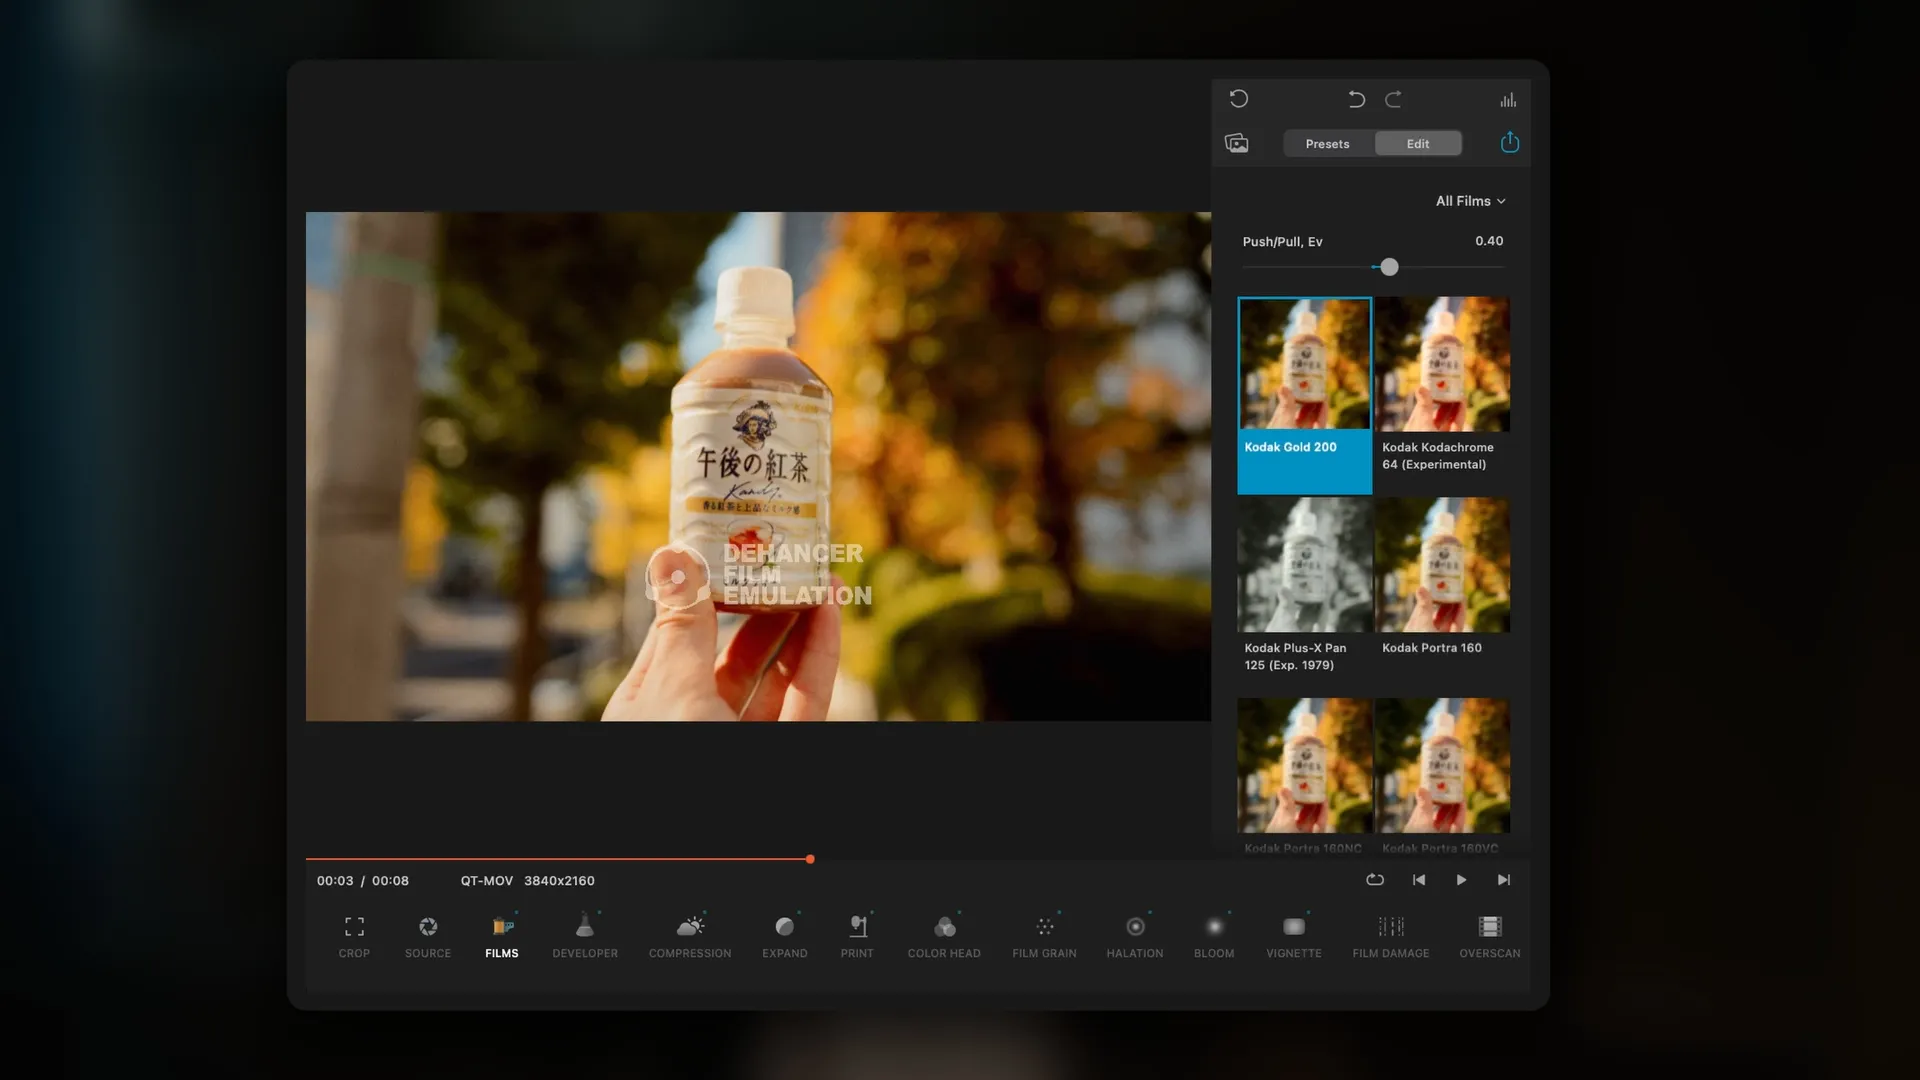
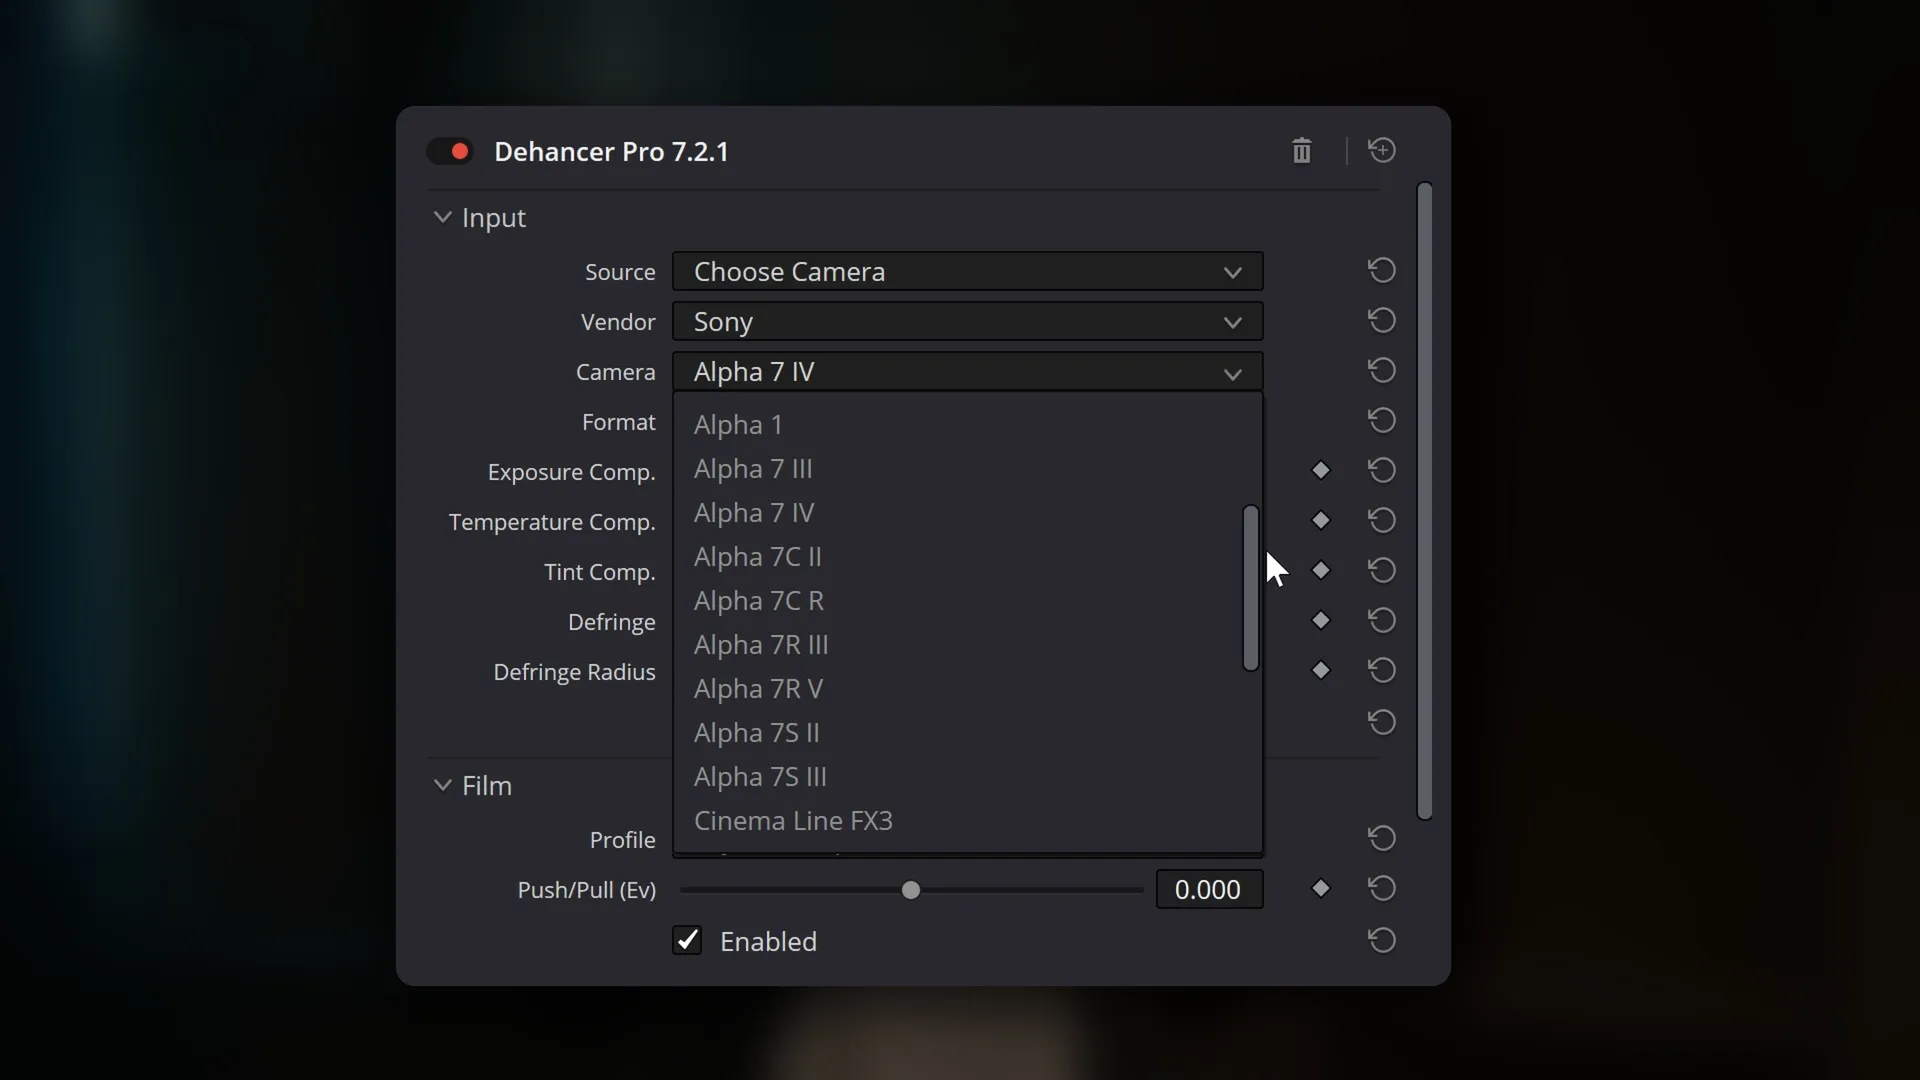
Dehancer
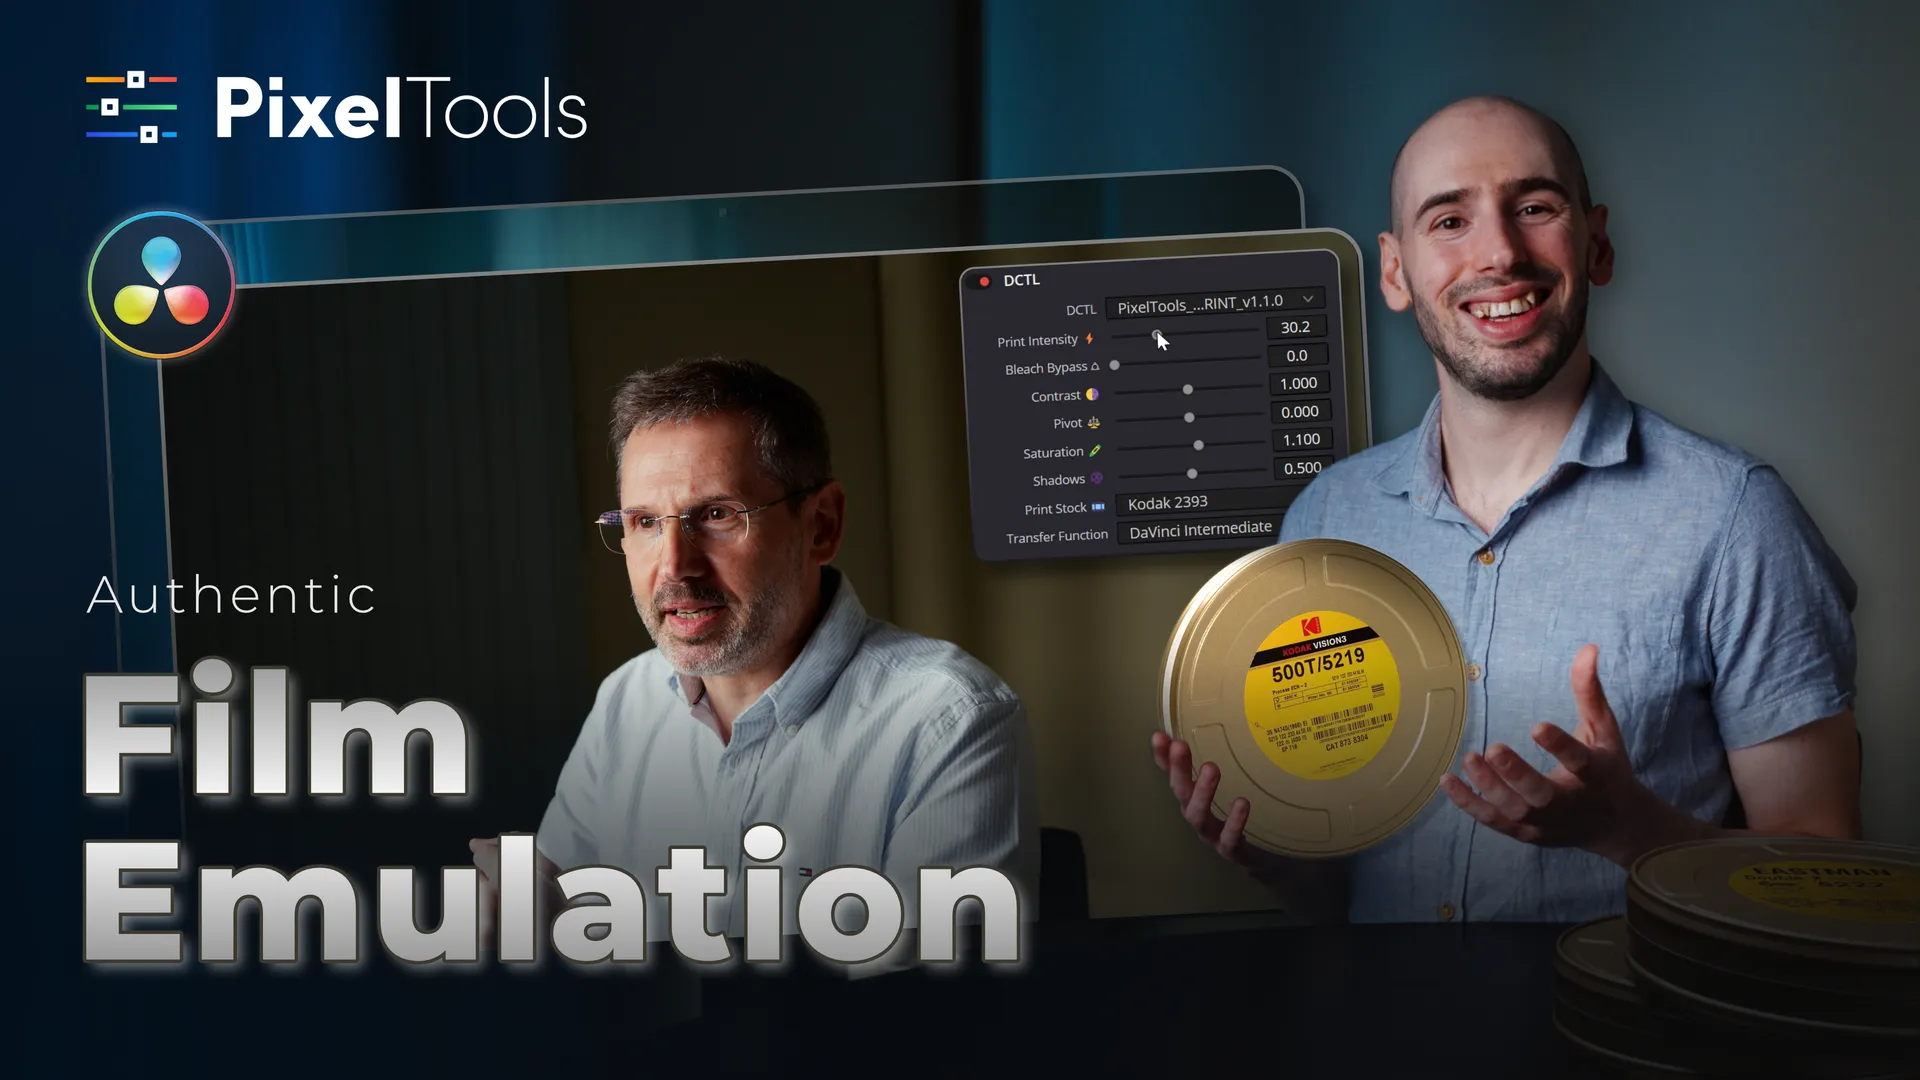
Dehancer Plugin vs Node-based (FilmUnlimited & CinePrint)
Colour Grading Workflows in DaVinci Resolve
The team at Dehancer reached out to me, to review their plugin, and I wanted to approach this in a way that would be genuinely helpful and offer a fresh perspective for viewers.
This video dives into the workflow itself. How you actually interact with these different color grading systems in a real-world process within DaVinci Resolve. I break down the benefits, limitations, and my personal suggestions on Dehancer’s plugin-based workflow compared to node-based systems like FilmUnlimited and CinePrint.
I focus on how these tools influence your creative process, their ease of use, flexibility, and efficiency in a professional workflow.
My goal is to give viewers a clearer understanding of what it’s like to work with these different color grading systems and ultimately, help them to determine which workflow best suits their projects.
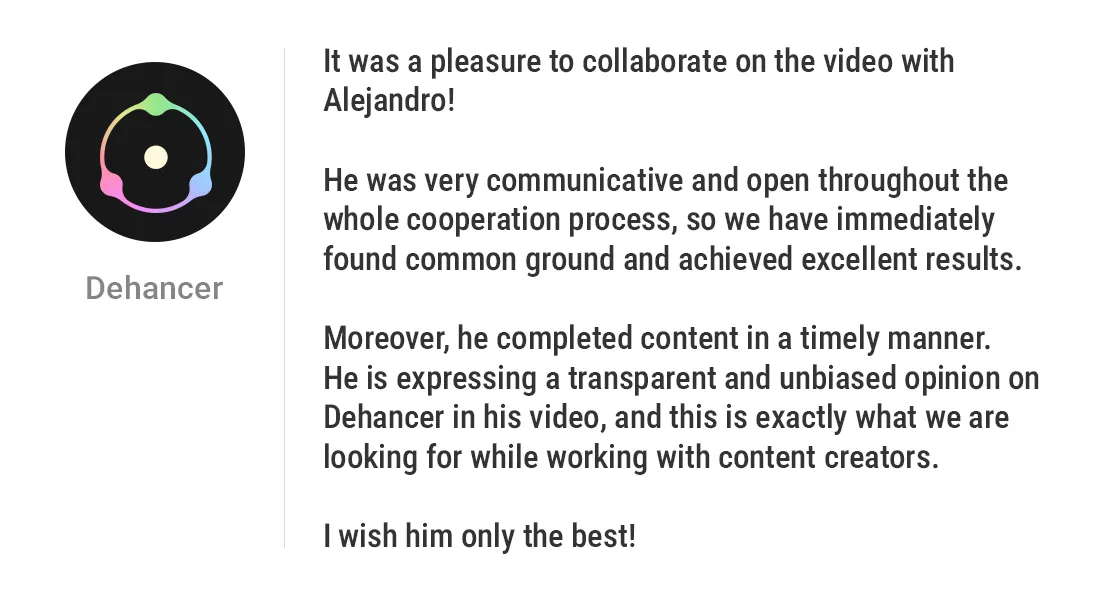
Testimonial from Dehancer
Dehancer shared this thoughtful testimonial with me after the project’s completion.
Video edited & graded in DaVinci Resolve
