Products
B-Roll Fade & Finish PRO
The faster way to Crop, Stylise & Animate your overlaid B-Roll clips in DaVinci Resolve.
If you’ve ever spent hours manually cropping, styling, and animating hundreds of B-roll clips for a typical 30‑minute educational or in-depth explainer video, you know just how much of a time sink it can be.
It’s the kind of repetitive work that drains your creativity and makes you question a project altogether.
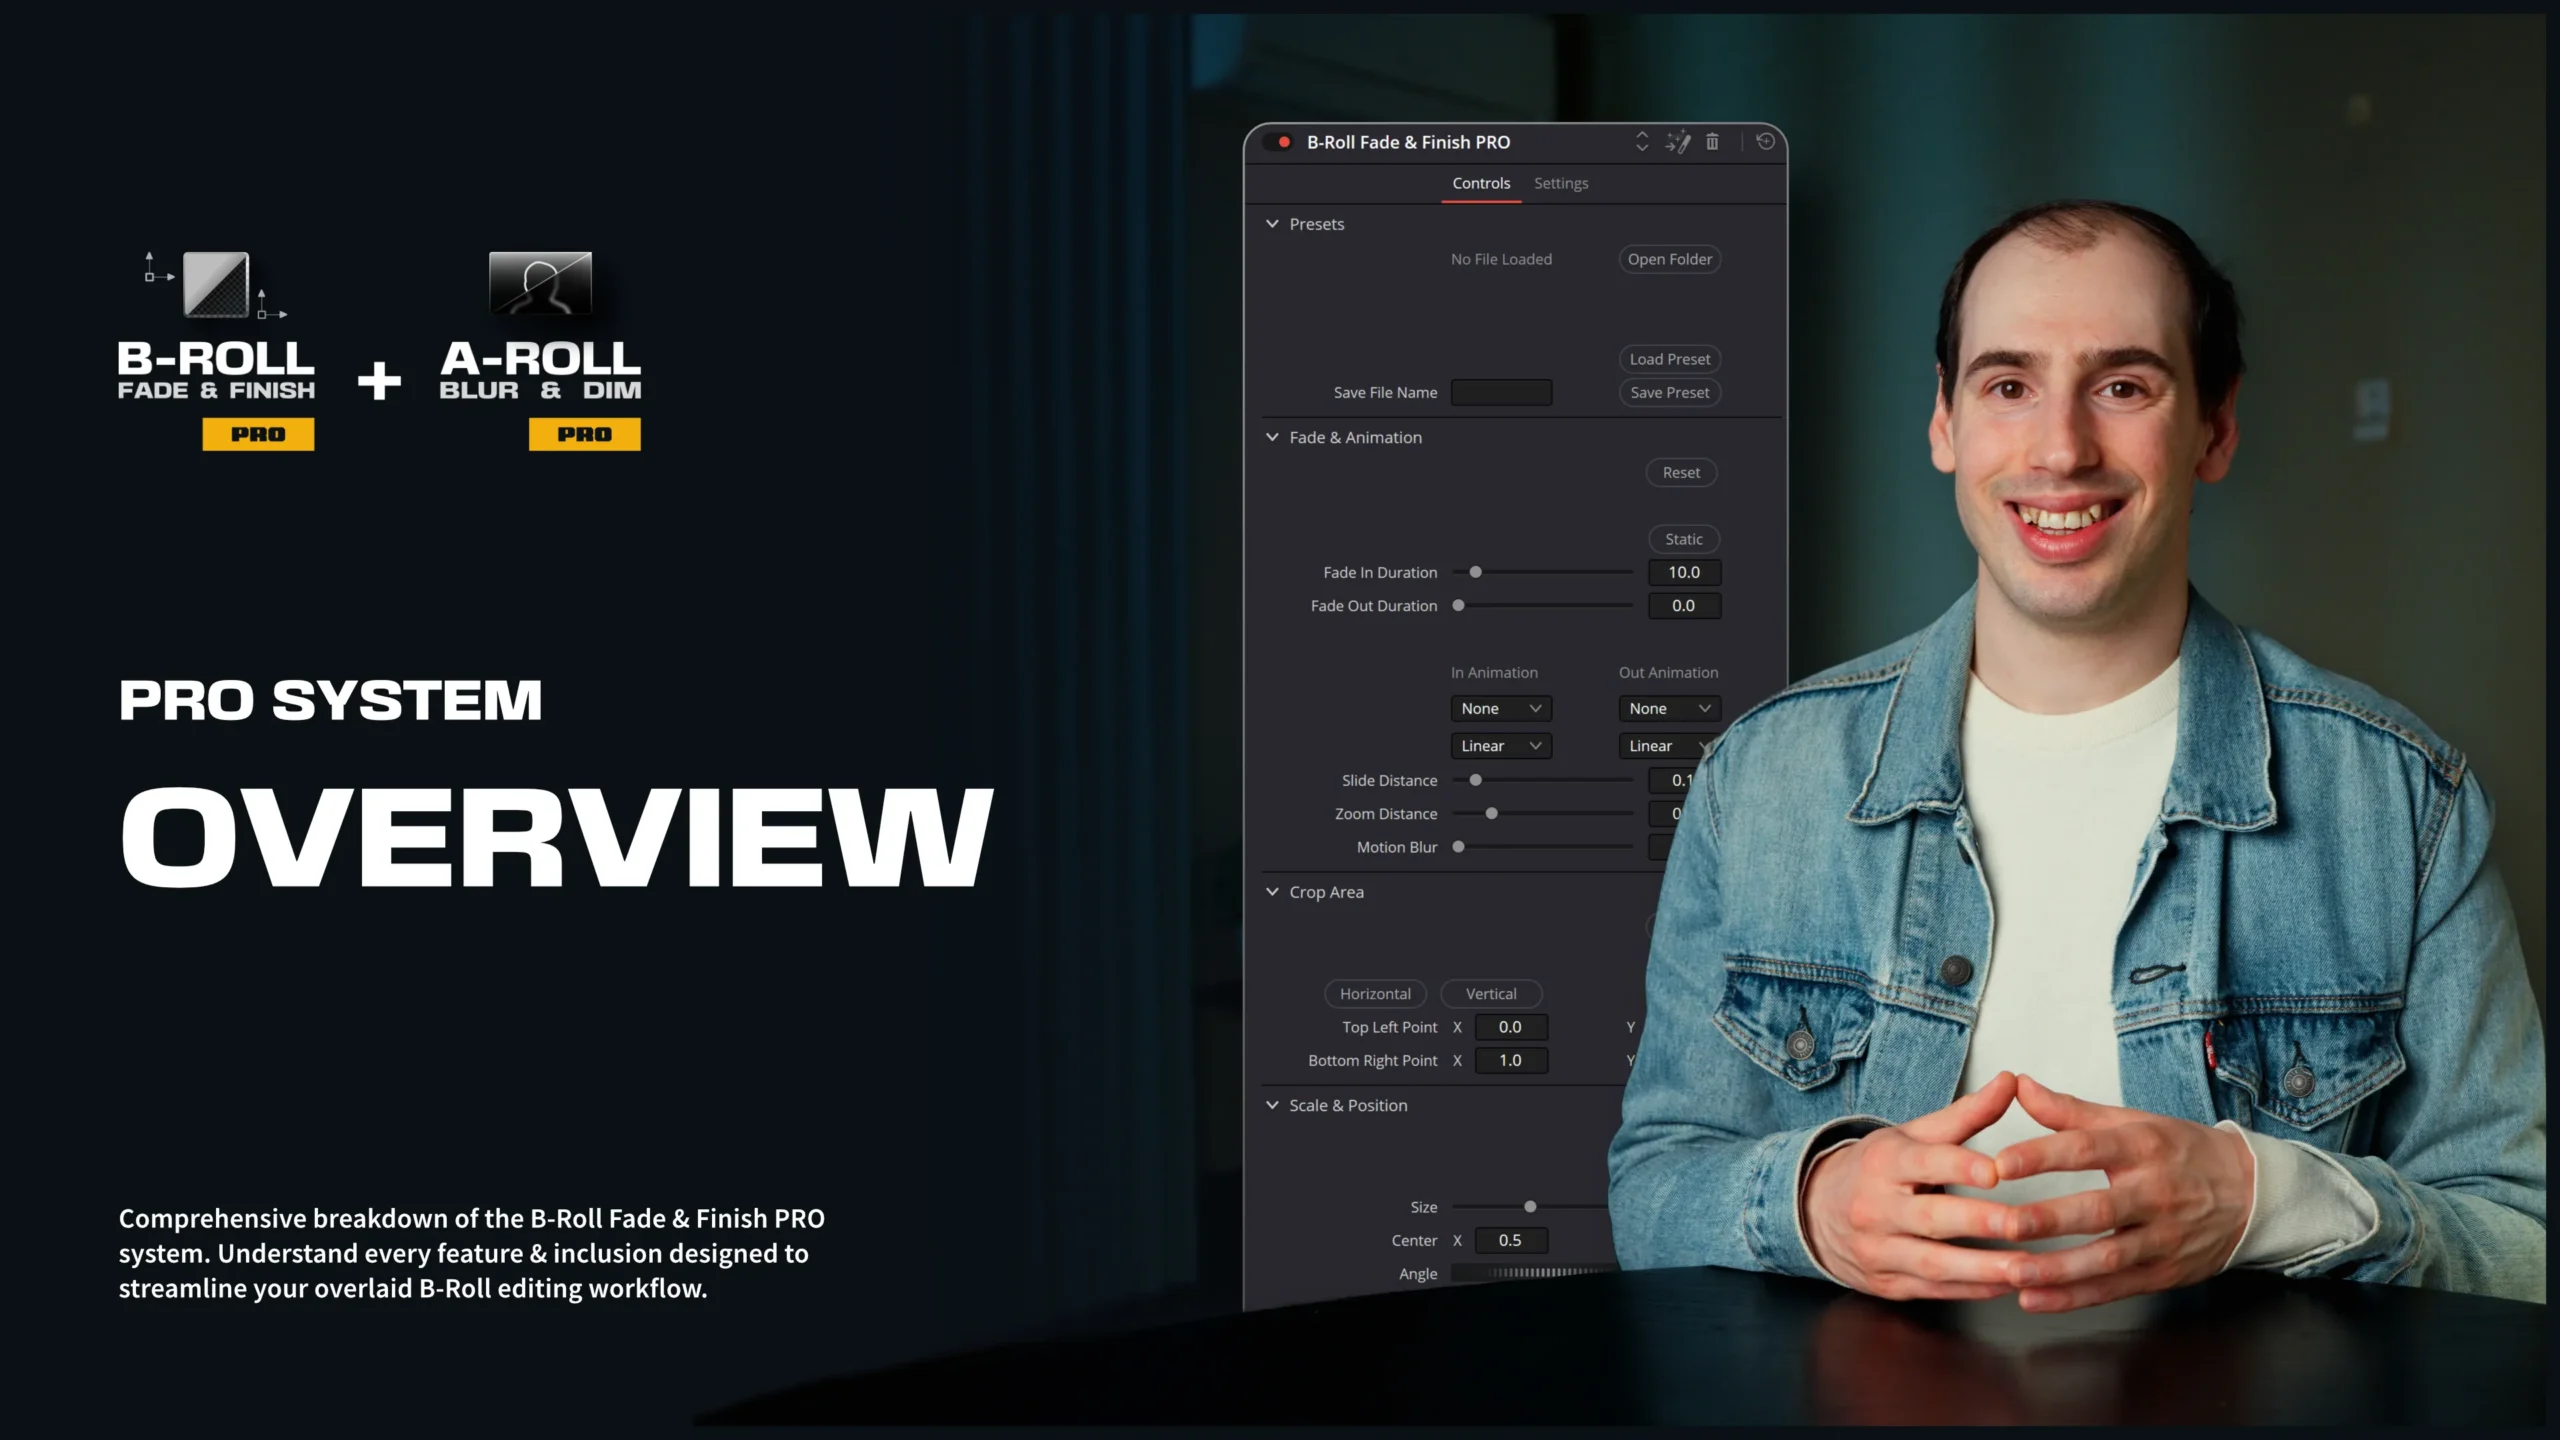
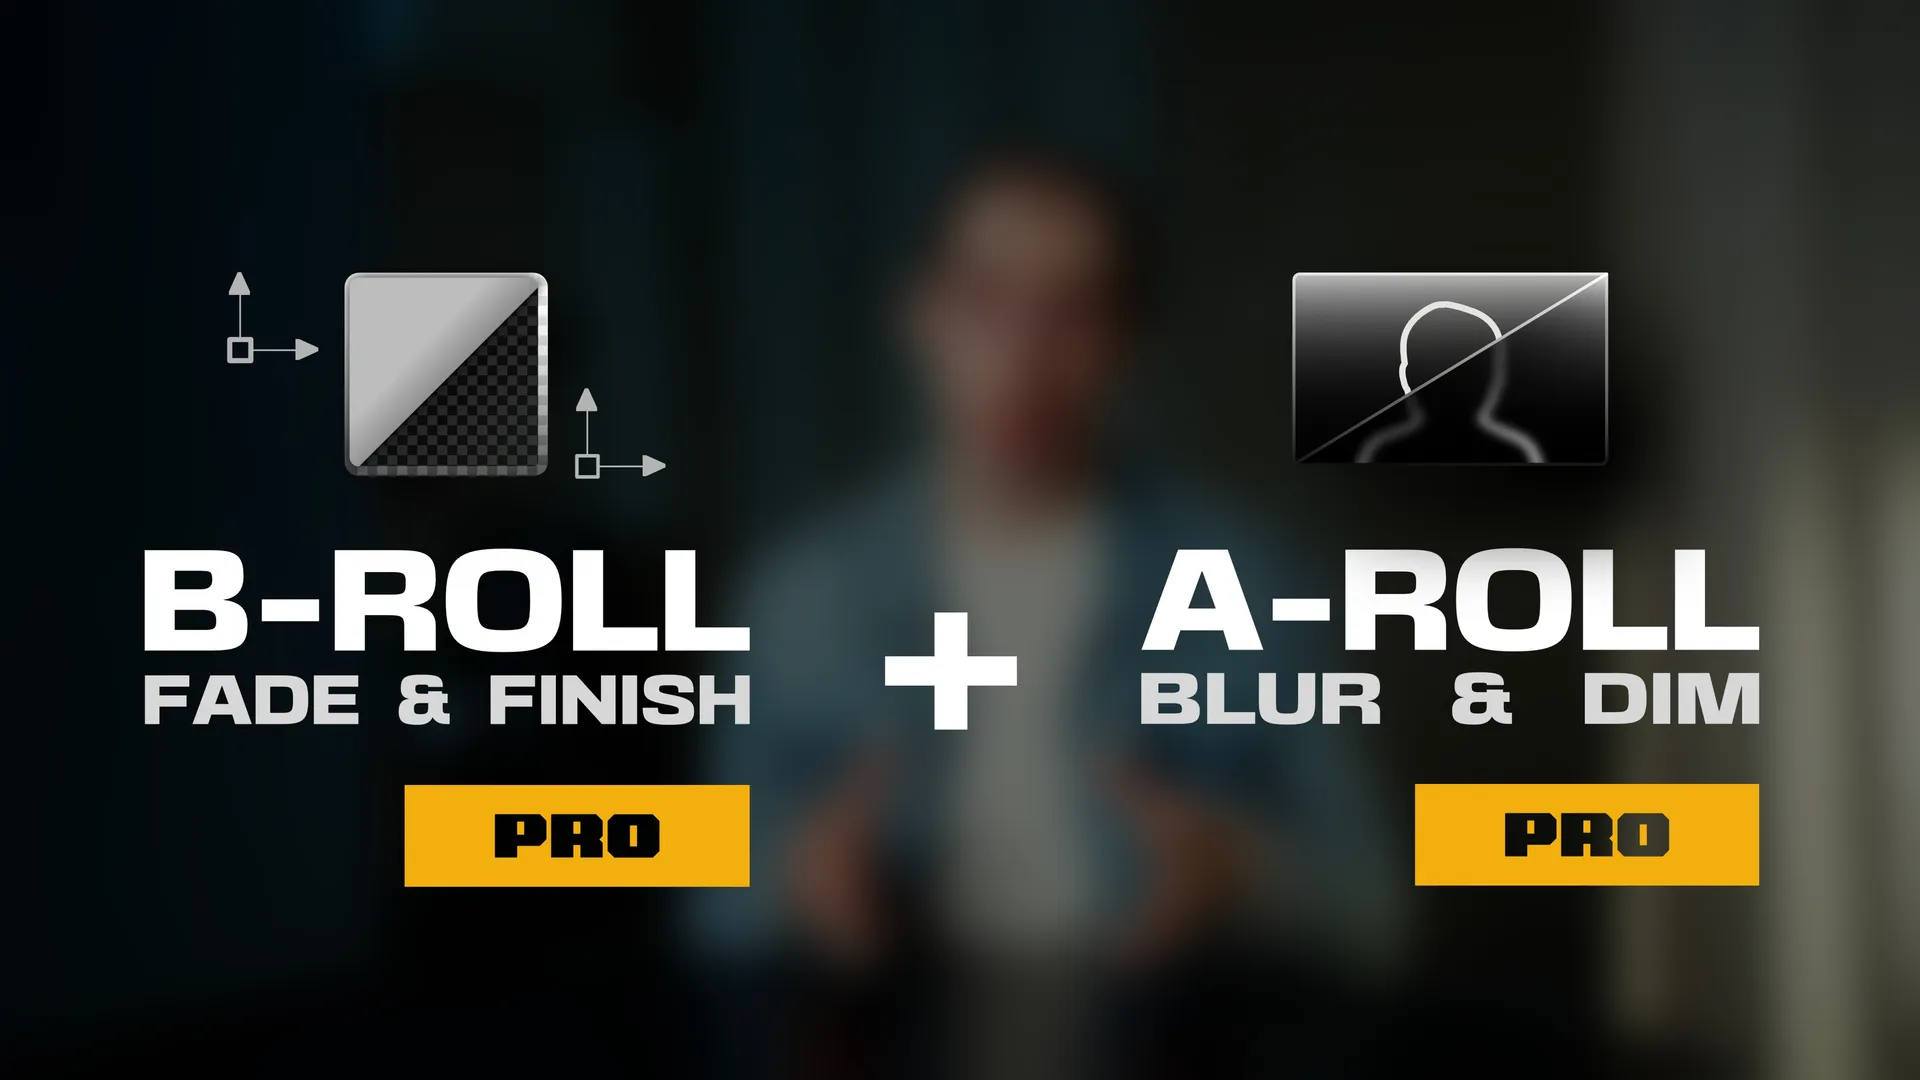
The all‑new PRO System of the B‑Roll Fade & Finish and A‑Roll Blur & Dim tools was built exactly to solve that.
This isn’t just a small upgrade, it’s a complete system to help streamline your entire overlaid B‑roll workflow, from cropping, styling to animation.
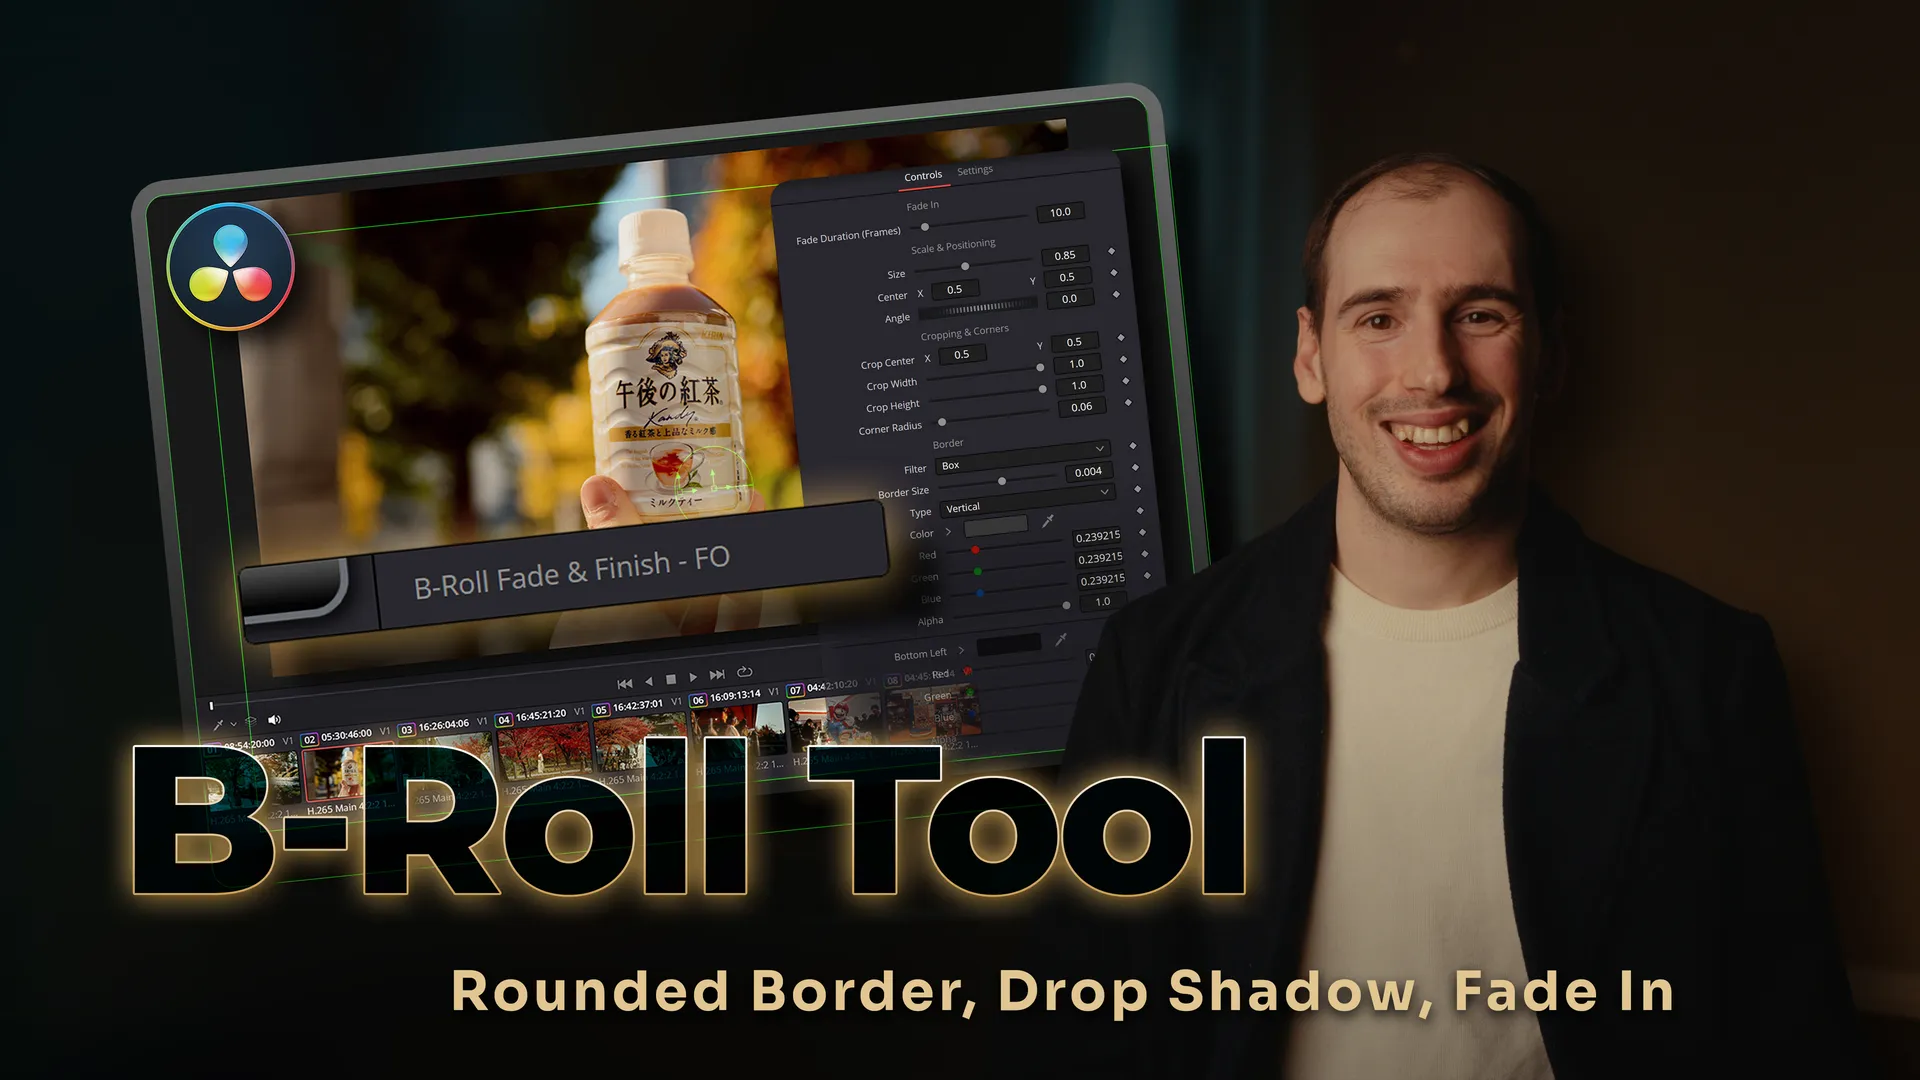
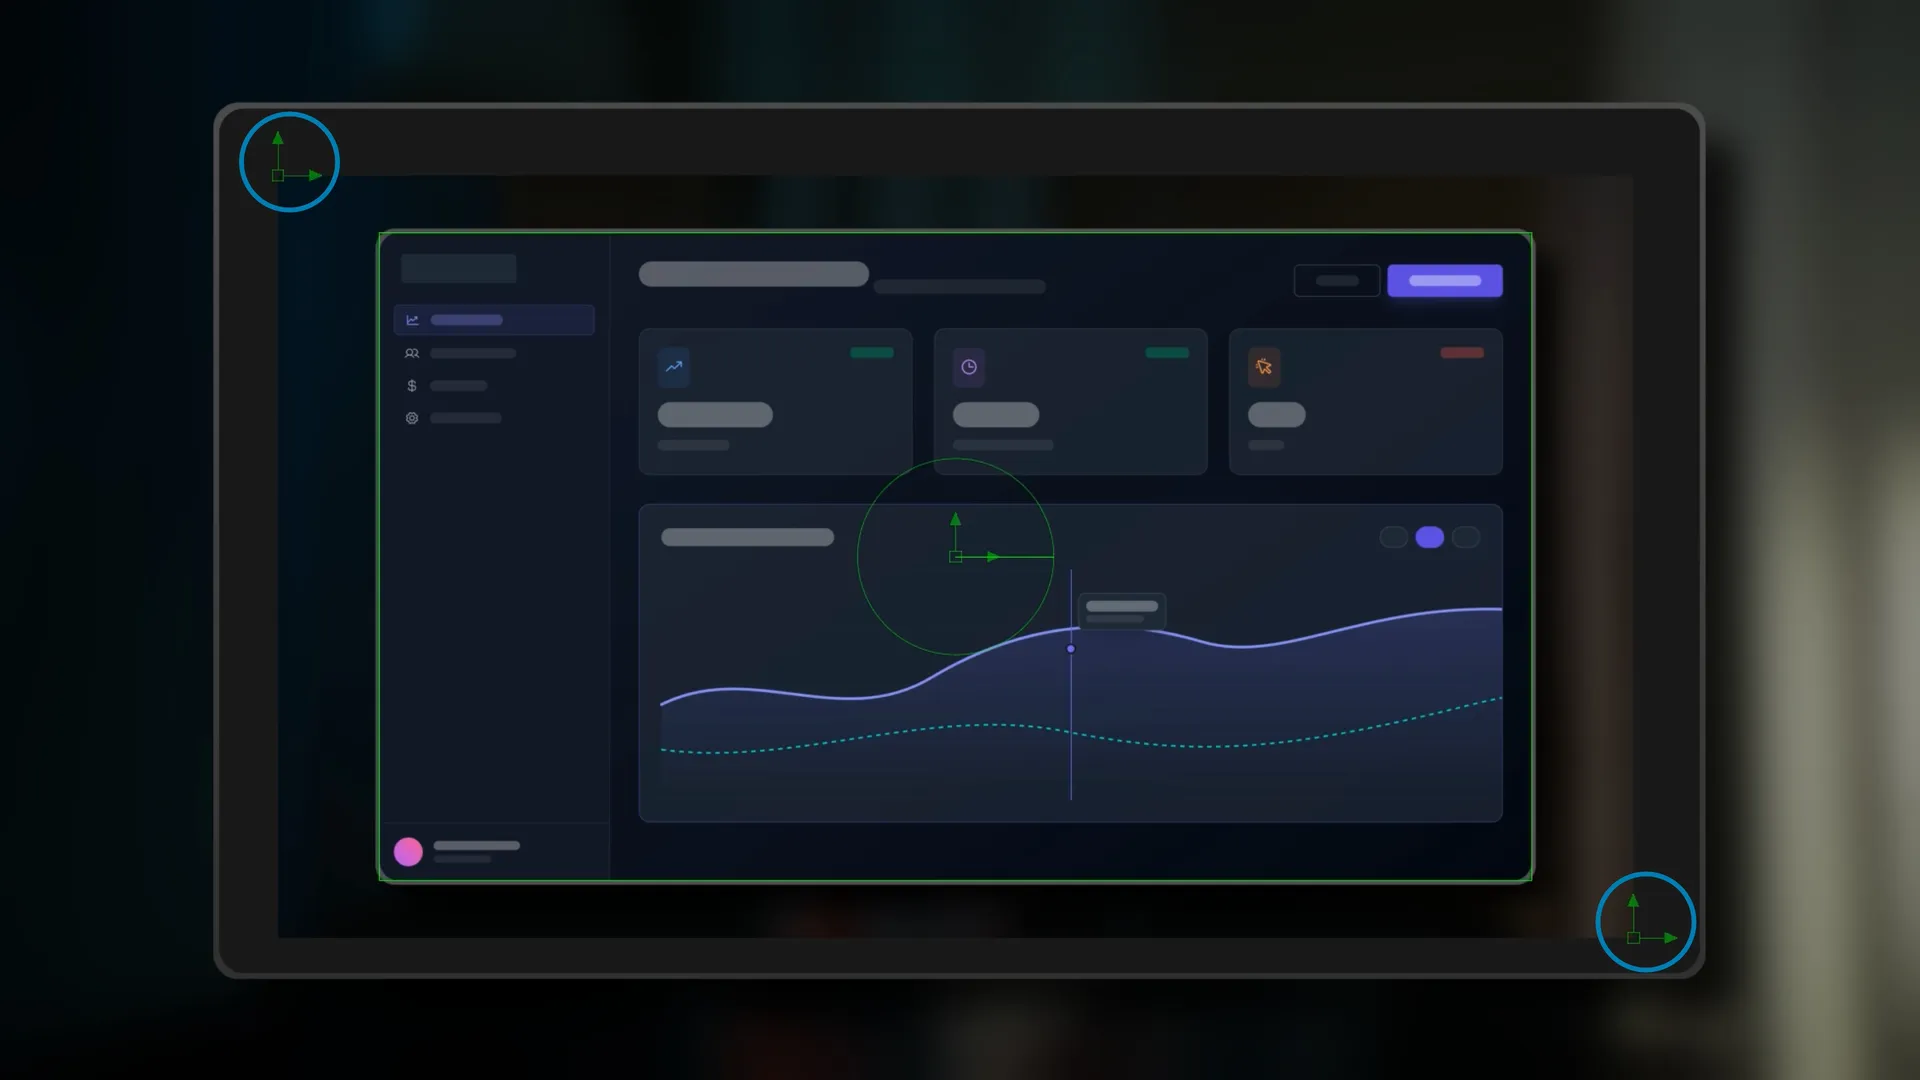
With a single drag-and-drop, you can instantly apply a Fade-In, Rounded Border, and Drop Shadow to your B-roll.
Every setting is housed within a single, centralised Inspector panel, eliminating the need to manually build and adjust multiple effects across different tabs.
But the PRO System goes much further.
It introduces a completely redesigned highly efficient crop method, an all-new editable preset system with starter presets, a web‑based Bulk Preset Manager (available as a special launch bonus), advanced entrance & exit animations, a cleaner UI, a built‑in grid overlay for accurate positioning, dedicated training videos, direct support, and lifetime future updates.
If you’re a creator editing long‑form content in DaVinci Resolve whether that’s educational videos, tutorials, tech reviews, courses, this system was built for you. It’s a faster, more efficient way to crop, stylise, and animate your B-Roll clips with well-thought-out, pro-level features designed to give you back your most valuable asset, your time.
Bonus Included: A-Roll Blur & Dim Tool
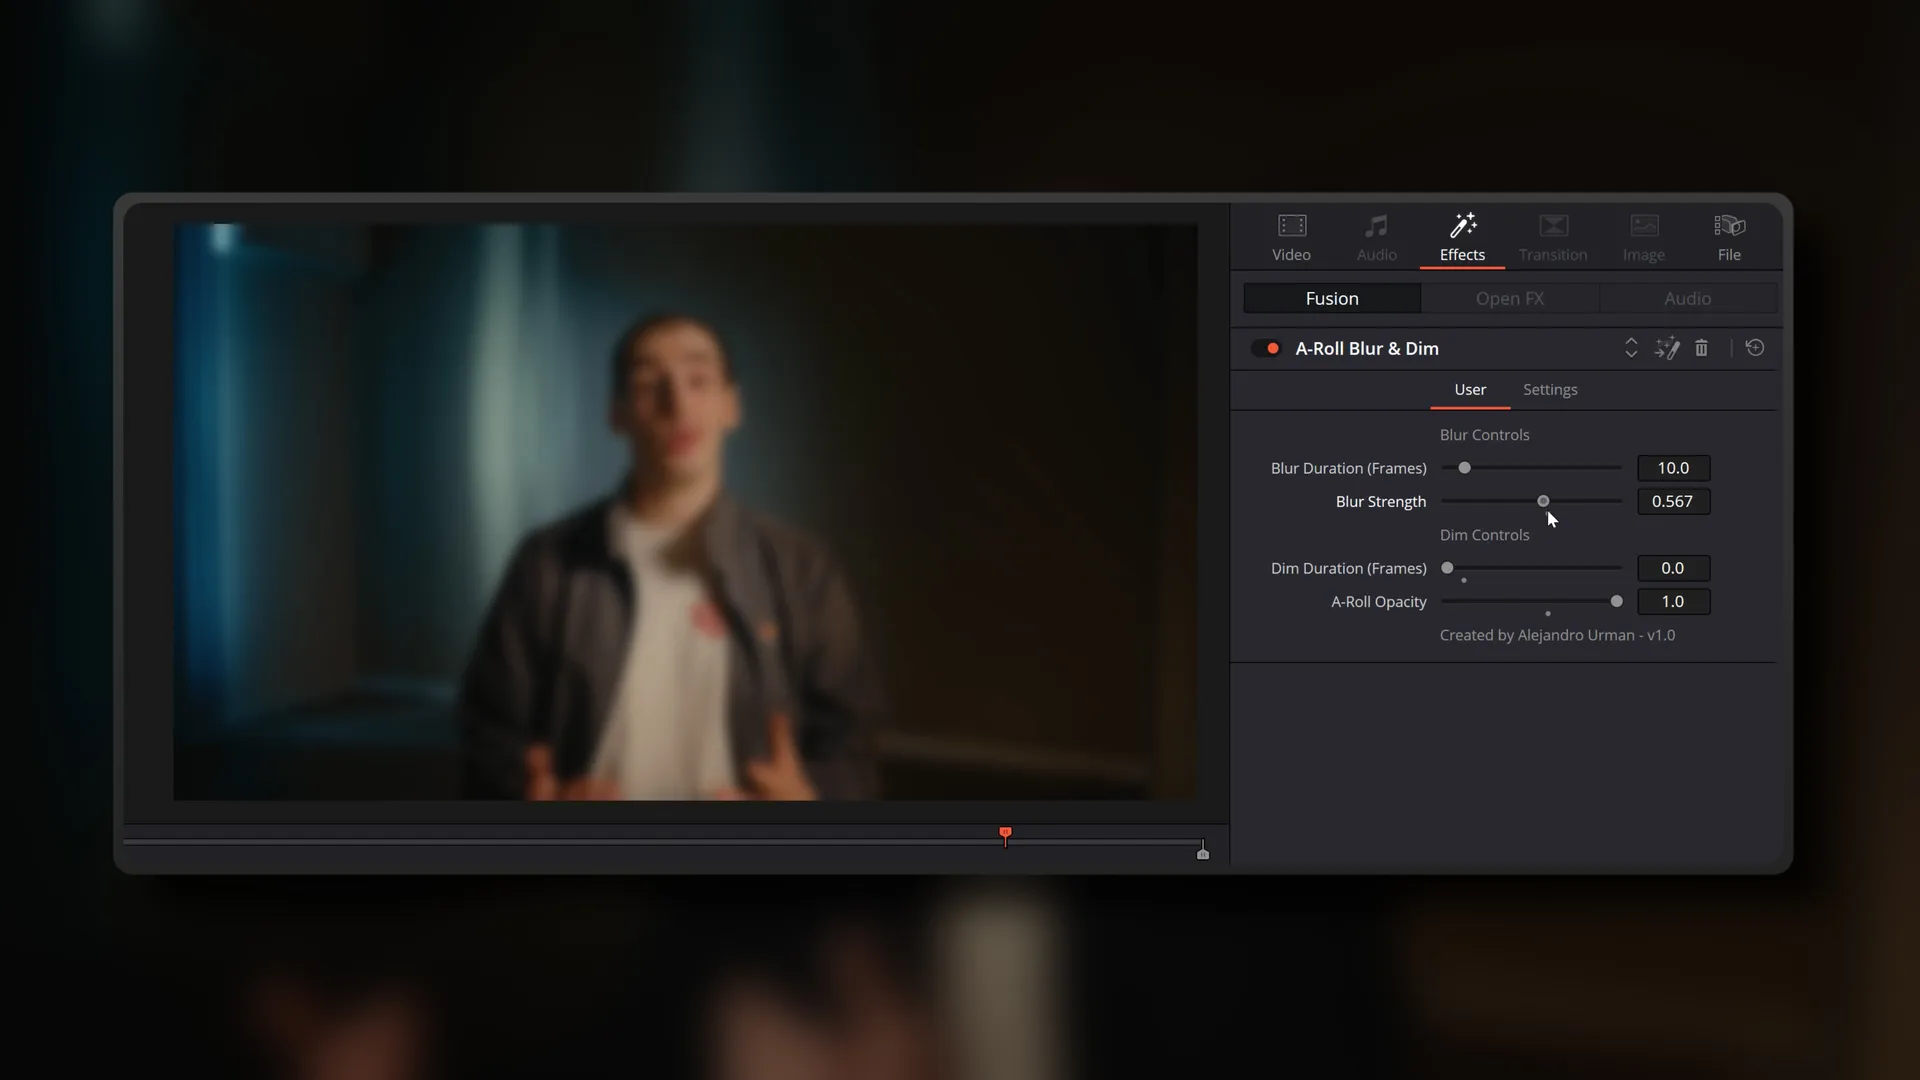
A-Roll Blur & Dim PRO
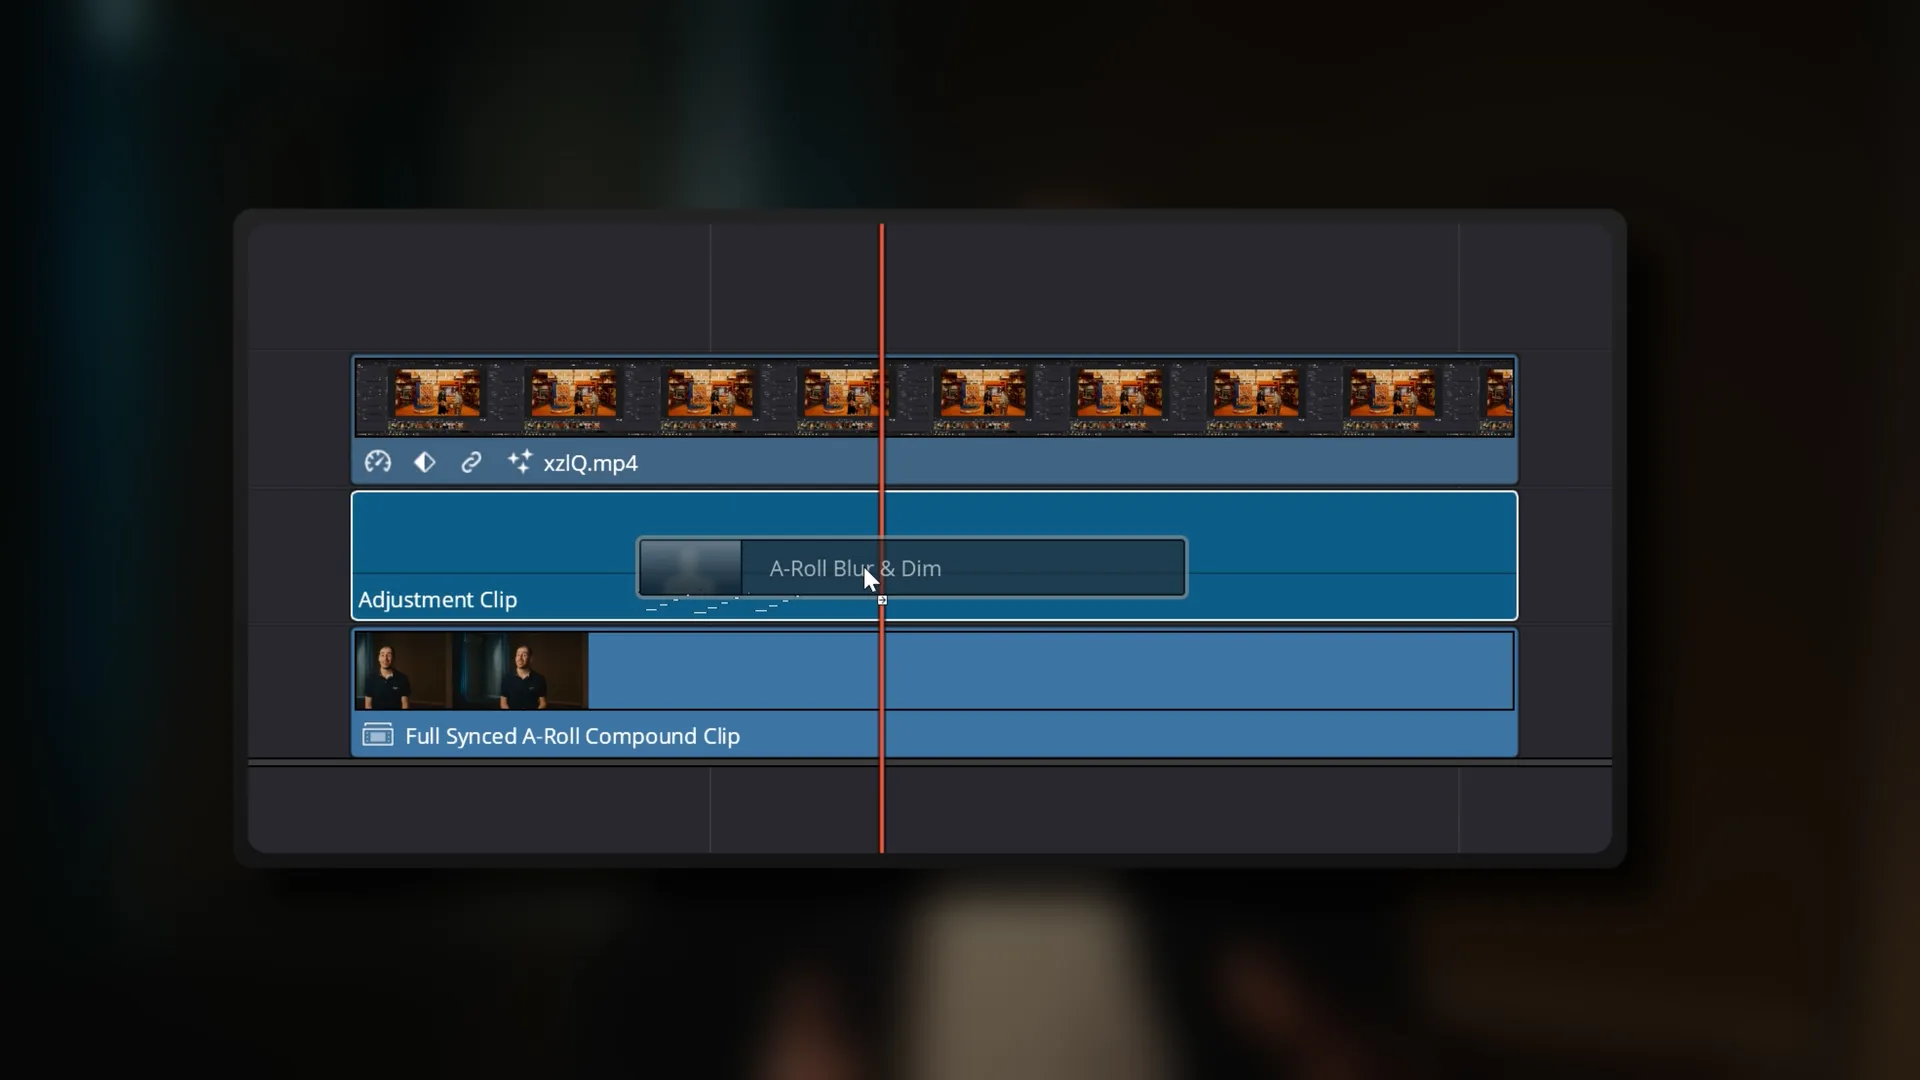
The A-Roll Blur & Dim PRO tool was designed to work in perfect harmony with the B-Roll Fade & Finish system.
By simply applying it to an Adjustment Clip beneath your B-roll, you can instantly add a subtle fade-in blur and dim effect to your underlying A-roll footage. This immediately pulls the viewer’s attention toward the overlaid B-roll, eliminating visual distractions and giving your edits a polished look.
The tool is fully customisable, allowing you to dial in the exact intensity of the blur & dim to suit your background A-Roll footage, while also giving you granular control over the entrance and exit fade durations. This ensures that the background A-Roll transitions match well with the rhythm of your B-roll animations.
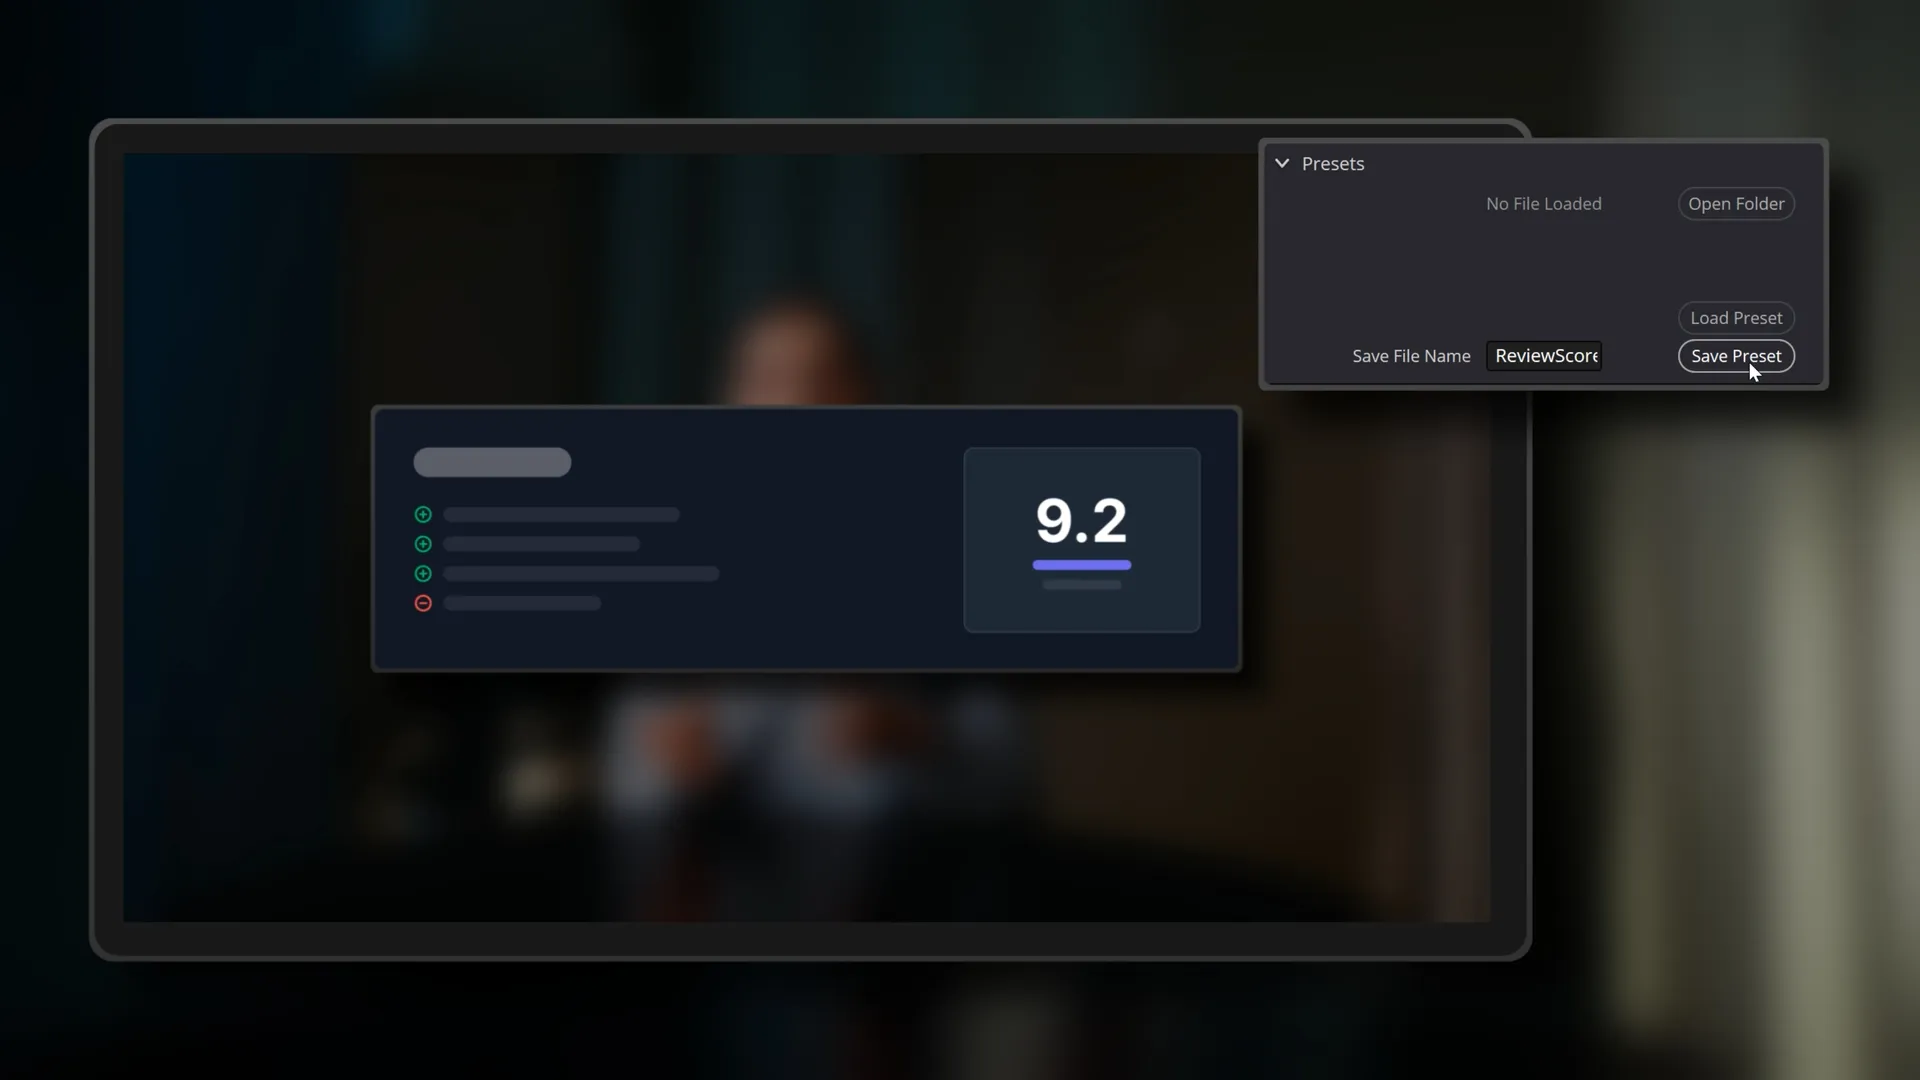
As part of the PRO System, this tool is significantly more advanced. It introduces an all-new editable preset system for saving your favorite looks, a cleaner UI, integration with the web‑based Bulk Preset Manager (available as a special launch bonus), dedicated training videos, priority direct support, and lifetime future updates to ensure your workflow remains fast and future-proof.
What's Included
- The Toolkit: Lifetime access to the full-featured PRO versions of both the B-Roll Fade & Finish and A-Roll Blur & Dim tools.
- The Preset Starter Pack: Get a head start with the exact same presets I personally use in my own projects, so you can start getting great results right out of the box.
- Comprehensive Training: Get the most out of this system from day one with a Quick Start Training Video and a detailed Reference Manual covering every feature.
- Lifetime Updates: Stay up to date with all future updates released for Version 1.x of these tools. All bug fixes, optimisations & new minor features I might potentially add along the way are yours.
- Direct Support: Get peace of mind with a direct line to get in touch with me, so we can make sure that the tool is set up correctly and works well for you.
Compatibility
Compatible with PC & Mac in DaVinci Resolve Studio 20.
Release Changelog
- Version 1.0
Launch of B-Roll Fade & Finish PRO & A-Roll Blur & Dim PRO tools.
Launch Bonus – Bulk Preset Manager
To celebrate the launch of the B-Roll Fade & Finish PRO System, you’ll get exclusive access to the web-based Bulk Preset Manager which allows you to upload all of your presets and instantly change their values (eg. brand colours) across every single one at once.
You’ll also get a dedicated training video that walks you through the Bulk Preset Manager step by step, so you can fully understand each feature and get the most out of it. It’s an invaluable tool for anyone working with multiple clients or brands.
Limited time offer. Automatically added at checkout.
If you have any questions about the B-Roll Fade & Finish PRO system,
please feel free to get in touch through the Contact form.


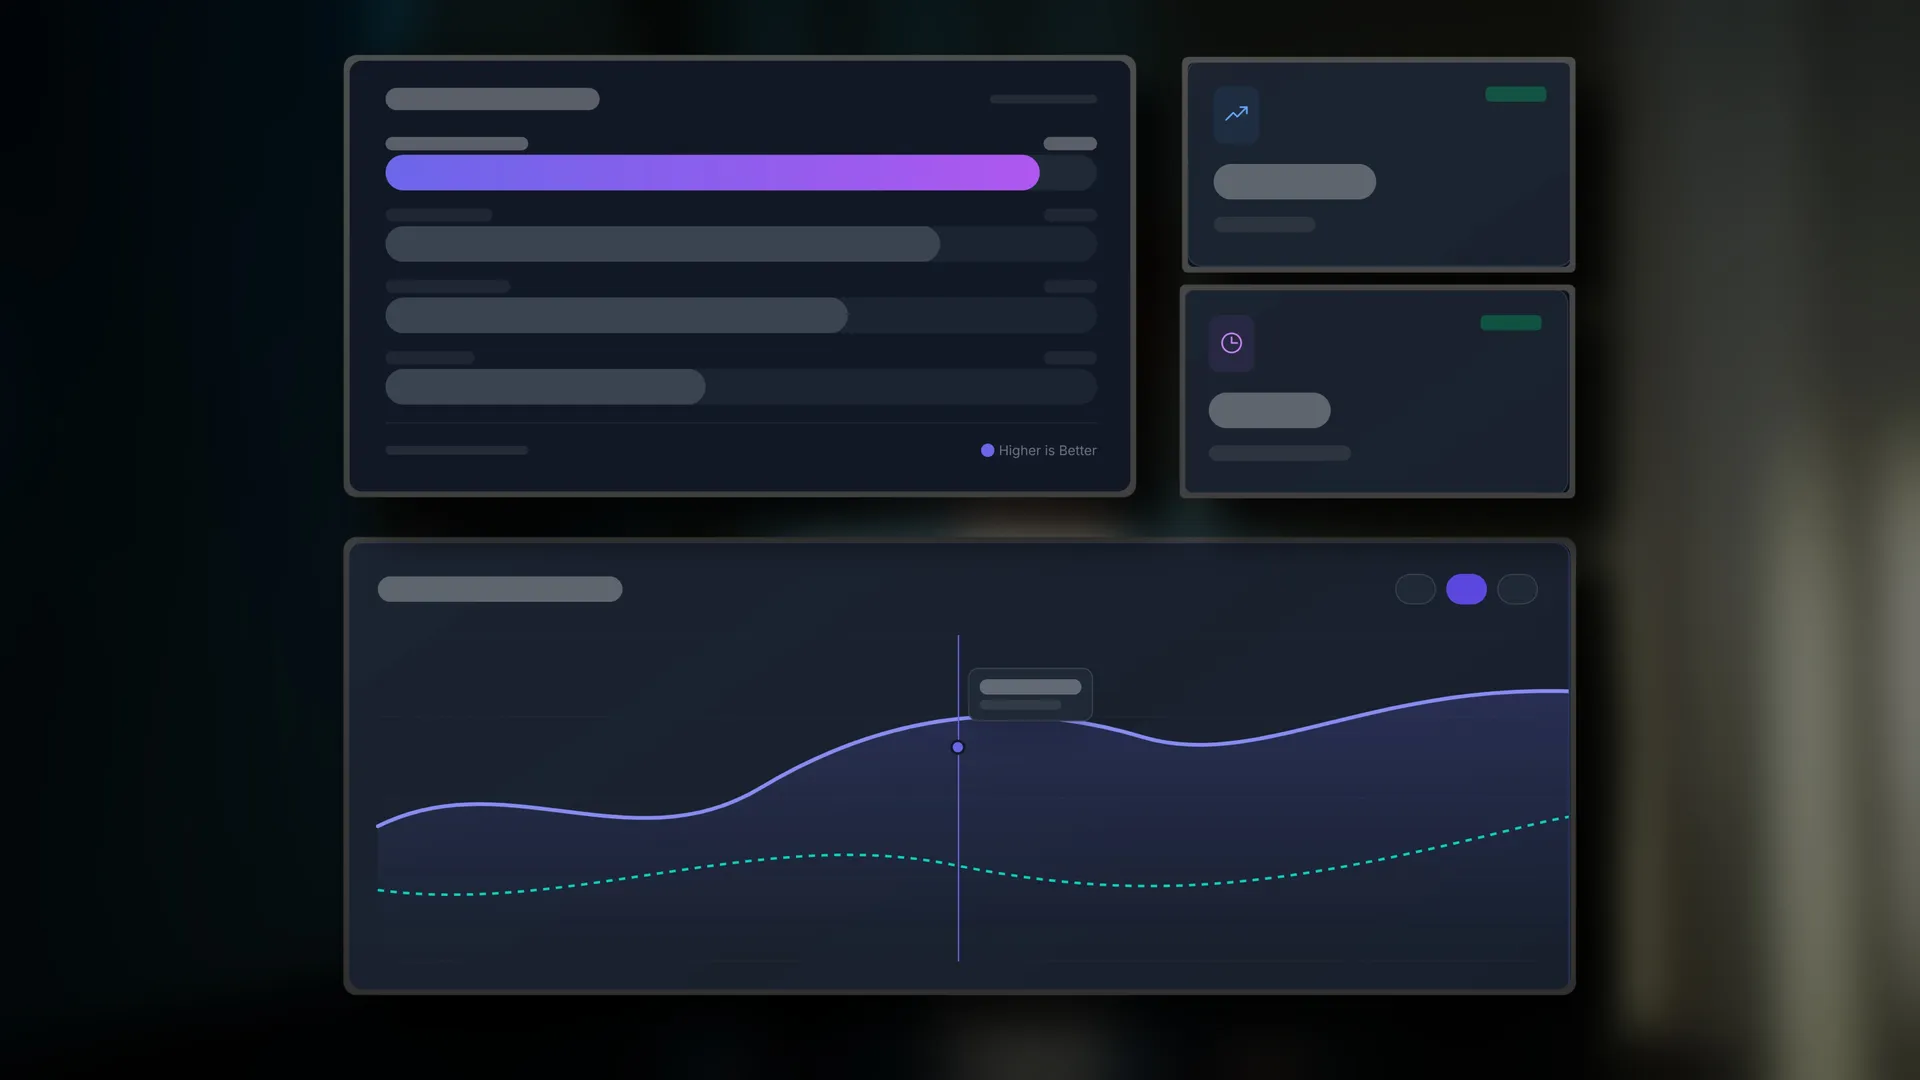
Take The Challenge
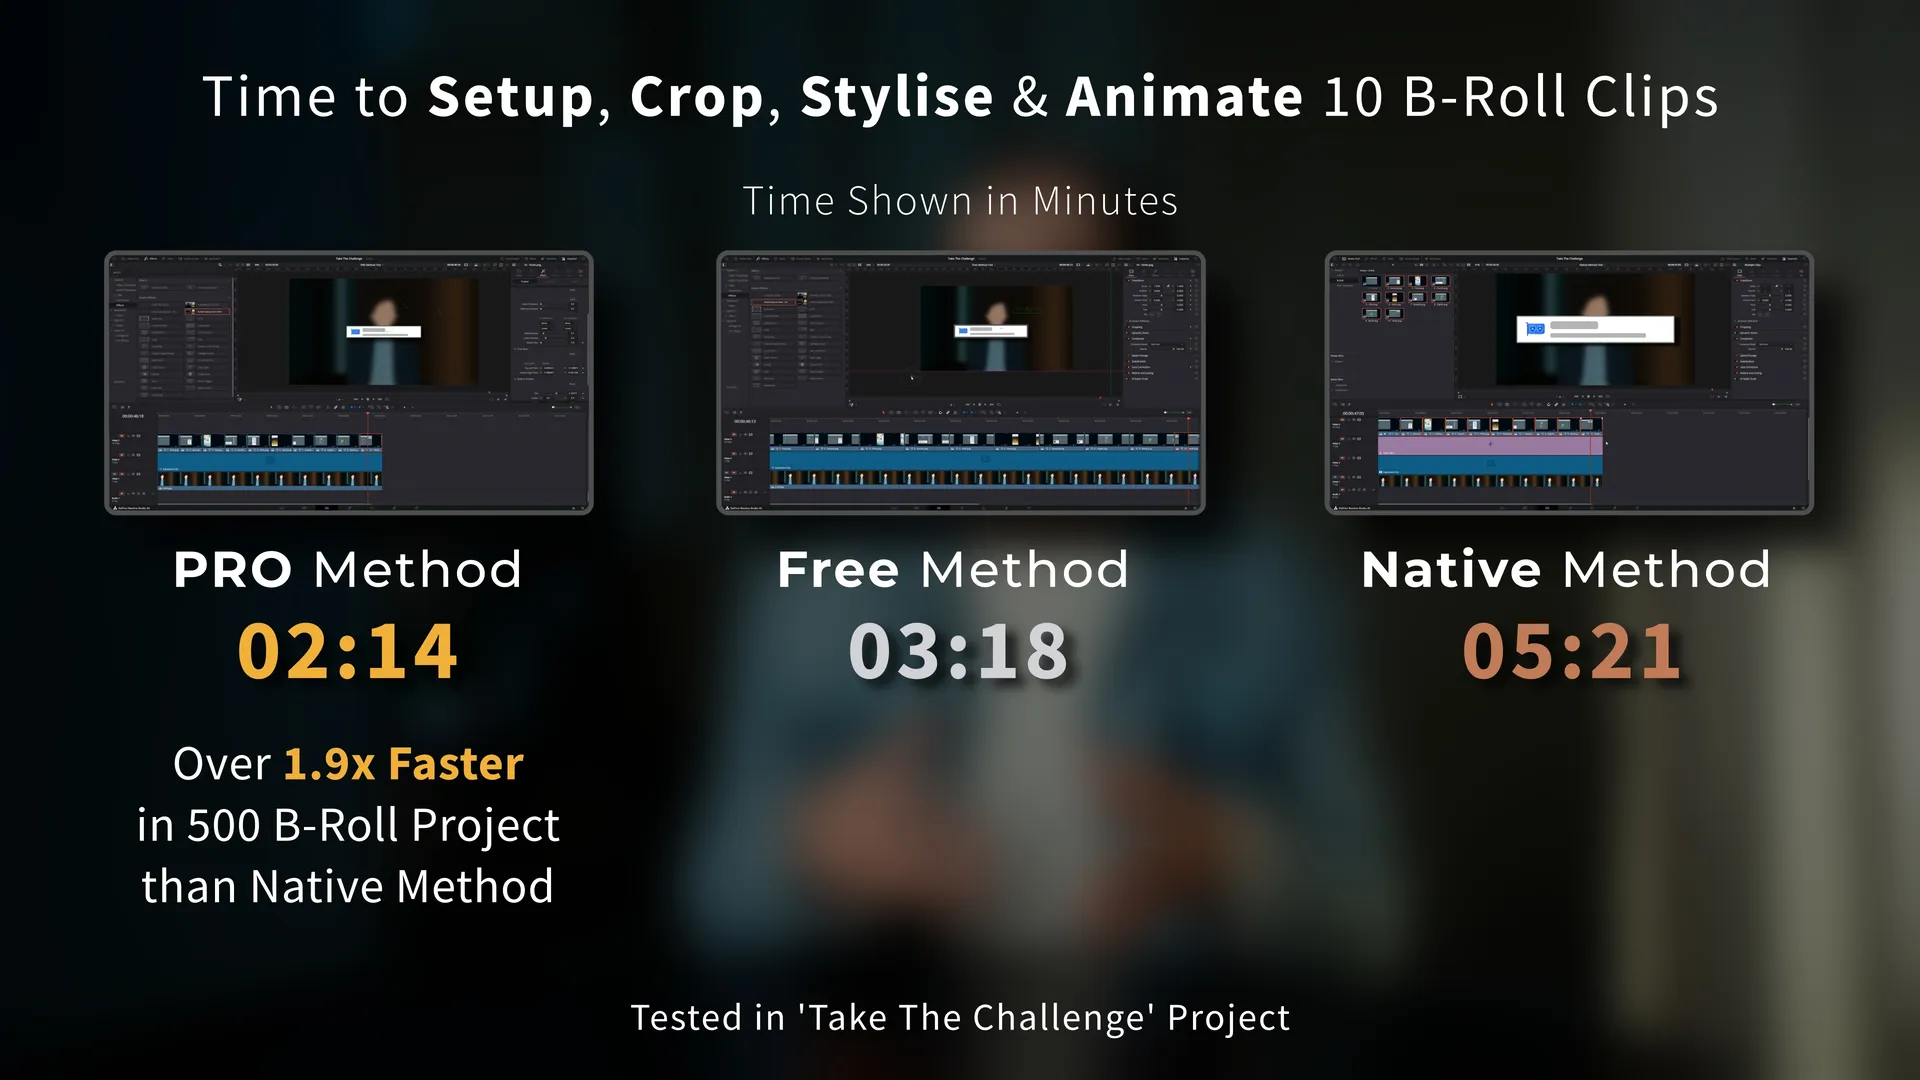
Time to Setup, Crop, Stylise & Animate 10 B-Roll Clips
PRO Method
02:14
Free Method
03:18
Native Method
05:21
Can you edit faster than the B-Roll Fade & Finish PRO System?
Put your skills to the test and receive a further discount once you’re done.
Free Version vs Pro Version
The PRO Advantage: Speed, Precision and Ease
The PRO version is built for editors who value every second.
The Point Crop System replaces the original frame crop system with a faster, more intuitive workflow, while the Fast & Highly Editable Preset System ensures you can efficiently save and load your custom crops & looks. These tools, combined with an advanced animation system, provide a massive incremental leap in speed.
The Free Version: The Essentials
I released the free version to give back to the community. I wanted to share a tool that had truly helped me, so that others could also get some time back in their day.
And it remains a high-quality, robust improvement over the native DaVinci Resolve method, offering an essential frame-based crop system and styling that will absolutely get the job done for most projects. It even benefits from the same underlying code optimizations as the PRO version to ensure stability and performance.
Which one is right for you?
If you’re on the fence, I encourage you to try the Free version first. See how it fits into your workflow. If you find yourself using it on project after project and are ready for an huge incremental leap in speed over what it already offers and a whole new range of premium features, then you’ll know it’s time to move up to the PRO version.
| Features | Free | Pro |
|---|---|---|
| Simple Fade In Animation | ✅ | ✅ |
| Simple Fade Out Animation | ✅ | ✅ |
| Border Styling | ✅ | ✅ |
| Drop Shadow Styling | ✅ | ✅ |
| Faster & Easier Point Crop System | ❌ | ✅ |
| Organised Drop-Down UI | ❌ | ✅ |
| Fast & Editable Preset System with Overwrite Prevention | ❌ | ✅ |
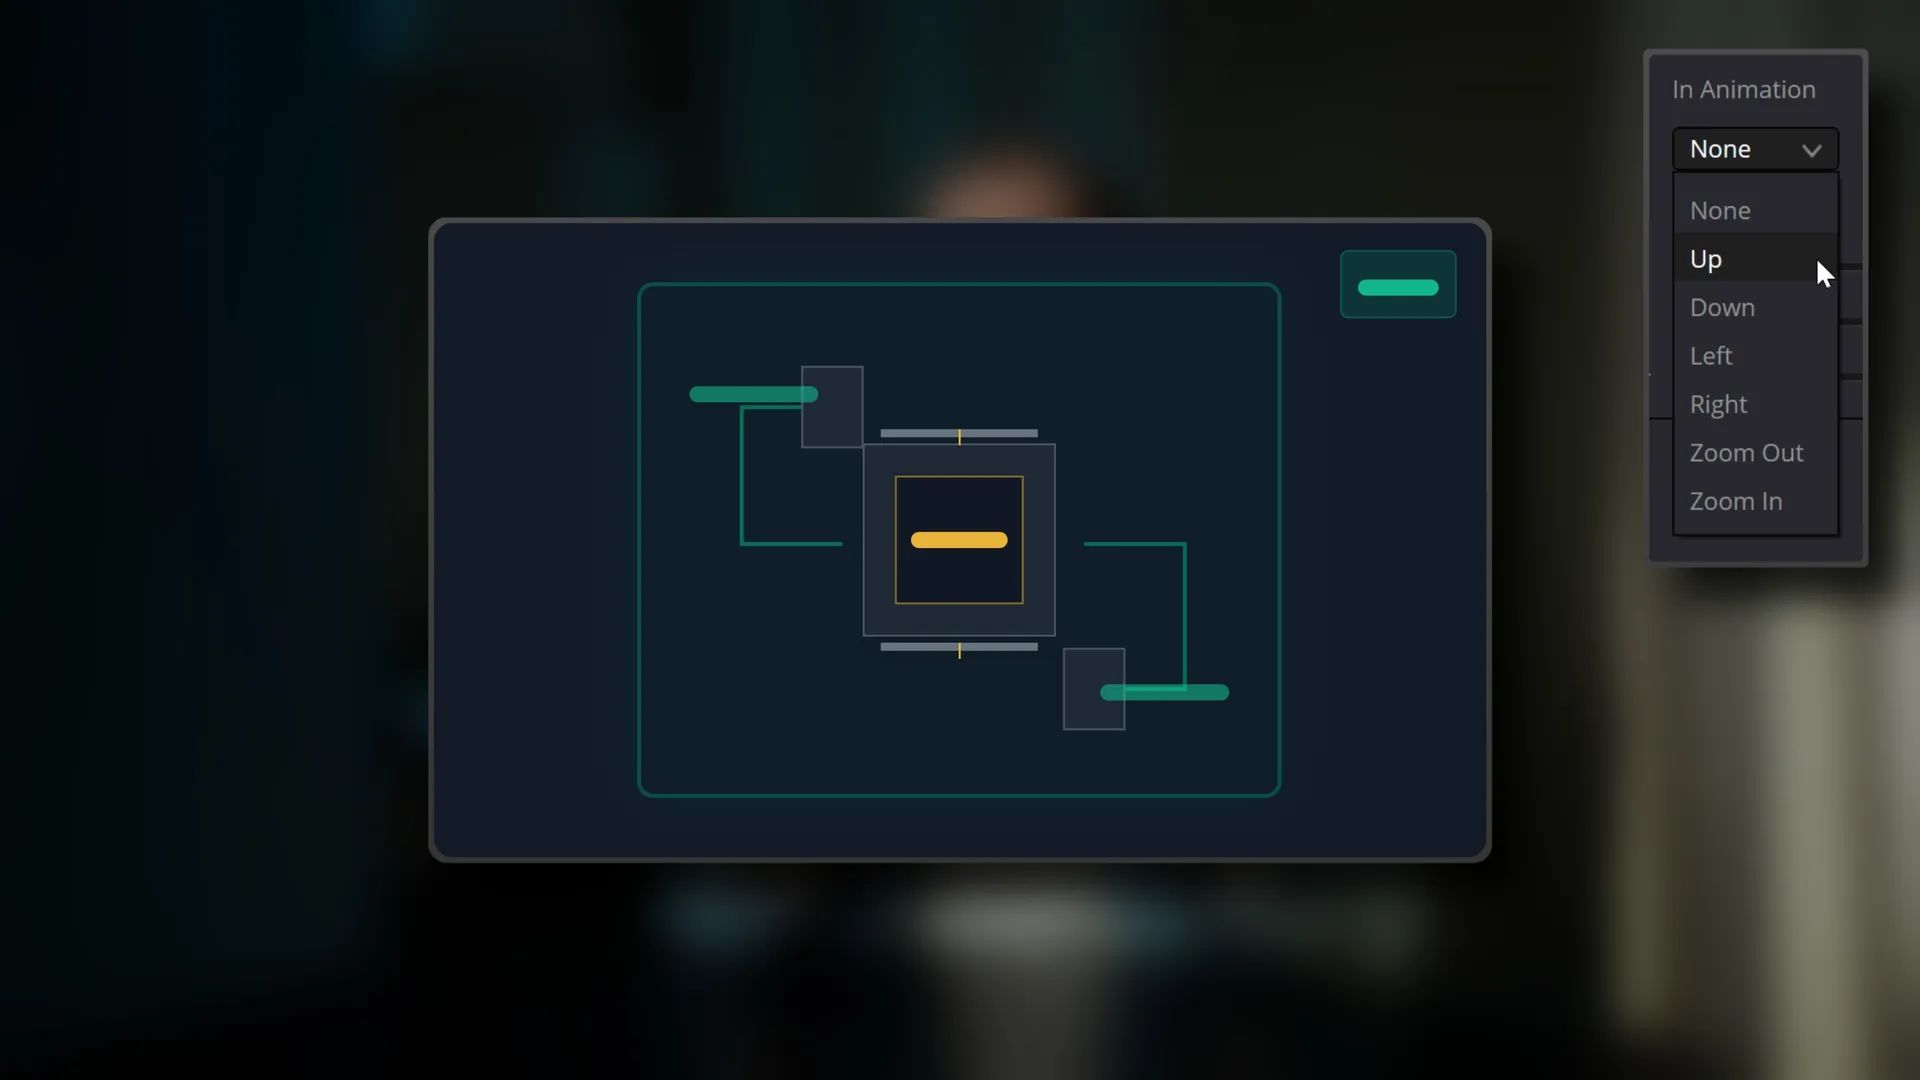
| Directional & Zoom In Animation | ❌ | ✅ |
| Directional & Zoom Out Animation | ❌ | ✅ |
| Easing Options for In & Out Animation | ❌ | ✅ |
| Slide & Zoom Distance Options for In & Out Animation | ❌ | ✅ |
| Motion Blur for In & Out Animation | ❌ | ✅ |
| Instant One-Click Static Button | ❌ | ✅ |
| Various Crop Point Starter Options | ❌ | ✅ |
| Overlay Grid for Precise Positioning | ❌ | ✅ |
| Individual Section Reset Buttons | ❌ | ✅ |
| Bundled Starter Preset Pack | ❌ | ✅ |
| Lifetime Feature Updates | ❌ | ✅ |
| Priority Direct Support Form | ❌ | ✅ |
| Integration with Bulk Preset Manager | ❌ | ✅ |
7 Day Money-Back Guarantee
I truly want these tools to provide real value for you.
If you purchase the B-Roll Fade & Finish PRO System, try it on a real-world long form project
and find that it isn’t saving you time, I want to hear about it.
Simply reach out via the direct support form within 7 days of purchase.
I will personally work with you via email to ensure everything is configured correctly.
And if the system still isn’t delivering the results you’re looking for, I’ll give you your money back.
B-Roll Fade & Finish
The Essentials for Cropping & Styling Overlaid B-Roll Clips
The free version of the B-Roll Fade & Finish and A-Roll Blur & Dim tools provides the core essentials.
With a simple drag-and-drop, you can instantly apply that signature fade-in, rounded border and drop shadow to your overlaid B-roll clips.
All visual elements remain fully customisable from a single, centralised Inspector panel, eliminating the frustration of jumping between different inspector tabs or multiple viewer options to tweak aspects of each individual B-Roll Clip.
I released this free version to give back to the community.
I wanted to share a tool that had truly helped me, so that others could also get some time back in their day.
And it remains a high-quality, robust improvement over the native DaVinci Resolve method. It features an essential frame-based cropping system and styling options that will handle the demands of many projects.
Furthermore, it benefits from the same underlying code optimizations as the PRO version to ensure stability and performance.
If you’re on the fence, I encourage you to try this Free version first. See how it fits into your workflow. If you find yourself using it on project after project and are ready for an huge incremental leap in speed over what it already offers and a whole new range of premium features, then you’ll know it’s time to move up to the PRO version.
Included
A-Roll Blur & Dim Tool
This bonus tool is designed to work seamlessly alongside the B-Roll Fade & Finish tool. When applied to an Adjustment Clip placed beneath your B-Roll on the timeline, it adds a subtle fade-in/out blur and dim effect to the underlying A-Roll, helping to draw the viewer’s attention to the B-Roll while minimising distractions from the A-Roll.
The tool is fully customisable, allowing you to adjust the blur fade-in/out duration, blur strength, dim fade-in/out duration, and dim intensity to suit your preferences.
To suit different editing preferences, the package includes two variants of the tool:
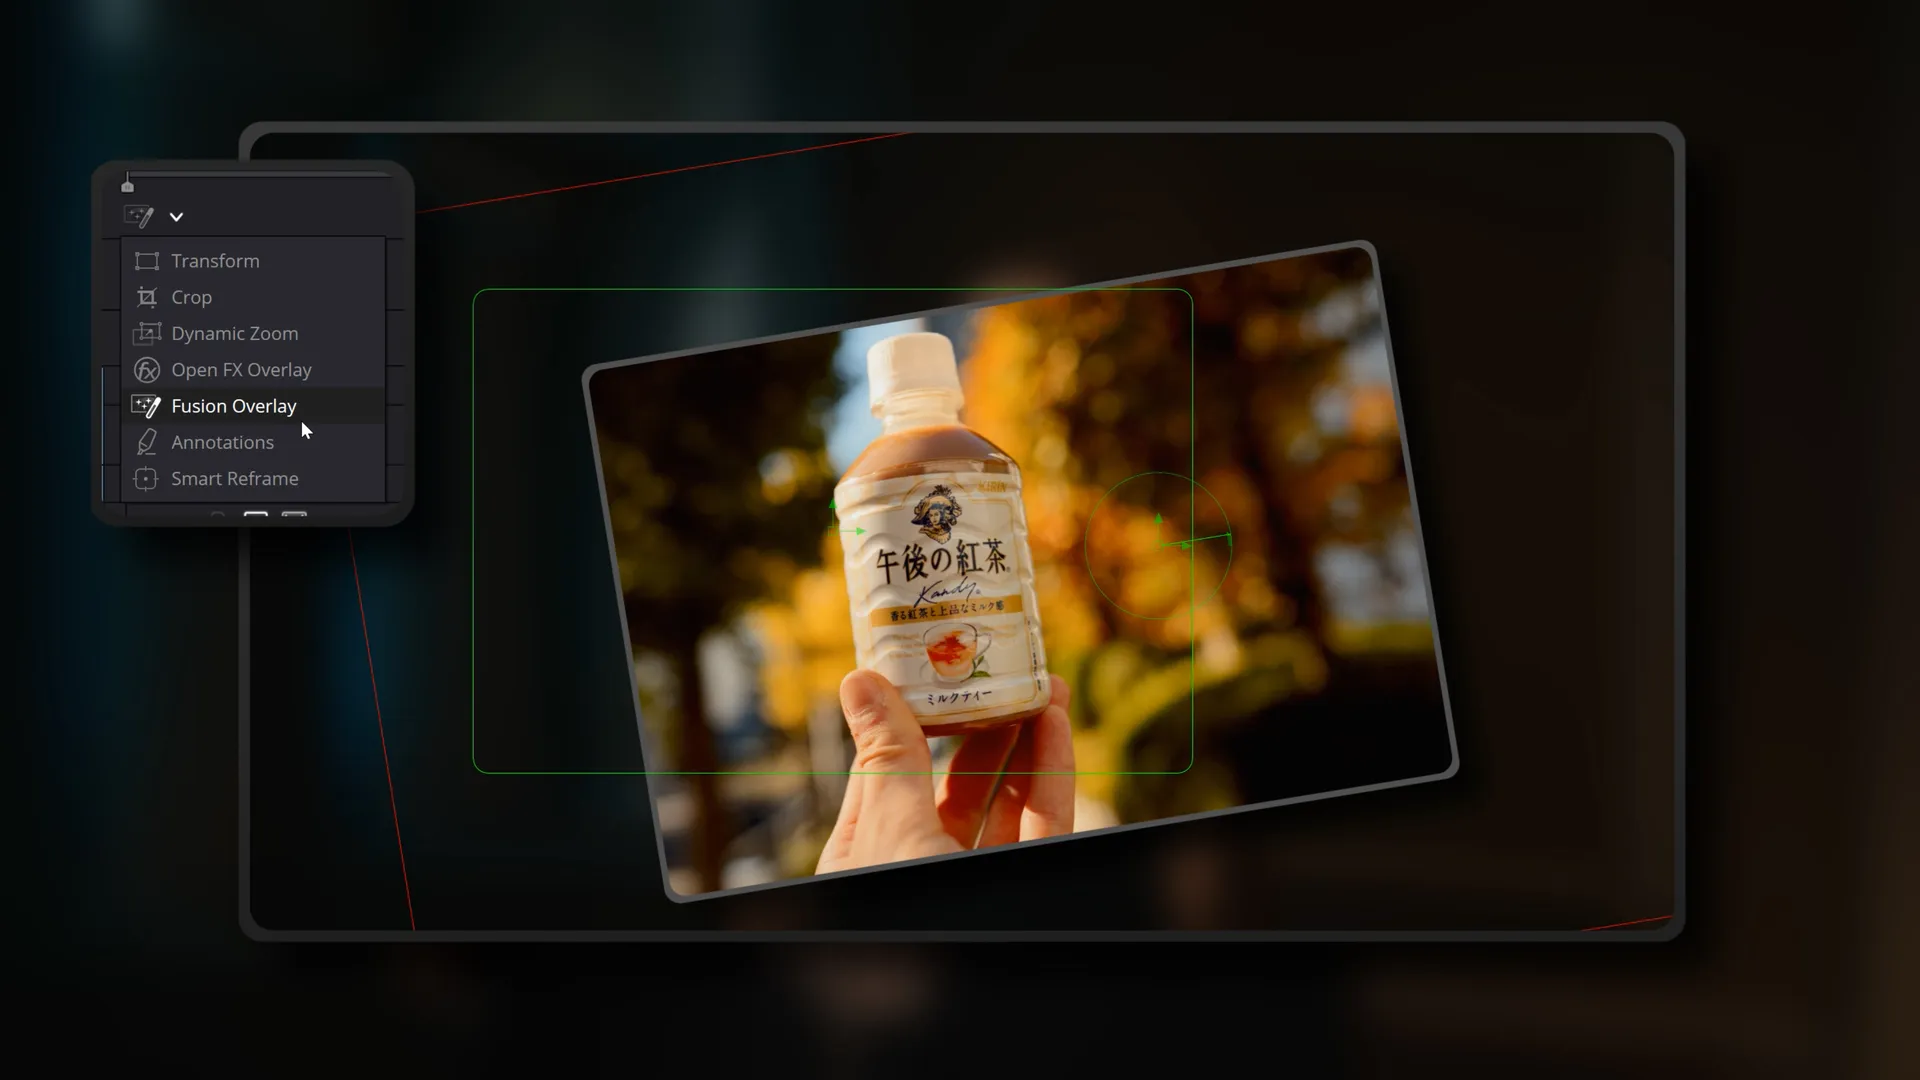
B-Roll Fade & Finish FO (Fusion Overlay)
This recommended variant is tailored for users who prefer manipulating their B-Roll directly using Fusion Overlay handles within the DaVinci Resolve Edit Page.
With intuitive on-screen mouse controls, you can visually crop, position, scale, and angle your B-Roll clips.
- The clip is slightly offset to the right on load so both Fusion Overlay handles are immediately visible.
- A short, built-in guide appears at the bottom of the Inspector panel, explaining how to use the handles and on-screen frames.
B-Roll Fade & Finish SLD (Sliders)
This variant is designed for editors who prefer adjusting B-Roll settings using Inspector panel sliders instead of the Fusion Overlay.
- The clip remains centered, since no Fusion Overlay handles are needed.
- This variant also omits the on-screen guide and is ideal for users who prefer control via sliders.
- Apart from these changes, this variant is identical to the FO (Fusion Overlay) variant.
Compatibility
Compatible with PC & Mac in DaVinci Resolve Studio 20.
Release Changelog
- Version 1.2
Resolved issue where borders appeared stretched on vertical B-Roll clips in horizontal resolutions. Implemented code optimisations to enhance overall stability. Introduced PRO Upgrade section for users seeking advanced features.
- Version 1.1
Addition of Fade Out functionality in both the B-Roll Fade & Finish and A-Roll Blur & Dim tools. Minor adjustments to default settings and UI. - Version 1.0
Initial release of the B-Roll Fade & Finish tool, including both FO and SLD variants. Packaged with the initial release of the A-Roll Blur & Dim tool.
Add to Cart and continue to checkout for free download.
Feel free to download these free tools and if you find them helpful, please consider Subscribing on YouTube.
It supports the channel and helps me continue creating content like this for you.
Experiencing issues in Store? Contact Here
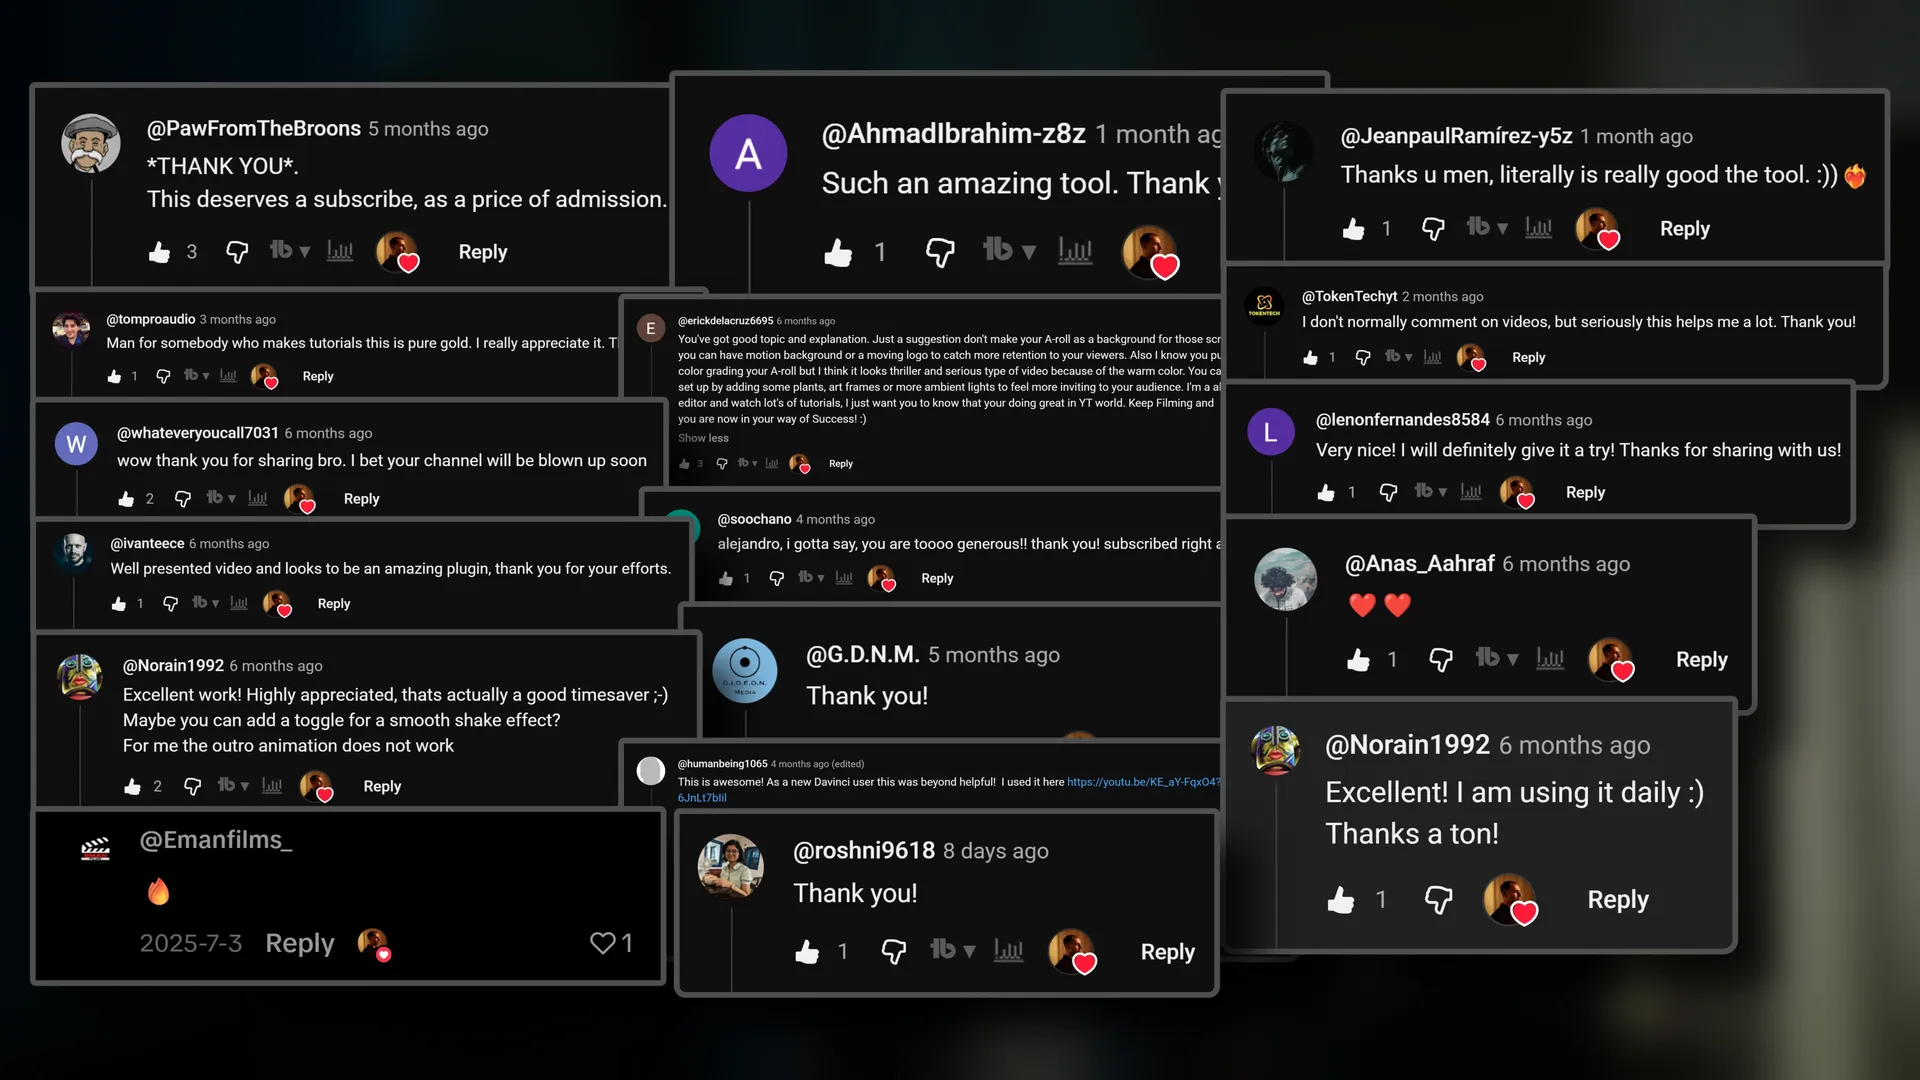
1 review for B-Roll Fade & Finish PRO
Be the first to share your experience after purchasing!
Your feedback on the B-Roll Fade & Finish PRO system helps other creators who are looking for the right tools for their workflow.