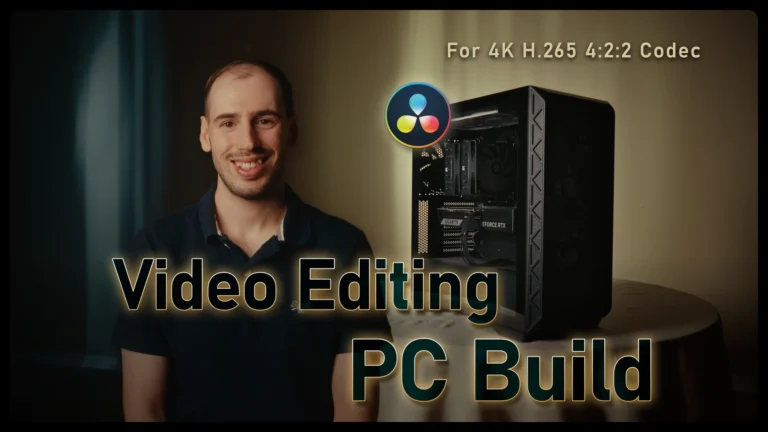
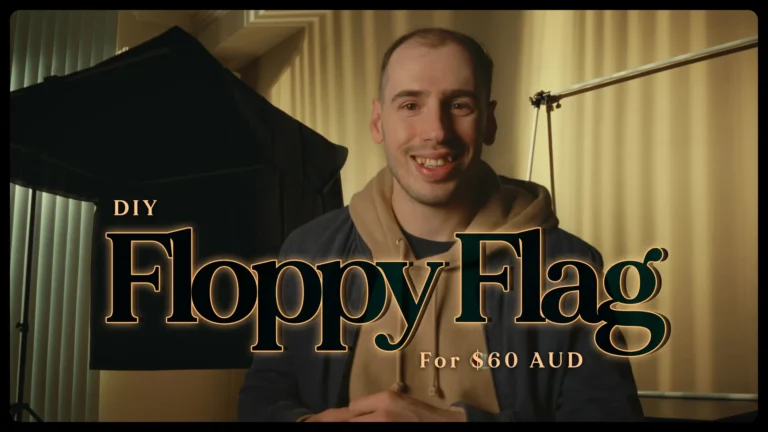
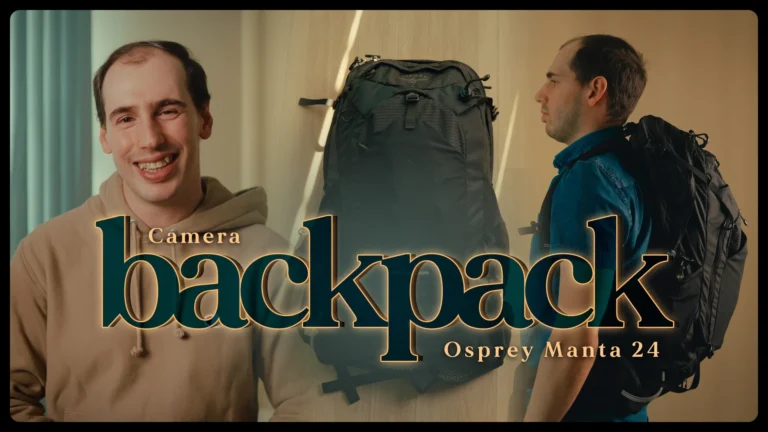
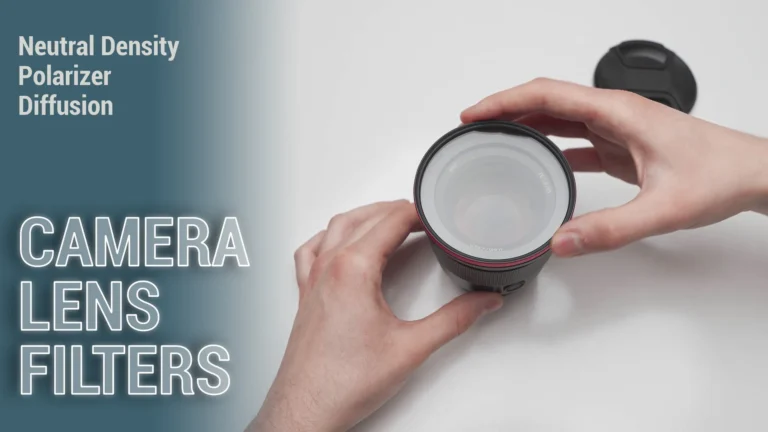
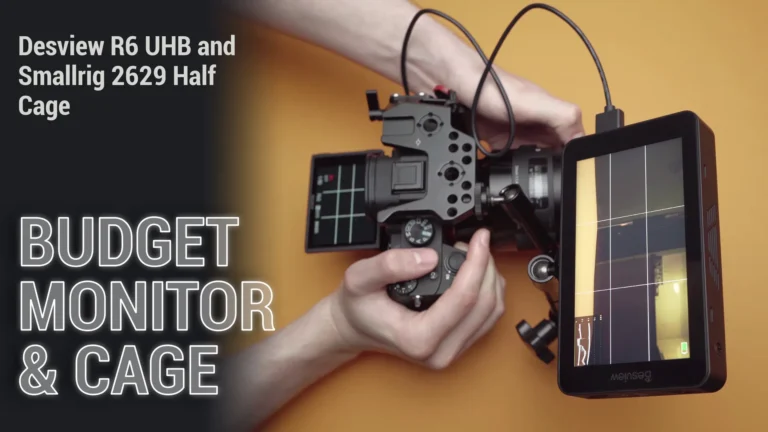
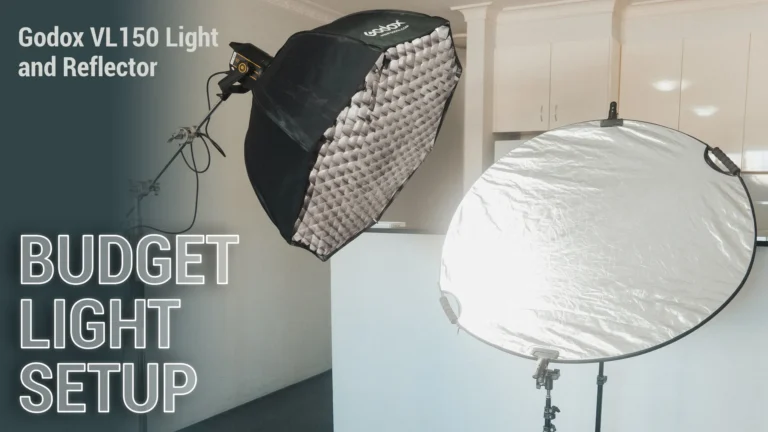
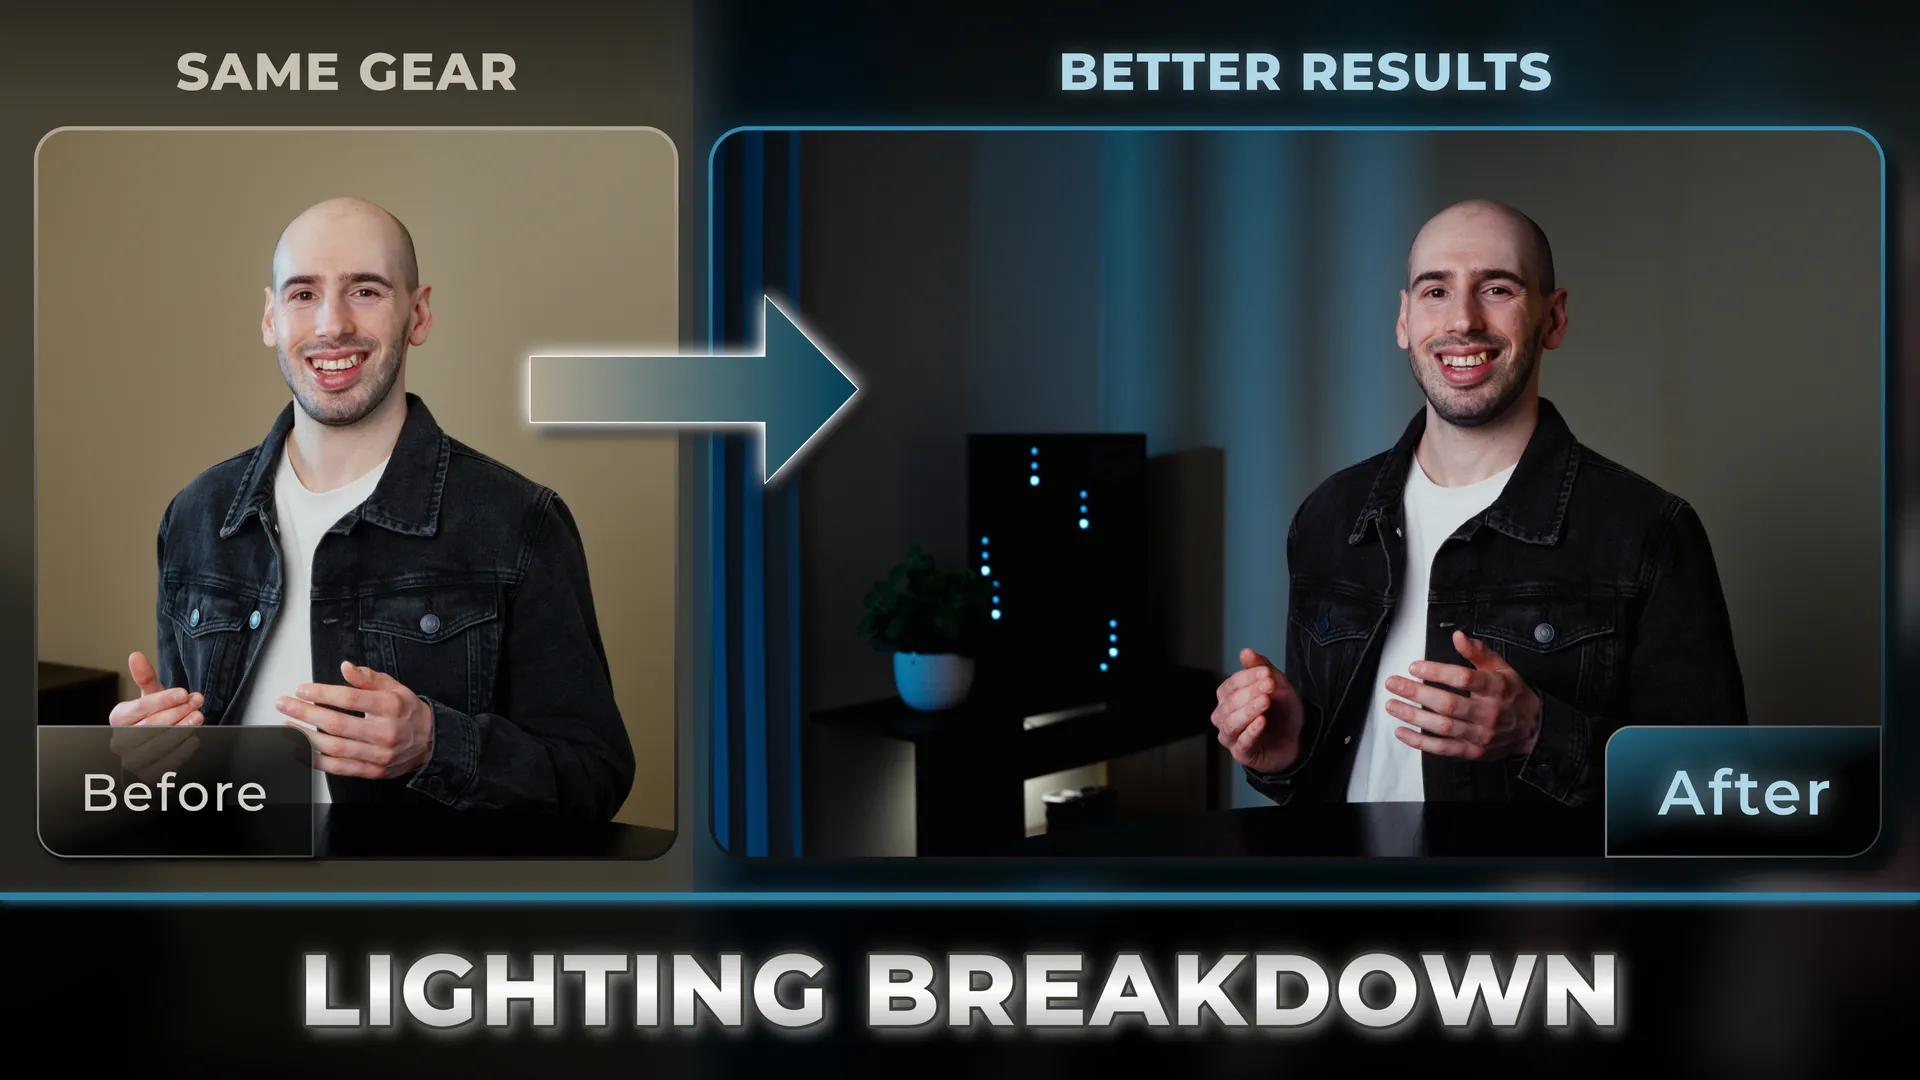
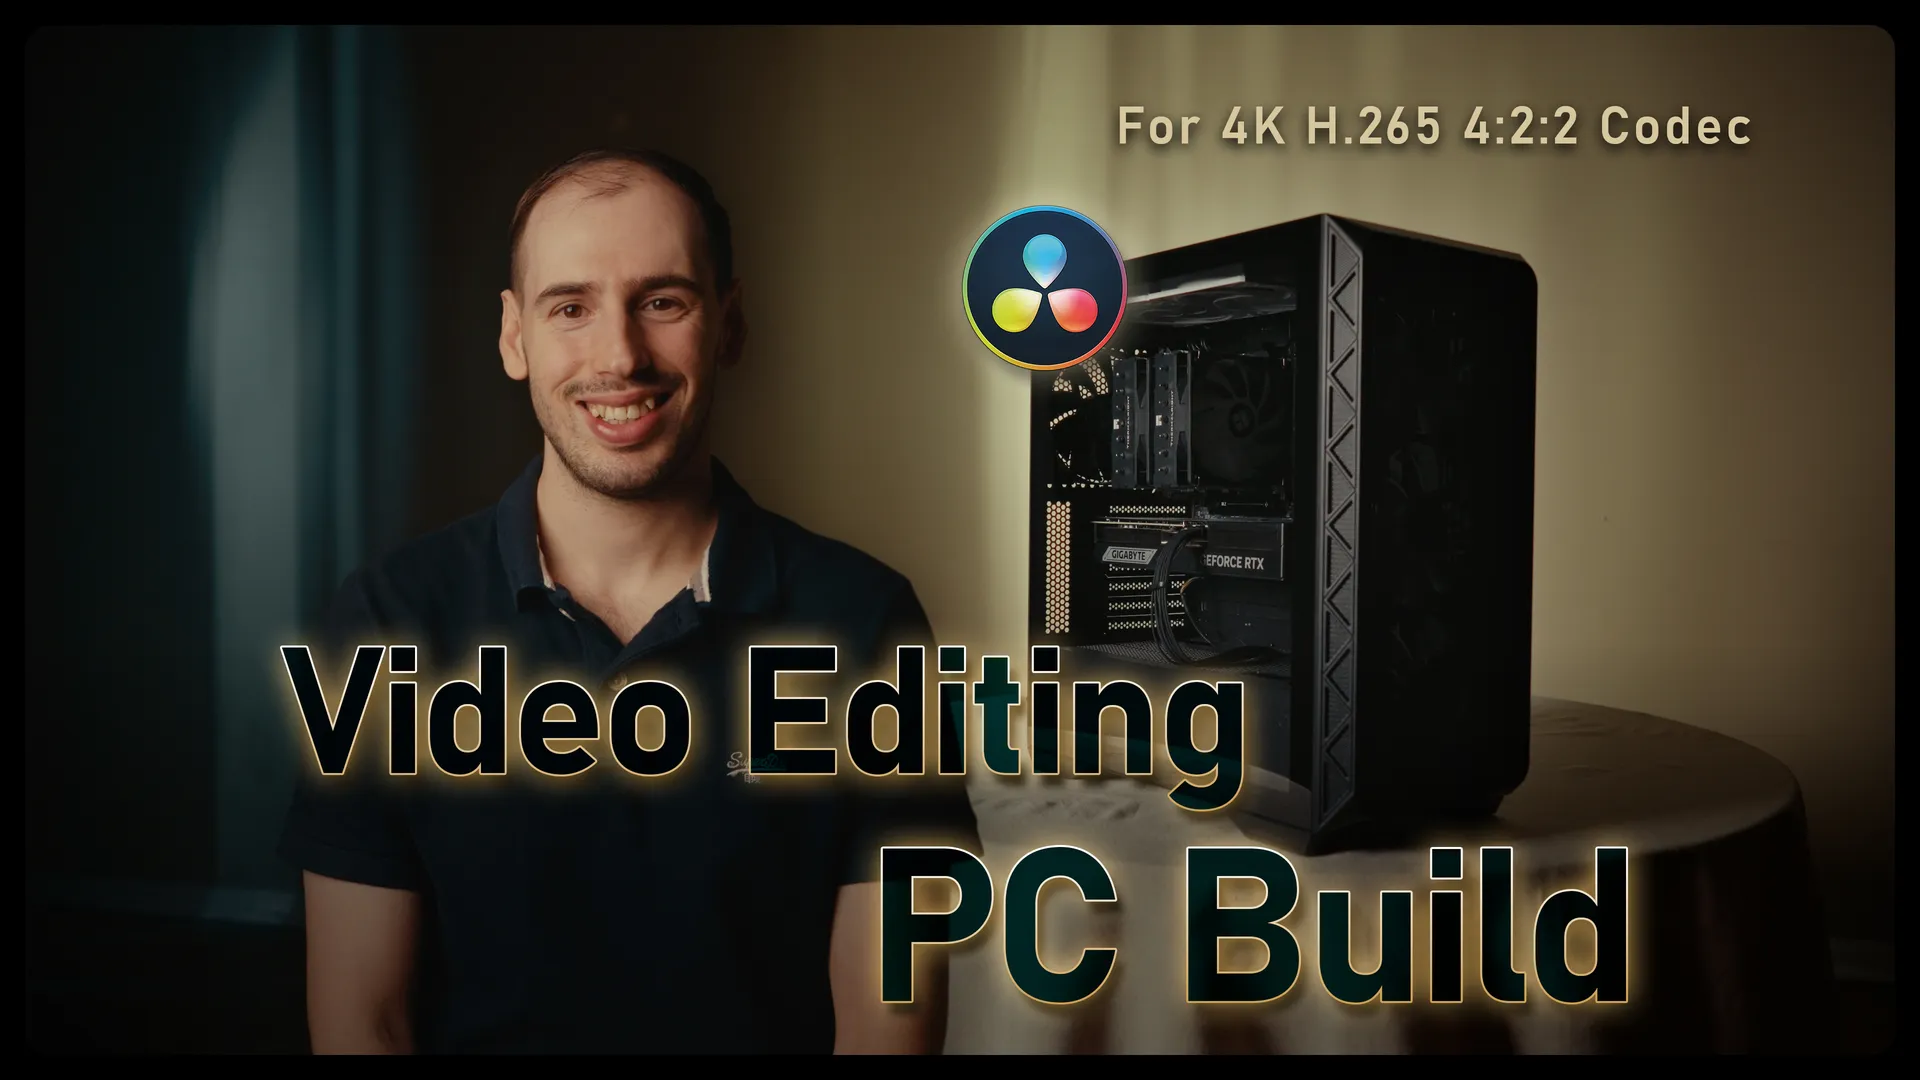
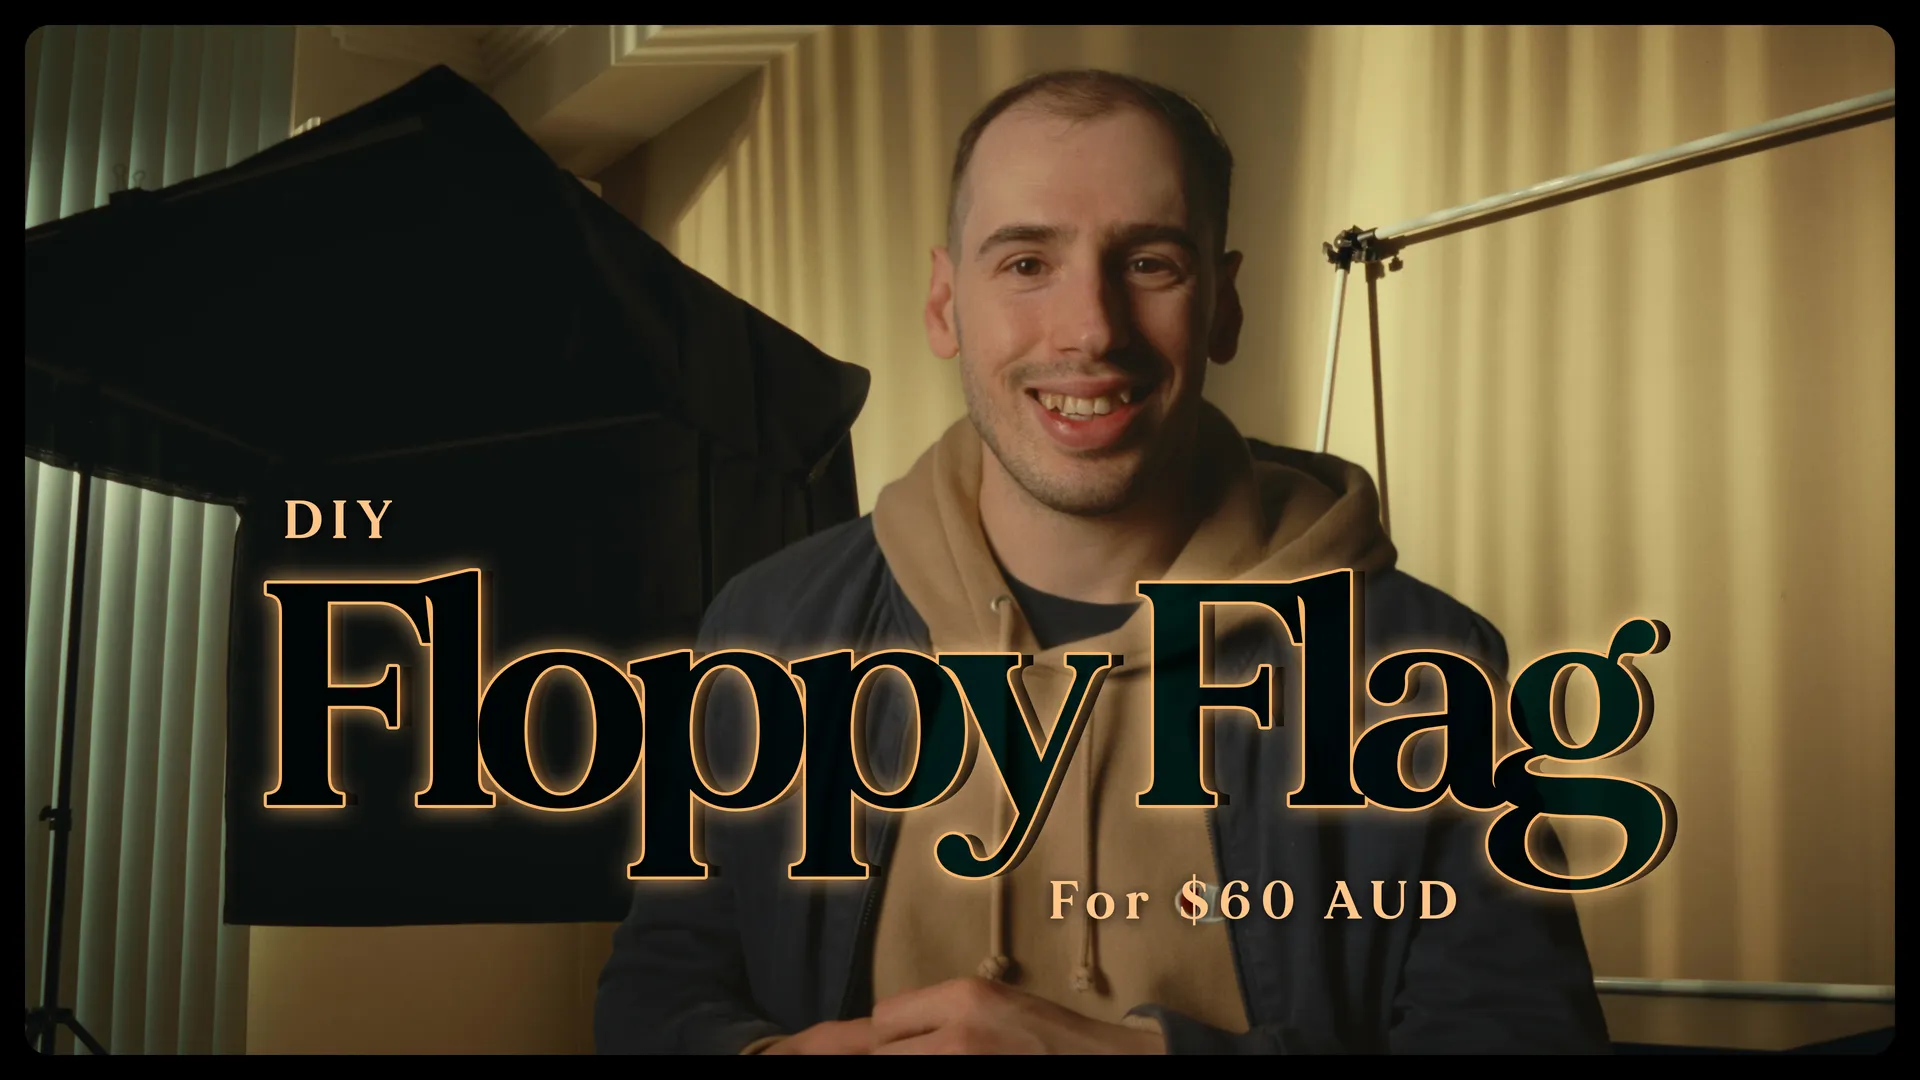
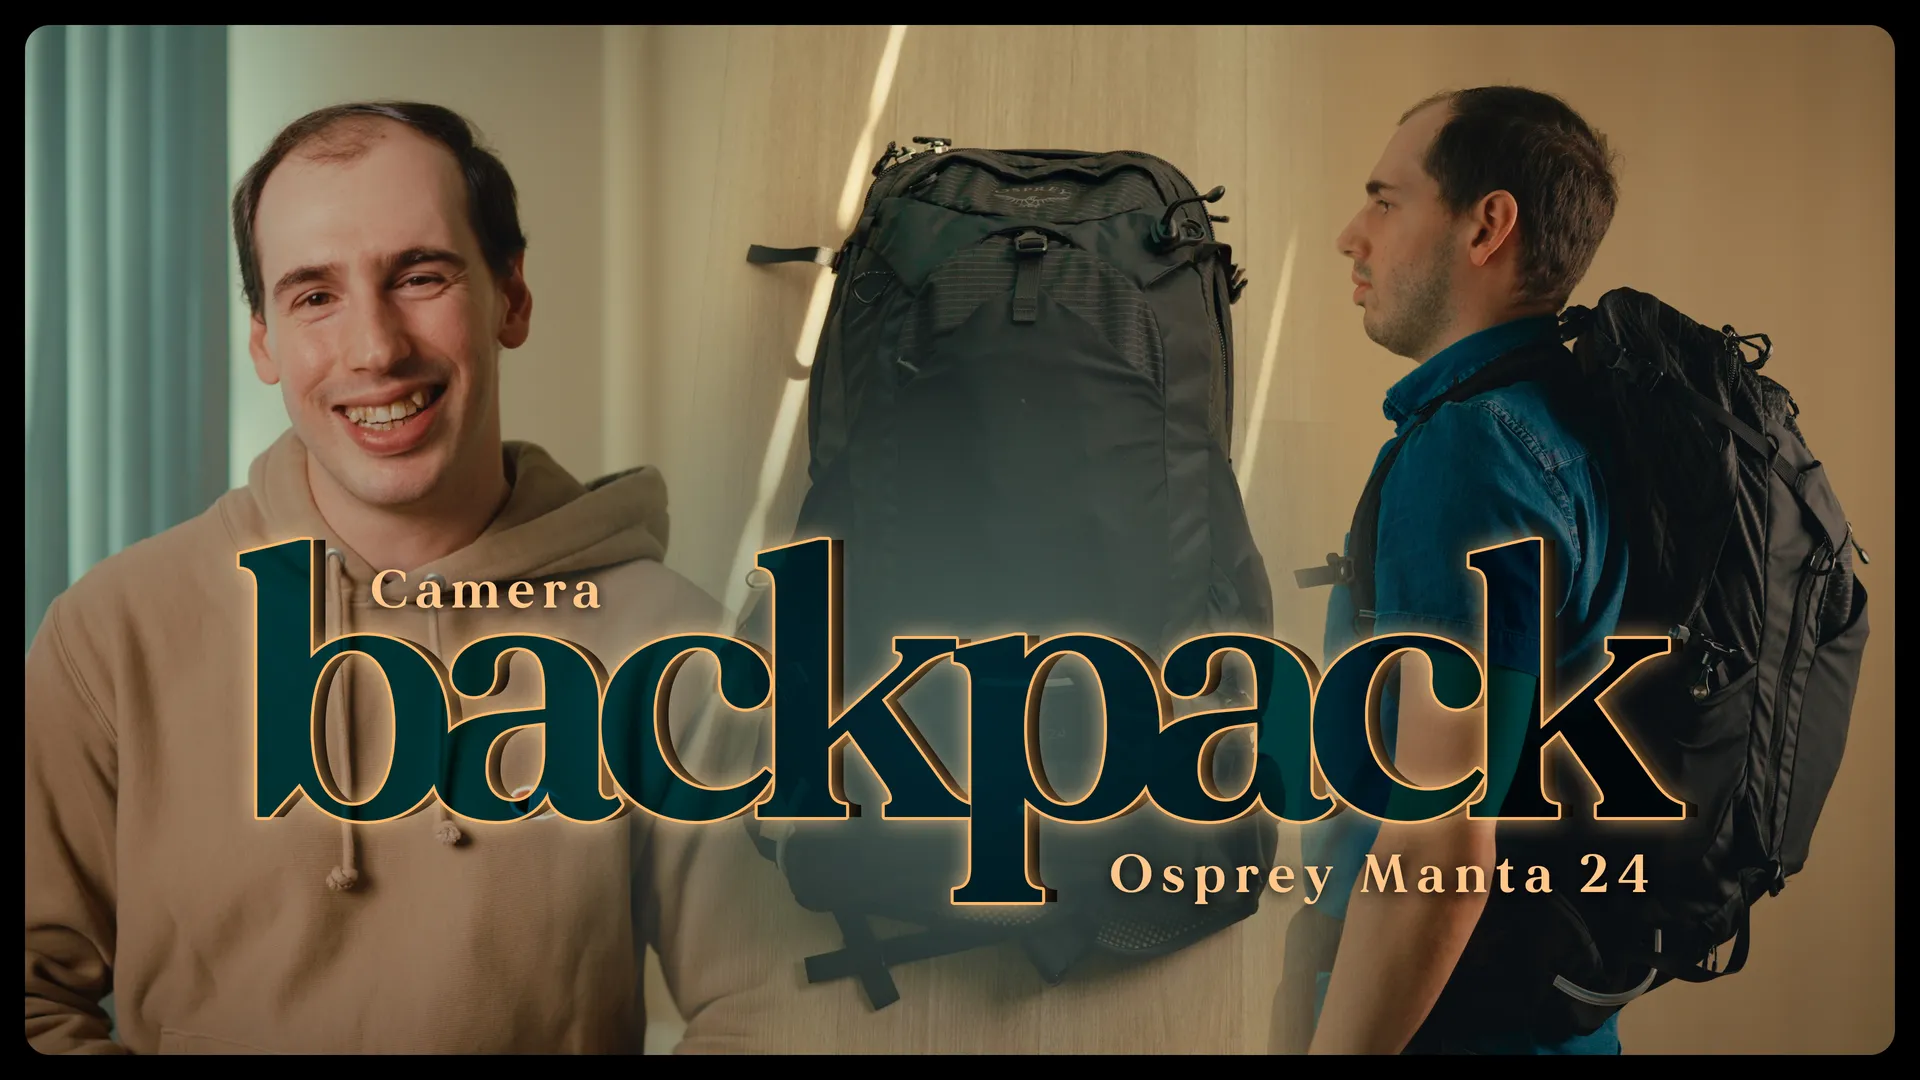
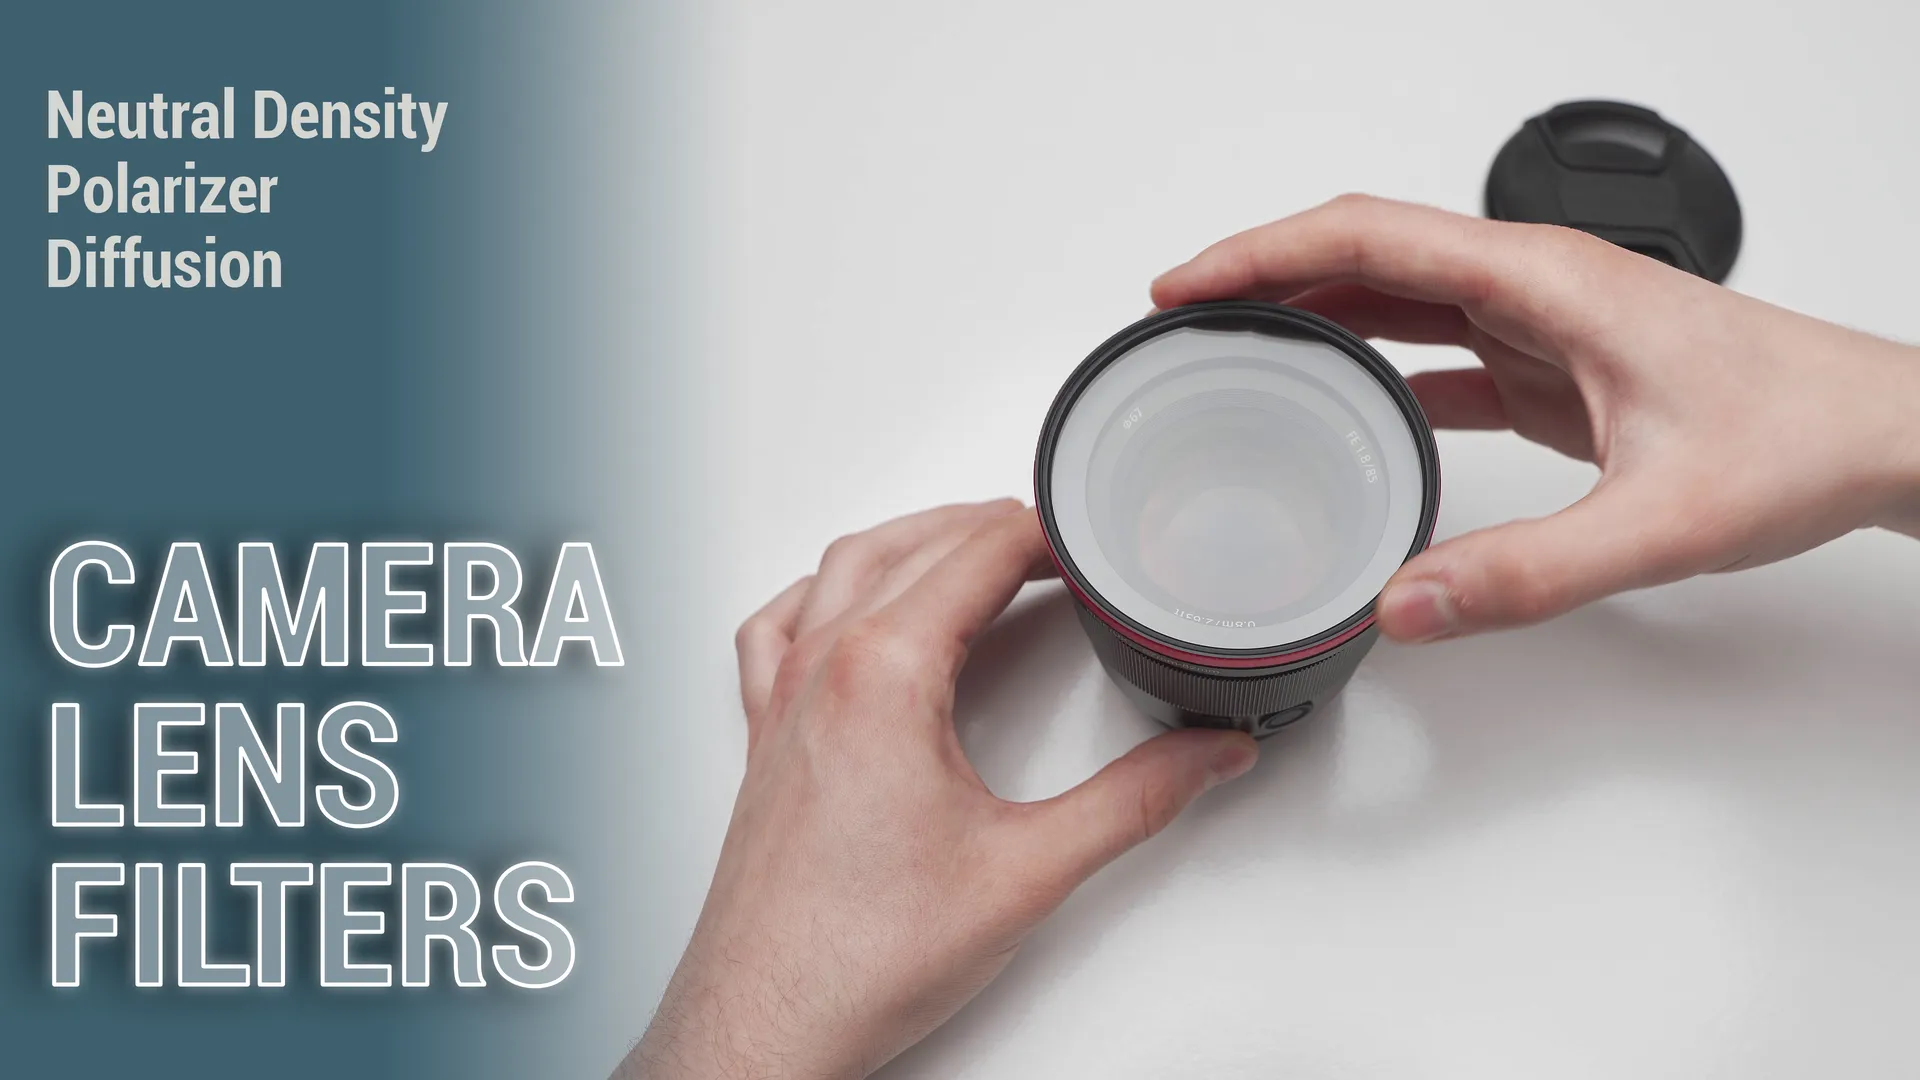
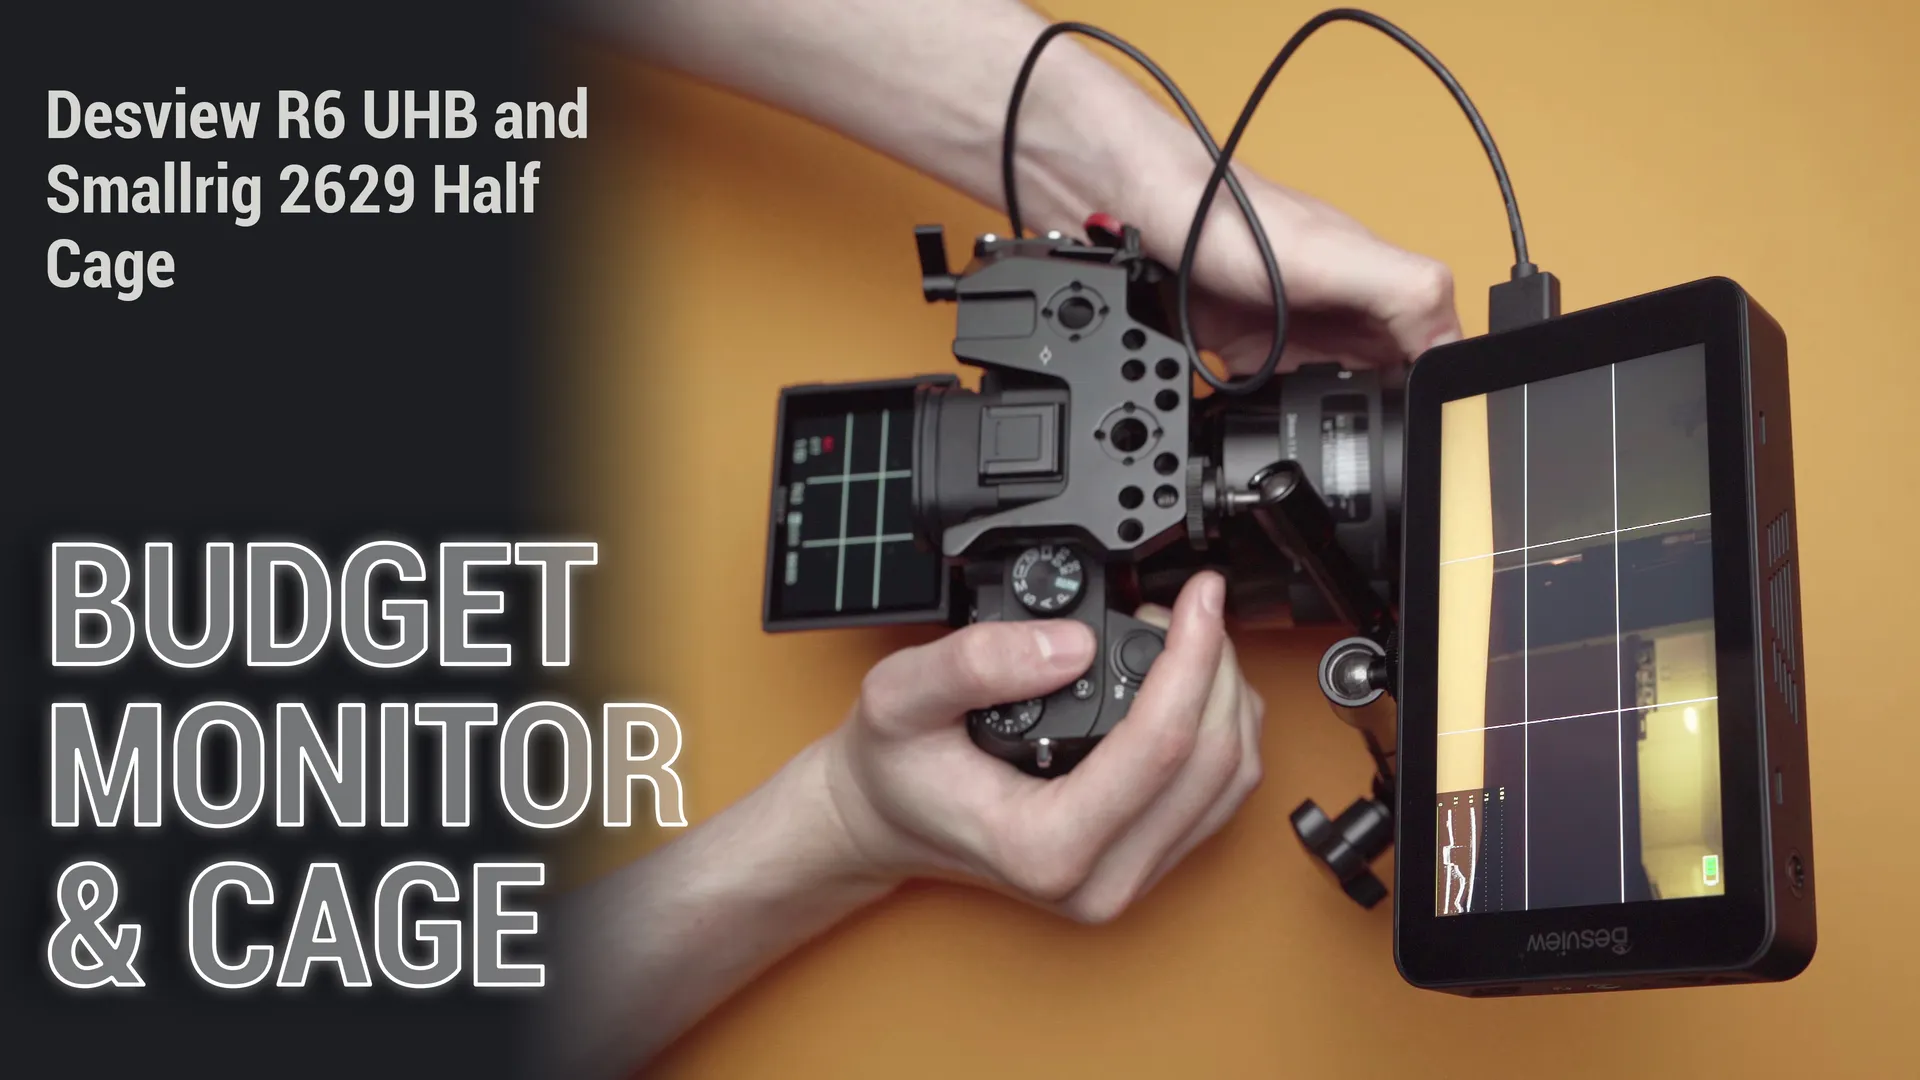
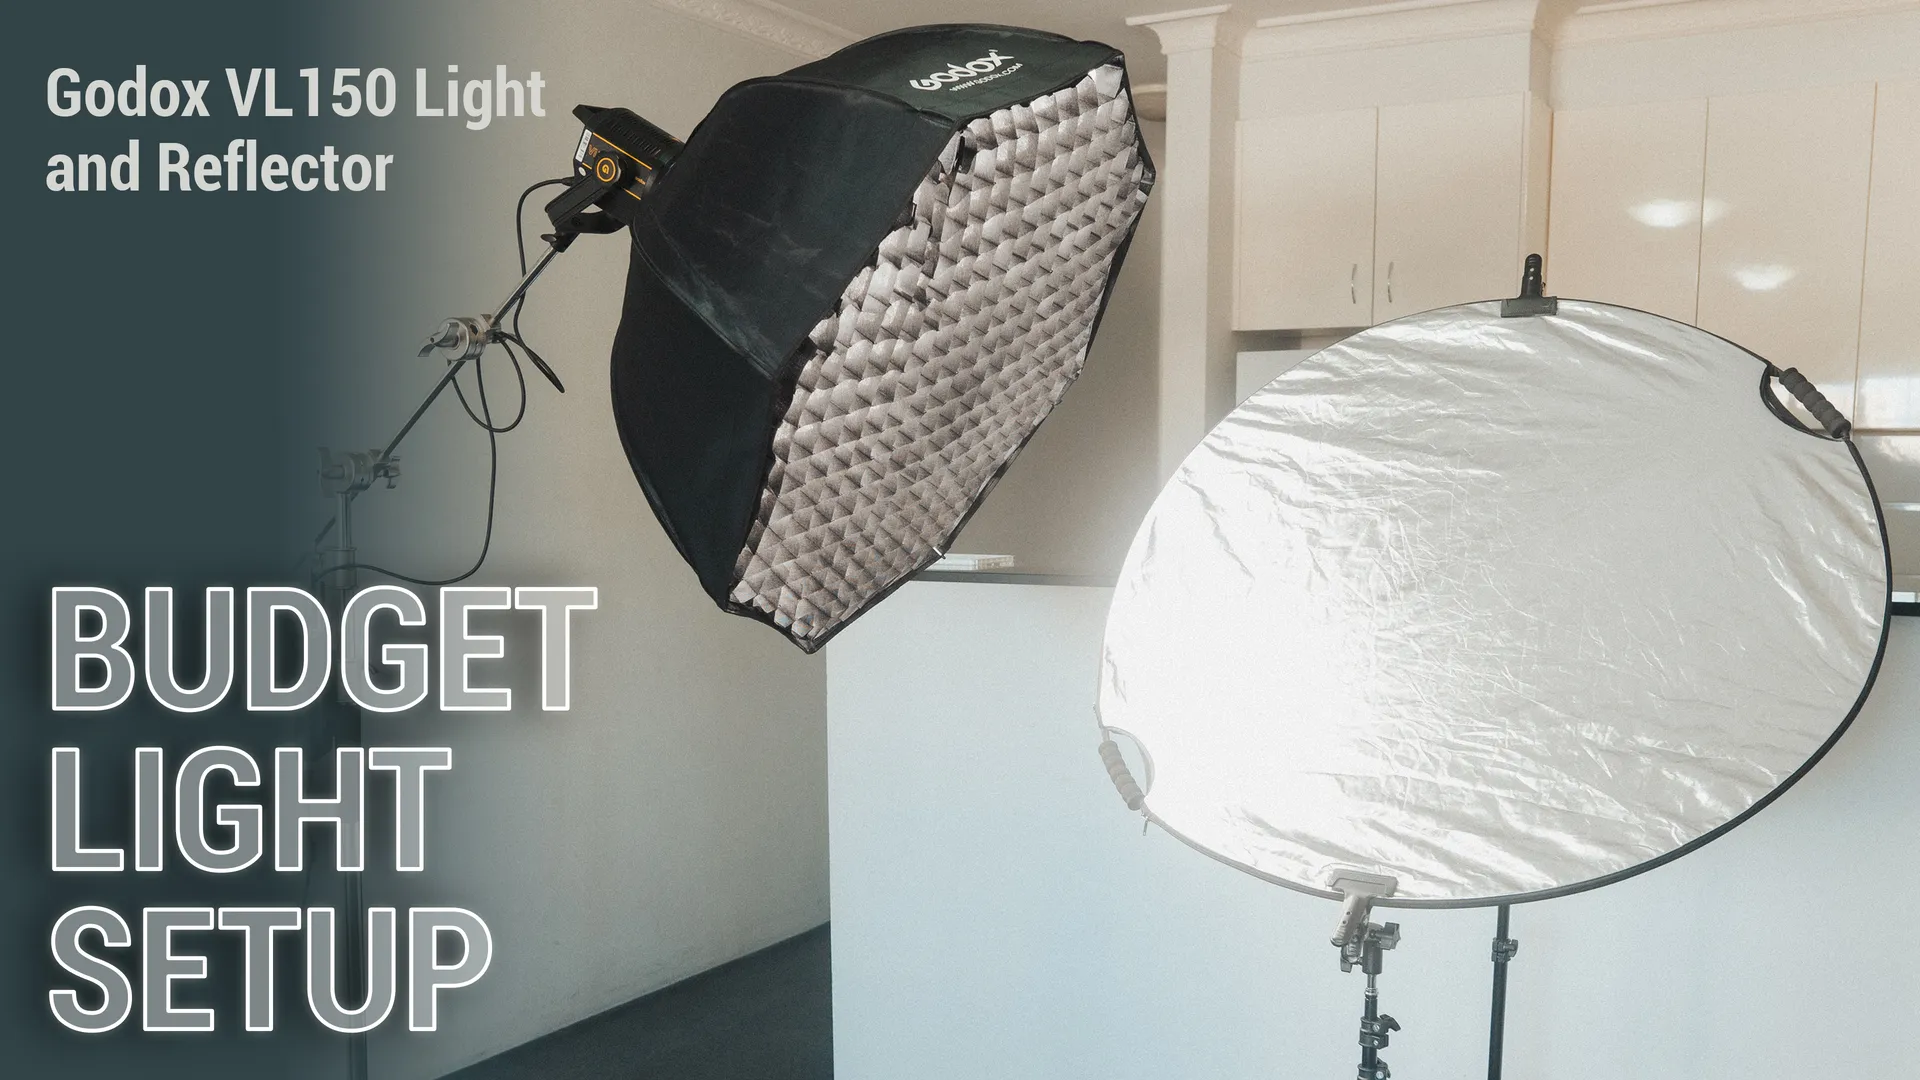
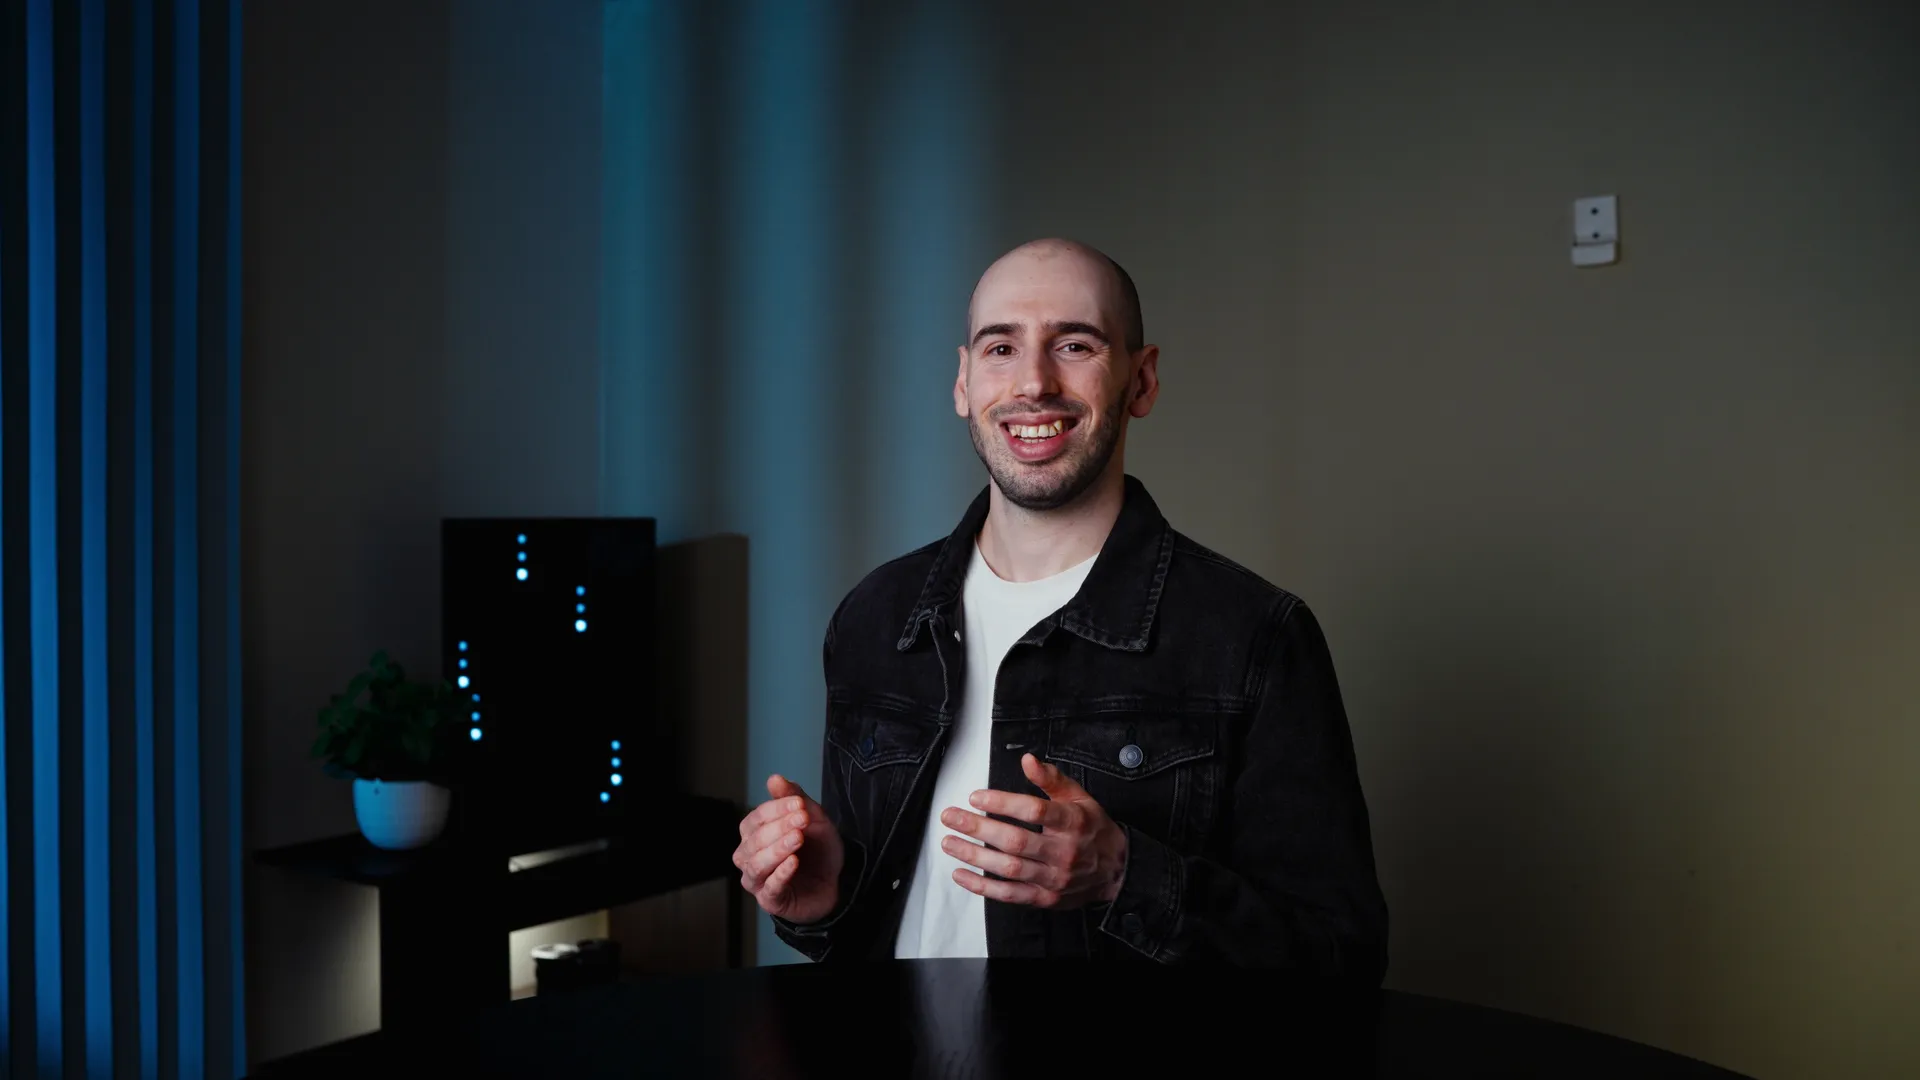
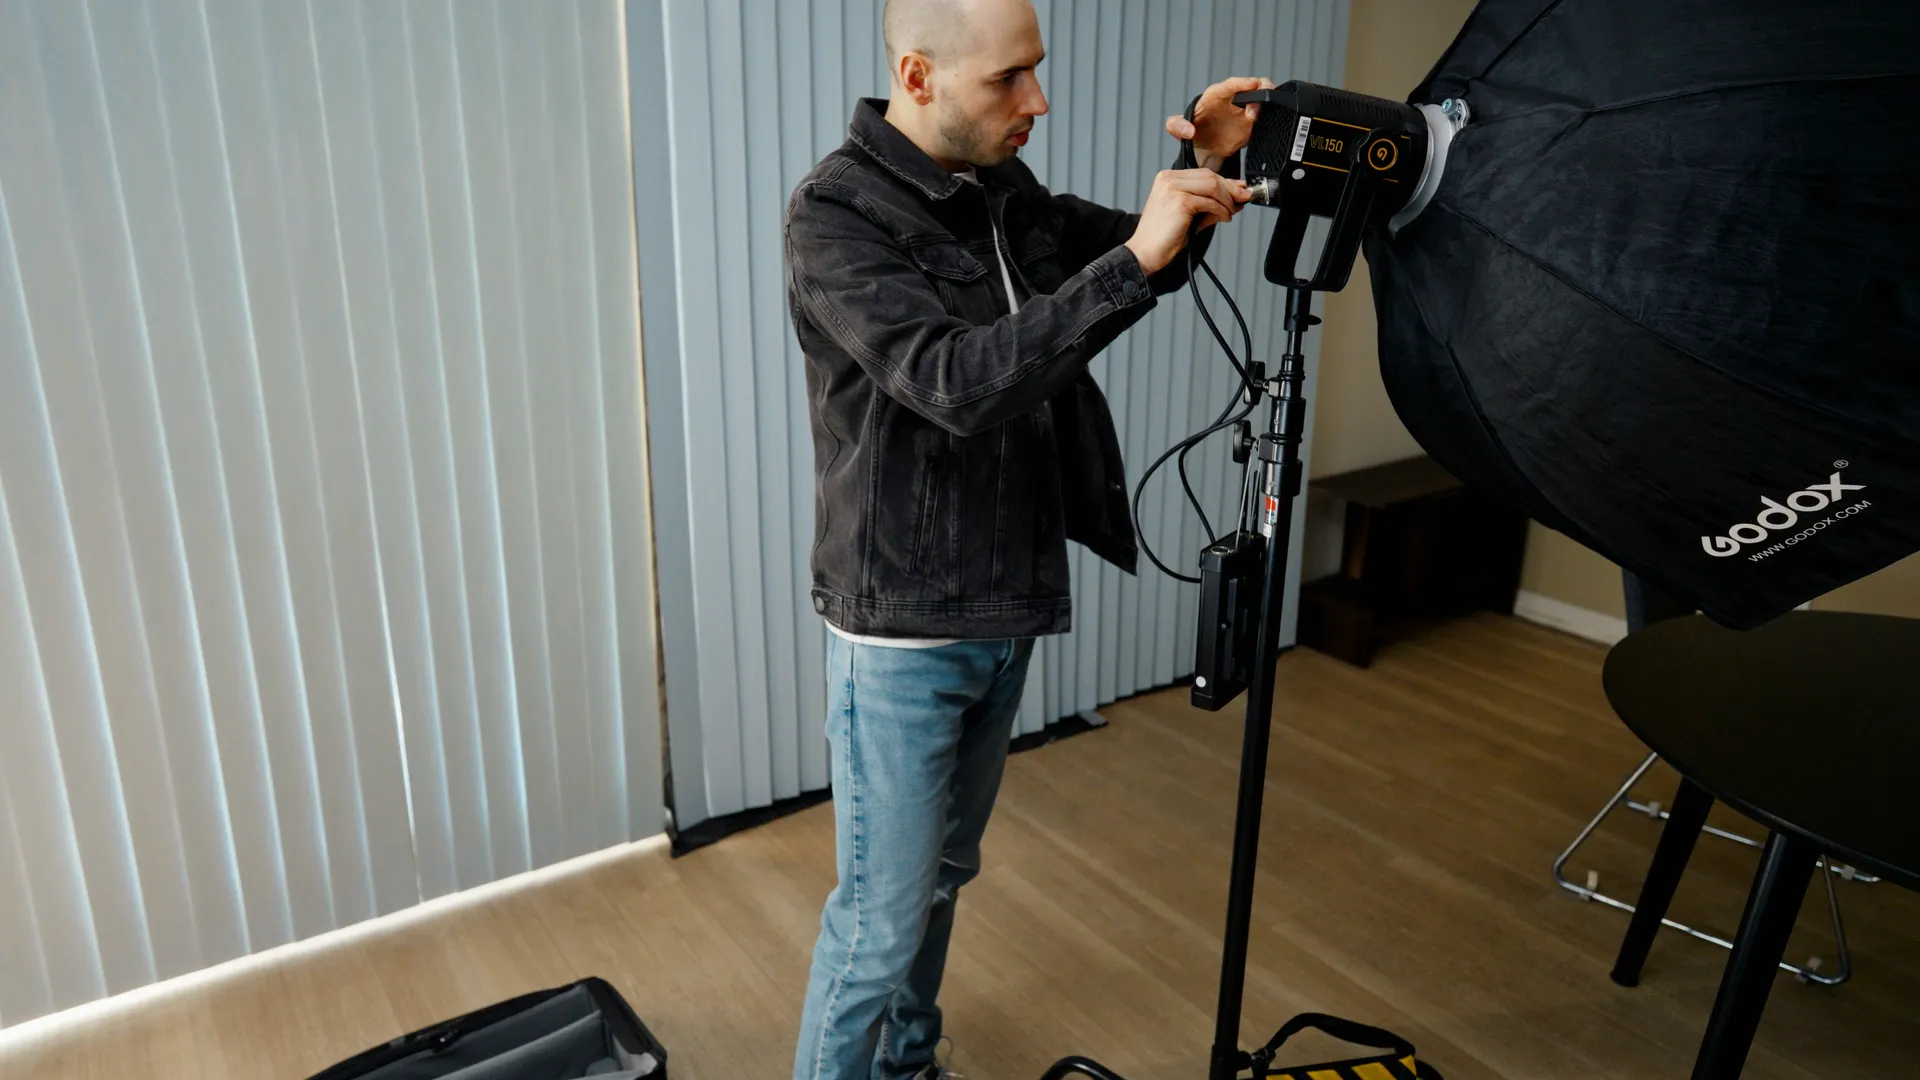
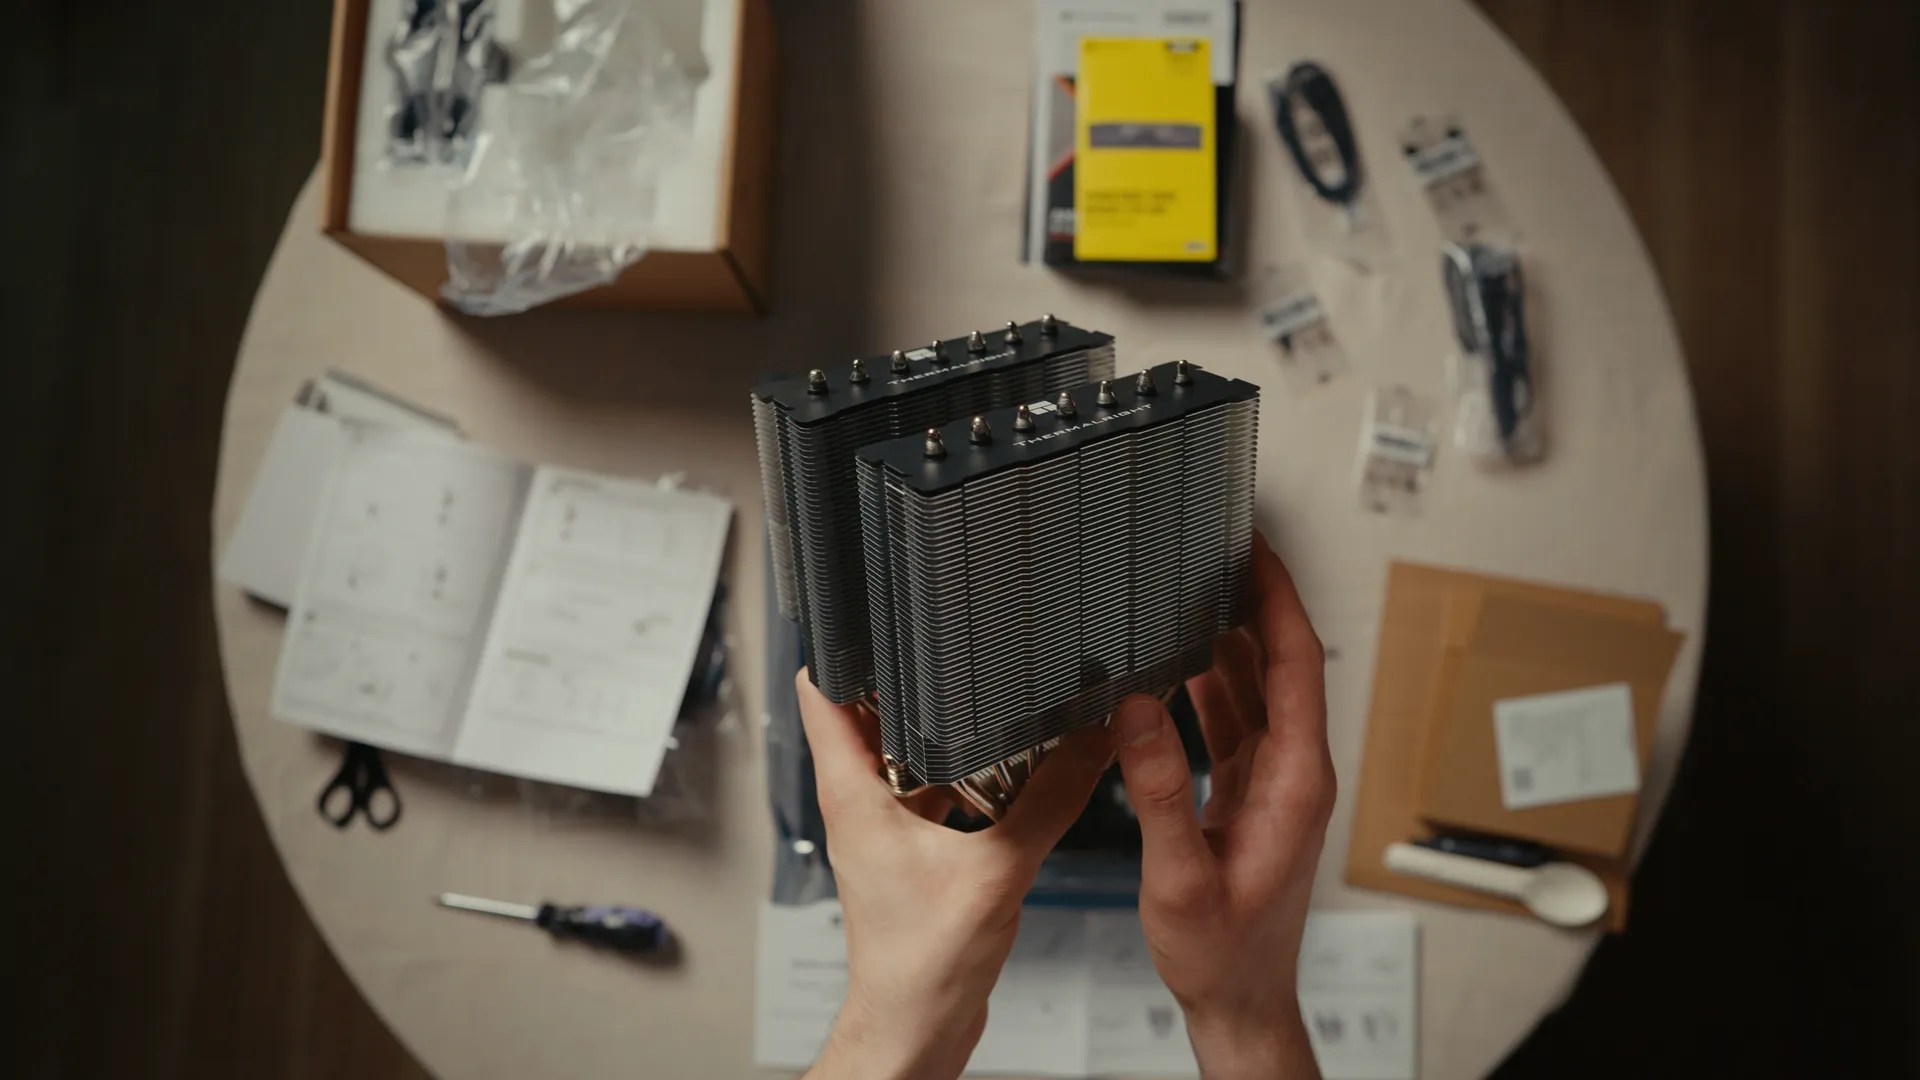
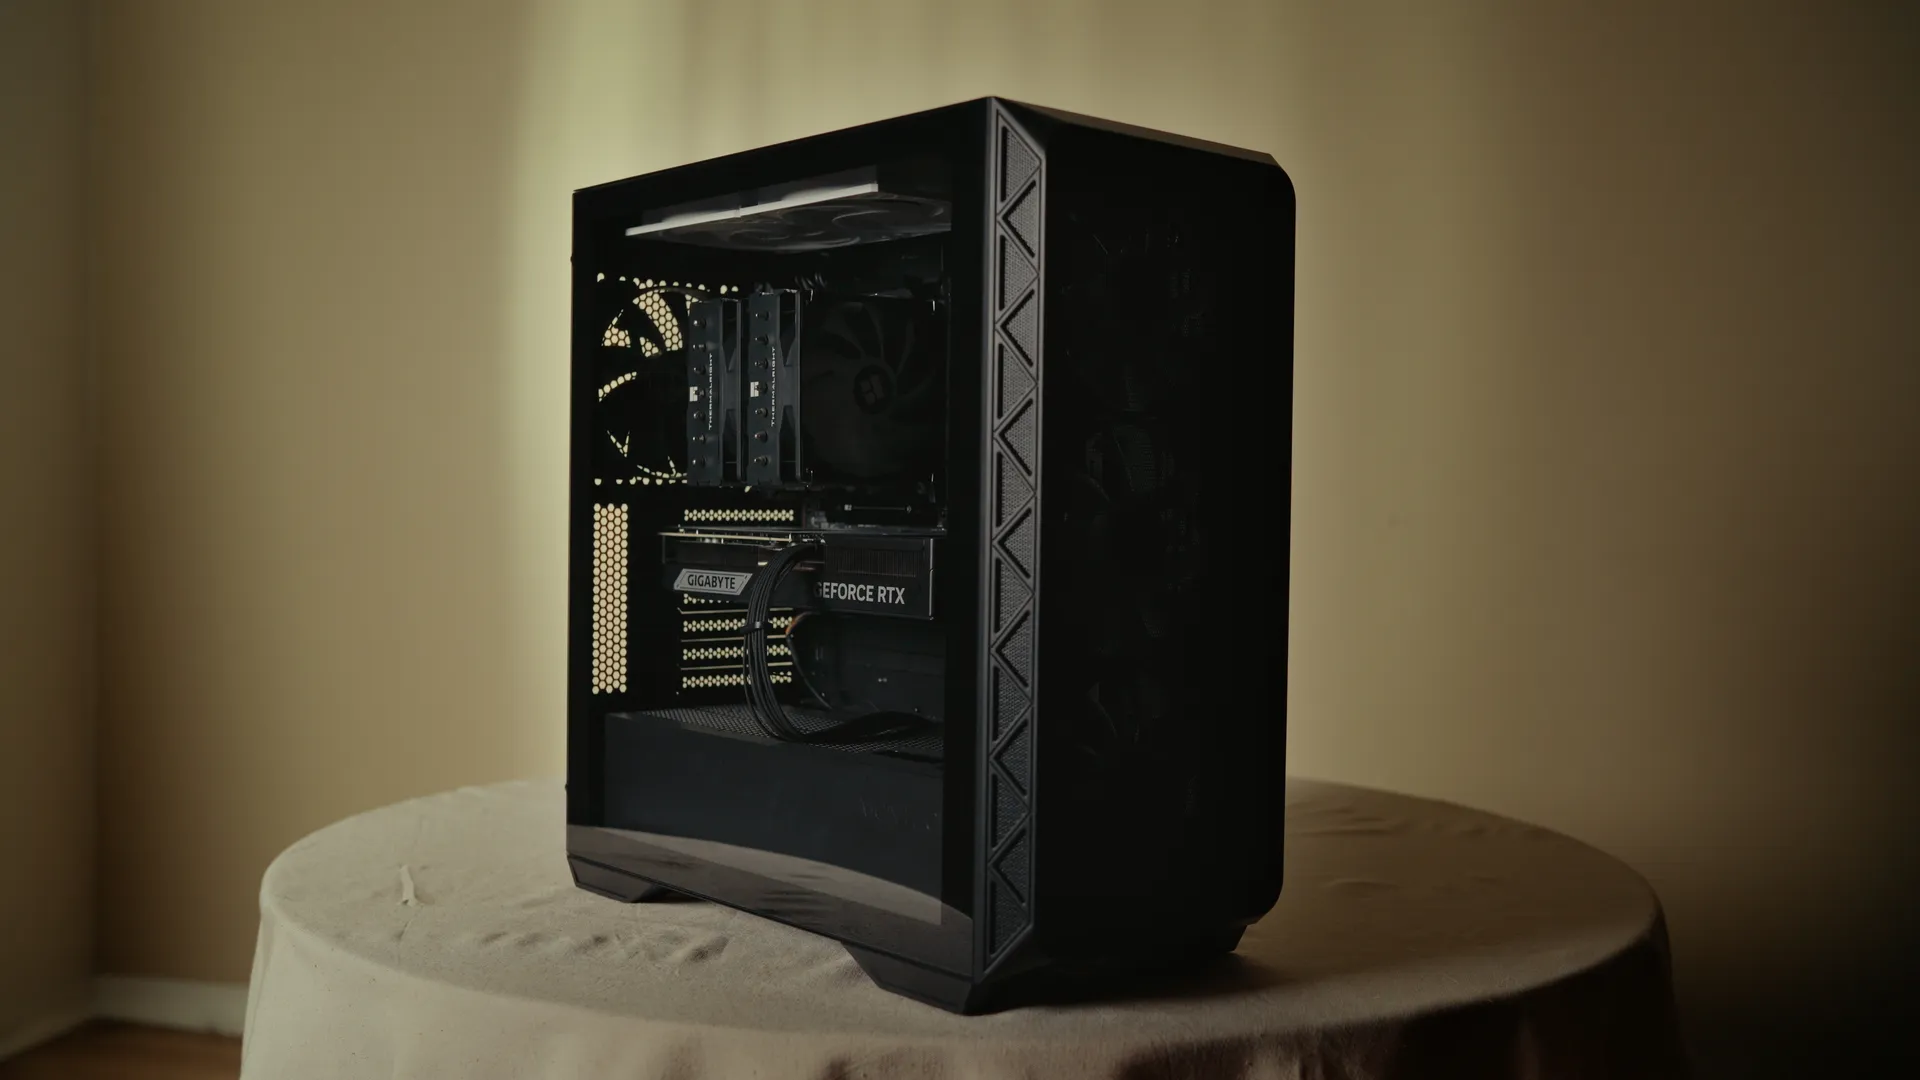
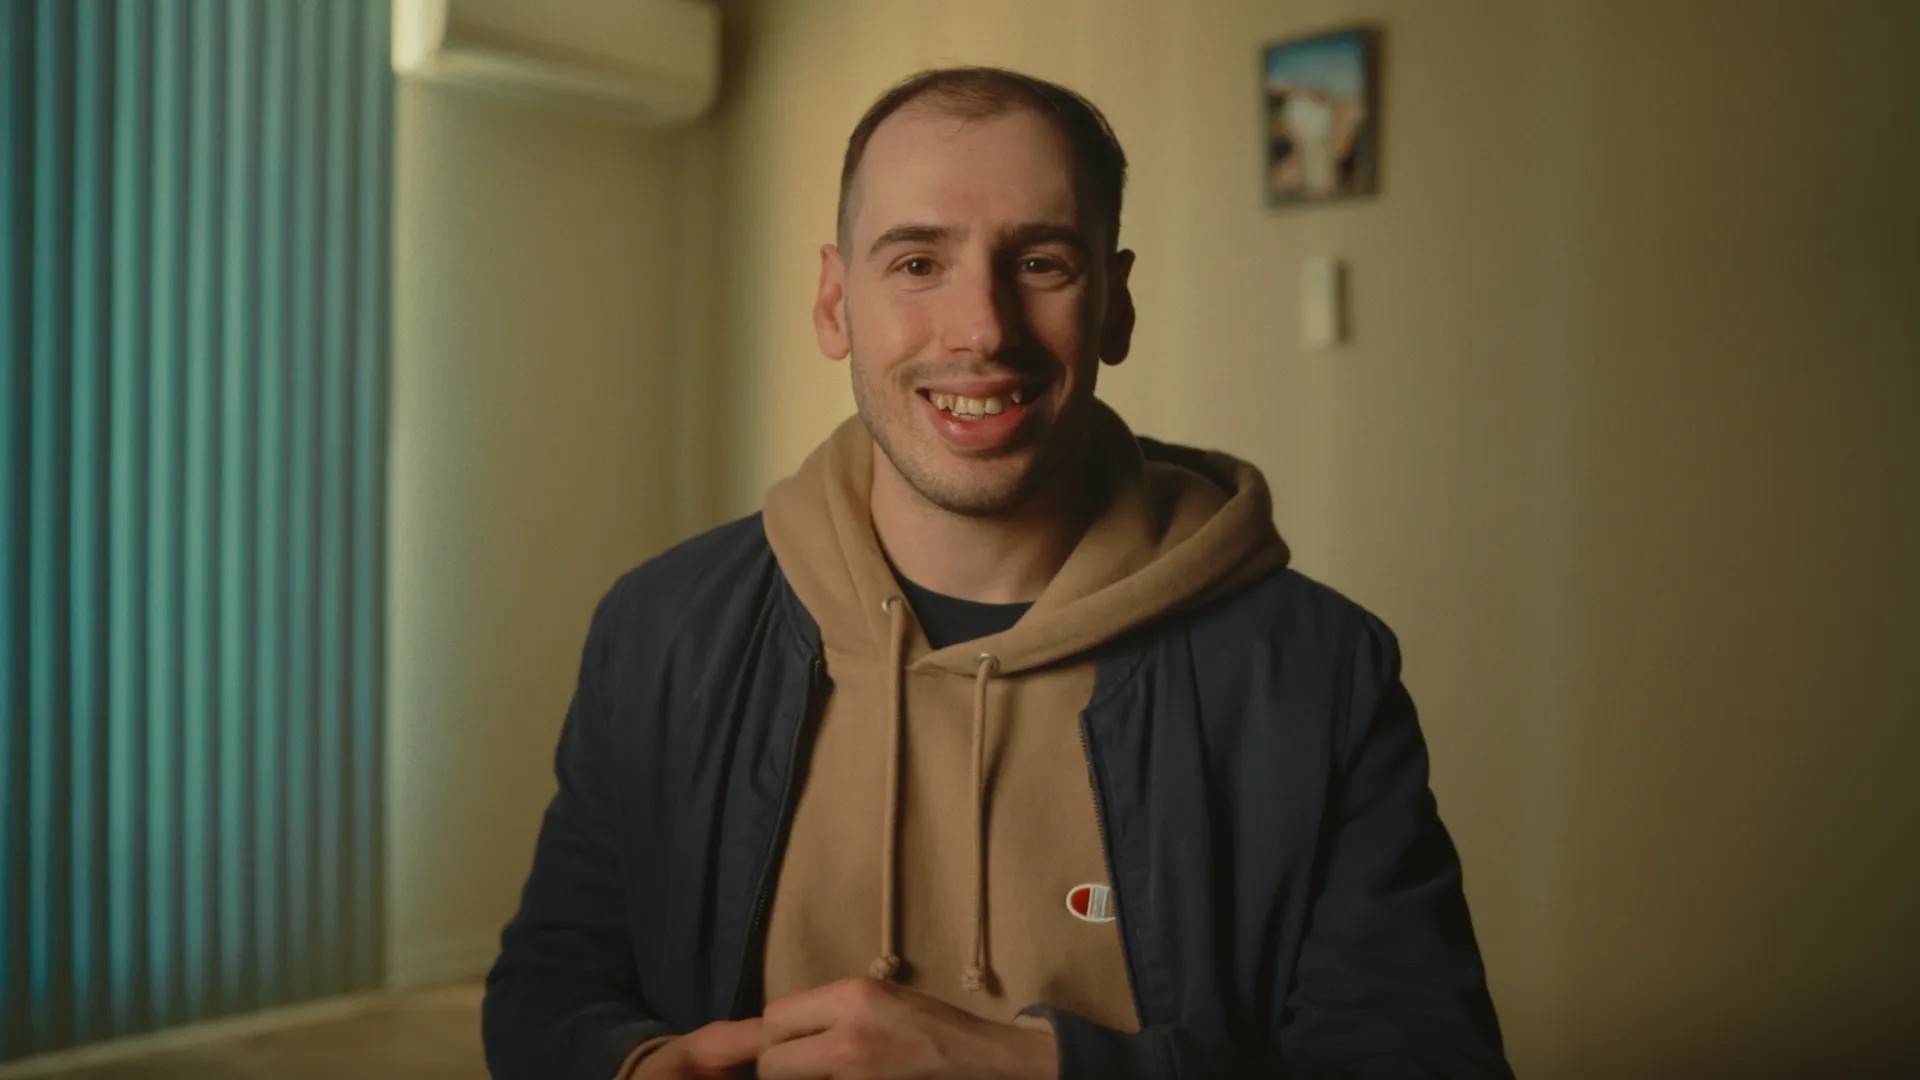
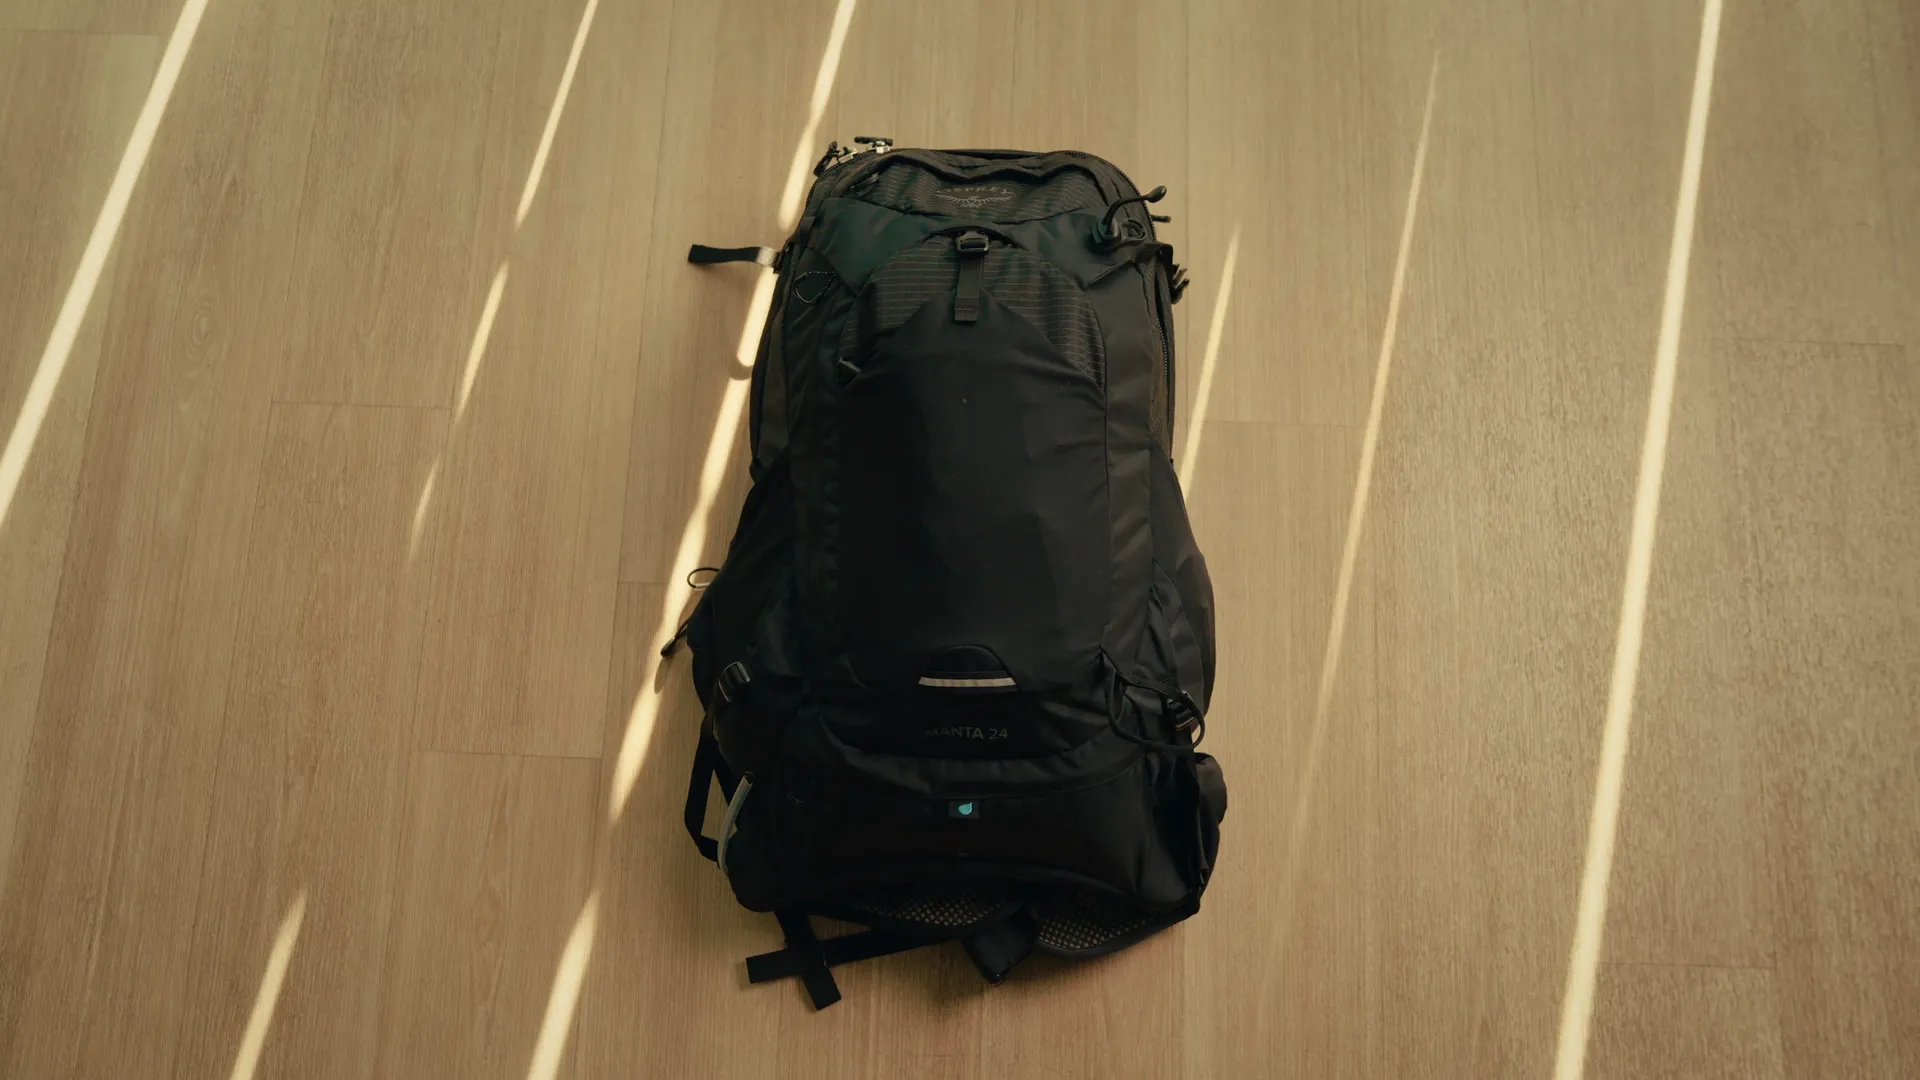
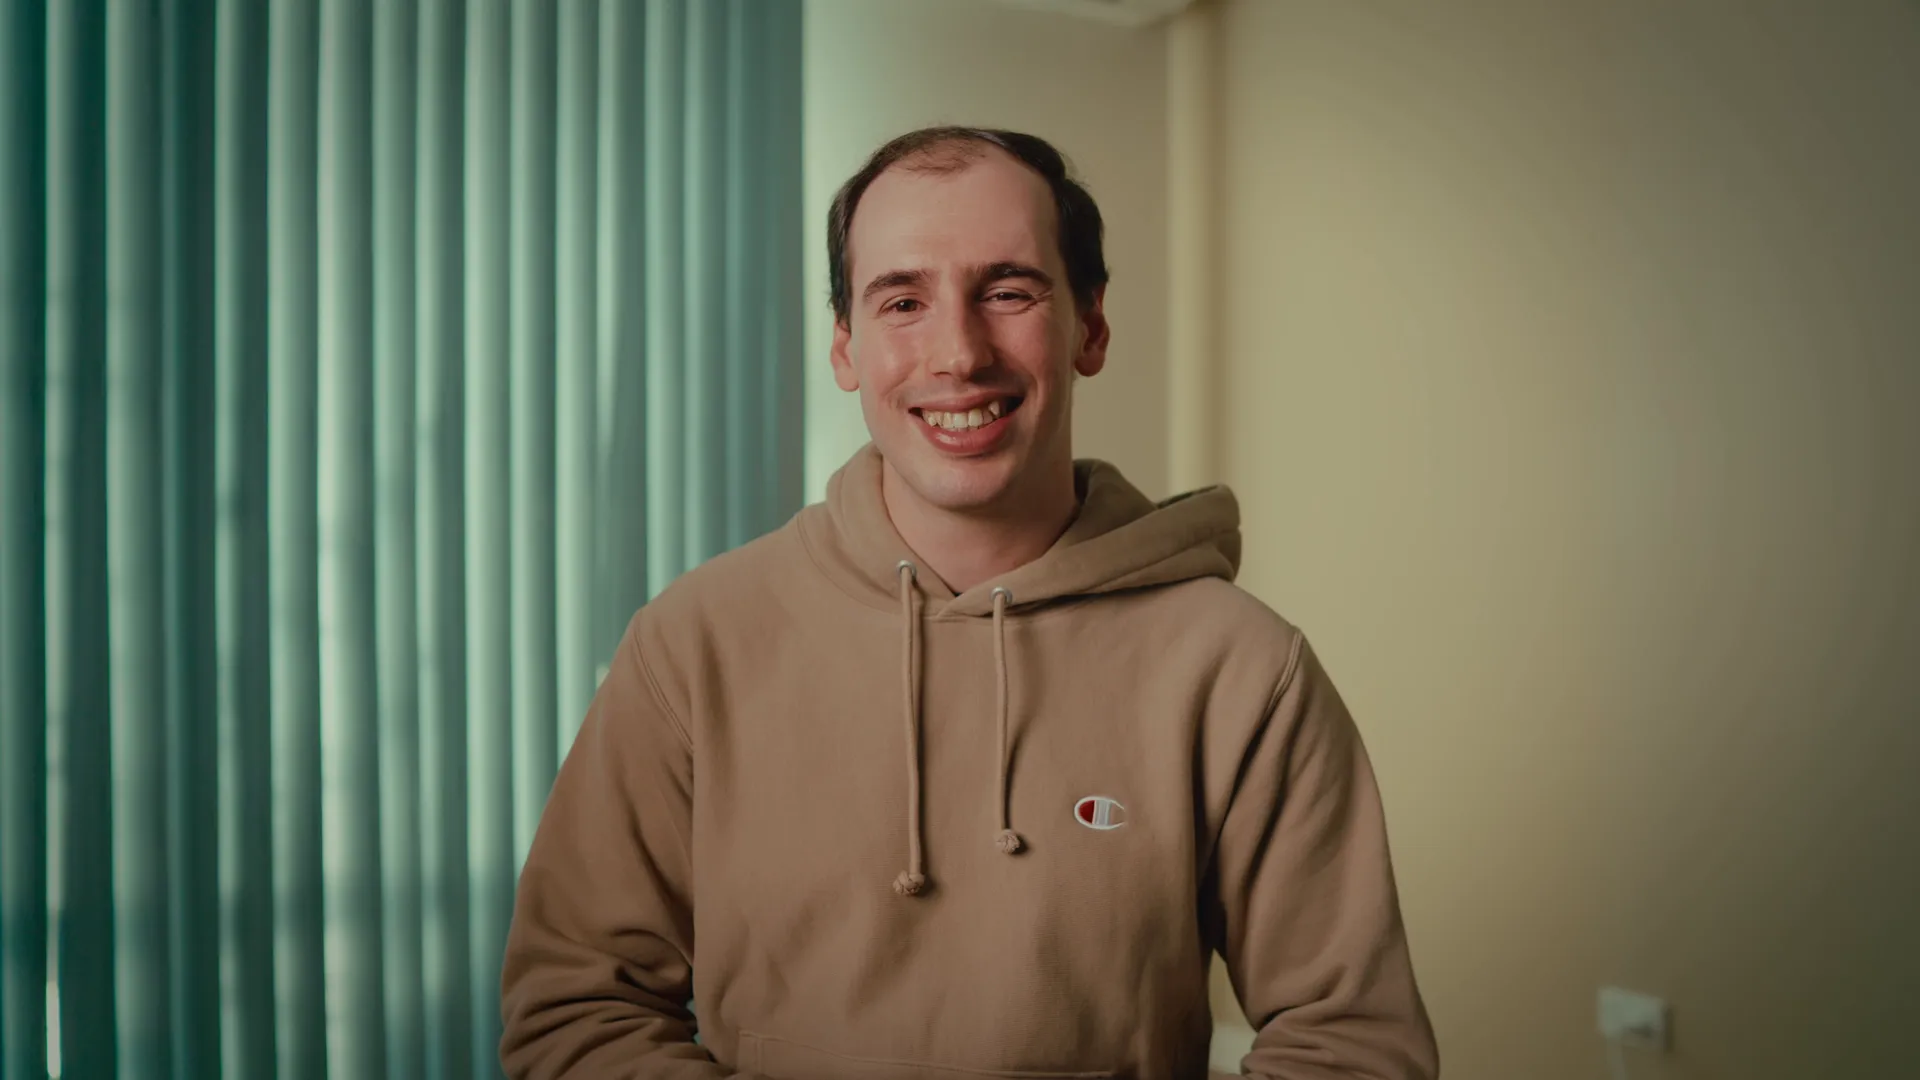
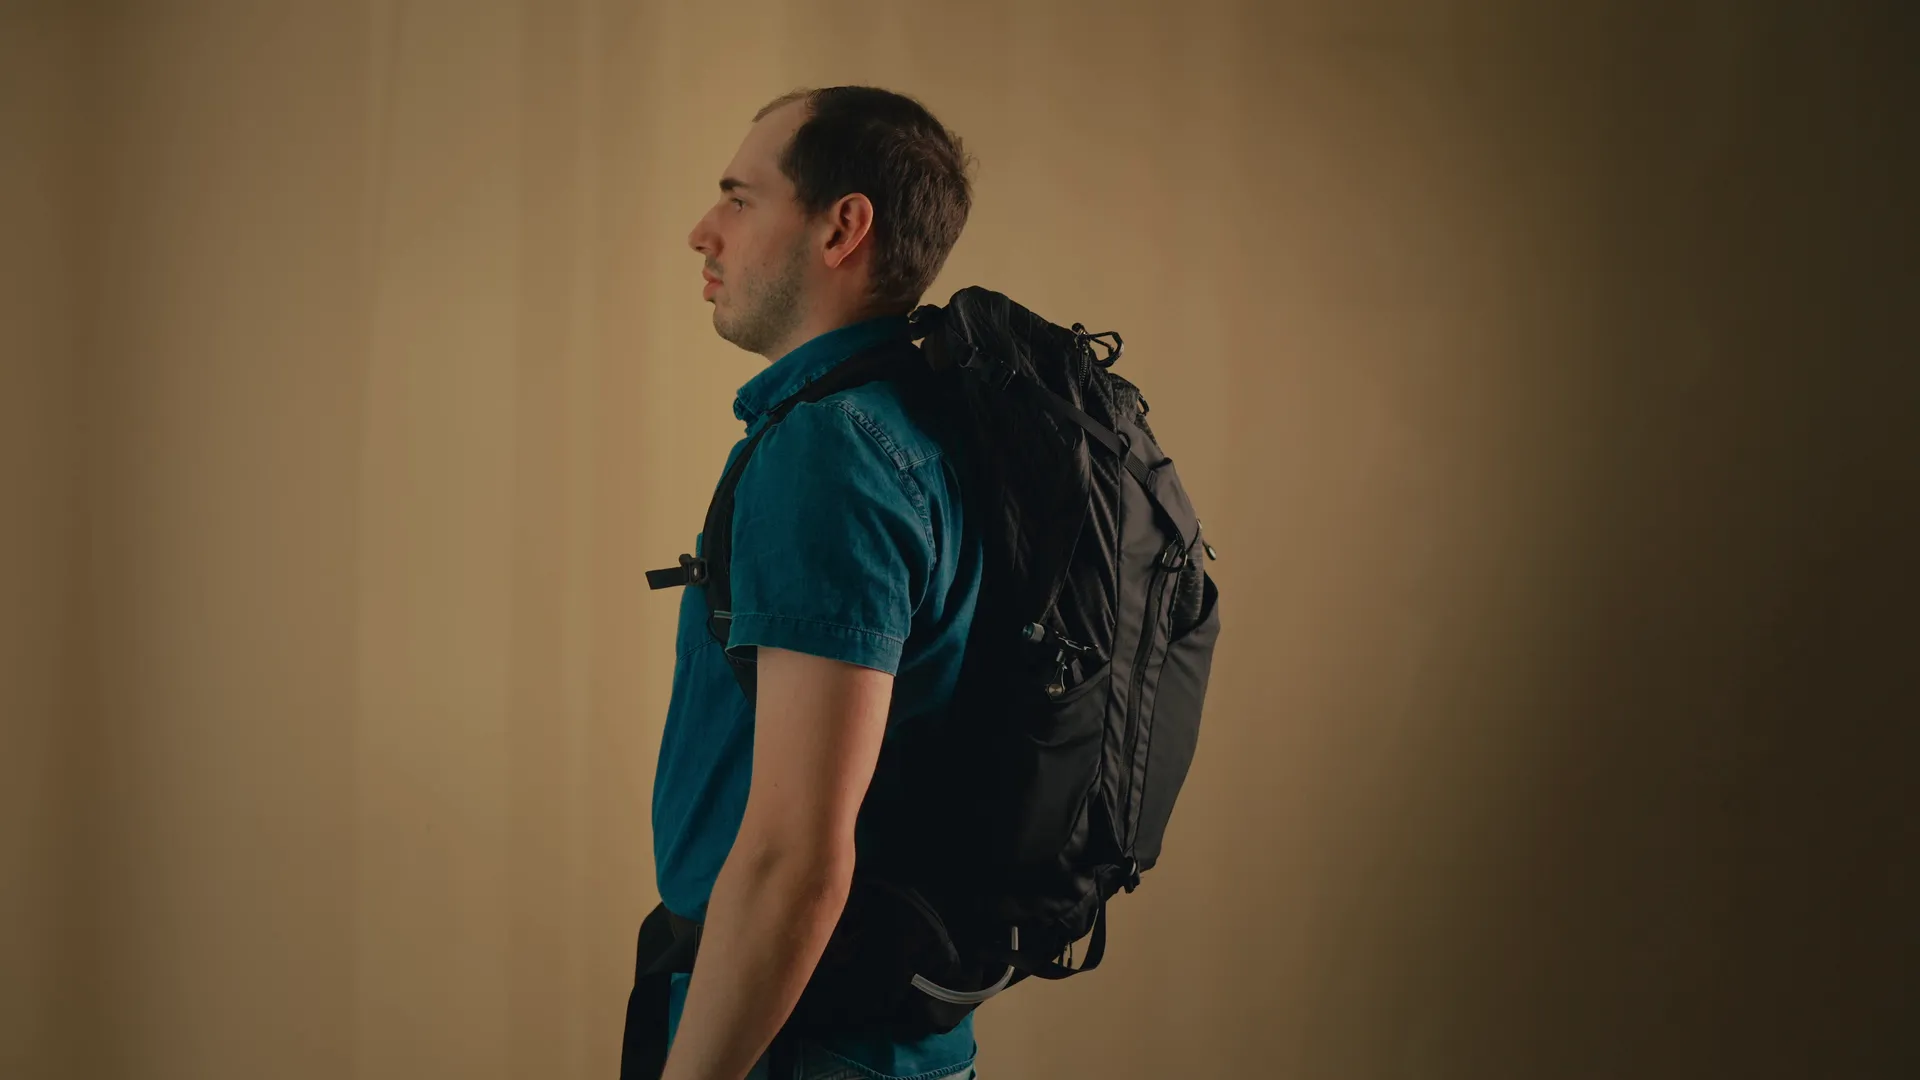
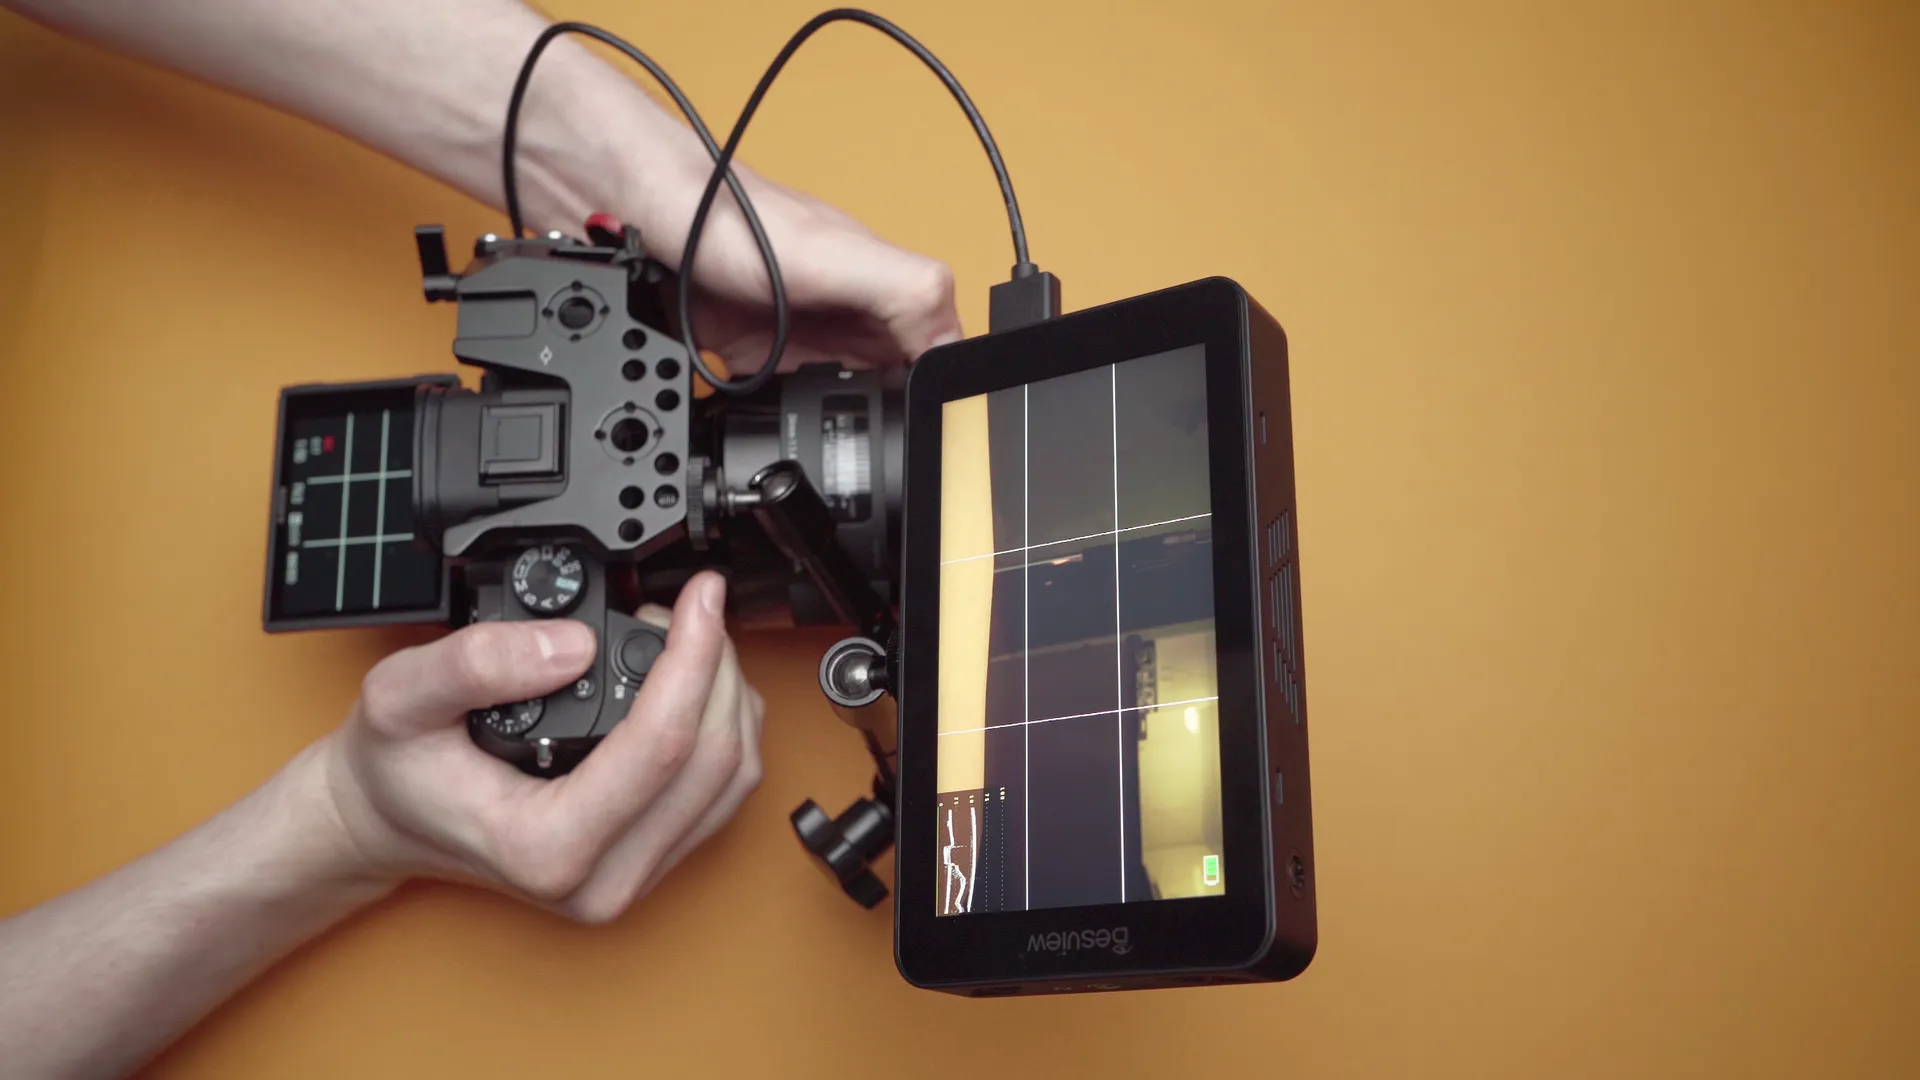
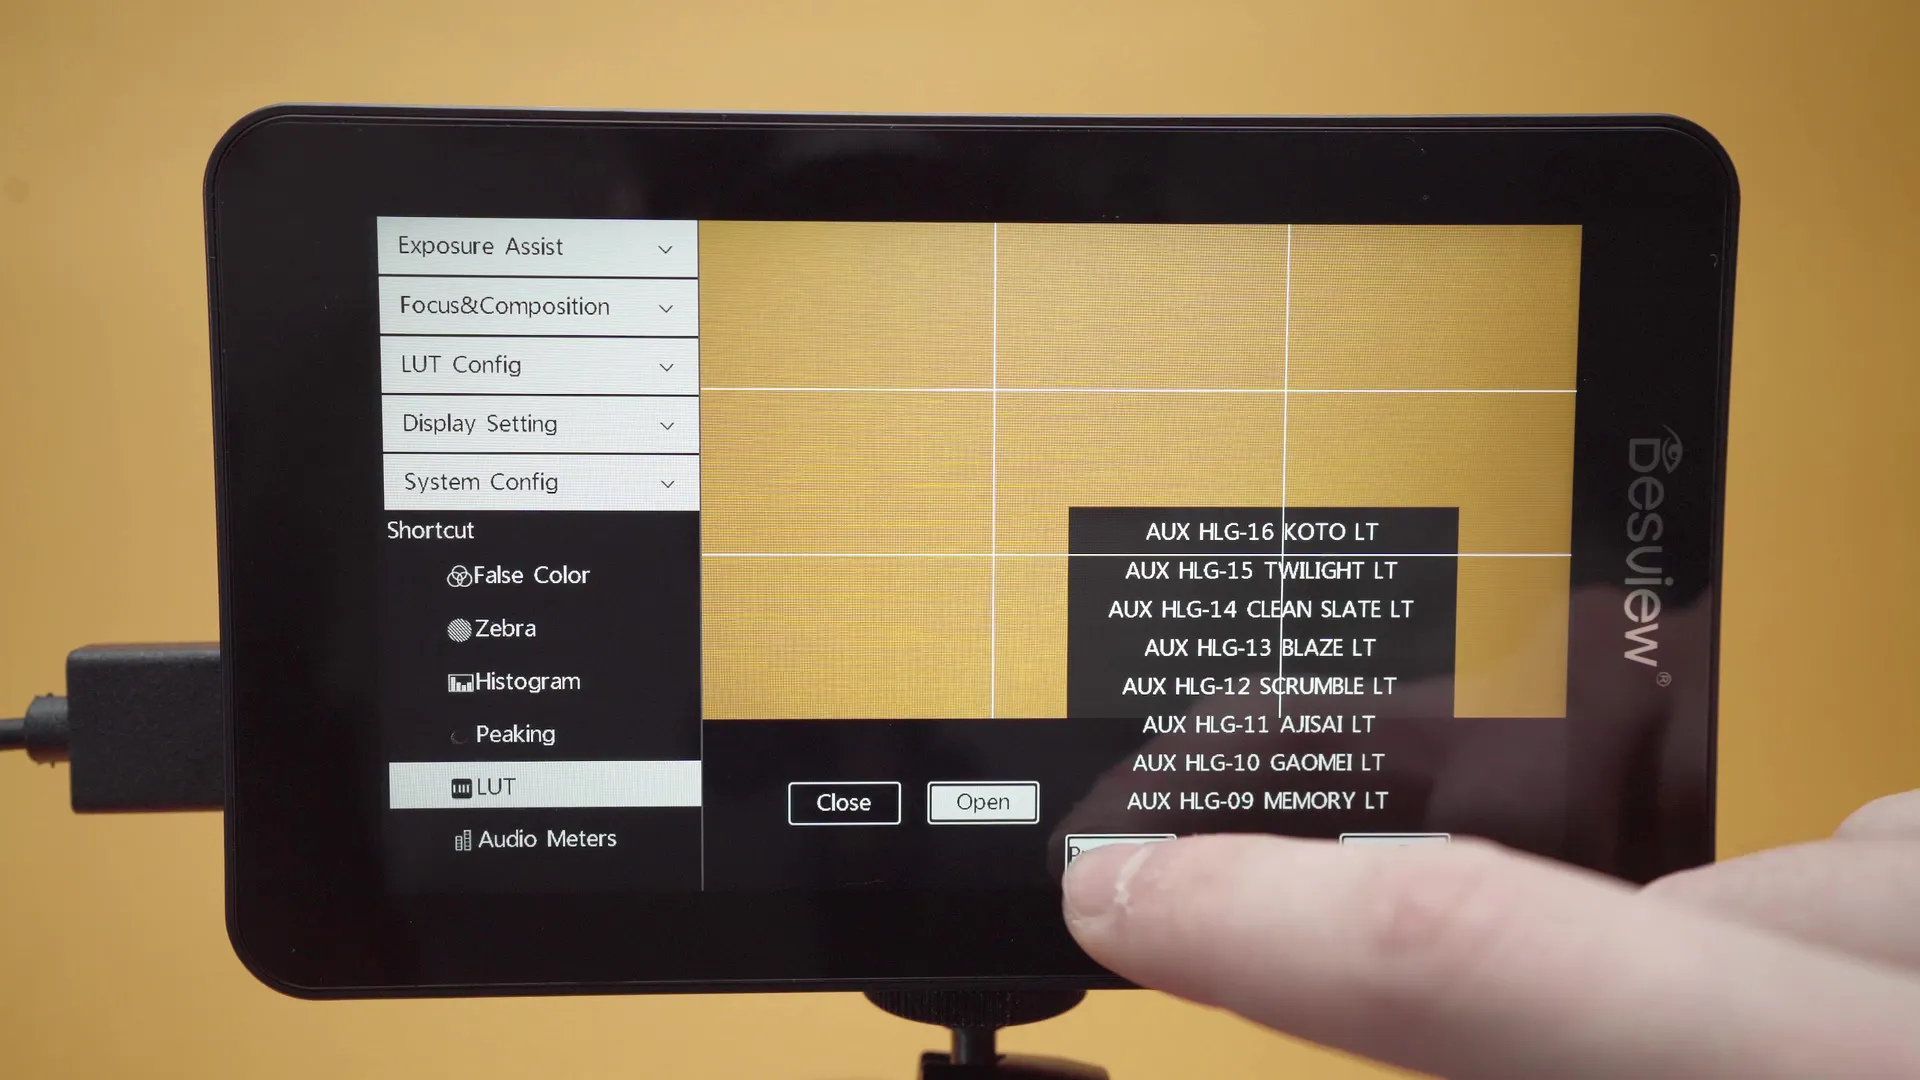
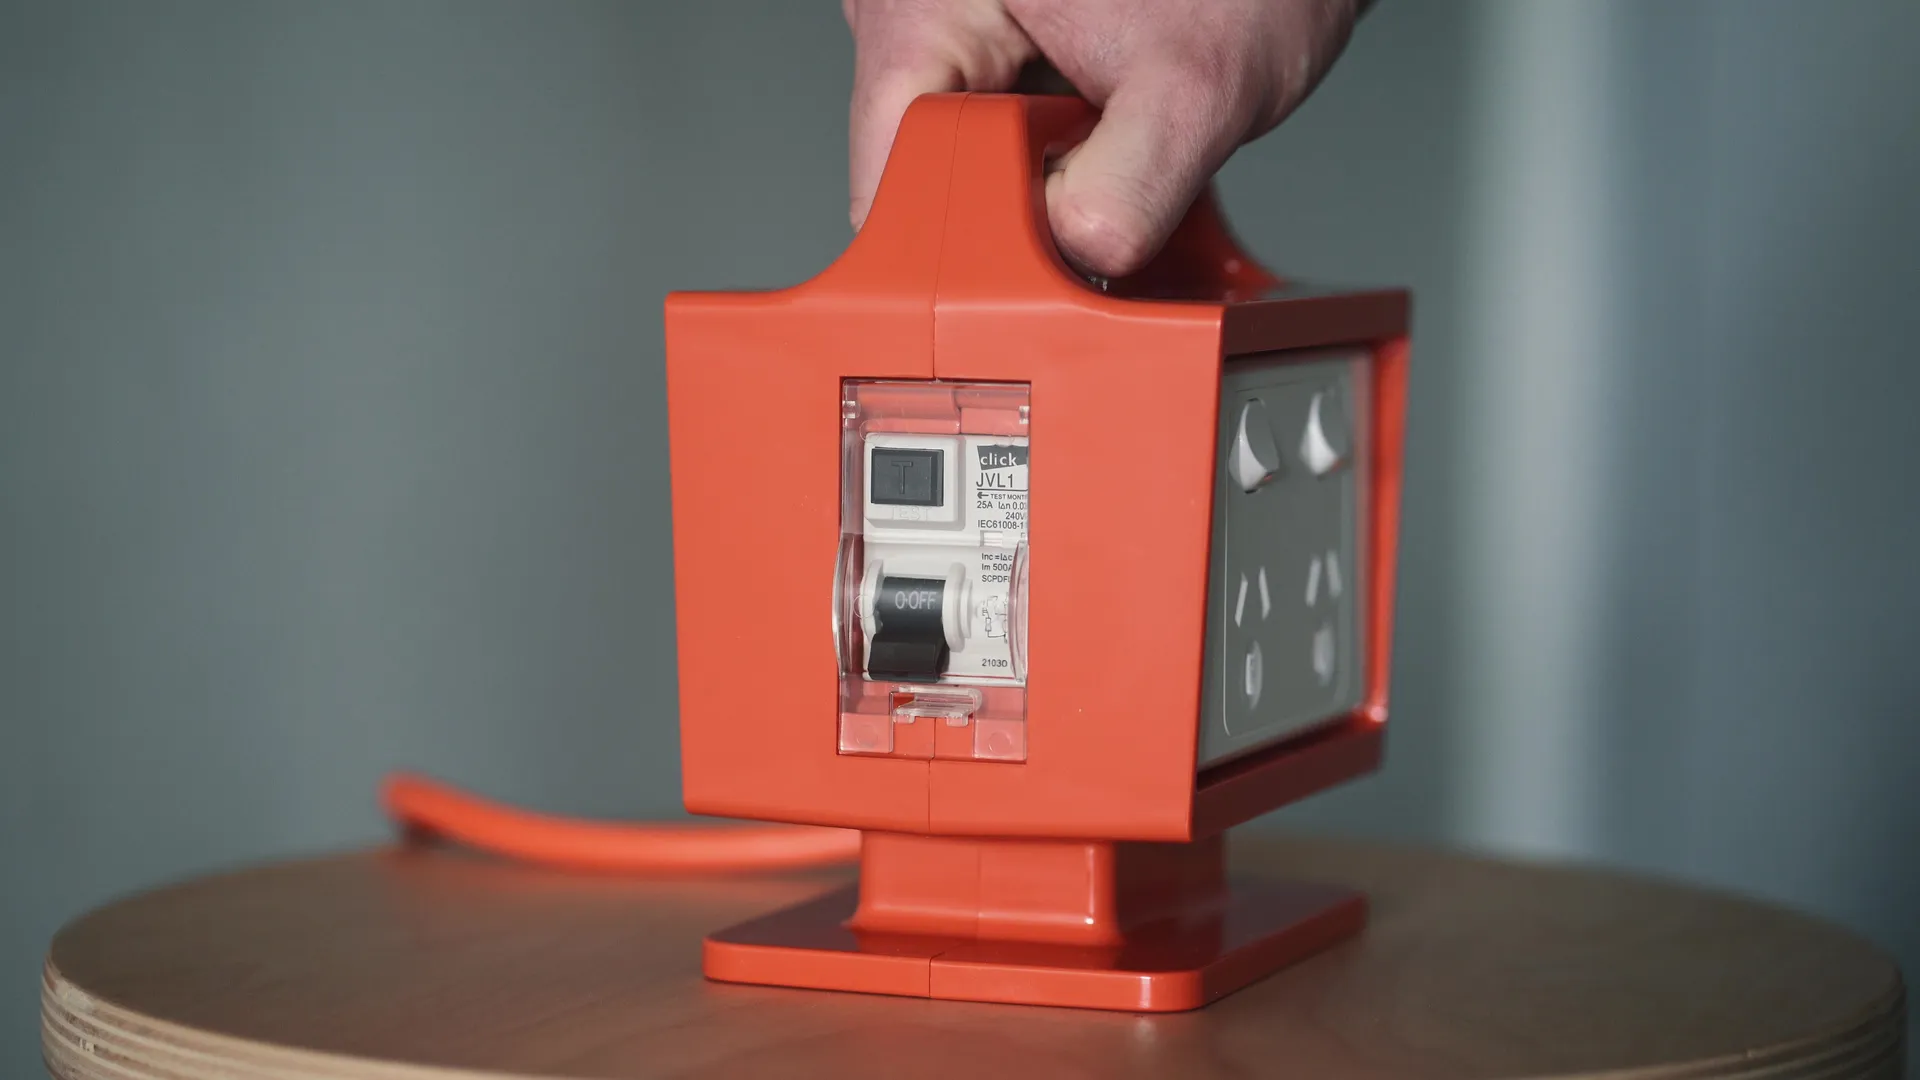
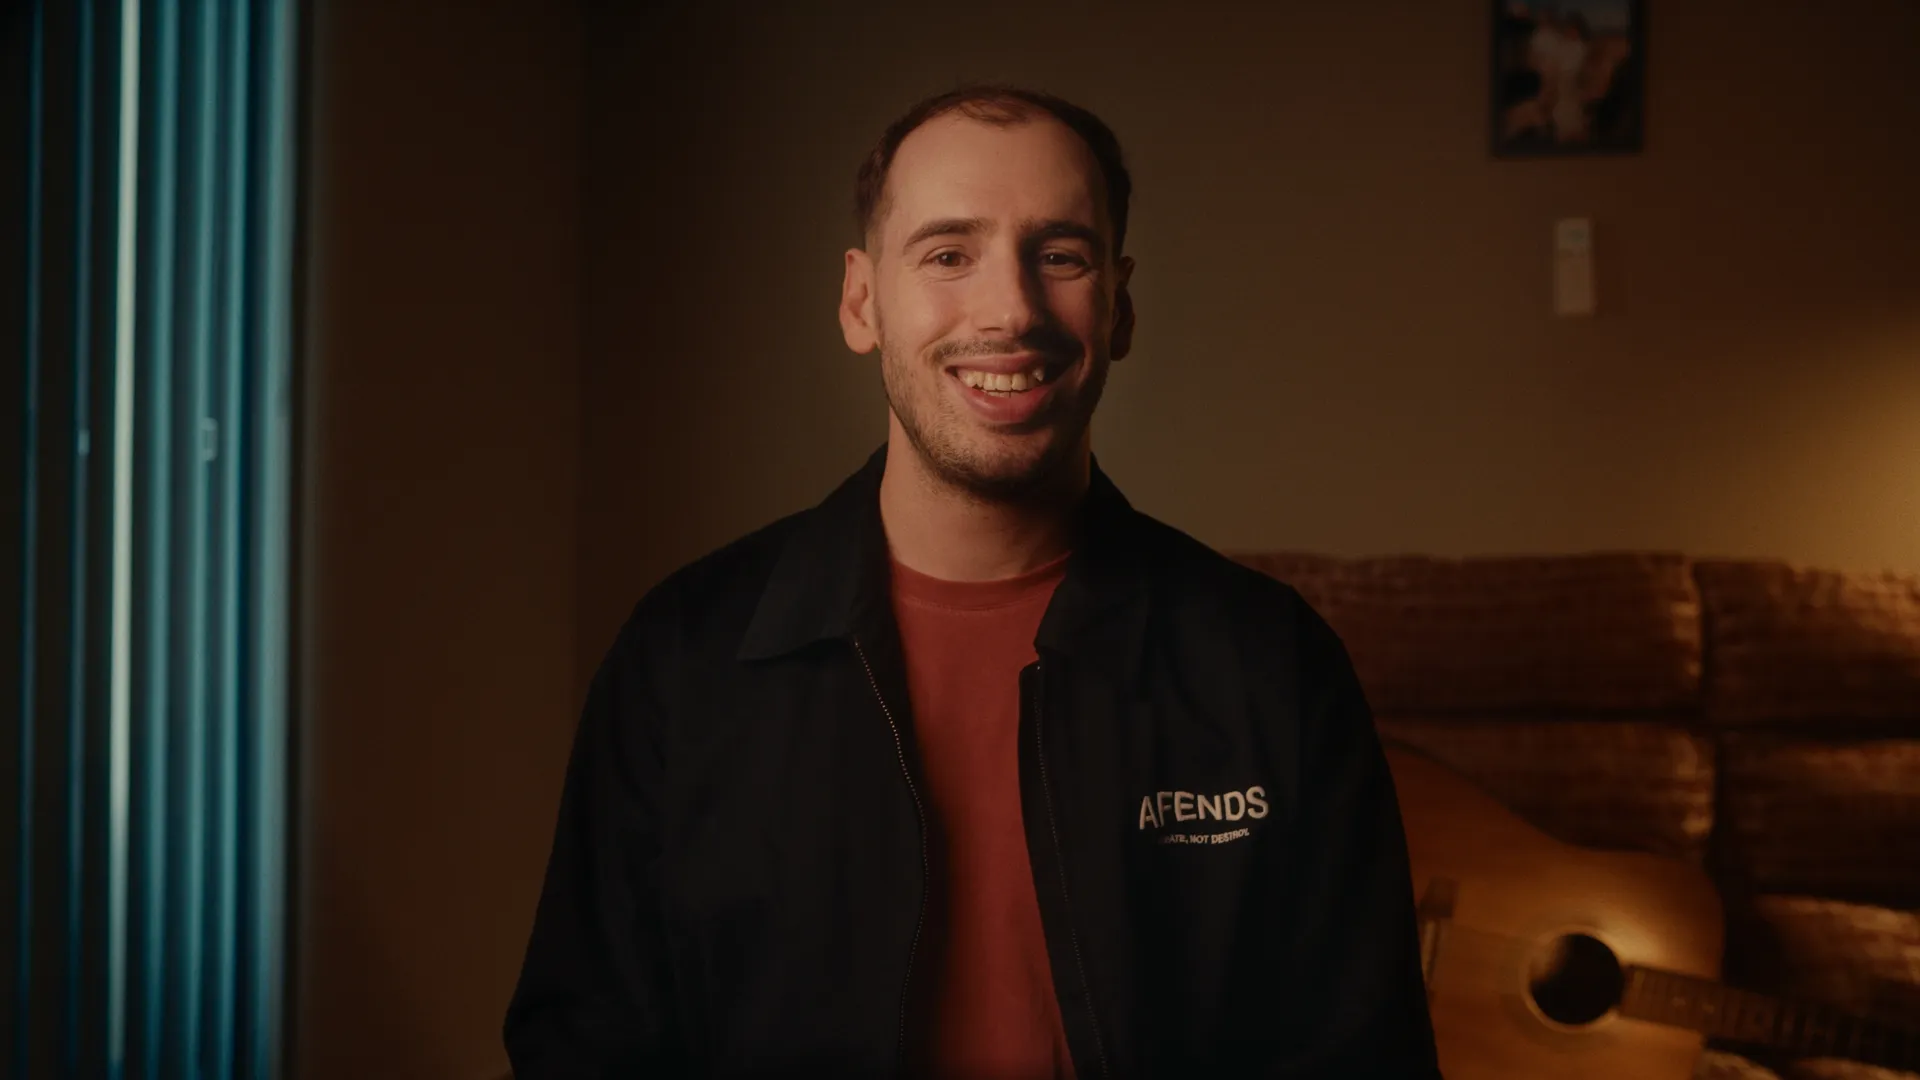
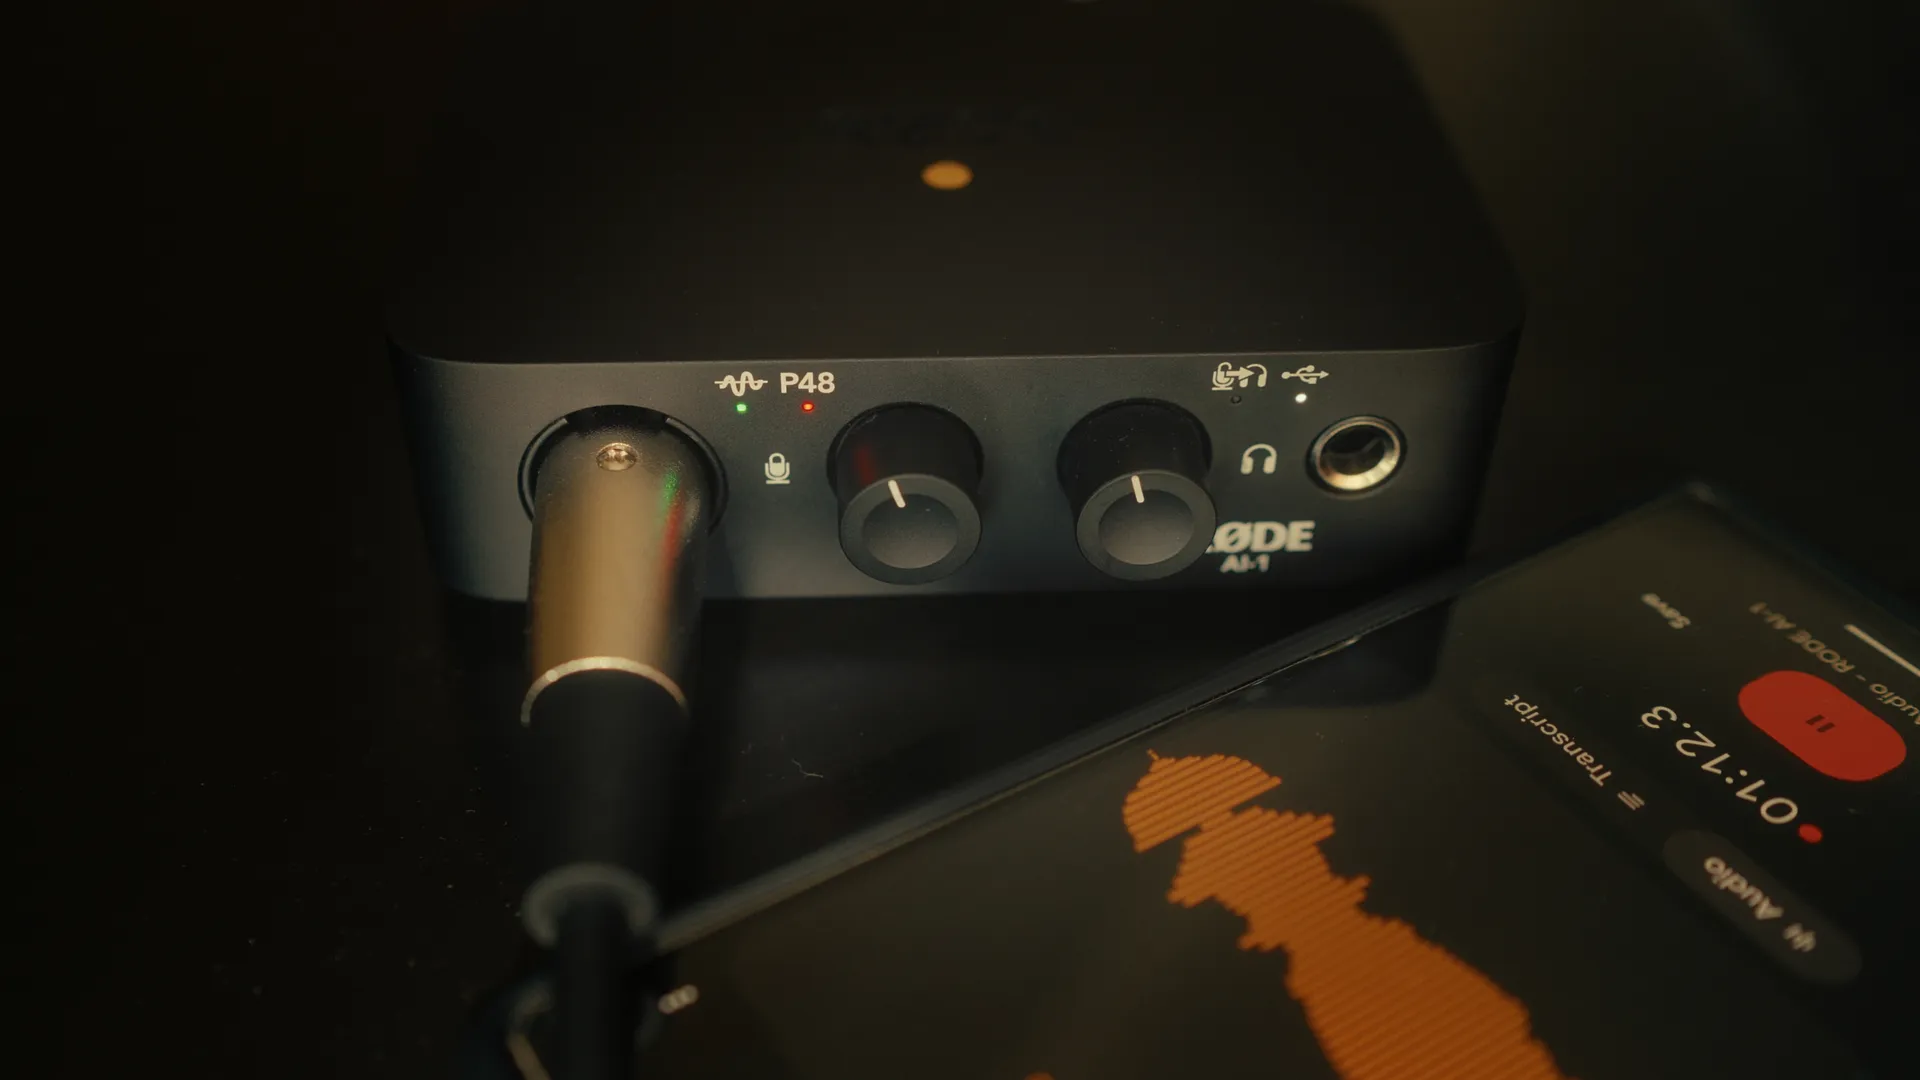
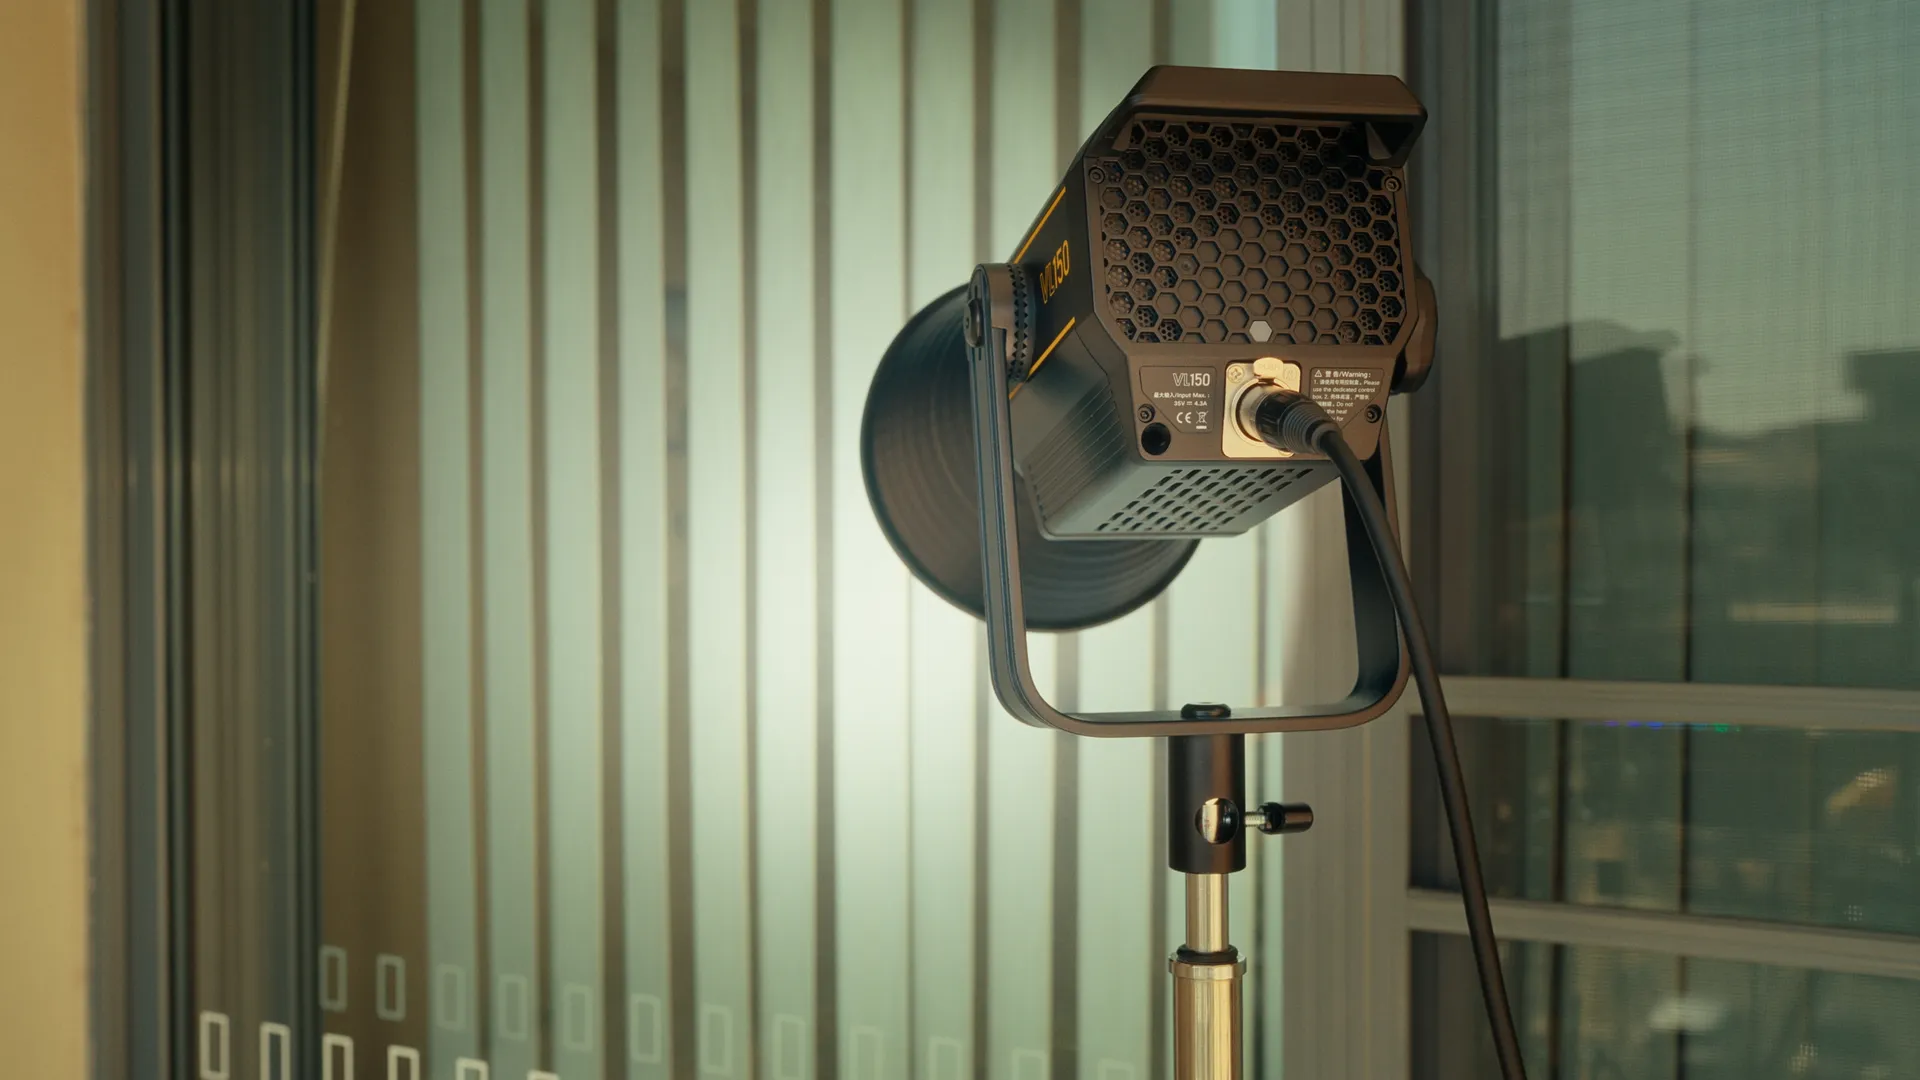
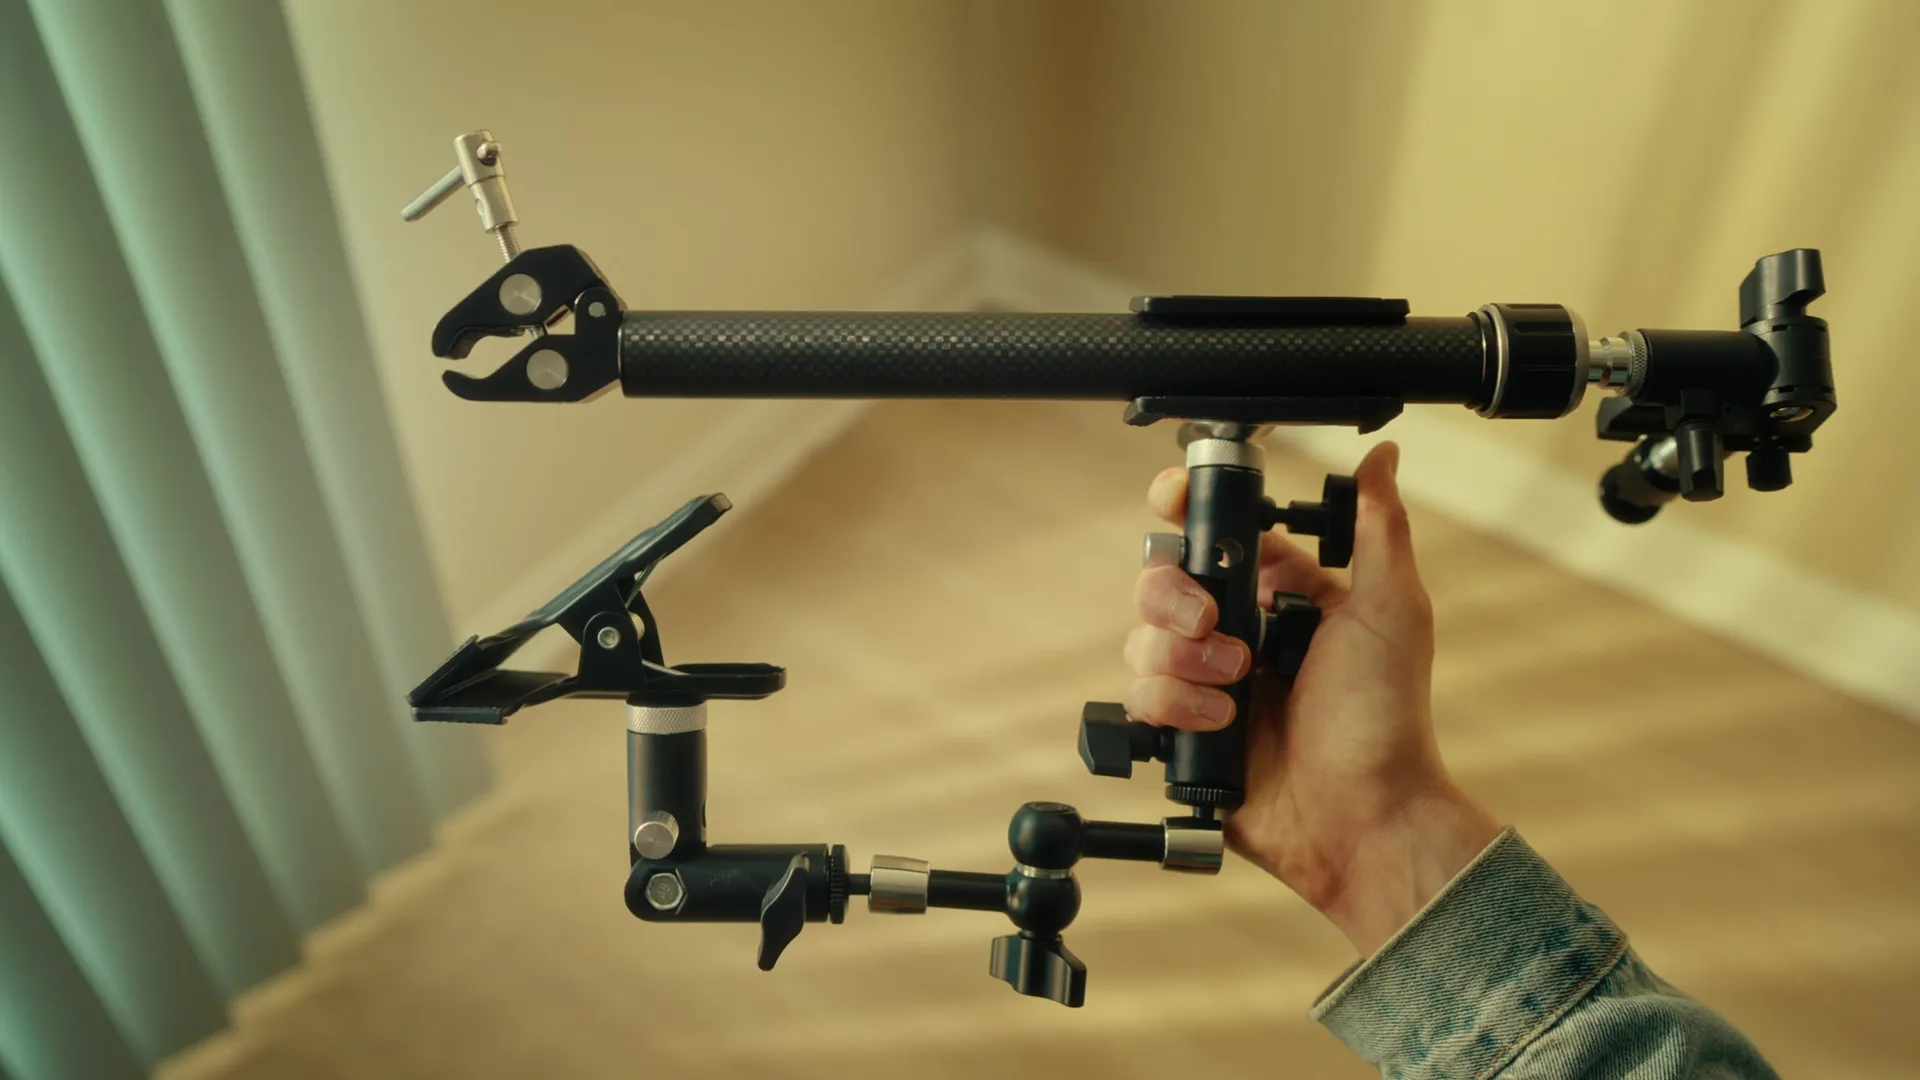
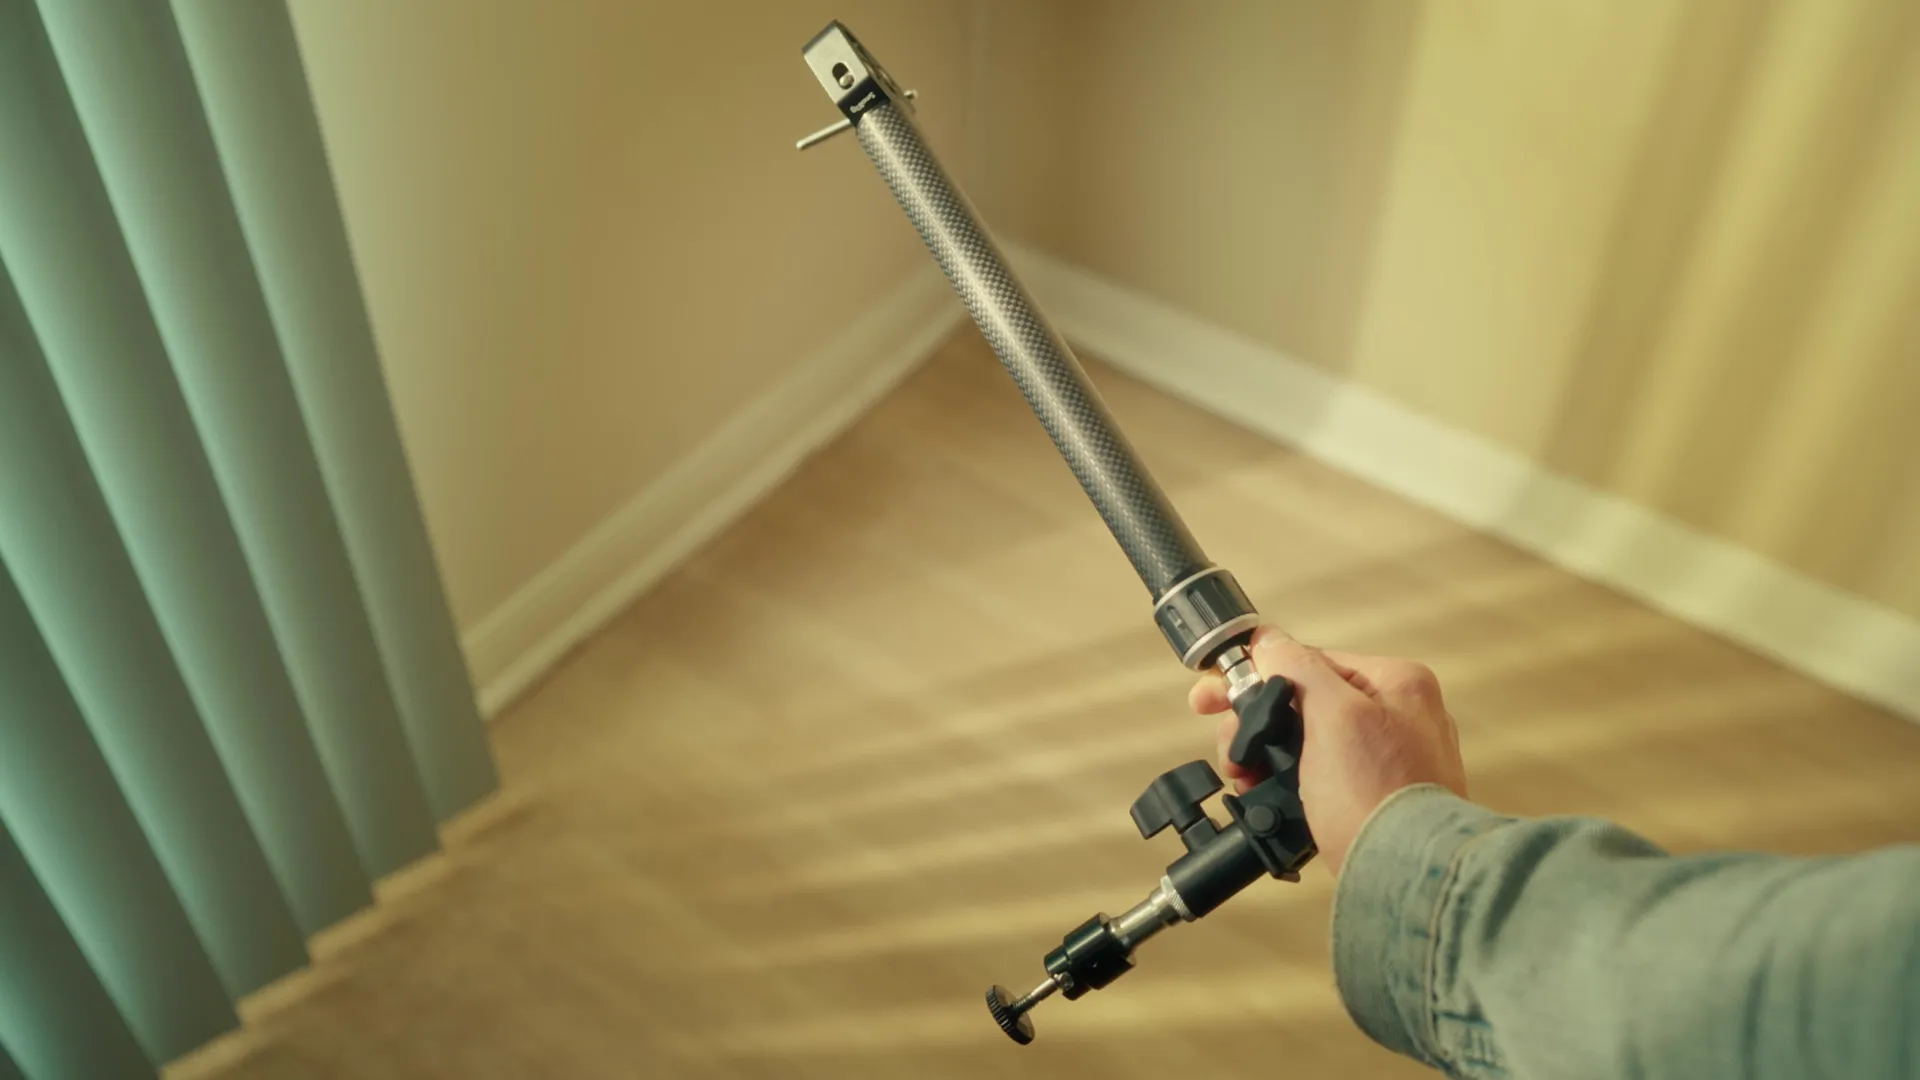
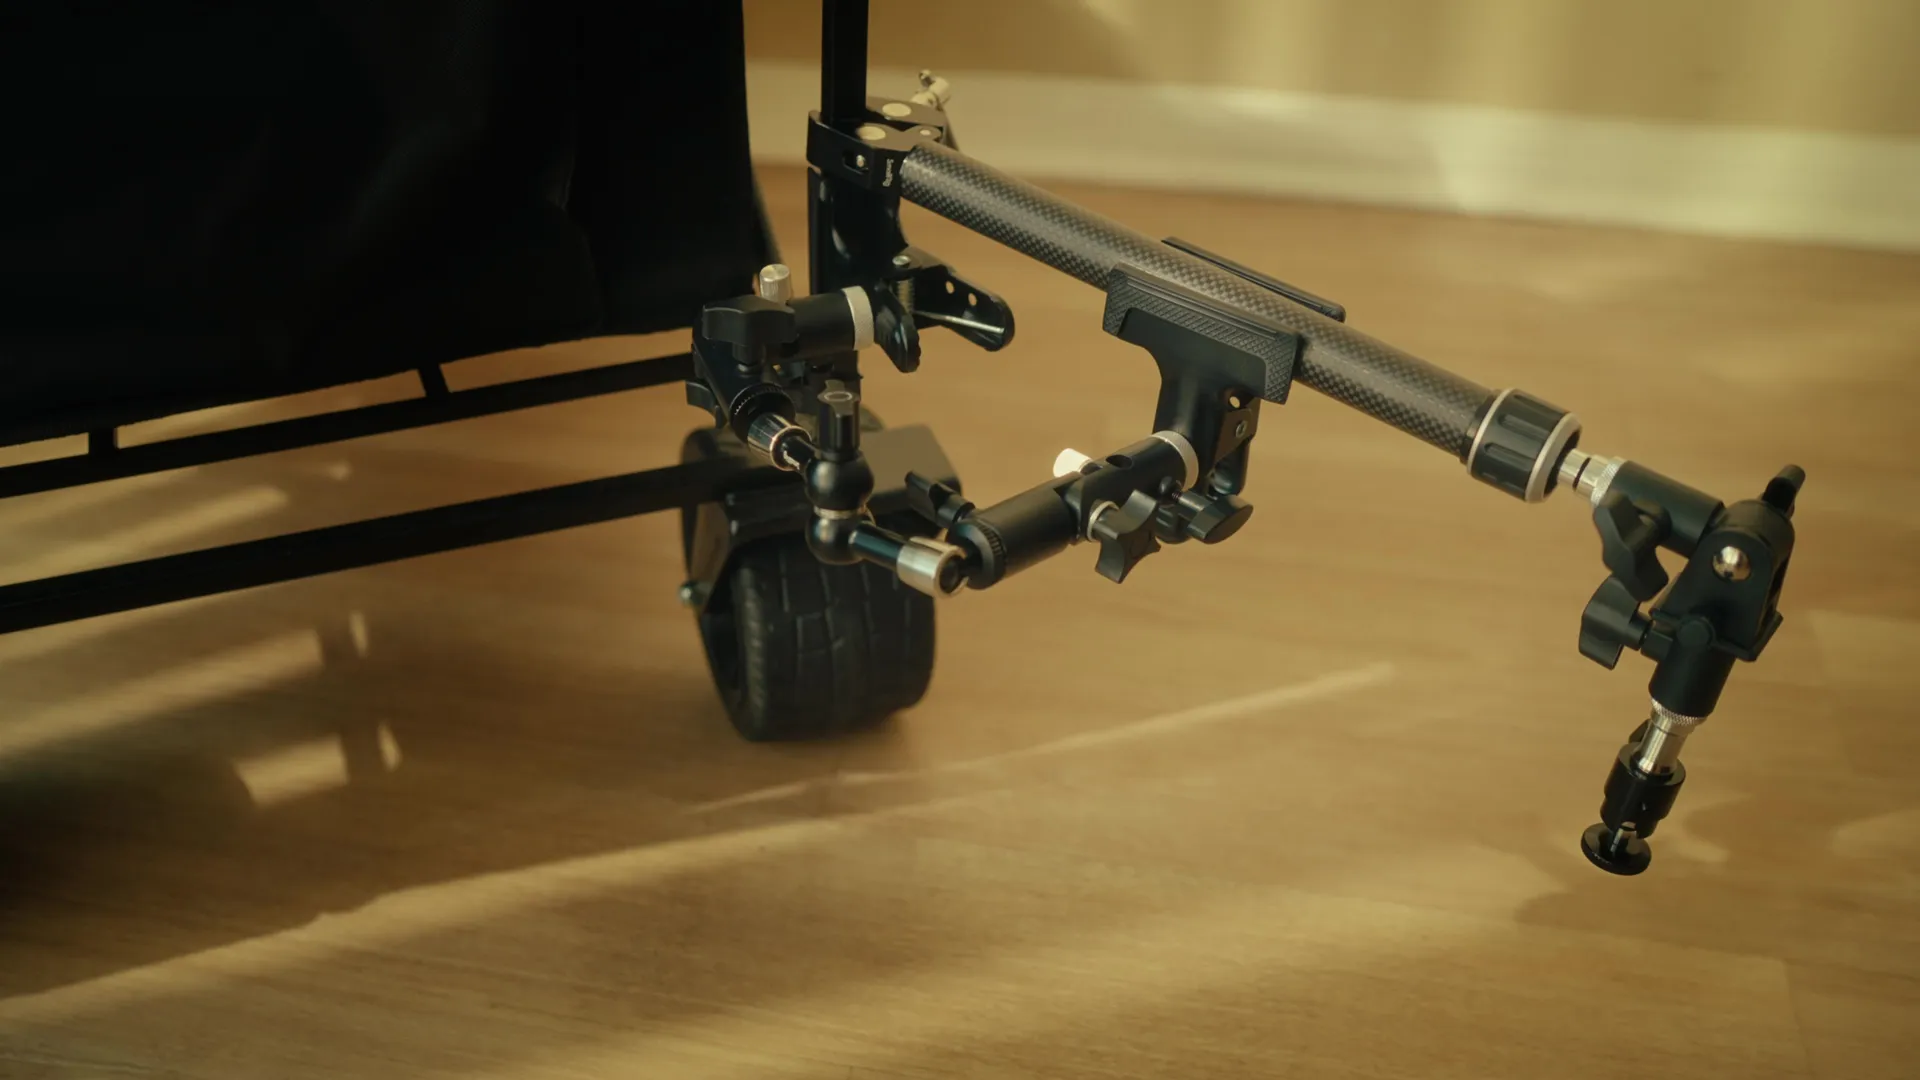
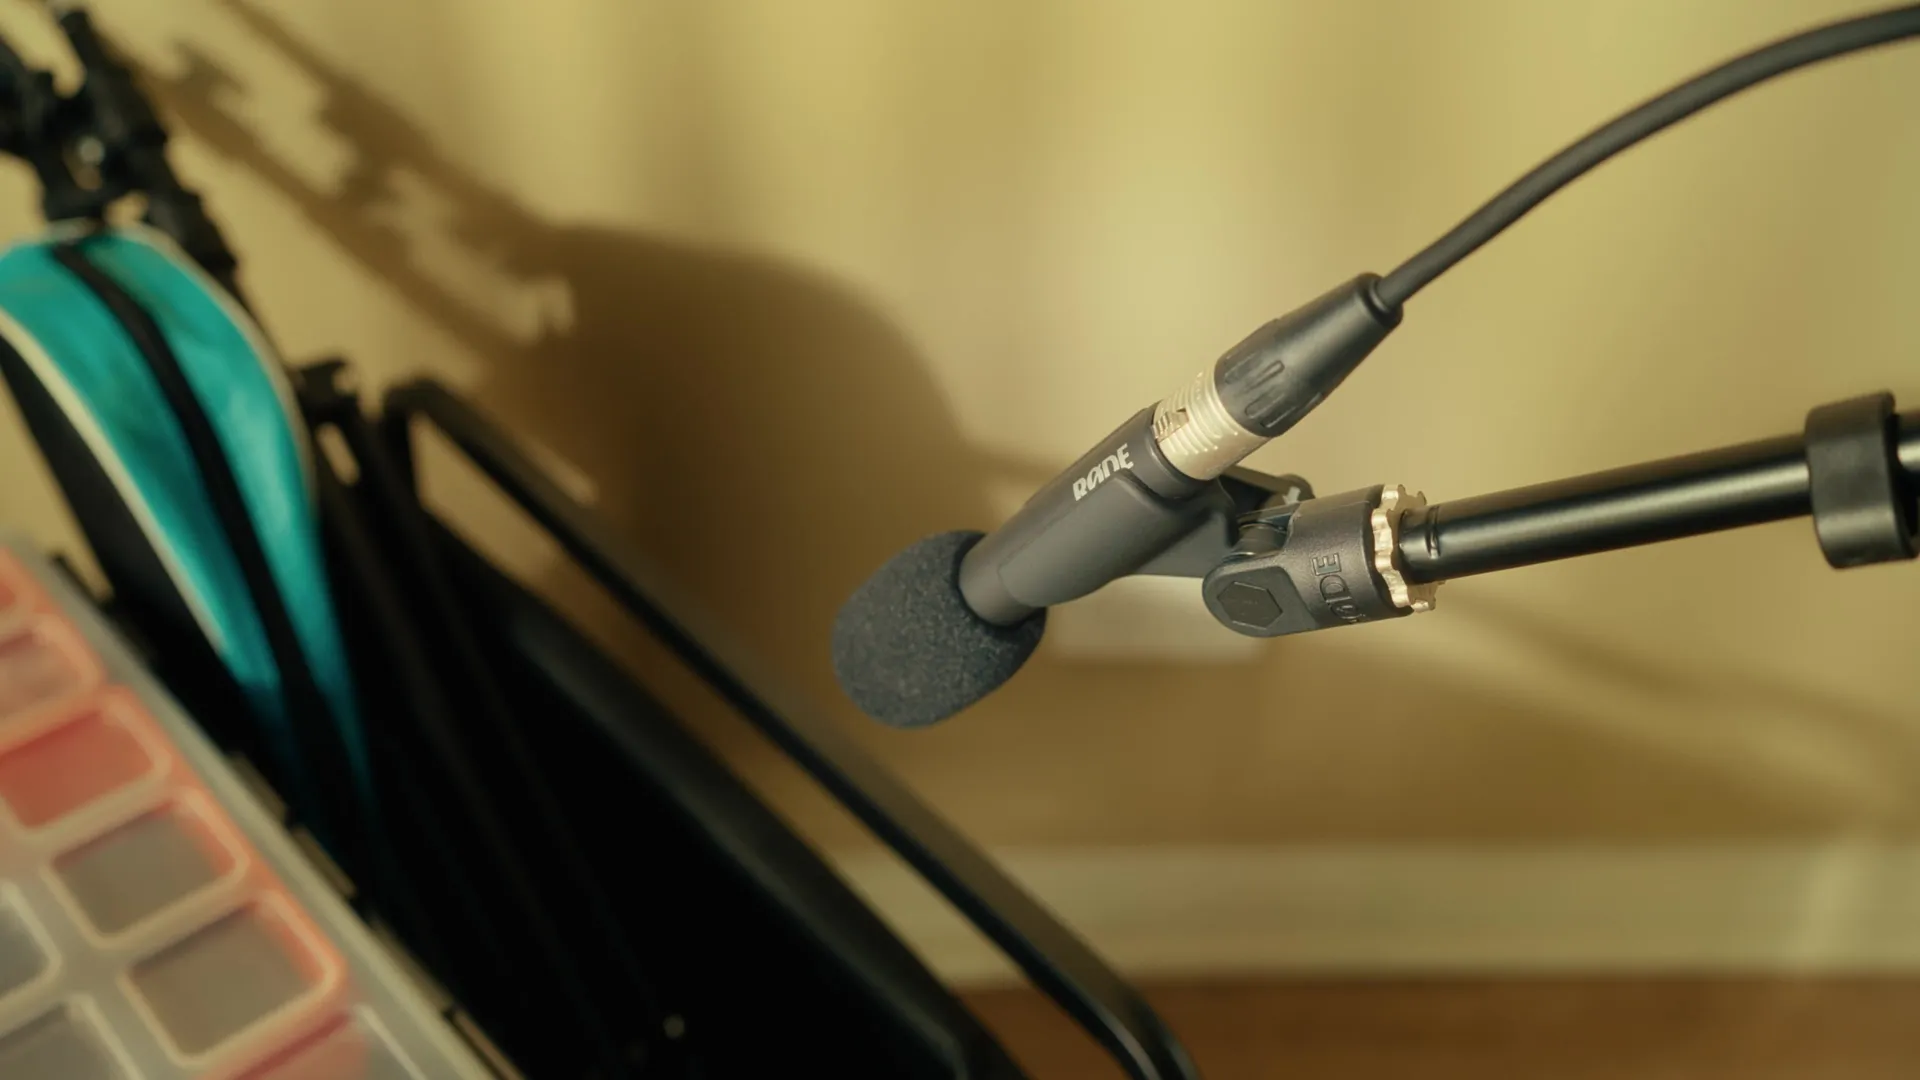
I create concise and engaging YouTube tutorials designed to help viewers quickly get started with various forms of camera equipment.
Rather than diving into every specific setting and parameter, I aim to create focused 10-minute or so videos that provide the essential information to confidently and creatively get started.
Ultimately, my goal is to share the knowledge that I’ve gained from countless hours of testing and watching long videos, condensing it into easy-to-understand concise formats that inspire and empower viewers to start right away.
In addition to this, I aim to openly share the personal experiences and insights that I’ve obtained from using this gear in various settings.
Videos edited & graded in DaVinci Resolve
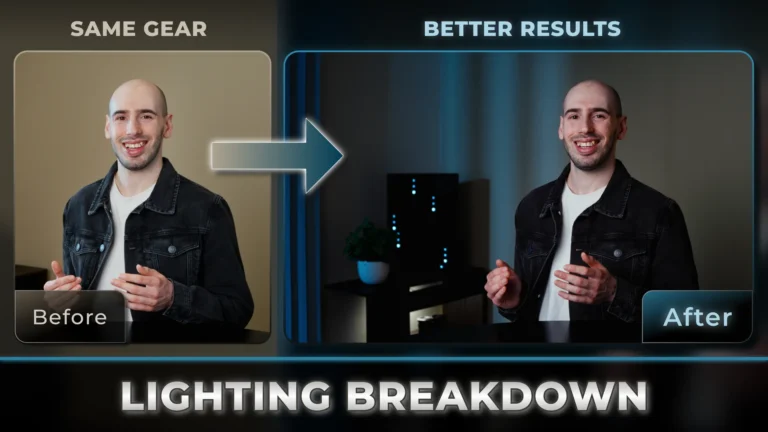
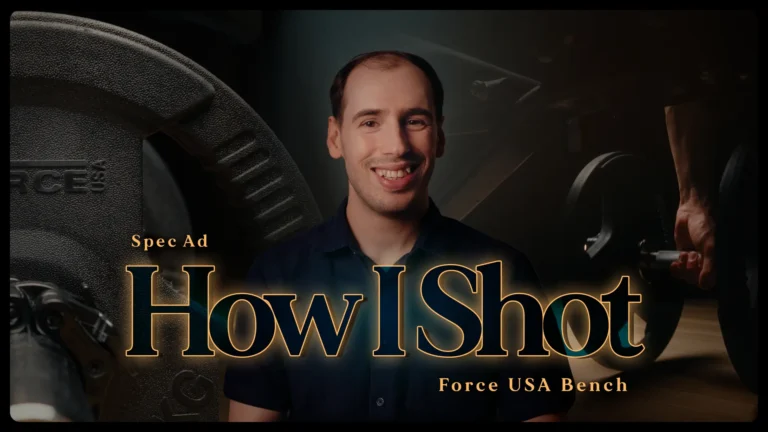
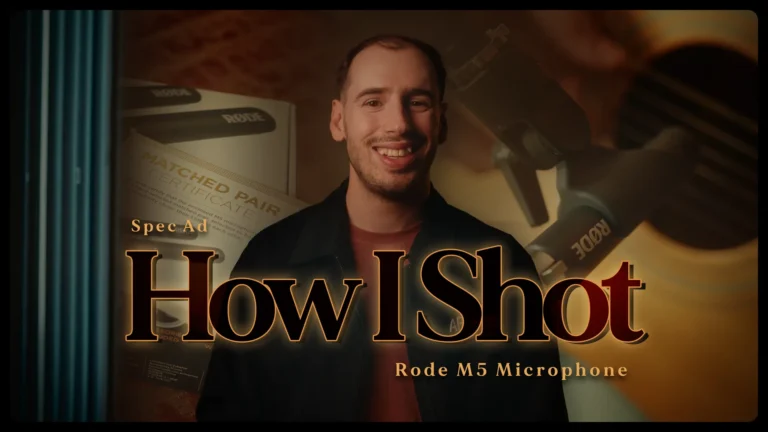
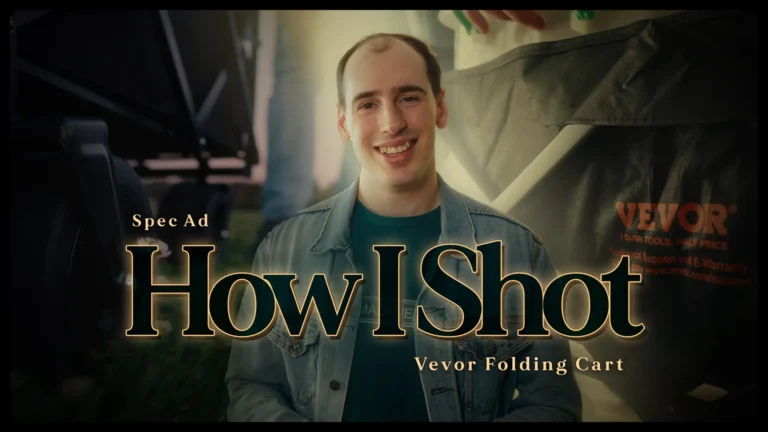
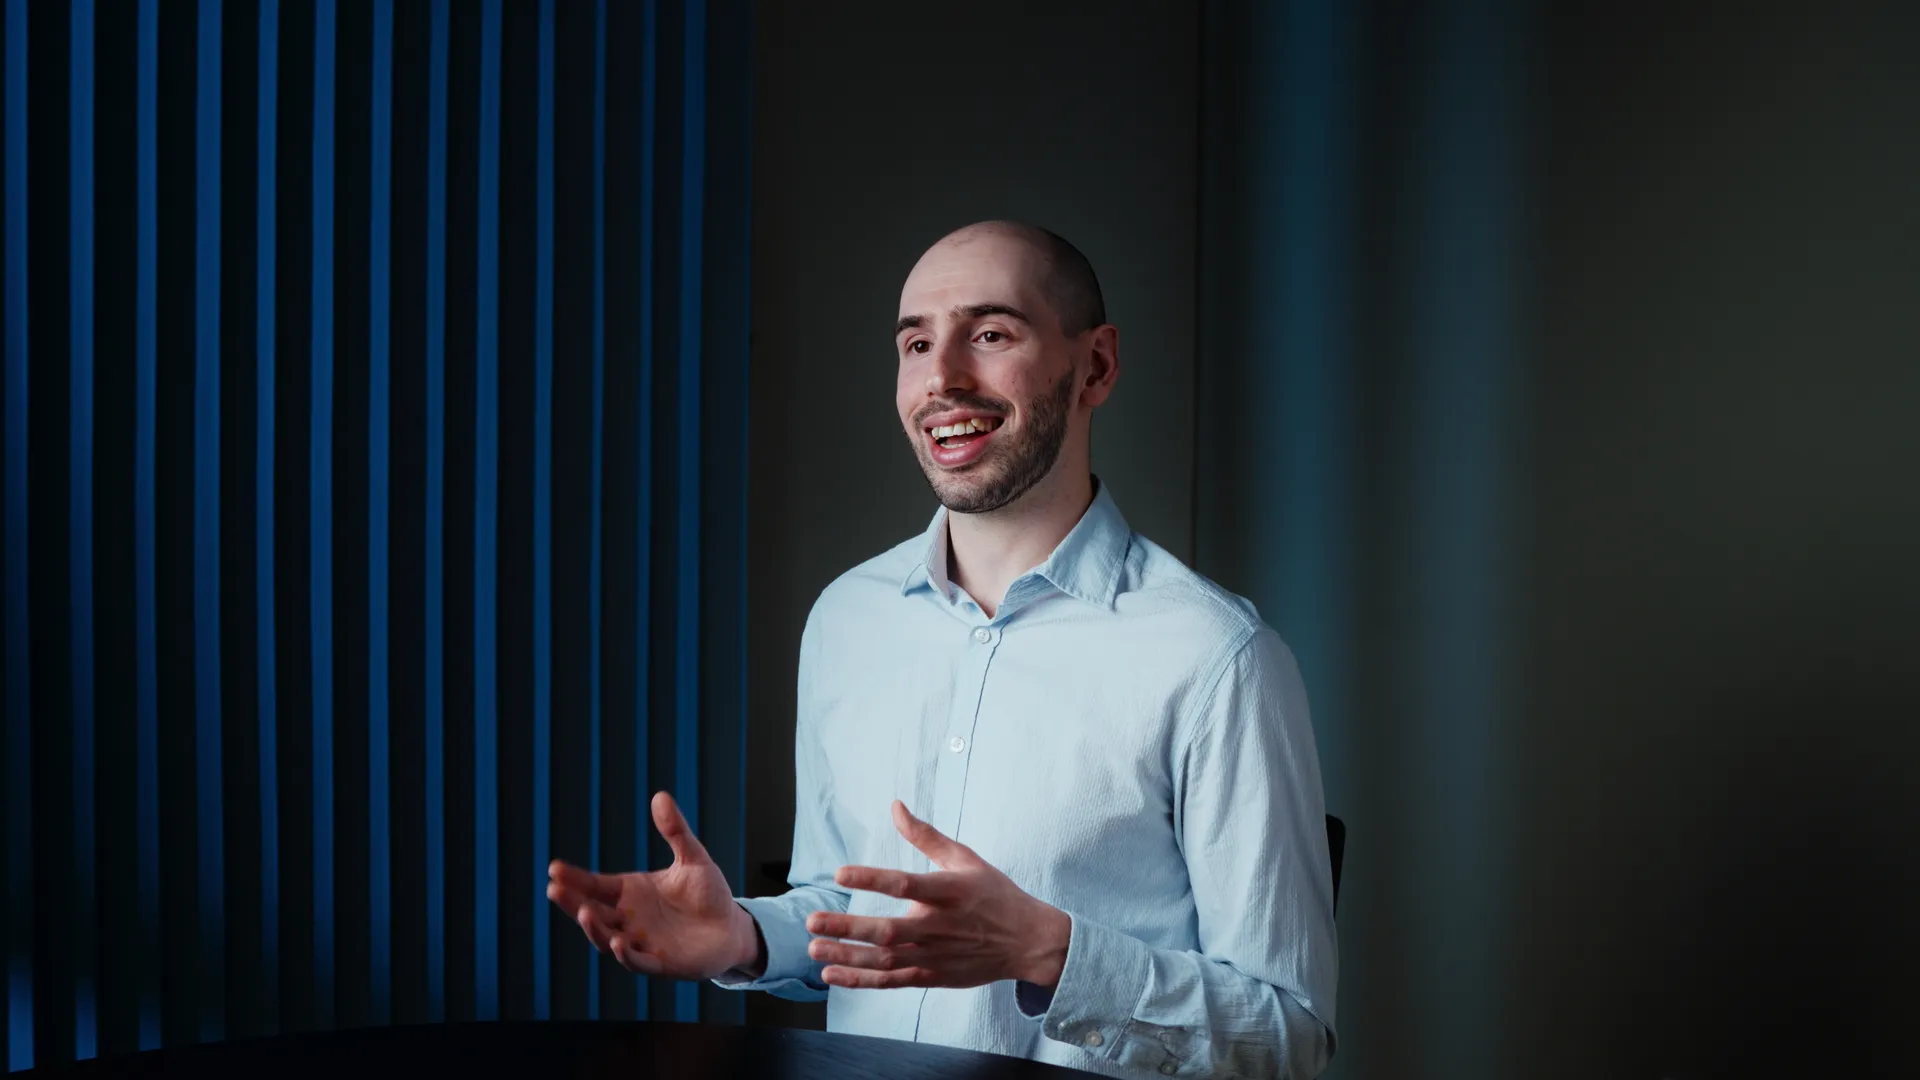
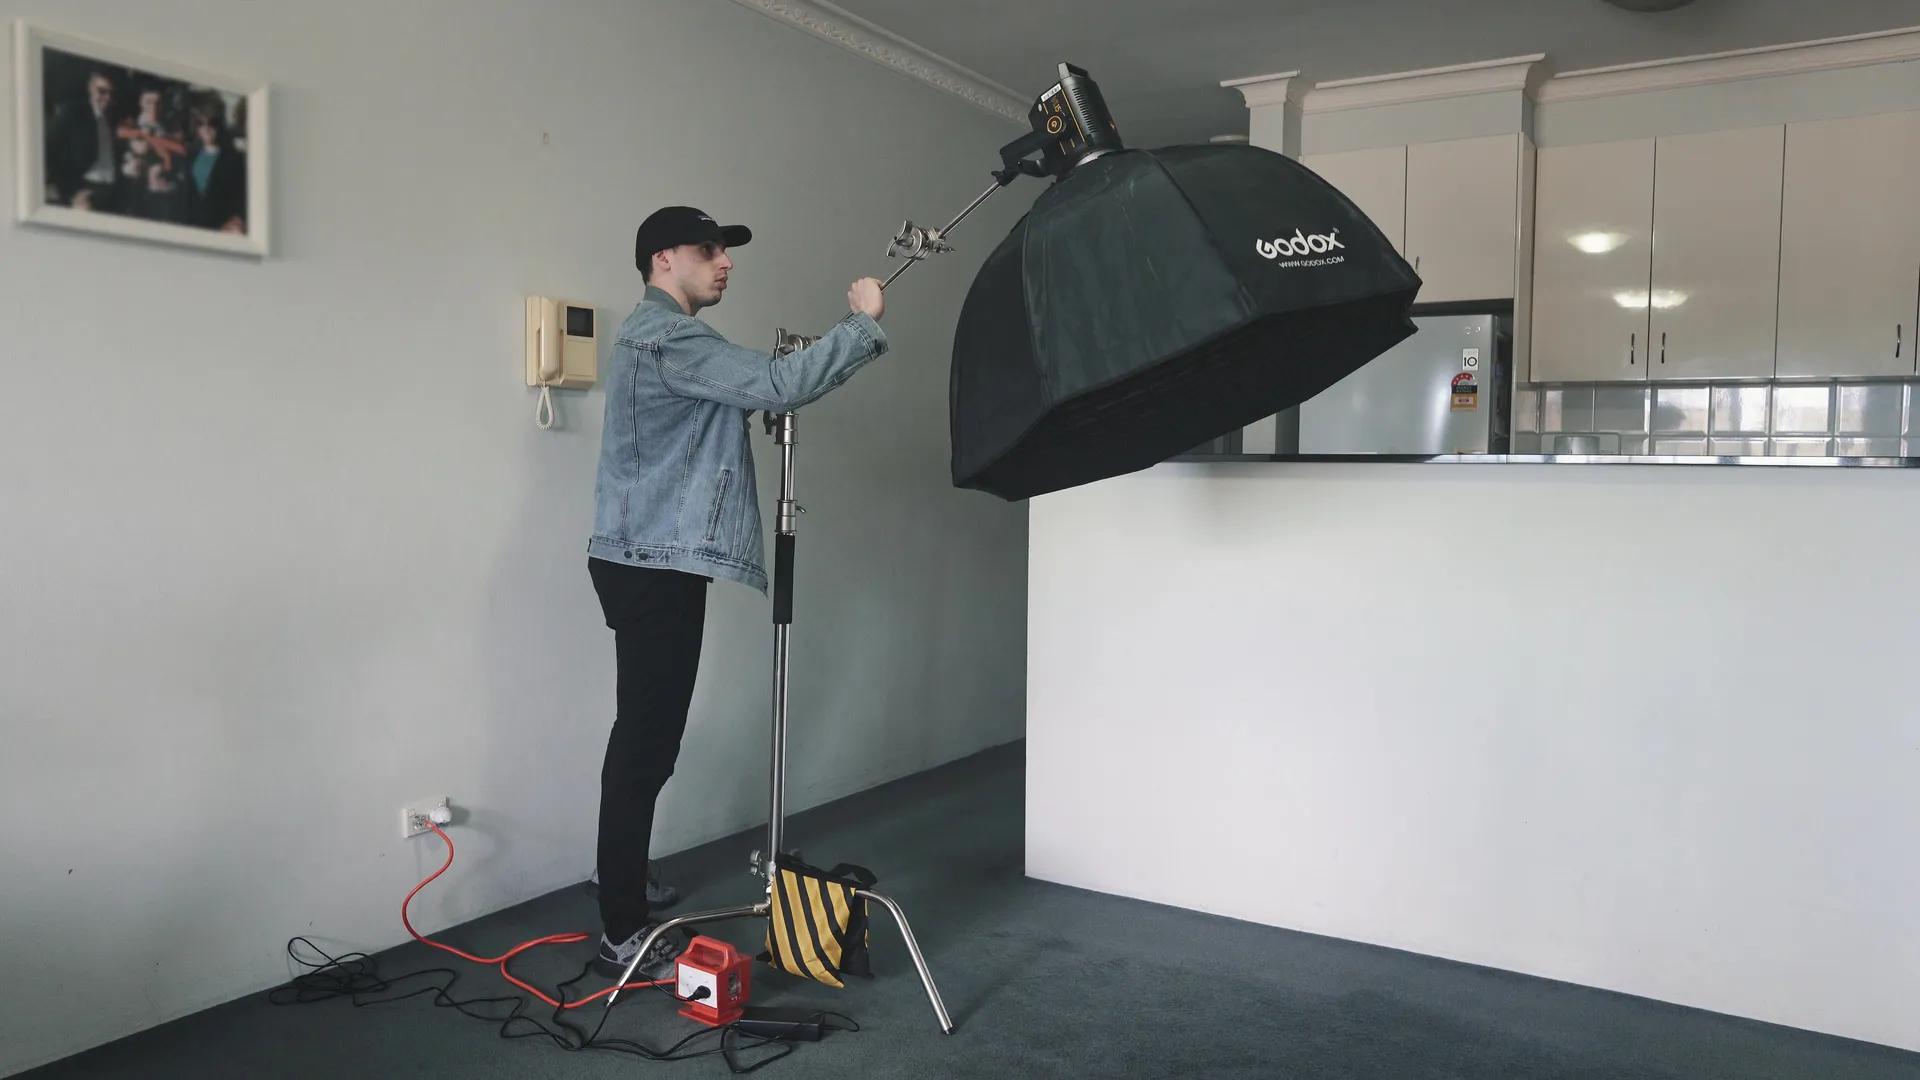
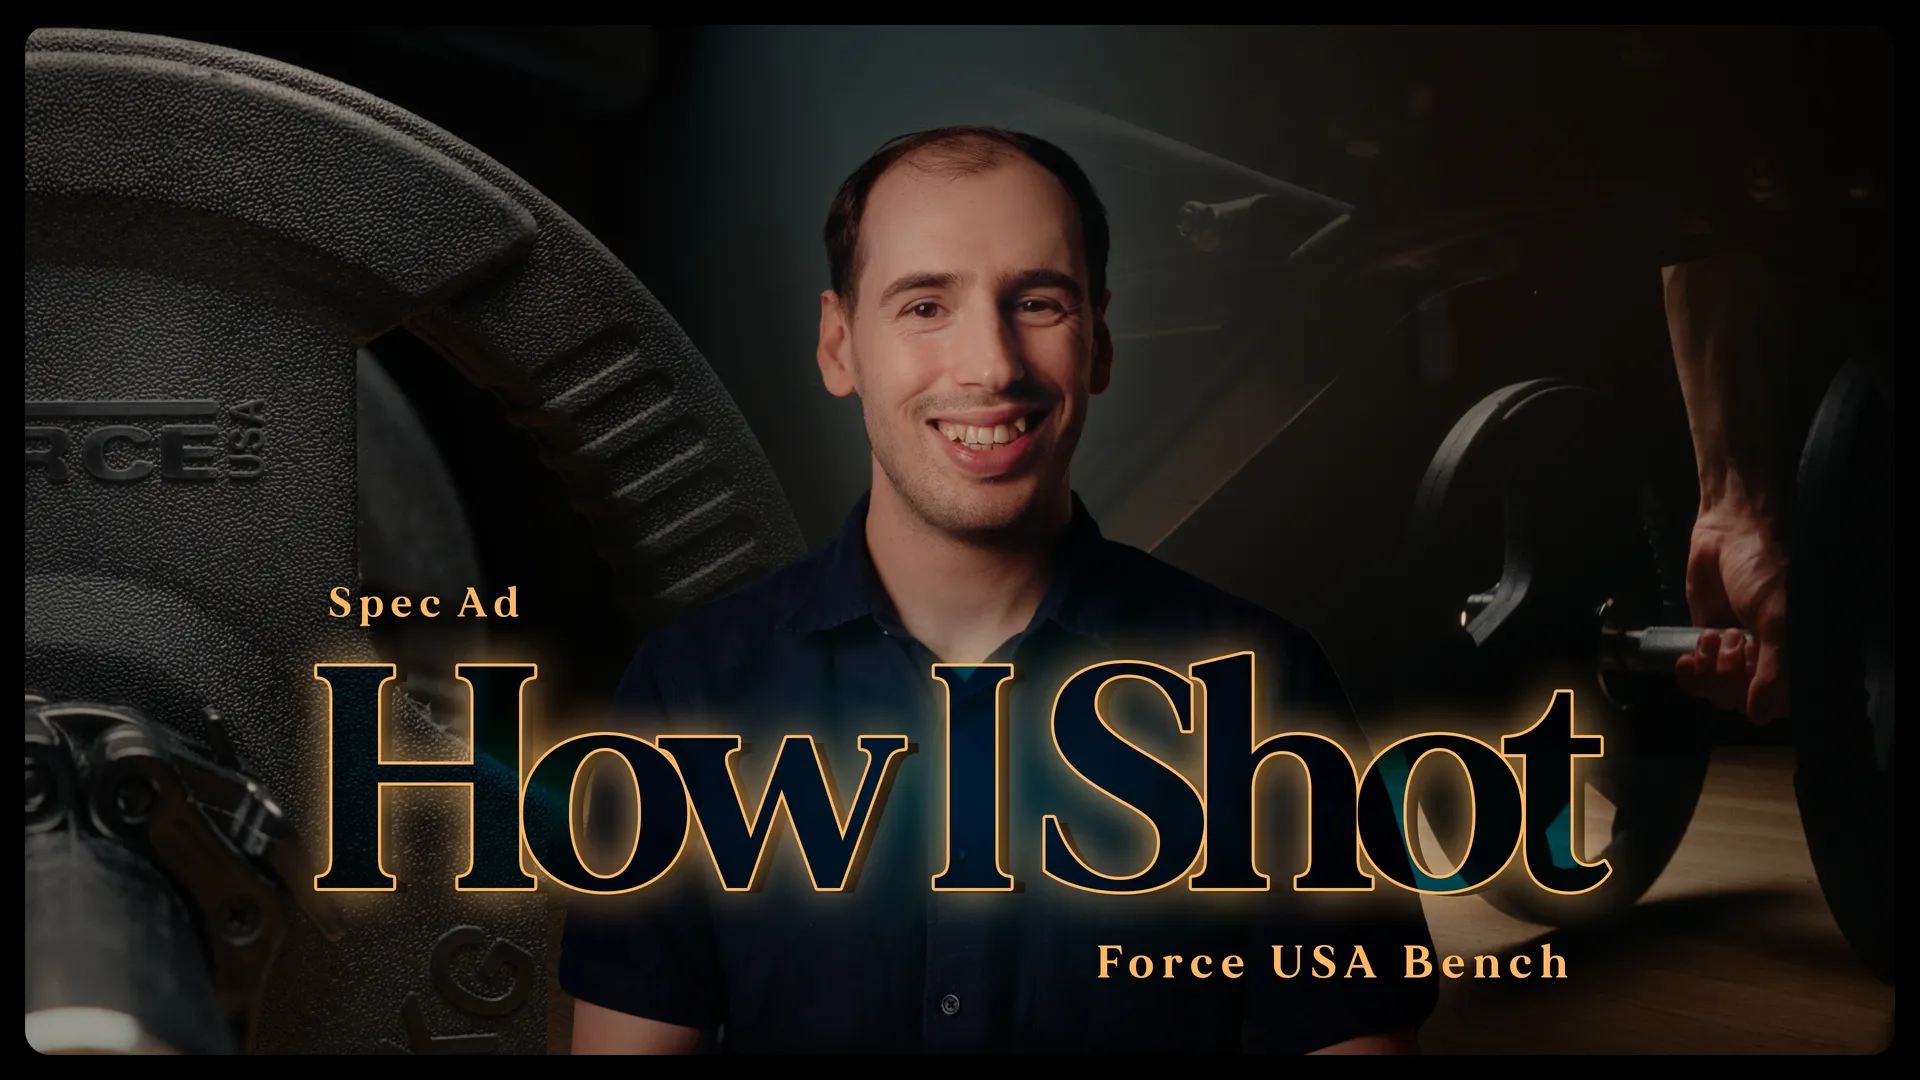
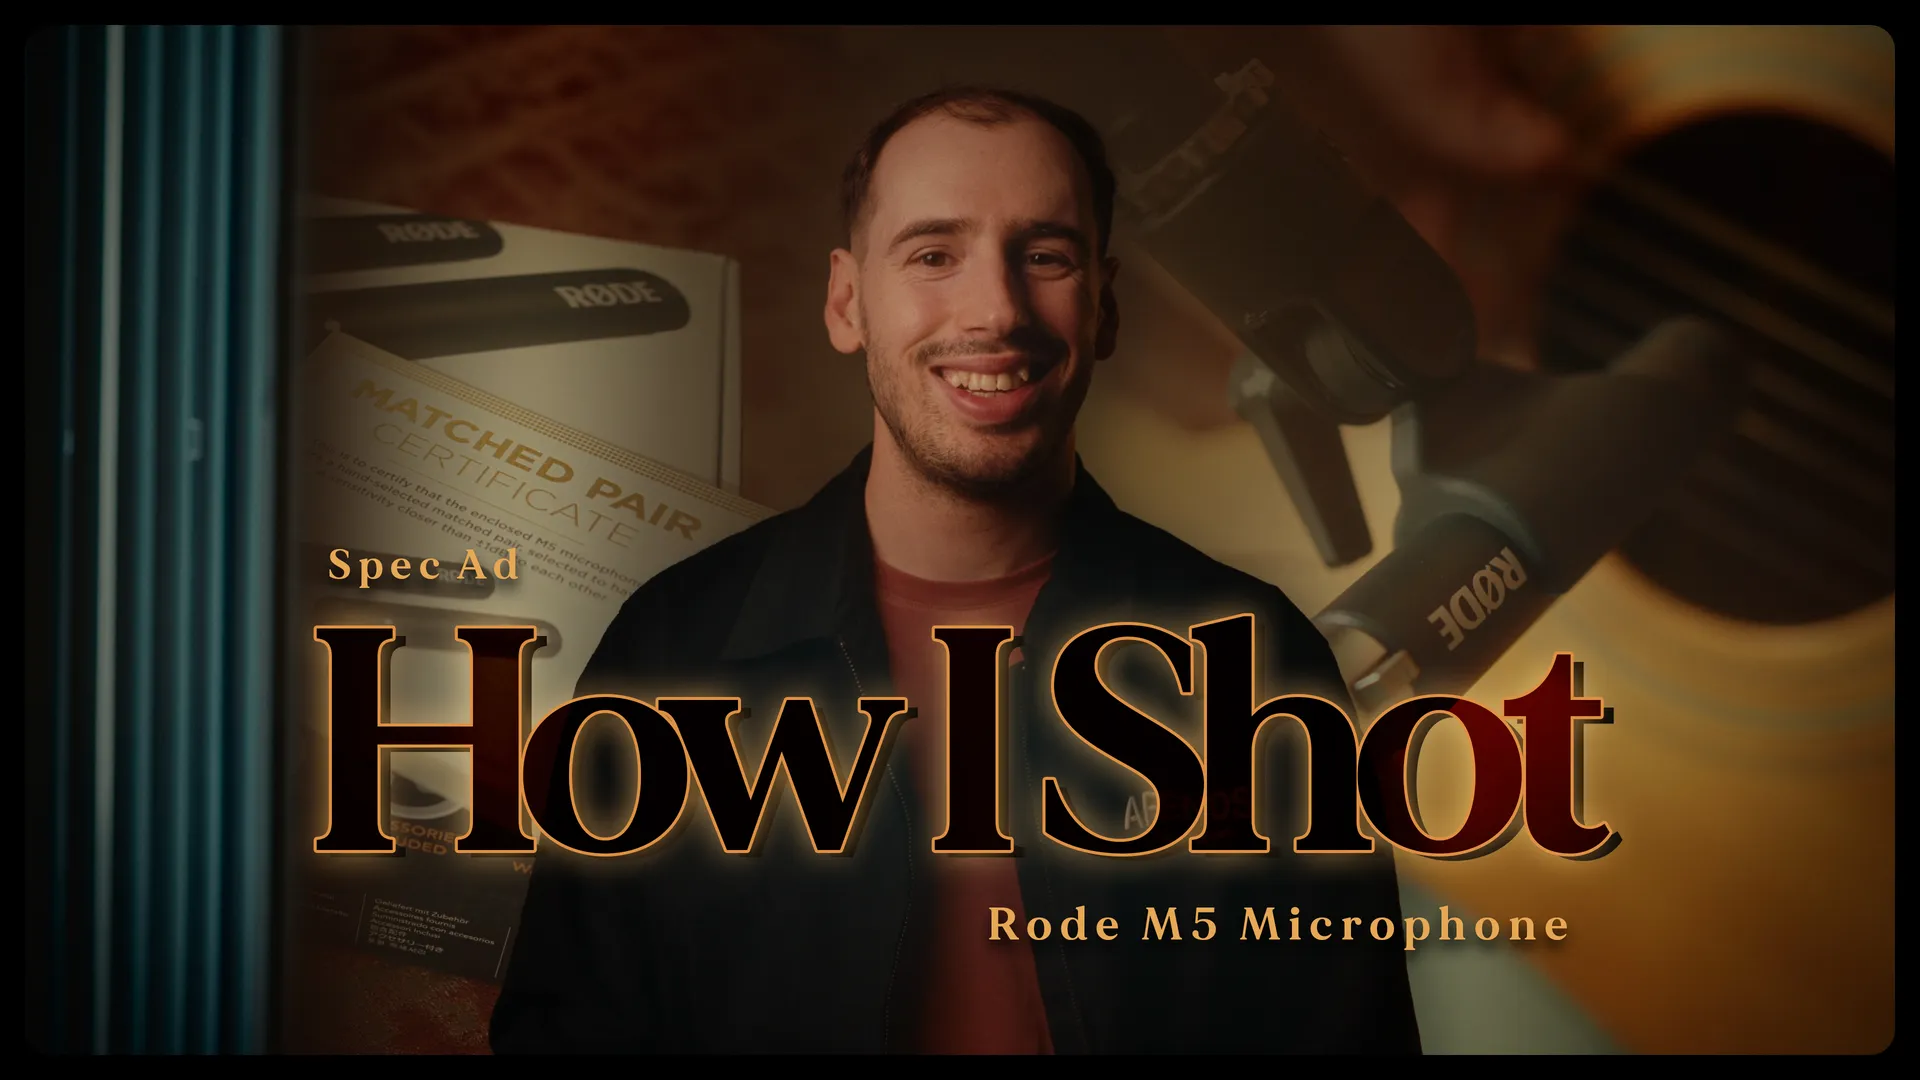
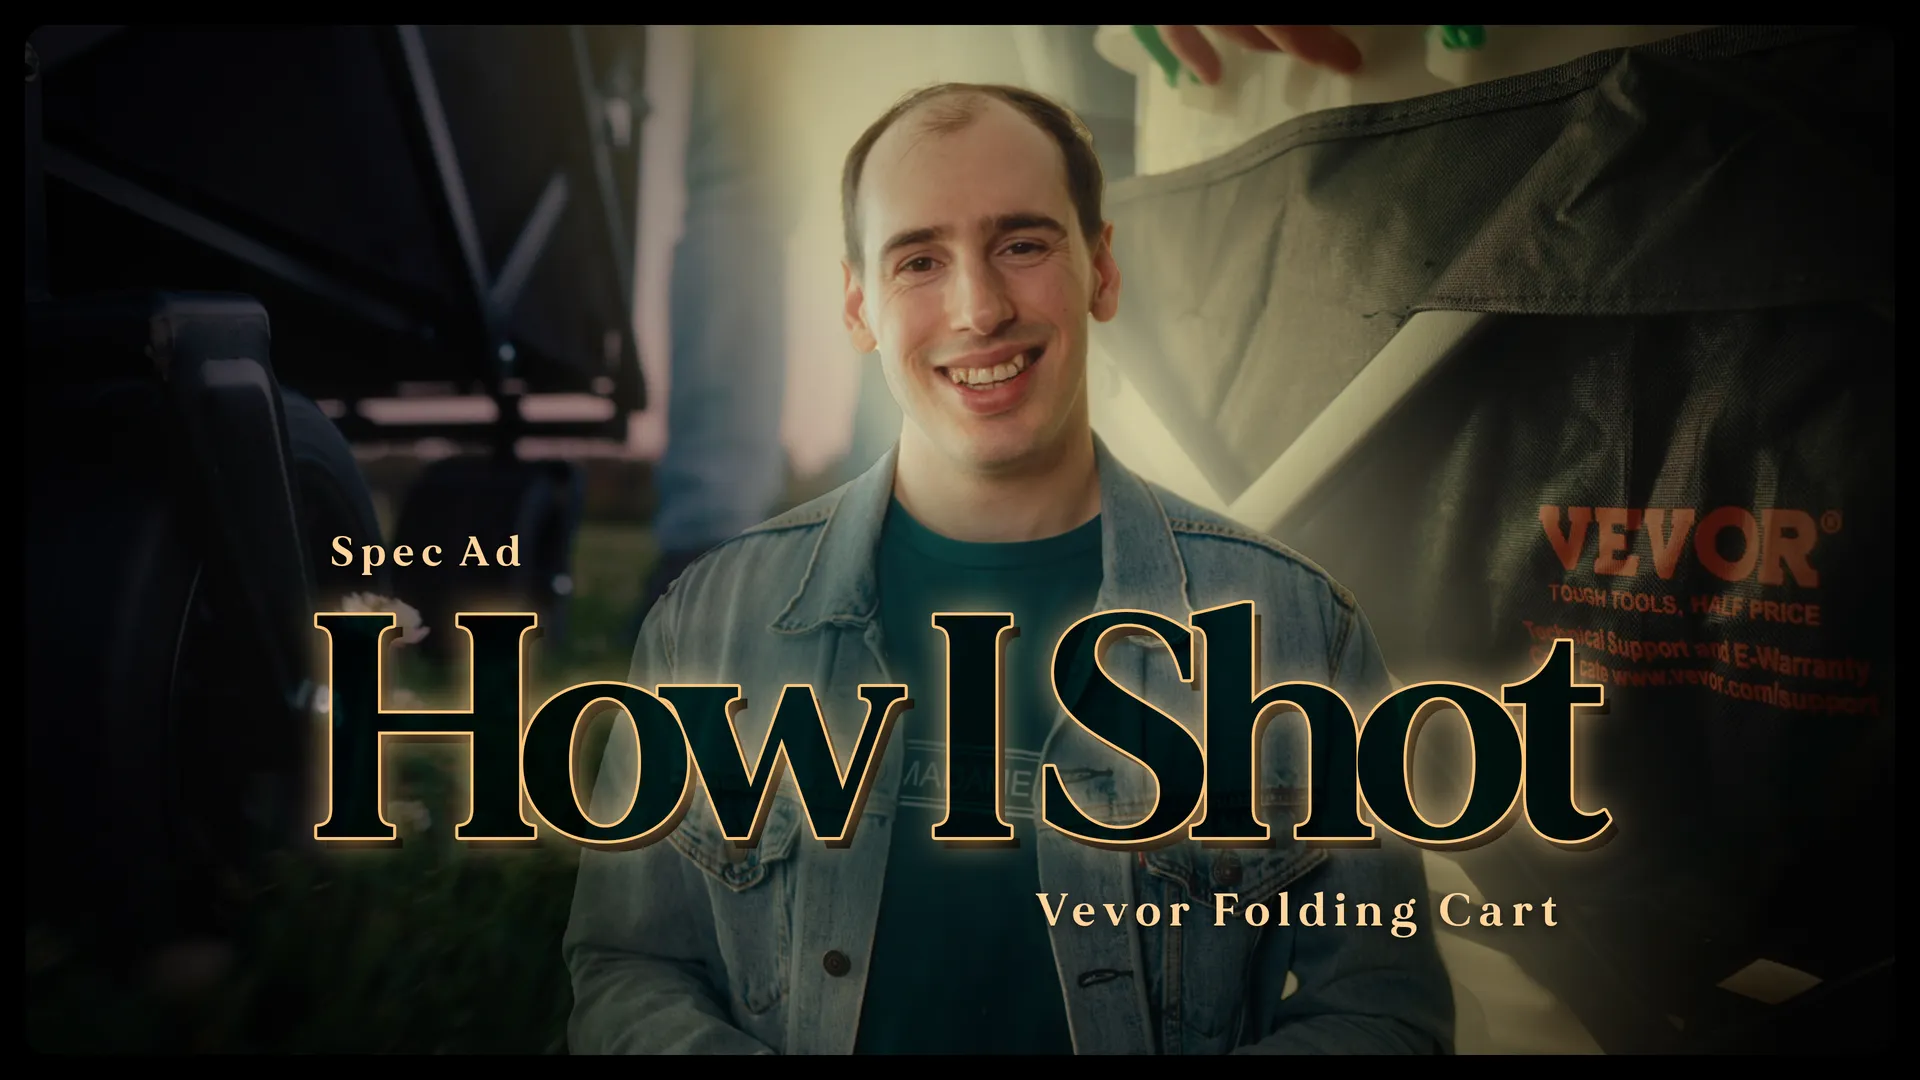
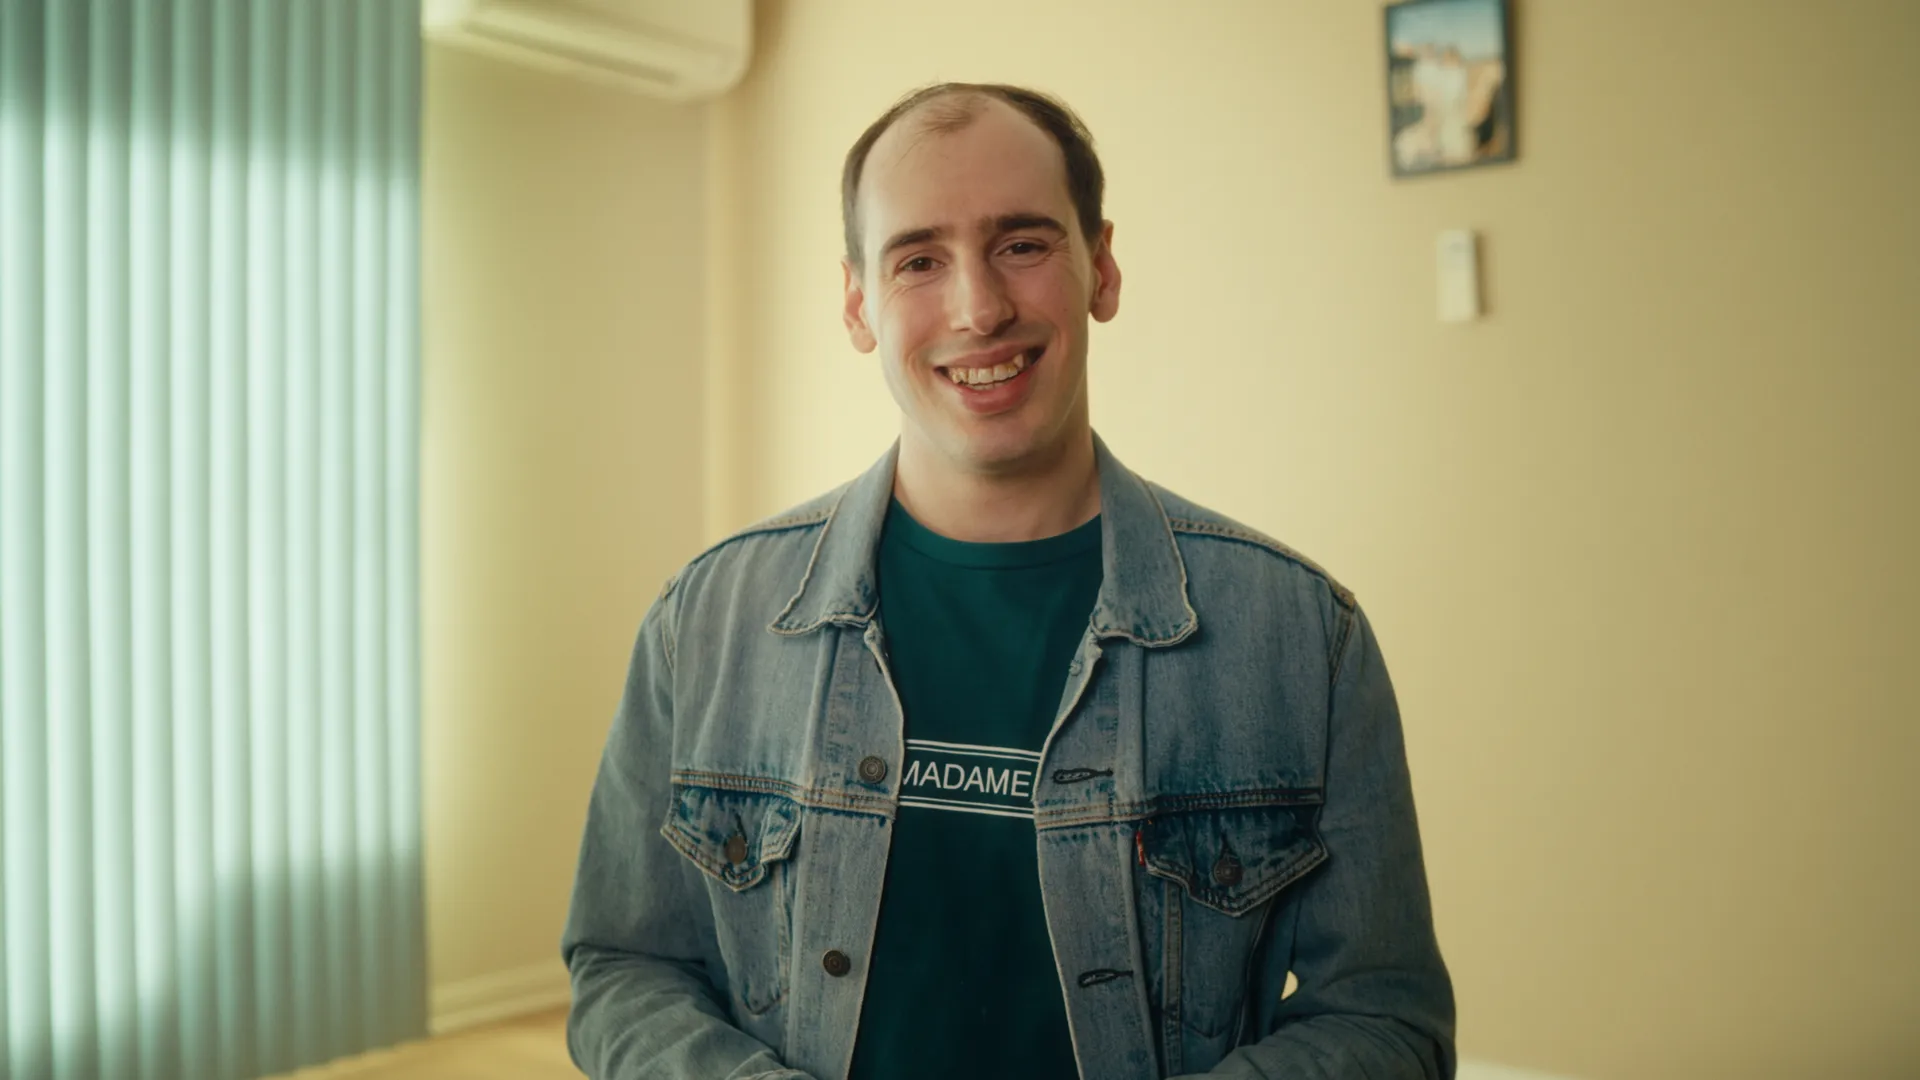
In these ‘How I Shot’ videos, I take viewers behind the scenes to explore the creative concepts, cinematography, and production techniques that shape each of my ads.
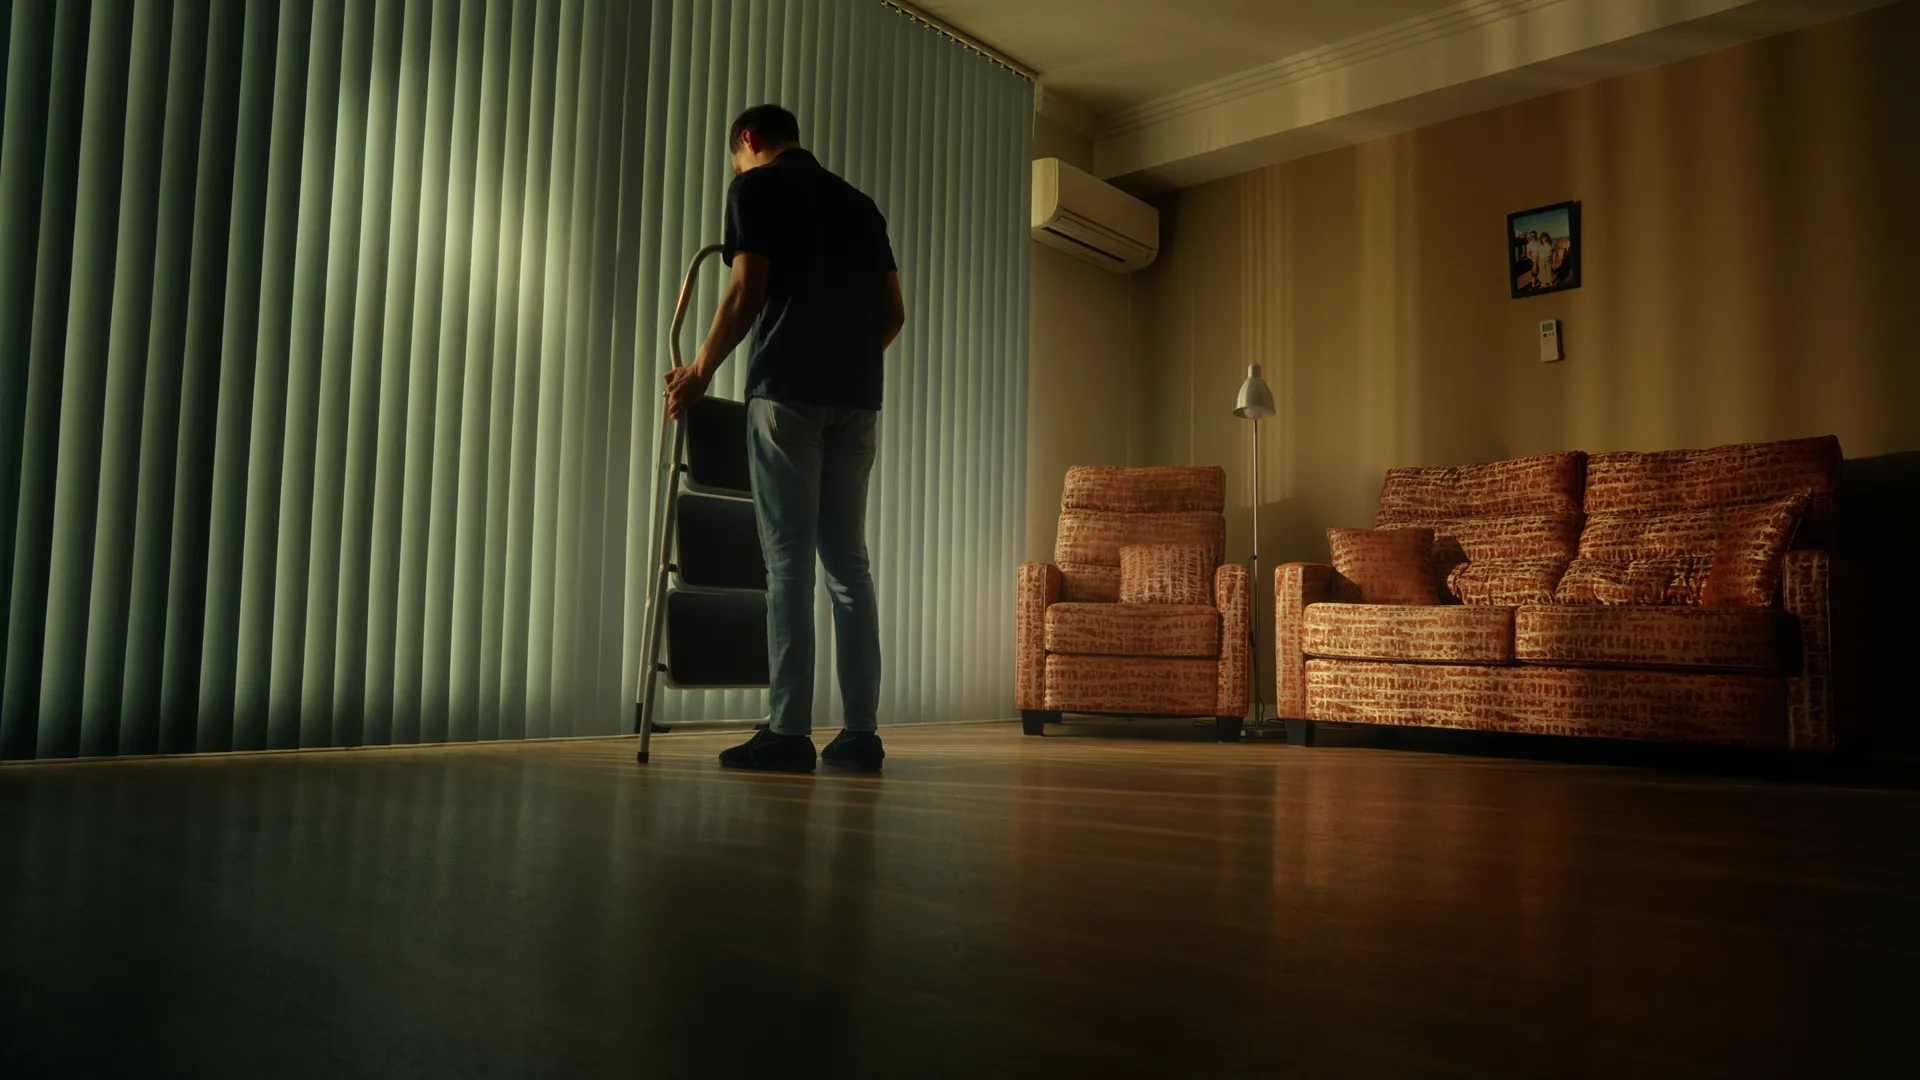
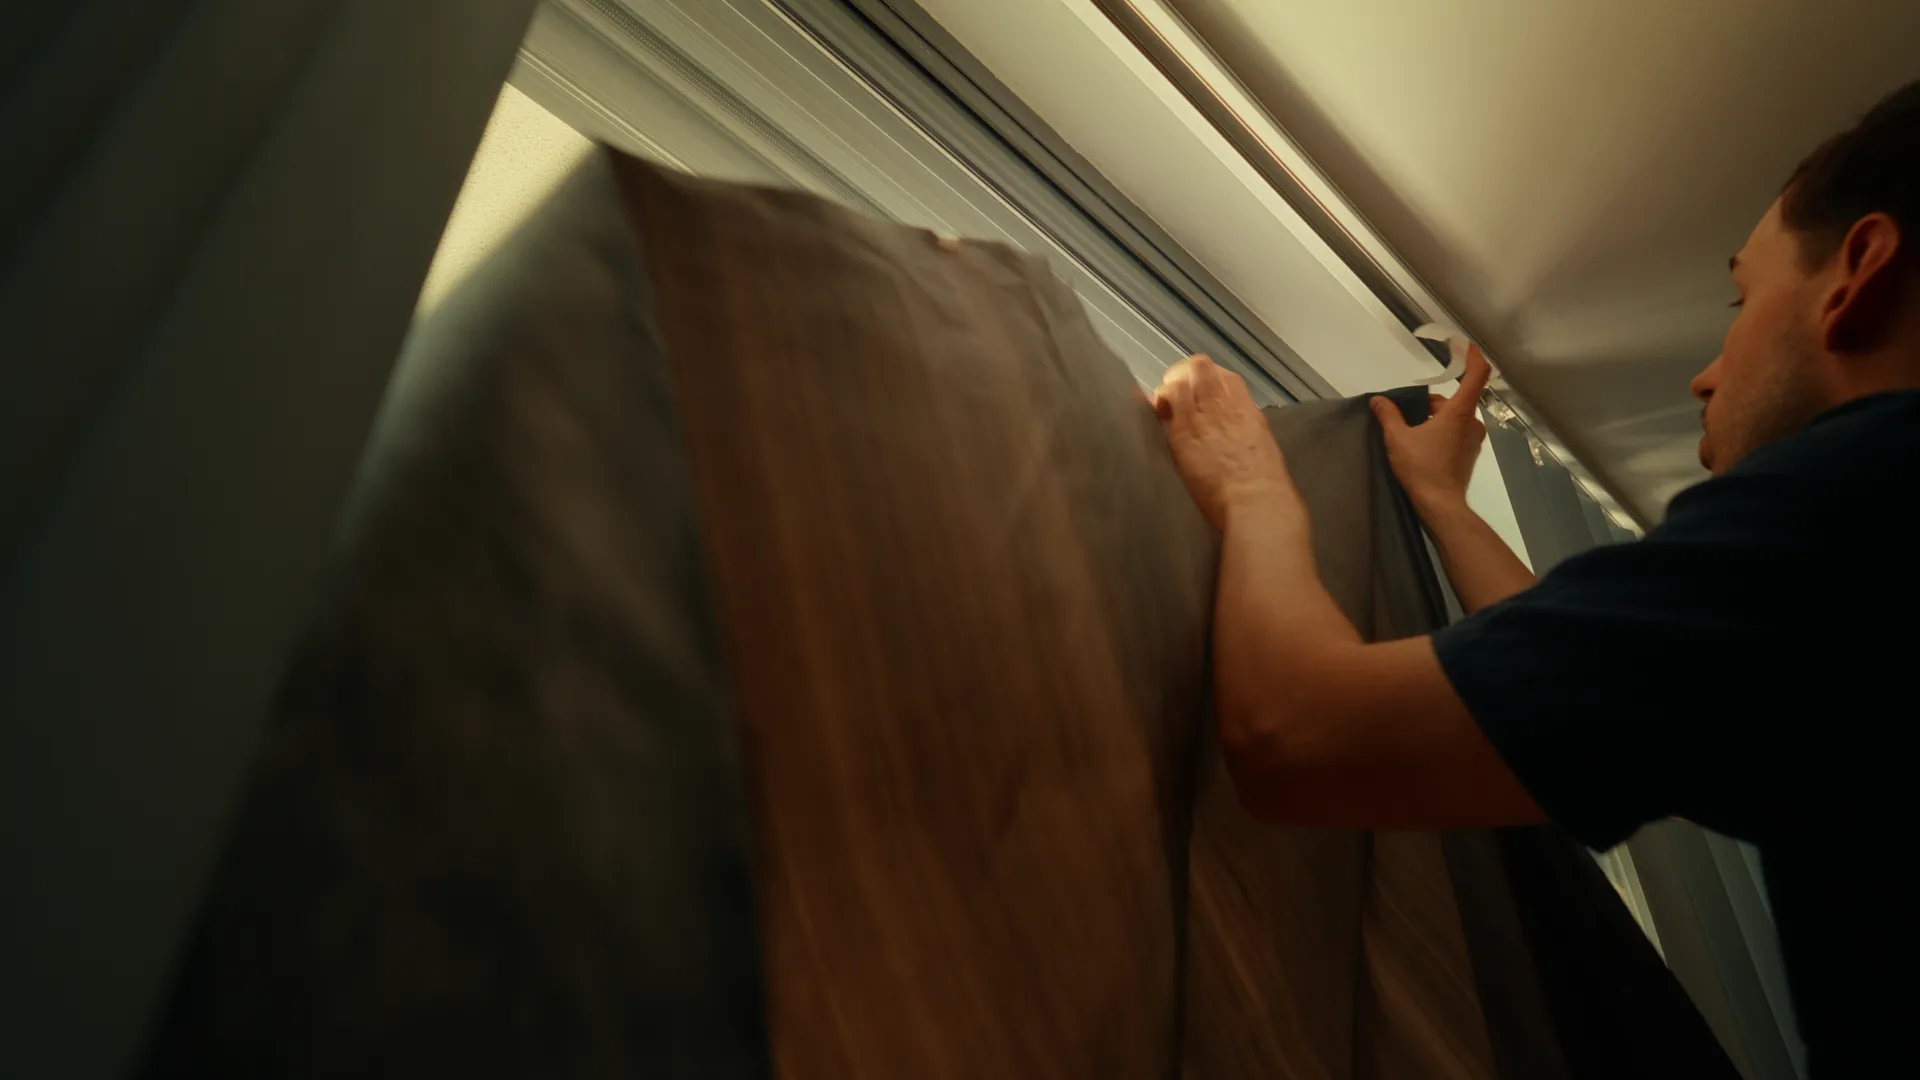
I strive to provide breakdowns of my approach to crafting authentic visuals that showcase real-world applications for each product—focusing on genuine use cases that resonate with the brand’s audience.
Beyond technical insights, I share my personal experiences and lessons learned from the production process, offering an open look at the creative decisions, challenges, and problem-solving strategies I apply to craft each concept.
I create these videos for those looking to build impactful spec ads for their portfolio or seeking fresh ideas to elevate their own projects.
Videos edited & graded in DaVinci Resolve

It looks like you’re on mobile.
This section was crafted with a larger screen in mind.
Please head over to your Desktop to get started.
Can you edit faster than the B-Roll Fade & Finish PRO System?
First, Download the Challenge DaVinci Resolve Project Archive:
Then, follow these simple steps to Import the Project Archive into DaVinci Resolve:
Download & Unzip: Click the download button above and extract the .zip file to your computer. You will see a folder ending in .dra (DaVinci Resolve Archive).
Open the Project Manager: Launch DaVinci Resolve. If you are already in a project, click the Home icon in the bottom right corner to open the Project Manager.
Restore the Archive: Right-click in any empty gray space within the Project Manager window and select “Restore Project Archive…”
Select the Folder: Select the “Take The Challenge.dra” folder and click Open.
Ready to Edit: The project will appear with all the necessary image assets loaded and ready for you to take the challenge.
Then, Choose Your Method below and Start the Stopwatch when you’re ready –
Your final edit time is:
It’s not easy to change how you work, but seeing the results is the first step.
Here is $10 off to help you take the next one.
CHALLENGE10
Use Code at Checkout
Time to Beat
Using the PRO Method: 02:14
Using the FREE Method: 03:18
Using the Native Method: 05:21
For users using only native DaVinci Resolve tools.
Setting up base footage and initial blur transition.
Creating dim transition and preparing first B-Roll.
Adding styling and entrance fade animation.
Final framing and batch applying effects.
For users utilising the free version of the B-Roll Fade & Finish tool.
Setting up base footage and A-Roll tool.
Applying B-Roll tool and framing.
Setting keyframes and extending timeline.
Batch applying effects and final framing.
For users utilising the B-Roll Fade & Finish PRO System.
Setting up base footage and PRO A-Roll tool.
Applying PRO B-Roll tool and framing.
Setting movement and extending timeline.
Batch applying effects and final framing.